Purpose
The purpose of this Business Process Procedure is to explain how to process a Leave of Absence for military in the Integrated HR-Payroll System.
Trigger
There is a need to process a Leave of Absence for one of the reasons listed in the Business Process Procedure Overview section.
Business Process Procedure Overview
Leave of Absence – used when an employee is out of work due to Military Duty.
Military Reasons:
- 10 - Reserve Active Duty (leave) - employee is exhausting vacation, bonus or comp time prior to RAD 30-day leave.
- 11 - Reserve Active Duty (lump sum) - employee is paid for vacation, bonus or comp time prior to RAD 30-day leave.
- 09 - Reserve Active Duty (30 days) - employee is placed on RAD 30 days with Active Duty orders (30 calendar days of full pay)
- 25 - Reserve Active Duty - employee is placed on RAD Active Duty on 31st day.
- 27 – Extended Military - Granted for all uniformed service duty that is not covered by military leave with pay as defined by policy for active/inactive duty training, physical exams, and reserve active duty.
- 28 - Military Care Giver - Employee is out for a reason that qualifies for Military Care Giver leave.
- 29 - Military Training - Employee is out for involuntary active/inactive duty training (120 hours).
- 30 - Civil Air Patrol - Employee is performing missions or encampments, authorized and requested by the U.S. Air Force or emergency missions for the State at the request of the Governor or the Secretary of the Department of Crime Control and Public Safety.
- 31 - State Defense Militia Duty - Employee has been ordered or called out by the Governor for a special activity or State duty mission.
Military Information:
- Reserve Active Duty (Leave) – the employee wants to exhaust leave while on military LOA. According to State policy, this must be used prior to the 30 days for which the State pays.
- Reserve Active Duty (30 days) – the State pays for 30 days when the employee receives orders.
- Reserve Active Duty – the employee has completed the 30 days for which the State is paying.
- Reserve Active Duty (Lump Sum) – the employee has requested to receive a one-time lump sum payment for leave used. According to State policy, employee must choose either lump sum or leave, not both at the same time.
- Extended Military (Active Duty and Other Military (LWOP) – employee does not receive pay or accrue time. A longevity payment will be computed on a prorated basis (if applicable). The balance will be paid when employee returns and completes a full year. (See State policy for eligibility of state service credits).
Important Note: Processing LOA military 30 days when employee also wants to exhaust leave:
According to the State Personnel Manual, you should enter the military 30 days (LOA –reason: 09 –Military Active Duty [30 days] after you enter the hours the employee wants to exhaust leave (LOA –reason: 10 –Reserve Active Duty [Leave]). Failure to create the LOA, Military Active Duty (30 days) with the accompanying IT2001 results in the employee not receiving the military pay.
Time Codes
It is important to select the code that corresponds to the Reason selected for the LOA Action. For example:
- 9620 –used when placing the employee on LOA Action with a Reason of Military Training (120 hours)
- 9630 –used when placing the employee on LOA Action with a Reason of Reserve Active Duty (30 days)
Differential pay:
If an employee is eligible for differential pay, you must coordinate with your Agency Payroll Office to ensure that you send them the appropriate paperwork, so the employee is paid his or her differential while out on military leave. Agency Payroll will create an IT0015 – Wage Type 1404 as required.
Benefits (Employee is not exhausting approved leave.)
Agency Specific Benefits
- Each agency is responsible for administering these plans according to their agency process.
NCFlex Plans
- Will terminate in the Integrated HR-Payroll System.
- Will end the last day of the month premiums were paid.
- Employees can continue these benefits plans while on military LOA by paying the NCFlex vendors directly.
State Health Plan
- Employees on (State Duty) will continue to have the employer portion of their health insurance paid. These employees who would like to continue coverage for dependents and/or any employee only costs will be billed by iTEDIUM. Failure to make payments will result in termination of the State Health Plan coverage. Employees whose coverage is terminated will not be able to re-enroll until the next open enrollment.
- Employees on (Federal Active Duty) will have their coverage terminated at the end of the month following the exhaustion of their 30 calendars days.
LOA Checklist
- PA20 Display (Employee is active in the system)
- IT0000 - Actions
- View employee’s Action history to ensure correct action is being entered and former actions have been entered appropriately.
- Verify eligibility for requested leave
- CATS_DA – verify that time has been entered, released, and approved. Also, verify last day worked (9500 - Time Worked).
- PT50 to ensure that employee has enough leave, if requesting to exhaust leave.
- Communicate with the Benefits Representative
- Benefits – setup procedures for payment continuation or termination of benefits.
Tips and Tricks:
- Employee is active in the system.
- Time, Benefits, Payroll, State Service, and longevity are dependent on entries made for action, reason, and infotypes.
- Agency decides if Time (agency wide) is entered by PA (HR Data Maintainer) on IT2001 or Time (Time Administrator) in CAT2
- Employee should make no time entries while on LOA.
- Time Type 9500 (time worked) shouldn’t be used while employee is on LOA.
Procedure
There are 17 steps to complete this process.
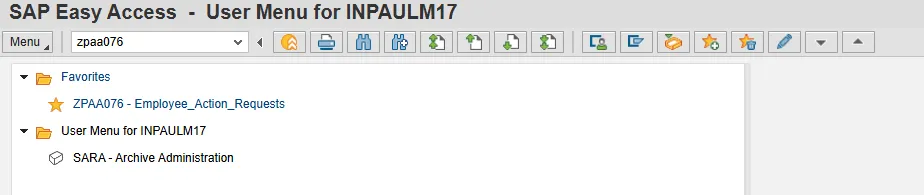
Step 1. From the SAP Easy Access page, select transaction code ZPAA076.
Step 2. On the Employee Action Request screen, complete the Personnel No. field and select Enter.

Step 3. In the Effective on field, input the correct effective date.

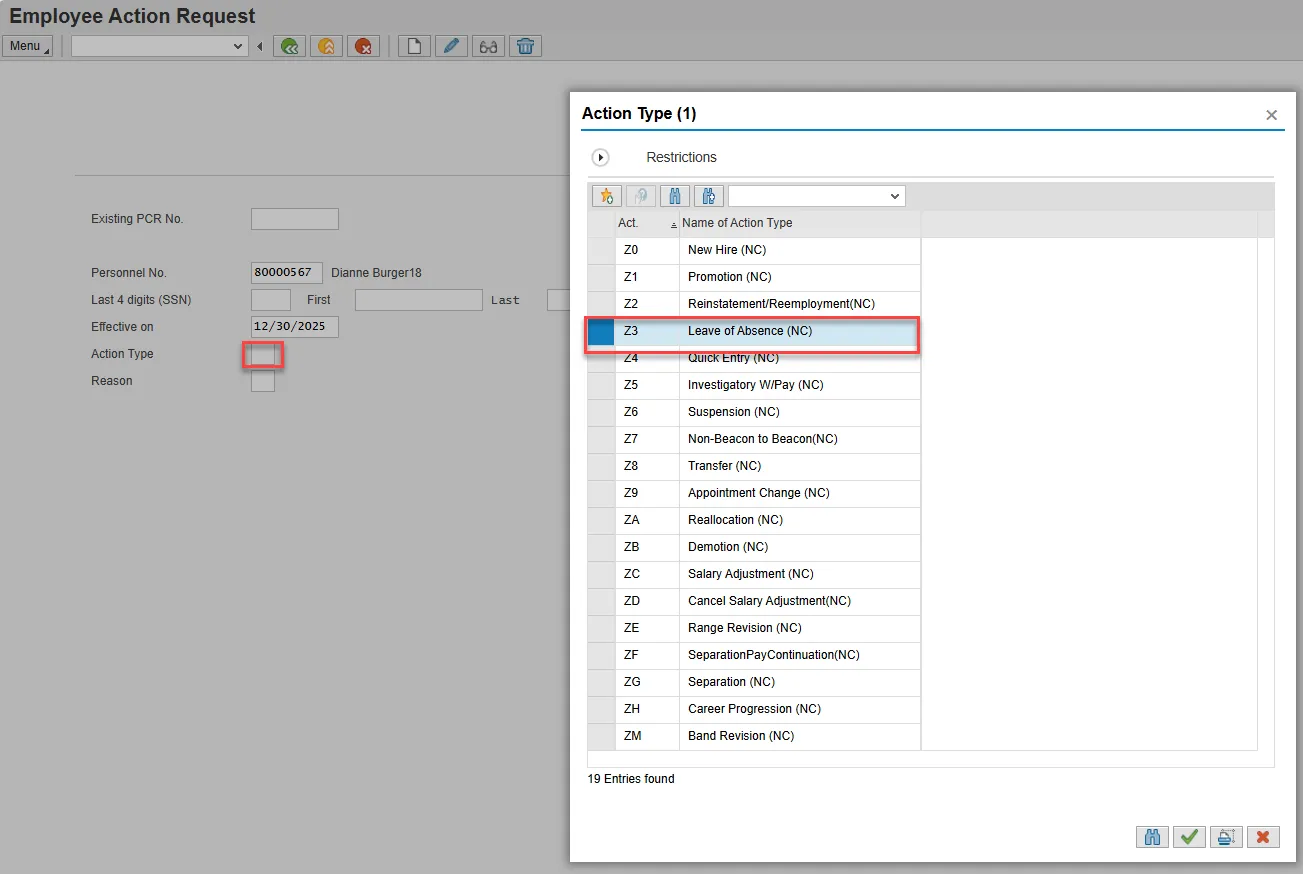
Step 4. Select the Action Type field and access the matchcode. Double click Leave of Absence from the list.
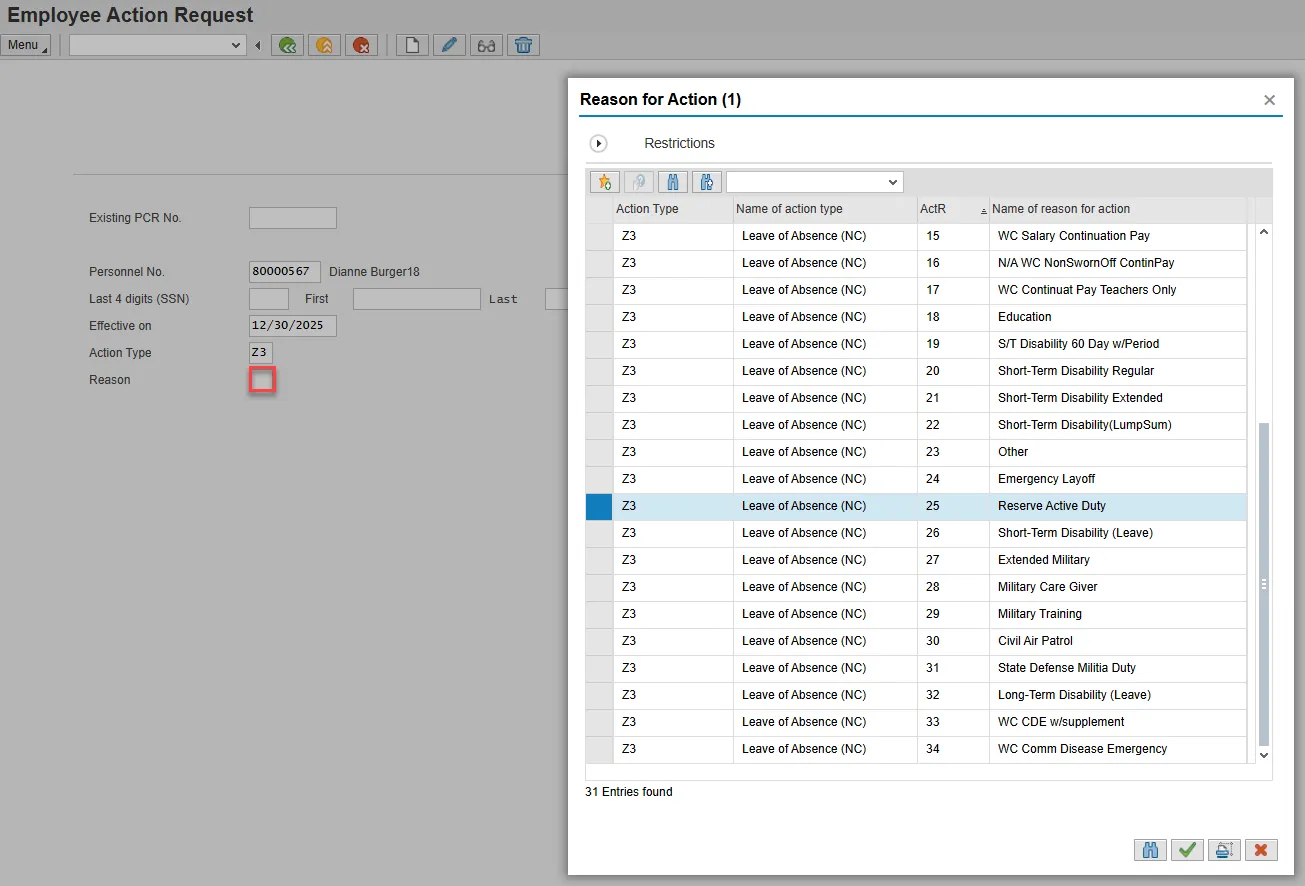
Step 5. Select the Reason field and access the matchcode. Double click the appropriate reason from the list.
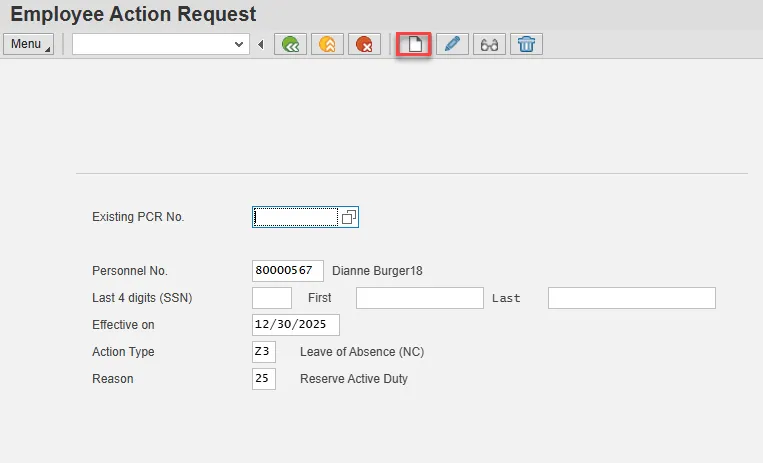
Step 6. Choose Enter on the keyboard and select the Create button.
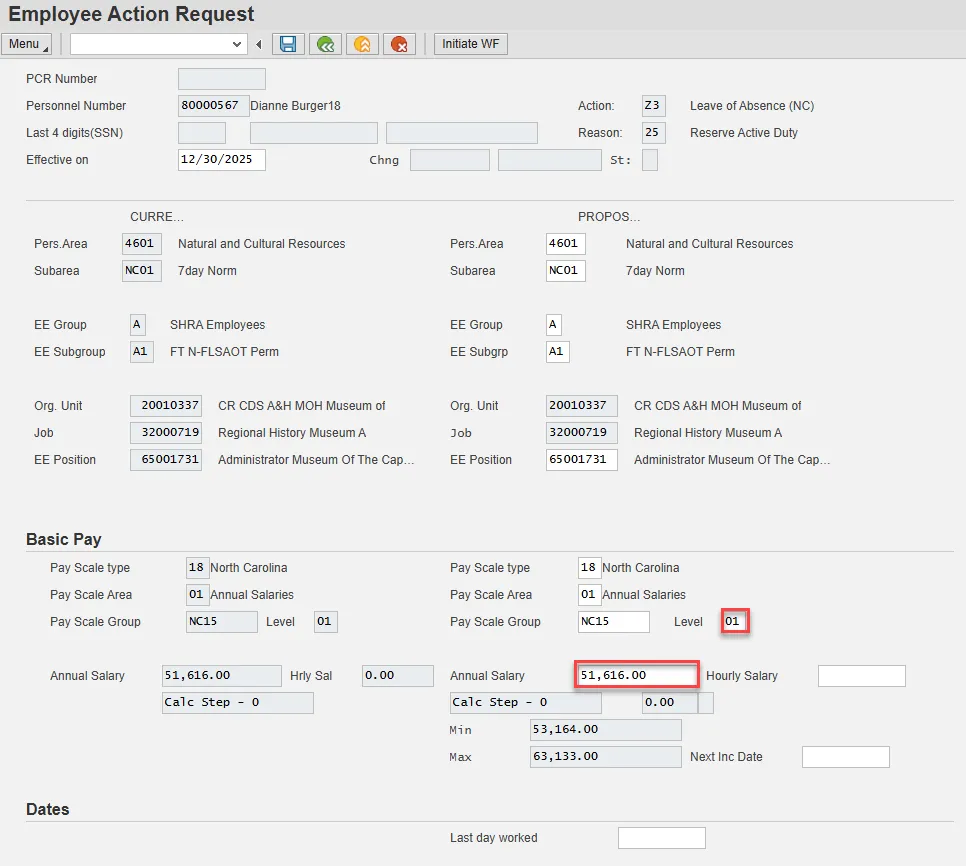
Step 7. Enter the salary information in the Annual Salary field.
Make sure the Level field represents the level associated with the range of the salary. Choose the matchcode to find the correct level.
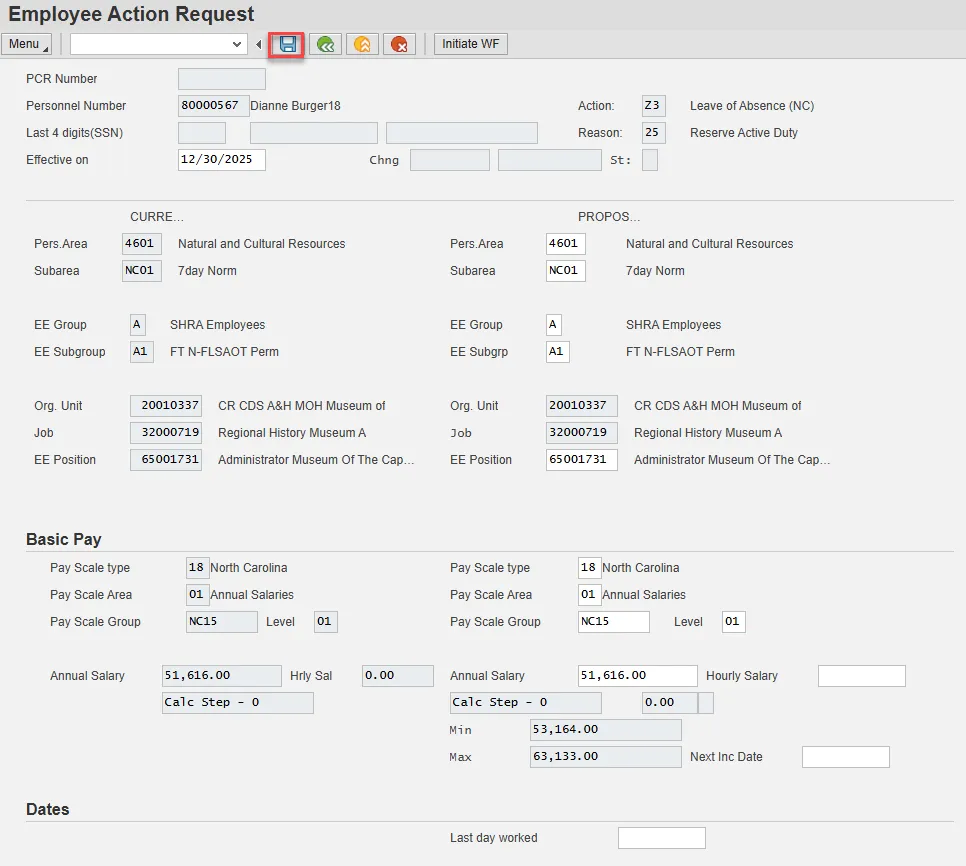
Step 8. Select Save.
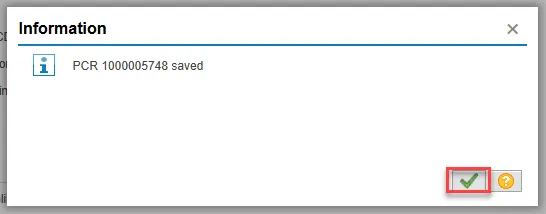
Step 9. The action request will be assigned a PCR number. Choose the green check button from the pop-up.
Note: You can save this information as much as you like. Each time you will receive confirmation of the save. You will not be able to create a note attachment until you have saved it at least once. If you have submitted the PCR to workflow already, you will not be able to change the details, nor save any new information, only display the existing details.
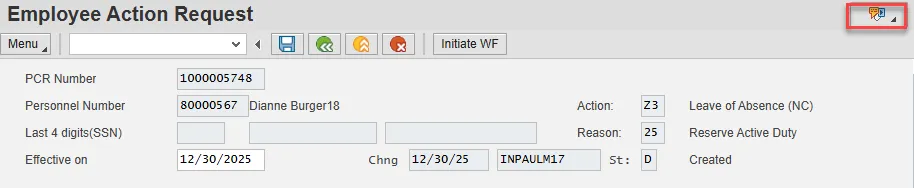
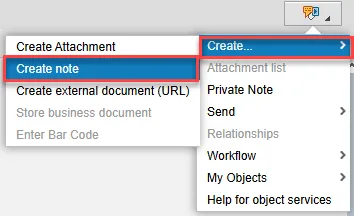
Step 10. Select the Services for Object button in the upper right corner.
Step 11. Hover over Create and choose Create note from the drop-down menu.
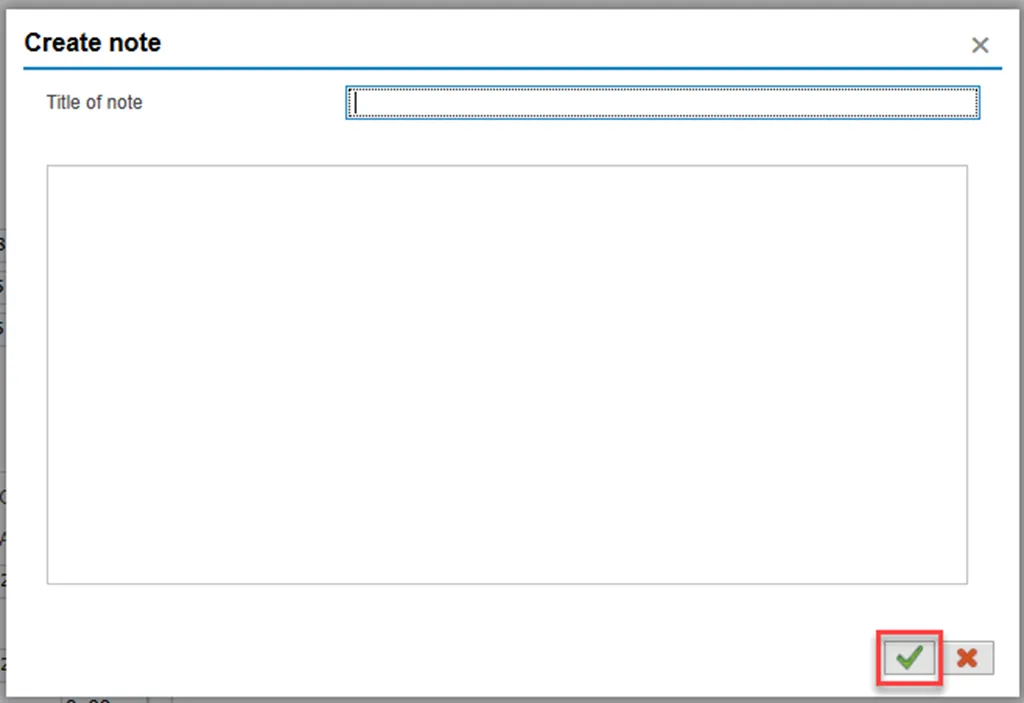
Step 12. Update the Title of note field and the body of the note.
The note is a required part of the request creation process. Notes entered during PA workflow must follow OSHR’s action notes template: PA Action Notes Template
Choose the green check button in bottom right of note pop-up.
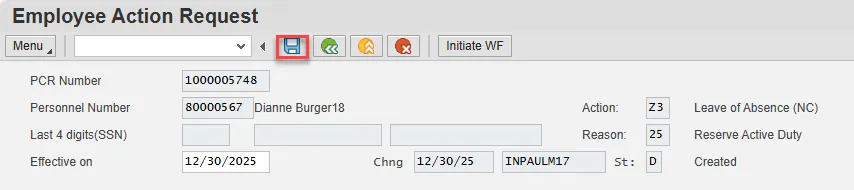
Step 13. Choose Save.
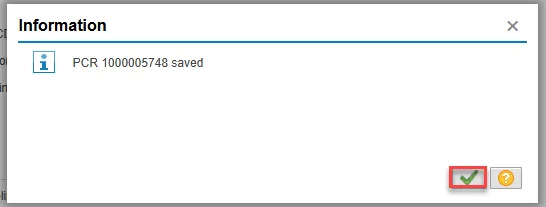
Step 14. Select the green check button in bottom right of Information pop-up.
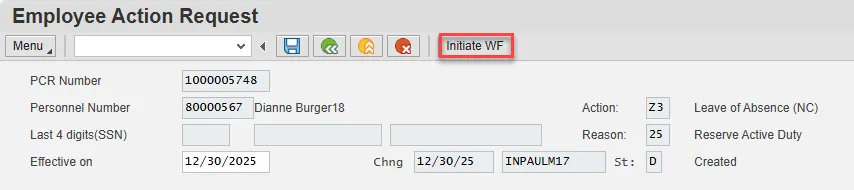
Step 15. Choose the Initiate WF button.
Select the Initiate Workflow button to send the Reinstatement Action through the approval process. No changes can be made after the PCR has been submitted for approval, unless the PCR is rejected at any stage and sent back to you (the initiator/requestor).
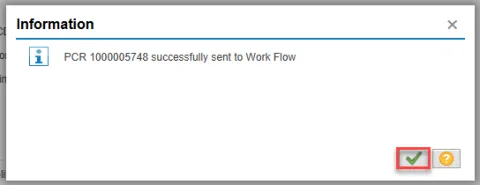
Step 16. Select the green check button in bottom right of the Information pop-up.
Step 17. Choose the green Back button.

The Initiate Leave of Absence request is complete.
After Workflow Approvals have been received, proceed with the Complete Leave of Absence Action process.
Procedure
There are 20 steps to complete this process.
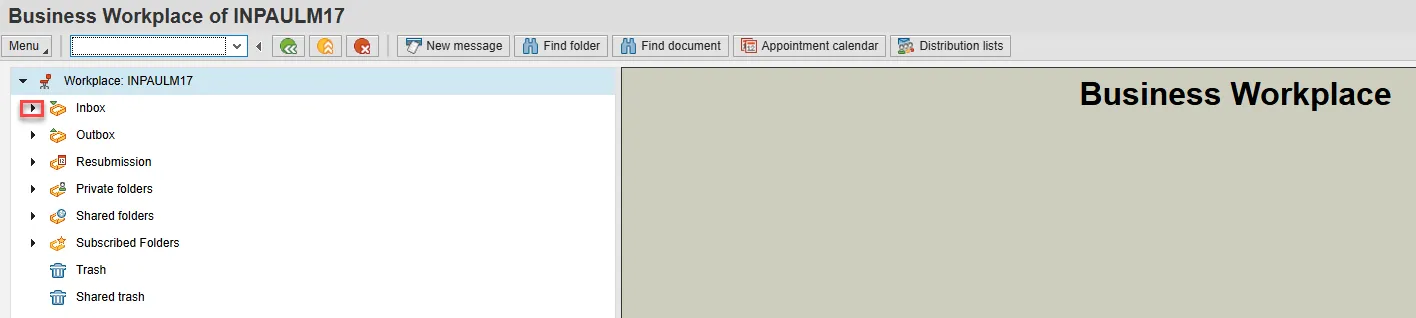
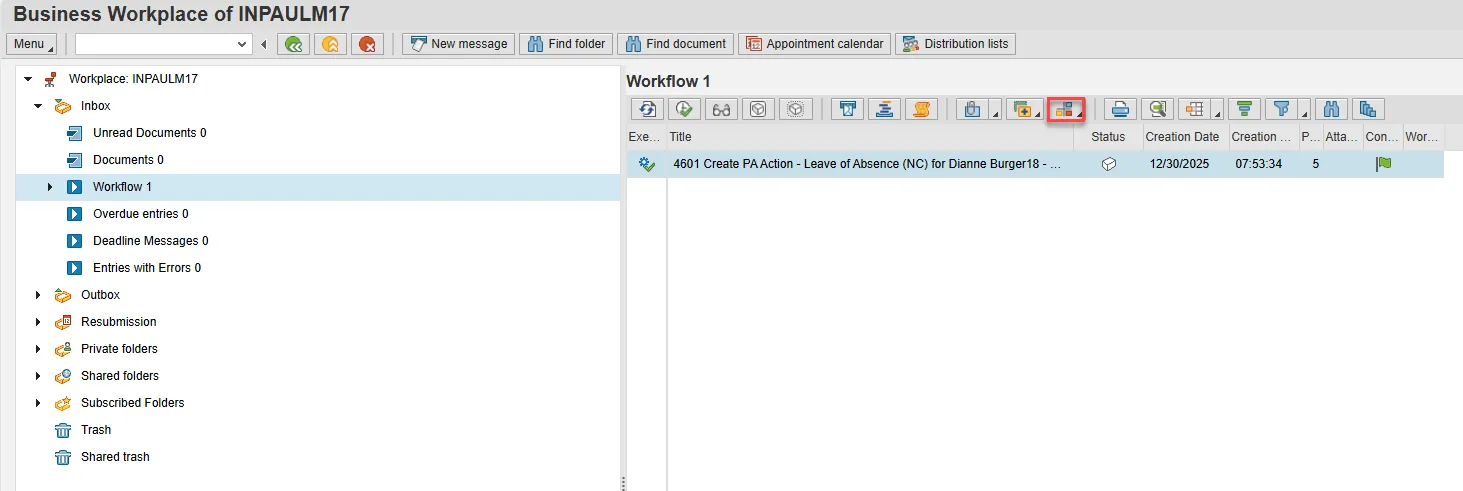
Step 1. Choose the SAP Business Workplace button from the SAP Easy Access page.

Step 2. Expand the Inbox using the expand node.
Note: Failure to complete this step could cause some functions to be unavailable on the secondary button ribbon in the subfolders.
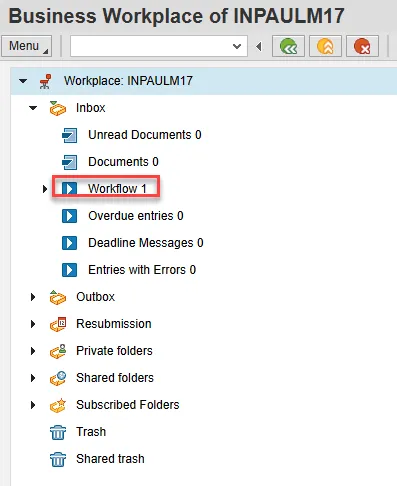
Step 3. Select the Workflow subfolder.
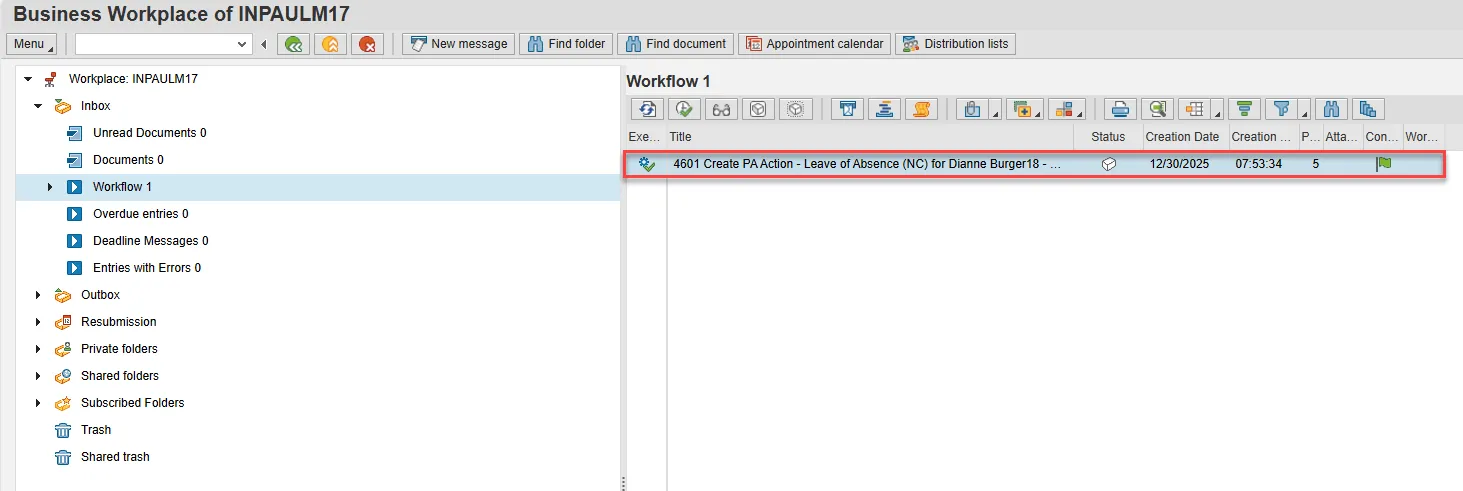
Step 4. Access the Environment button on the secondary button ribbon to retrieve a copy of the note. Access PER-57 Copying Notes from the PCR to Infotypes for steps on retrieving the note.
Step 5. Double click the PCR to begin the action.
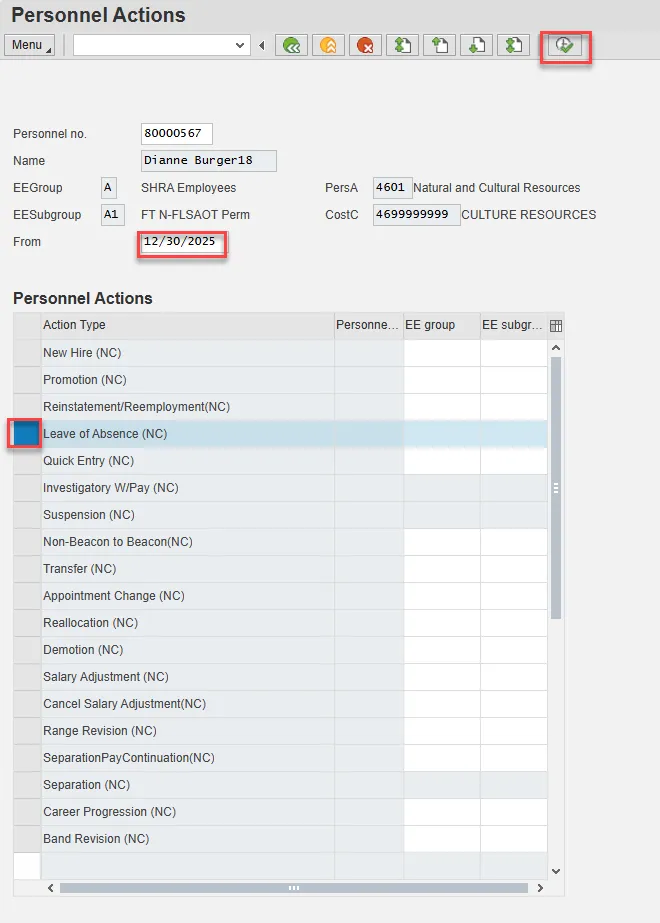
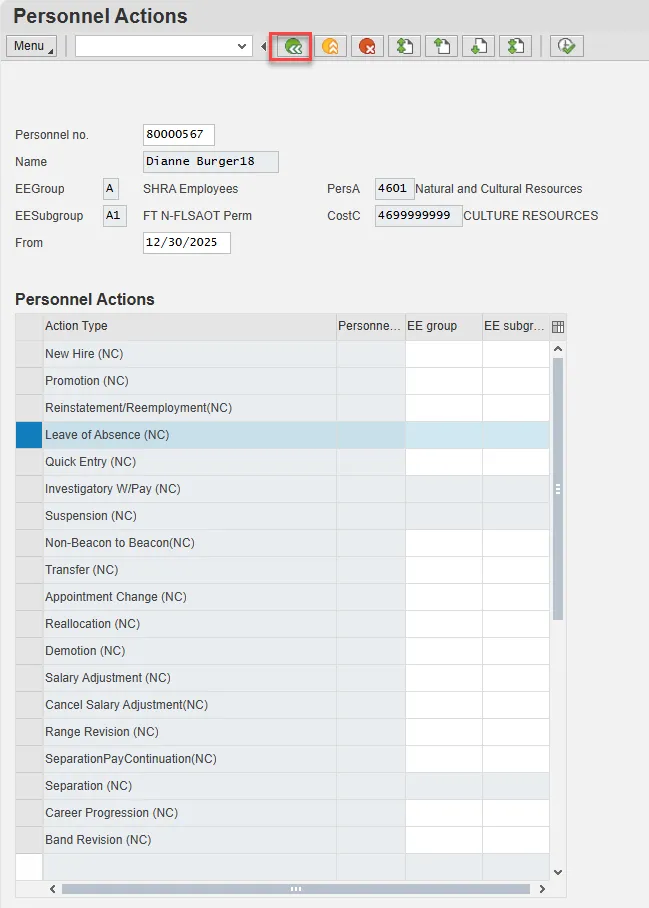
Step 6. On the Personnel Actions screen, enter the effective date in the From field.
Note: The effective date must match the date used to create the request.
Highlight Leave of Absence by selecting the gray box to the left of the LOA row.
Choose Execute.
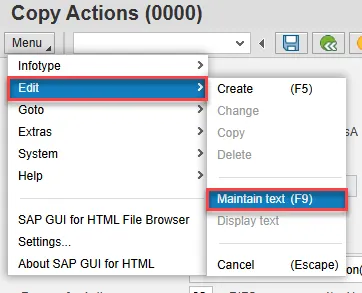
Step 7. On the Copy Actions (0000) screen, select the Menu button.
Step 8. Hover over Edit and choose Maintain text (F9) from the pop-out menu.
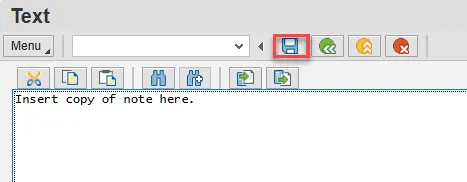
Step 9. On the Text screen, insert your note and choose Save.
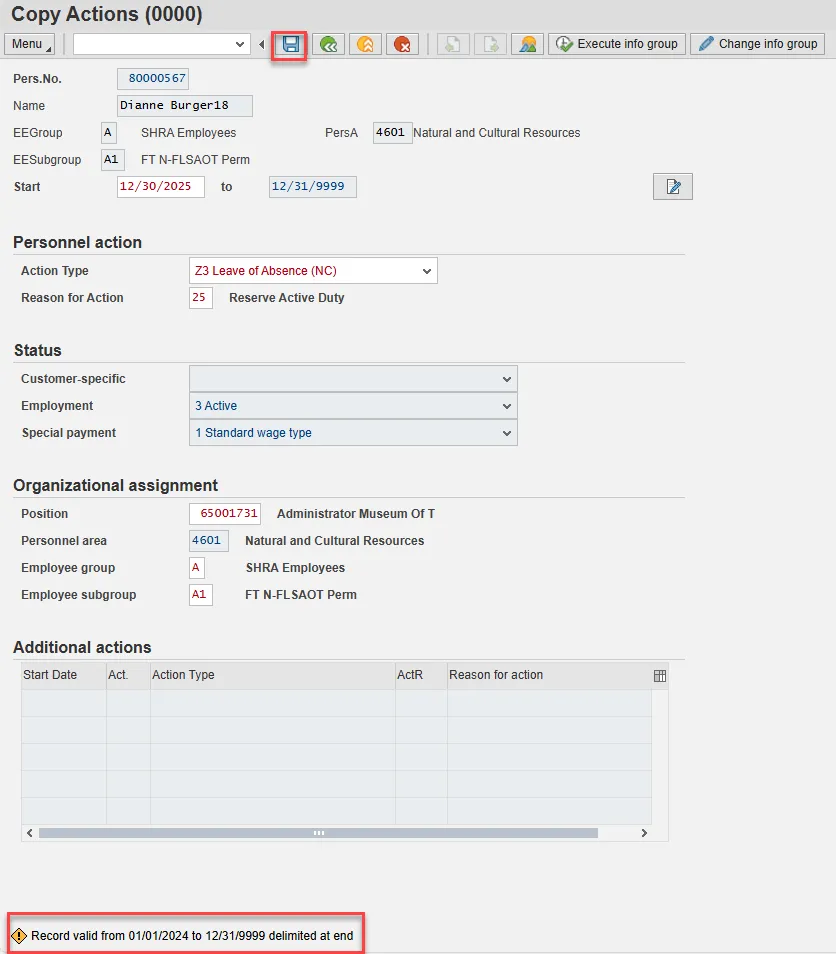
Step 10. Back on the Copy Actions (0000) screen, choose Enter on the keyboard.
Some items may turn red and there may be a yellow warning message in the bottom left stating that a record is being delimited. This is expected behavior. Choose Save.
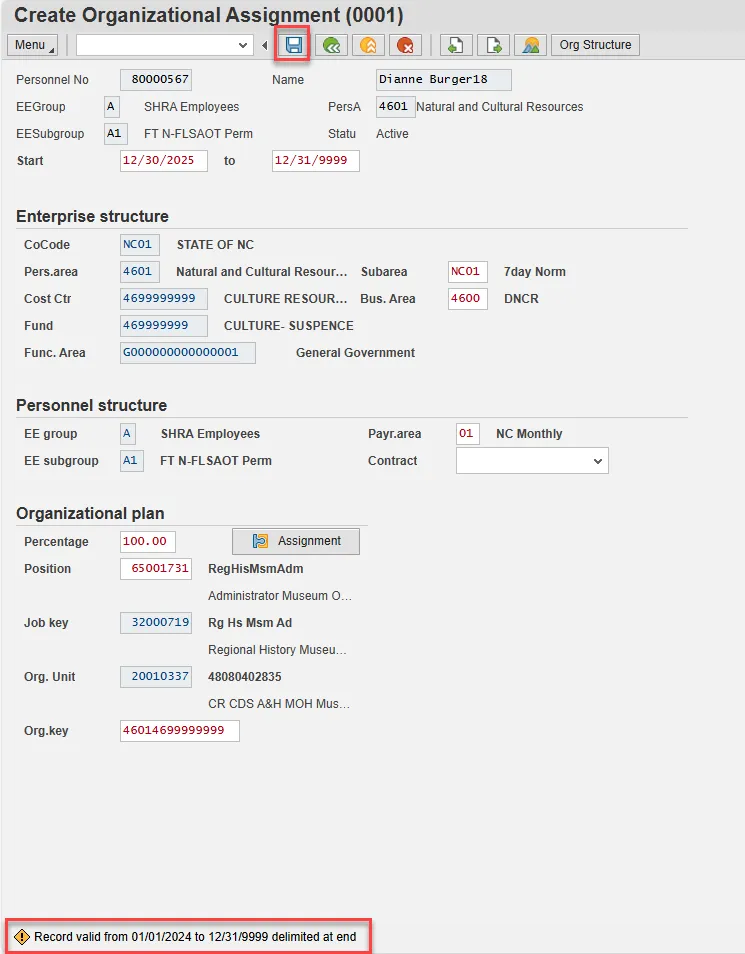
Step 11. On Create Organizational Assignment (0001), select Enter on the keyboard.
Some items may turn red and there may be a yellow warning message in the bottom left stating that a record is being delimited. This is expected behavior. Choose Save.
Step 12. Enter a reminder through the Monitoring of Tasks screen as appropriate.
Insert any notes or comments pertaining to the task. To view these task reminders, you can generate the BOBJ Report – B0099 – Employee Deadline Dates. Managers can view for their employees via MSS. If no data entry is required, move to the next infotype screen by clicking the Next Screen button.

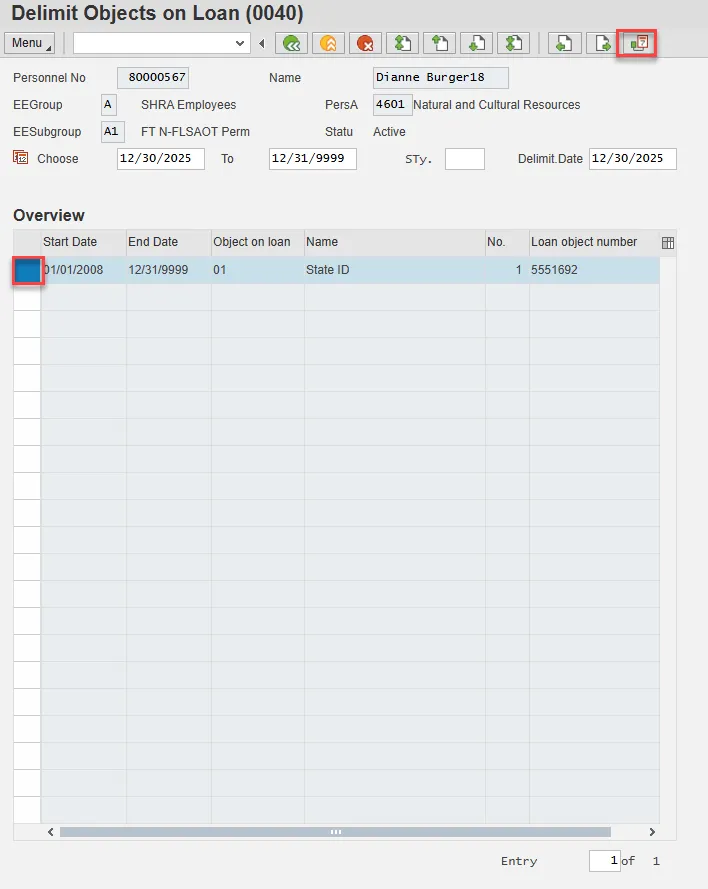
Step 13. Either skip or delimit depending upon whether (1) your agency uses this infotype (2) your agency requires employees to return items while out on leave, or (3) the employee returned items if required to do so.
On the Delimit Objects on Loan (0040) screen, choose the gray box next to the item you wish to delimit. Select the Delimit button.
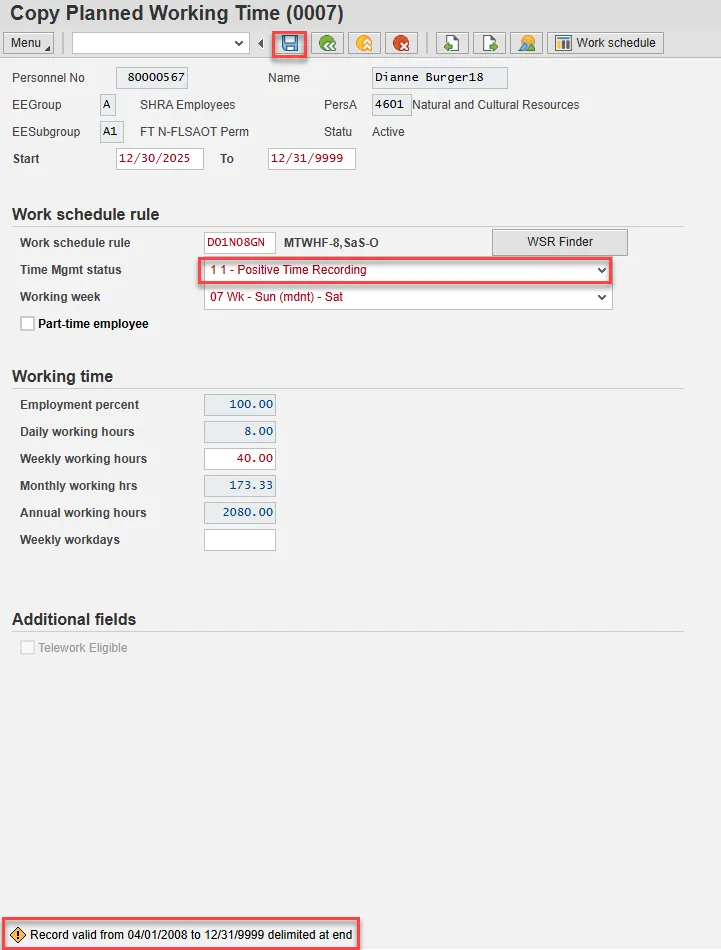
Step 14. On Copy Planned Working Time (0007), all full-time employees must be on a 5 -day, 8-hour per day work schedule (exception: DOT employees). The easiest way to accomplish this is to use D01N08GN. All employees, whether full-time or part-time, must be positive time recording.
Enter and Save.
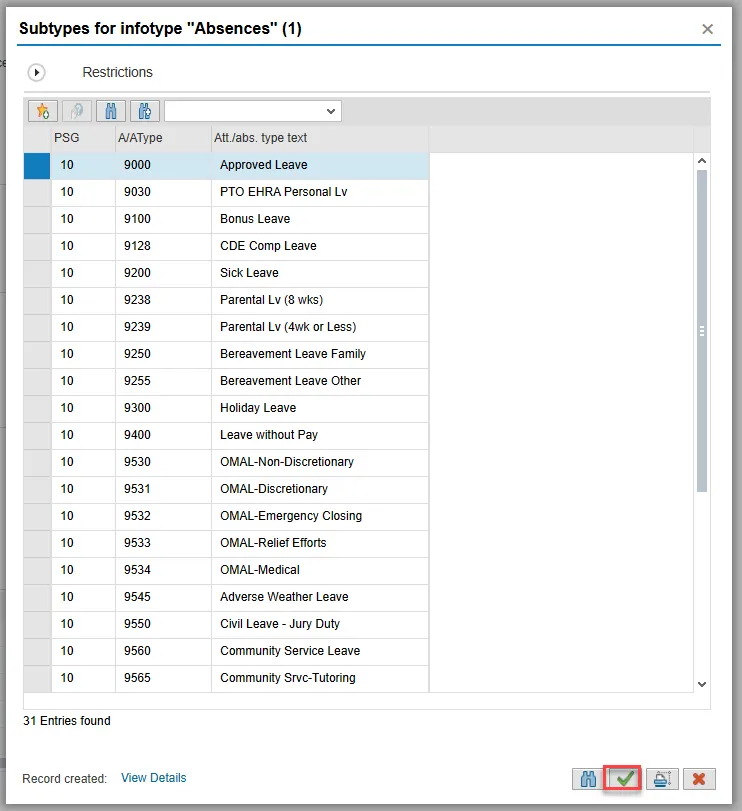
Step 15. On the Subtypes for infotypes “Absences” pop-up, choose the type of leave as applicable.
Choose the applicable leave type to indicate if the employee is to receive pay and if so from which type. Another option is to indicate that the employee is not to accrue leave or longevity while on unpaid leave. The codes are selected as follows:
- If the employee has requested to exhaust leave while on LOA, select the appropriate leave type from the list by double-clicking on the line or clicking on the line and choosing Continue. If the employee is exhausting multiple types of leave, create additional IT2001 record using PA30.
- If the employee is not exhausting leave and code 9400 (LWOP) is not applicable, click the X to close.
Note: If your agency does not use (2001) to record absences, then close this pop-up.
Codes
It is important to select the code that corresponds to the Reason selected for the LOA Action. For example:
- 9620 –used when placing the employee on LOA Action with a Reason of Military Training (120 hours)
- 9630 –used when placing the employee on LOA Action with a Reason of Reserve Active Duty (30 days)
Step 16. On Create Absences (2001), update the Start and to fields to represent the time covered using the chosen type of leave. It is recommended that you maintain absences one week at a time.
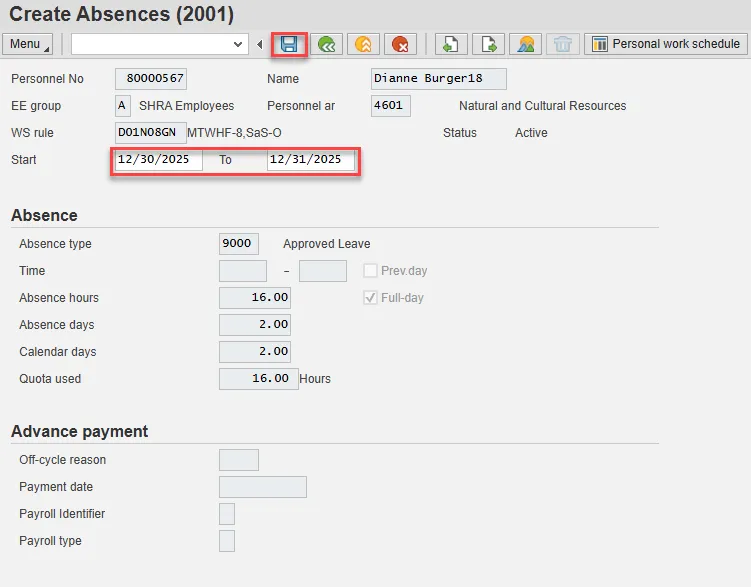
The Absences infotype only displays if you selected a leave type from the subtype for Absences pop-up.
The Absences infotype (2001) indicates the number of hours the employee wants to use for leave and deducts from the leave quotas as applicable. If the employee should not accrue leave or longevity while on unpaid leave, enter Time Code 9400 (LWOP) in IT2001 (see State policy regarding accrual and longevity exceptions for Workers’ Comp, law enforcement and military leave). Once you enter the date and press Enter, the system will calculate the number of absence hours and days automatically. These numbers default based on the work schedule rule on IT0007. The dates that are used on the infotype:
- The “start date” should pre-populate automatically based on the effective date of the LOA Action.
- Enter the “to date” to reflect the number of hours of leave the employee wants to use (or for code 9400 if unpaid leave). Never enter 12/31/9999 as the “to date.”
Using leave accrued while out on leave: If an employee wants to use the time that was accrued while he or she was out on paid leave, create a new IT2001 via PA30 in order to enter the new leave time. Time should be entered on a weekly basis.
Note: An agency can make an agency-wide (not individual user) decision that LOA leave can be entered either on a timesheet by the Time Administrator or by HR on IT2001. The agency must be consistent across all employees for the entire agency. Because the Integrated HR-Payroll System is integrated, if the hours are entered on the Absences infotype 2001, they are processed during the next time evaluation. Do not enter Time via CATs.
Best Business Practice: Create IT2001 to exhaust leave on a monthly basis rather than the entire LOA period.
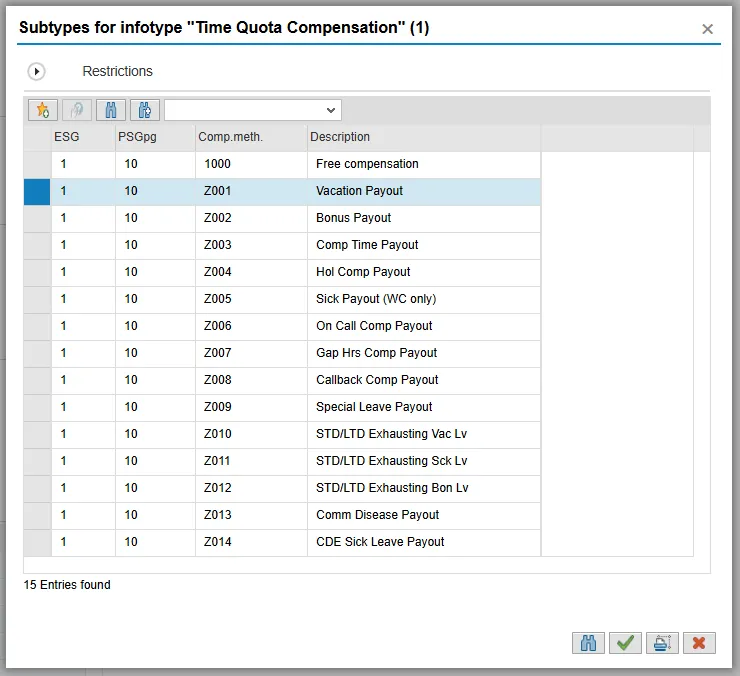
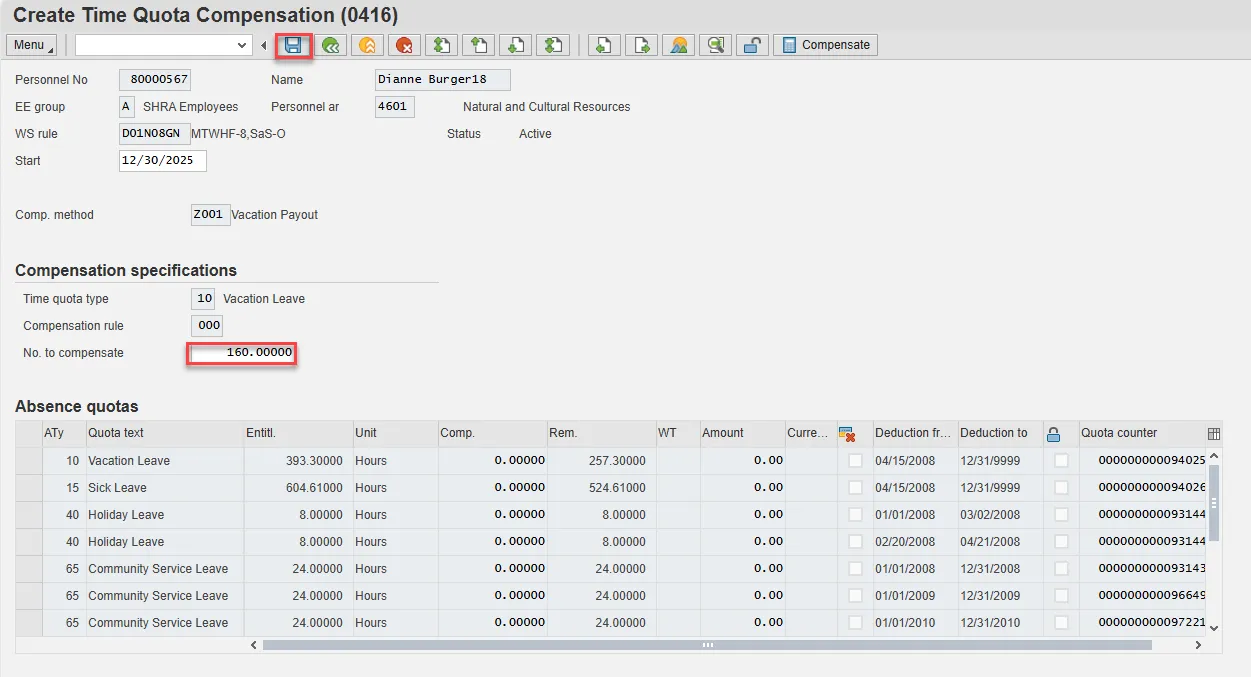
Step 17. Choose the appropriate type of leave to be paid out.
An employee can request a lump sum (one time) payment of leave during a Military LOA only. Select the applicable leave type if the employee has requested a lump sum (one time) payment of leave instead of receiving it via regular pay disbursement. The employee cannot request leave via both regular pay disbursement (entered by HR on IT2001) and lump sum payment at the same time.
Note: Only complete IT0416 if using reason 11 – Reserve Active Duty (Lump Sum).
The system will show the number of hours per quota type available for compensation. Enter the total number of hours to be paid out for the quota type chosen here.
Notes
- Do not change the effective date as you do in the Separation Action. Time evaluation is run nightly, so the balances should be current each day.
- The balances are current based on the time the Time Administrator or Supervisor has approved.
- If the employee has indicated a request for lump sum payment and has more than one type to be paid, you must use PA30 after you complete the LOA Action to select and enter the additional subtypes for IT0416.
- It is critical to ensure that all time has been entered, released, approved and that time evaluation has run before entering the LOA Action.
- If the balances are not ready to payout, skip and create by using transaction code PA30.
Step 18. Back at the Personnel Actions screen, select the Green Arrow Back button.
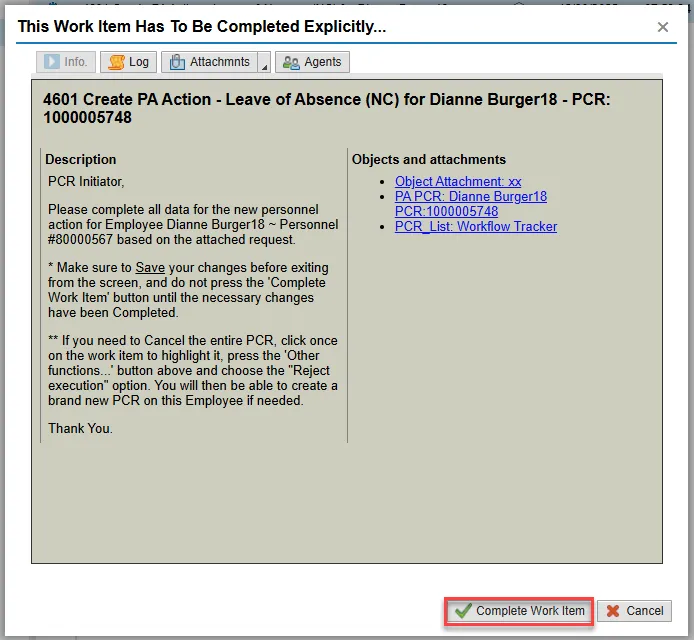
Step 19. On the pop-up, select Complete Work Item. (It has a green check beside it.)
Step 20. From the Business Workplace screen, select the Green Arrow Back button to return to the SAP Easy Access screen.
The Leave of Absence Action Military is complete, but we recommend reviewing via PA20 all infotypes that have been processed.