Purpose
The purpose of this Business Process Procedure is to explain how to process an Investigatory with Pay Action in the Integrated HR-Payroll System.
Trigger
There is a need to process an Investigatory with Pay Action for one of the reasons listed in the Business Process Procedure Overview section.
Business Process Procedure Overview
Investigatory w/Pay –to investigate allegations of performance or conduct deficiencies that would constitute just cause for disciplinary action; to provide time within which to schedule and conduct a pre-disciplinary conference; or to avoid disruption of the work place and/or protect the safety of persons property.
Reasons:
- 01 - Investigatory Placement Leave - employee may be placed on leave for no more than 30 days.
- 02 - Extended - requires written approval from Agency head and the State Human Resources Director.
Tips and Tricks
- Prior to initiating any workflow, ensure the data being used is valid and appropriate.
- Ensure the following have been completed:
- all timesheets have been entered, released and approved.
- As of 7/1/2013, the Investigatory Placement action requires A/A 9690 (Investigatory Leave) to be keyed for all scheduled workdays that fall within the effective dates of the action. If a holiday falls within the effective dates of the action, A/A 9300 (Holiday Leave) should be keyed. Leave codes other than A/A 9690 and A/A 9300 will error out in Time Evaluation for an EE on the Investigatory Placement (Z5) action.
PROCEDURE
There are 17 steps to complete this process.
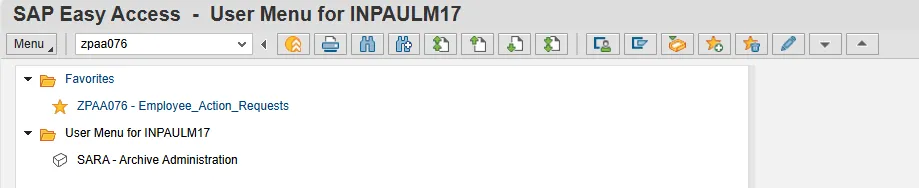
Step 1. From the SAP Easy Access page, select transaction code ZPAA076.
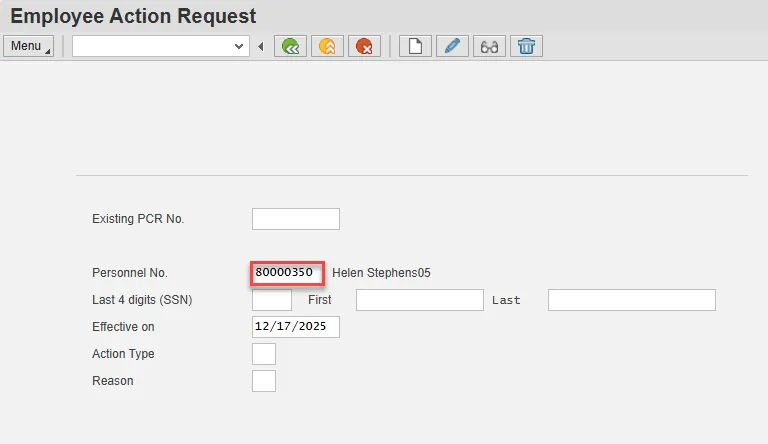
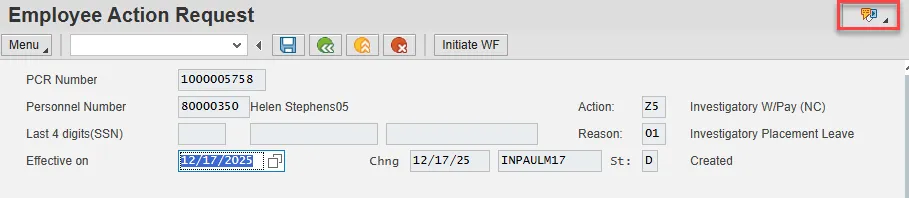
Step 2. On the Employee Action Request screen, update the Personnel No. field and select Enter on the keyboard.
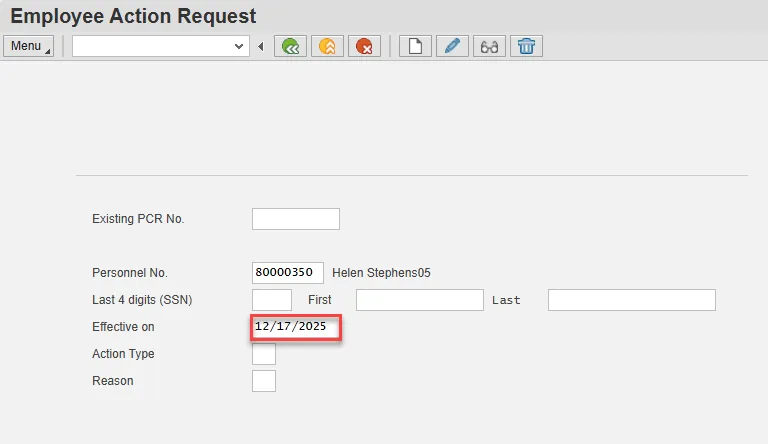
Step 3. Update the Effective on field with the correct effective date.
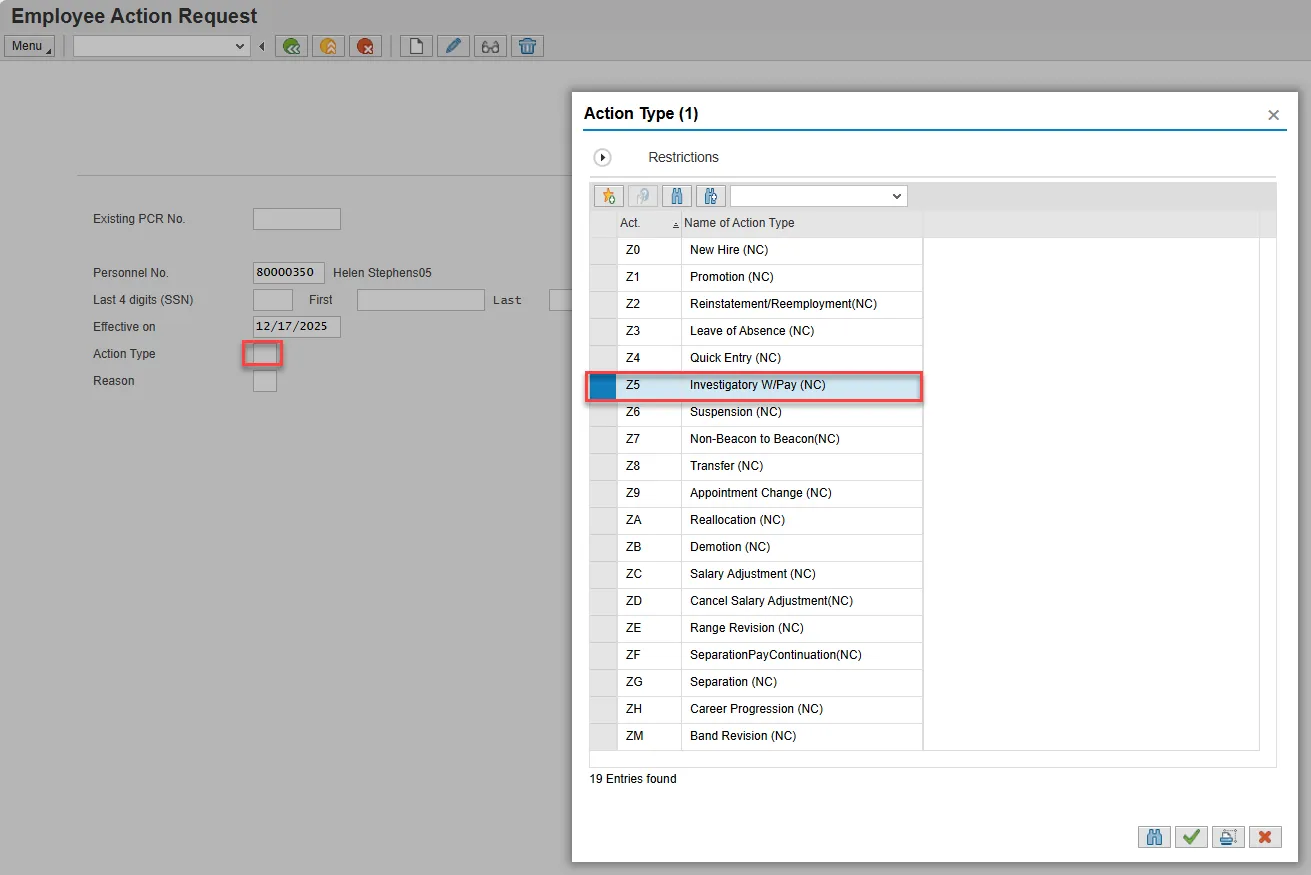
Step 4. Select the matchcode in the Action Type field and double click Investigatory W/Pay from the list.
Step 5. Select the matchcode in the Reason field and double click the appropriate reason for the Investigatory action.
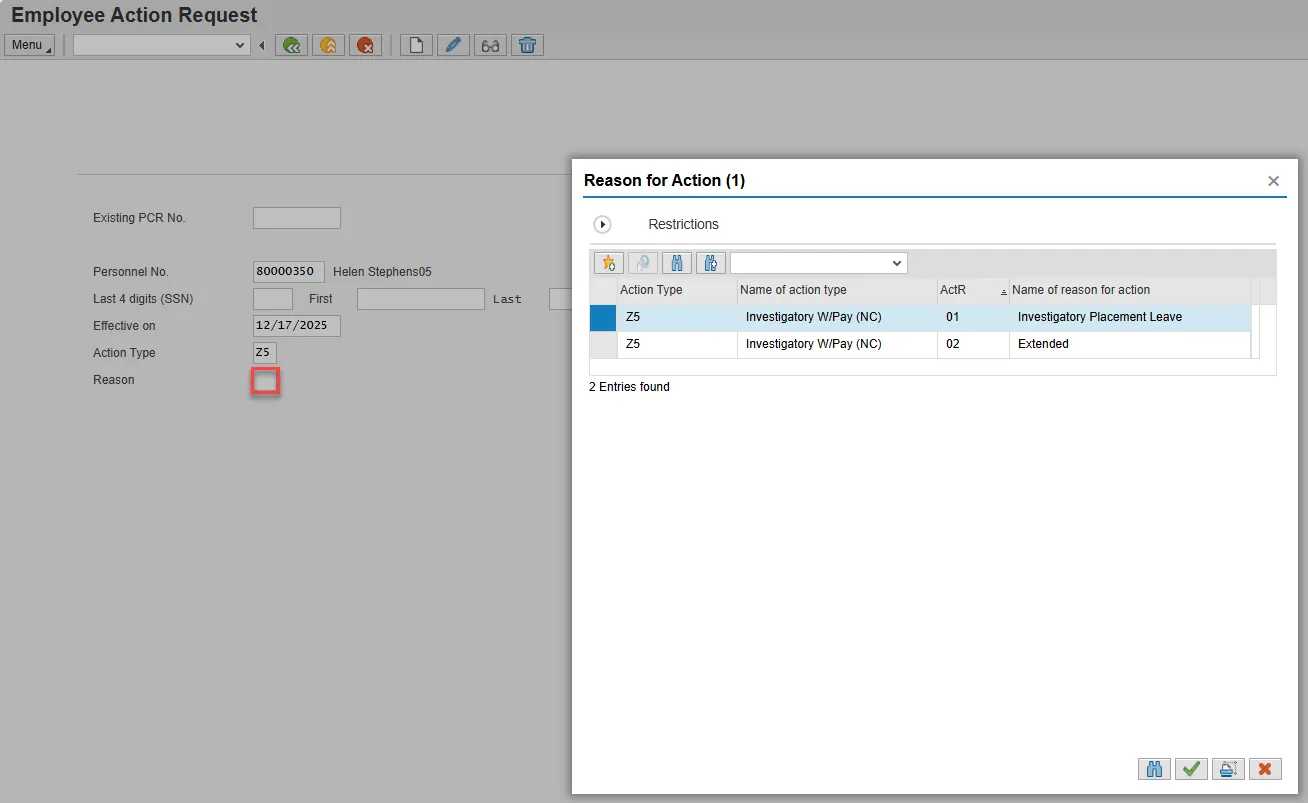
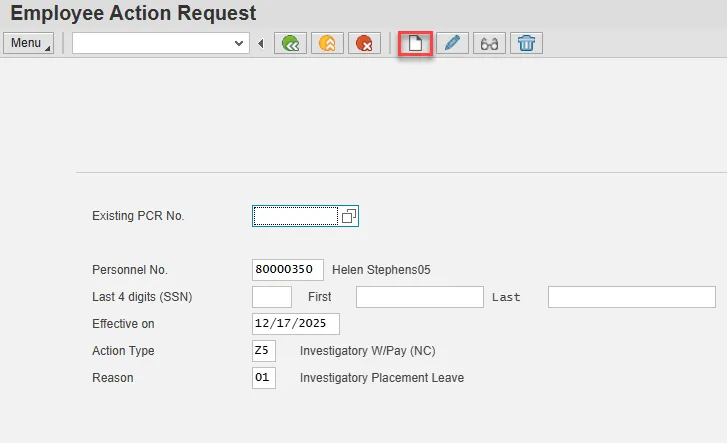
Step 6. Select Enter on the keyboard and choose the Create button.
Step 7. Enter the salary information in the Annual Salary field.
Make sure the Level field represents the level associated with the range of the salary. Choose the matchcode to find the correct level.
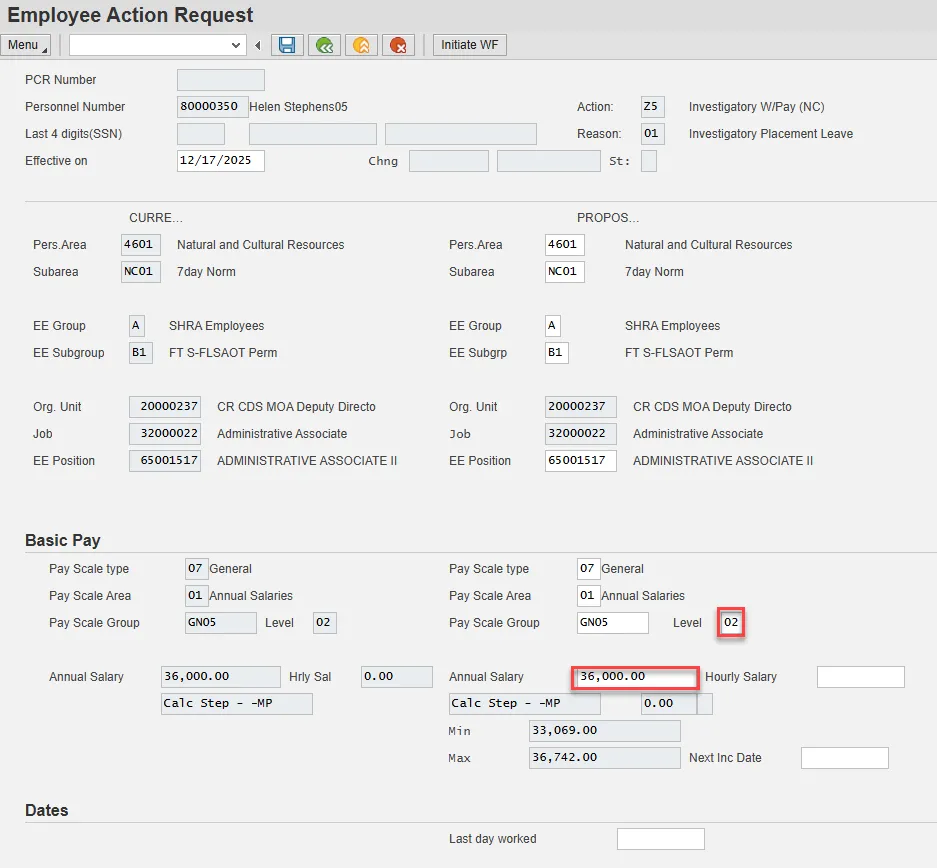
Step 8. Choose Enter on the keyboard and Save.

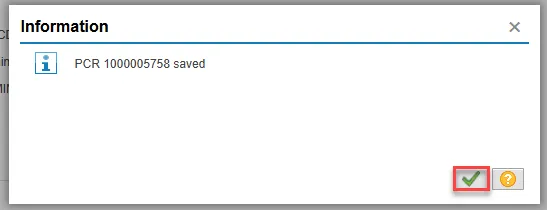
Step 9. You can save this information as many times as you like. Each time you will receive a confirmation of the save. Choose the green check in the bottom right of the pop-up.
Note: You will not be able to create a note attachment until you have saved it at least once. If you have submitted the PCR to workflow already, you will not be able to change the details, nor save any new information, only display the existing details.
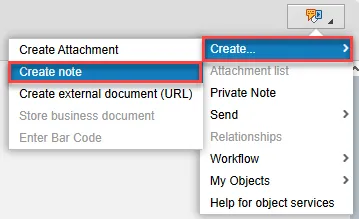
Step 10. Select the Services for Object button in the upper right corner.
Step 11. Hover over Create and choose Create note from the drop-down menu.
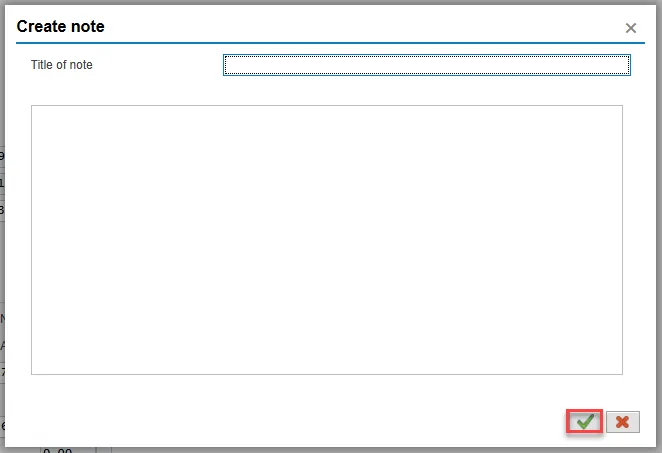
Step 12. Update the Title of note field and the body of the note.
The note is a required part of the request creation process. Notes entered during PA workflow must follow OSHR’s action notes template: PA Action Notes Template
Choose the green check button in bottom right of note pop-up.
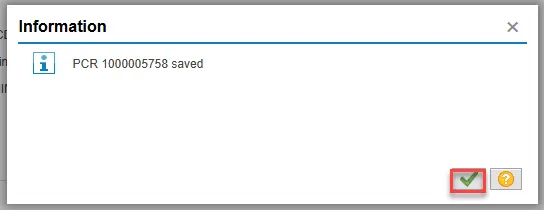
Step 13. Choose Save.

Step 14. Select the green check button in bottom right of Information pop-up.
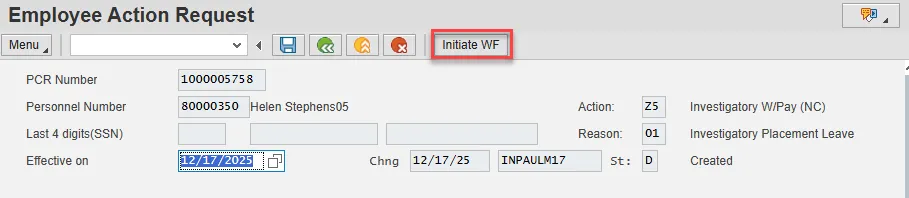
Step 15. Choose the Initiate WF button.
Select the Initiate Workflow button to send the Investigatory Action through the approval process. No changes can be made after the PCR has been submitted for approval, unless the PCR is rejected at any stage and sent back to you (the initiator/requestor).
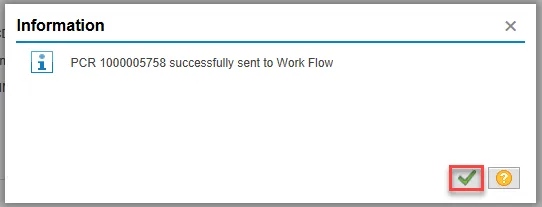
Step 16. Select the green check button in bottom right of the Information pop-up.
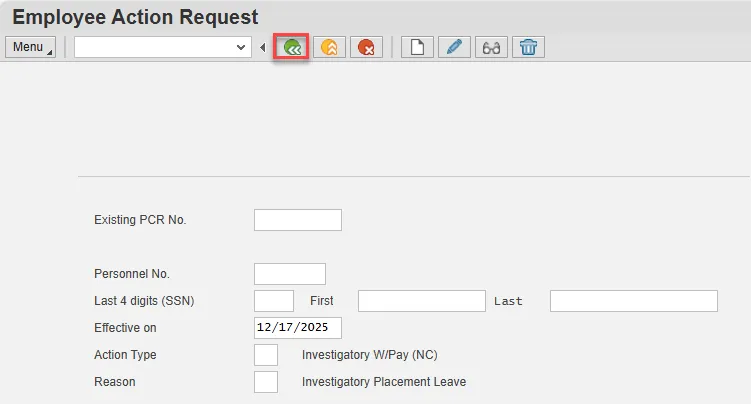
Step 17. Choose the green Back button.
After Workflow Approvals have been received, proceed with the Complete Investigatory with Pay Action process.
INSTRUCTIONS FOR COMPLETING THE ACTION
There are 18 steps to complete this process.
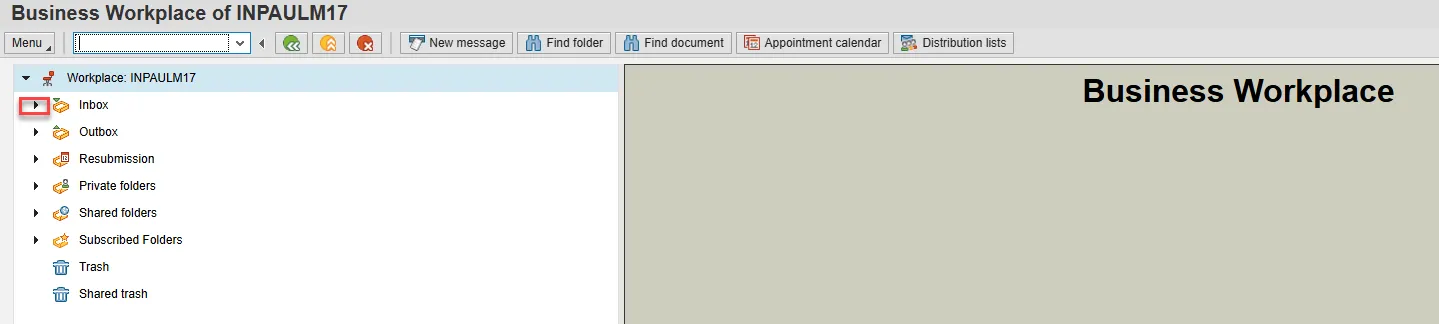
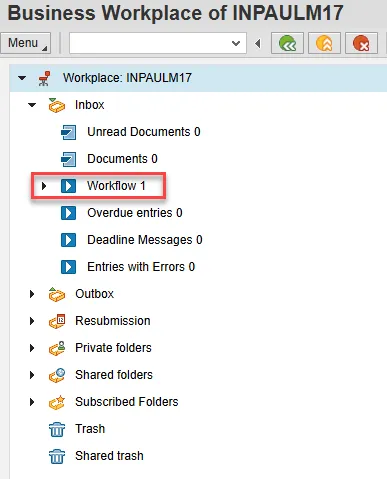
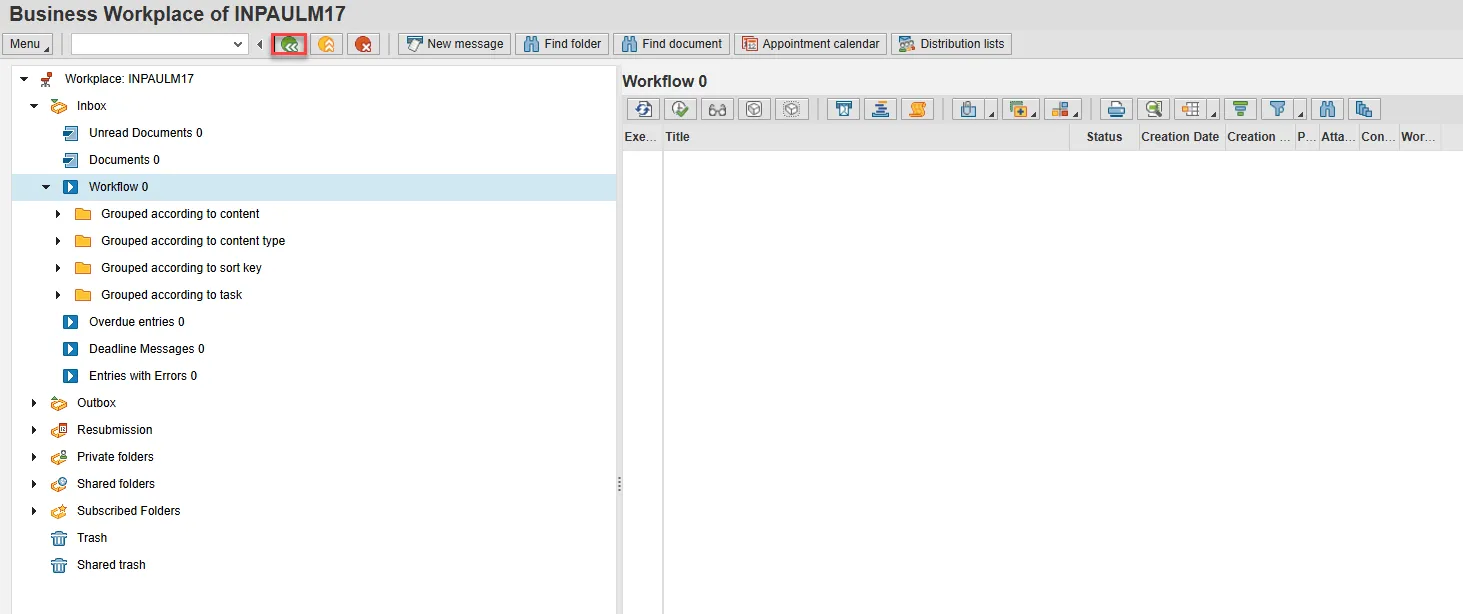
Step 1. Choose the SAP Business Workplace button from the SAP Easy Access page.

Step 2. Expand the Inbox using the expand node.
Note: Failure to complete this step could cause some functions to be unavailable on the secondary button ribbon in the subfolders.
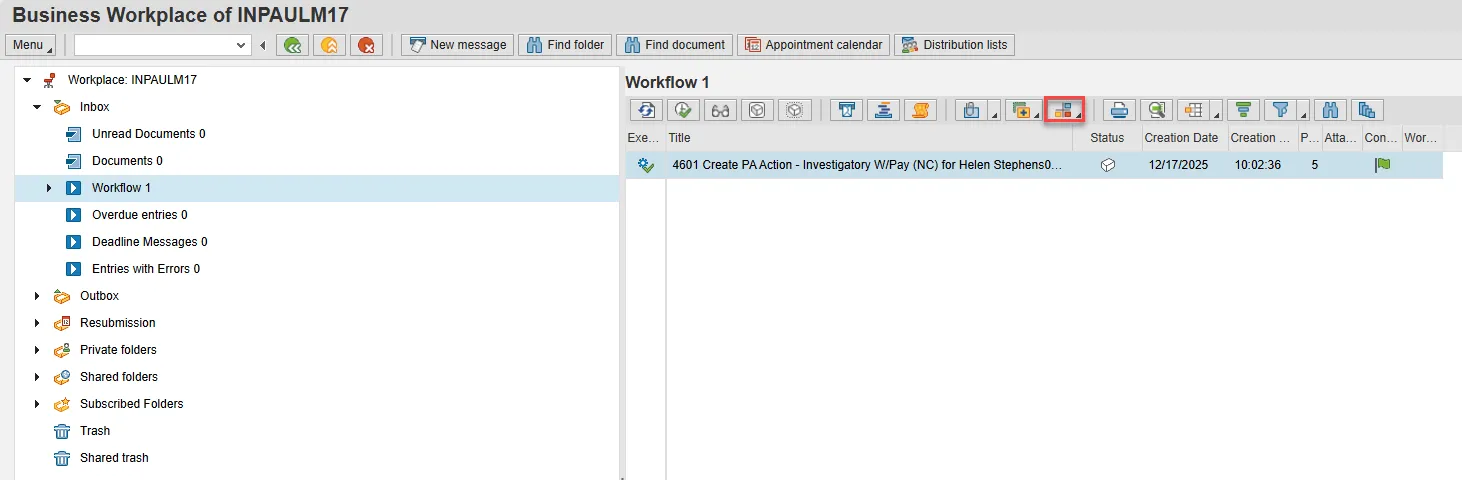
Step 3. Select the Workflow subfolder.
Step 4. Access the Environment button on the secondary button ribbon to retrieve a copy of the note. Access PER-57 Copying Notes from the PCR to Infotypes for steps on retrieving the note.
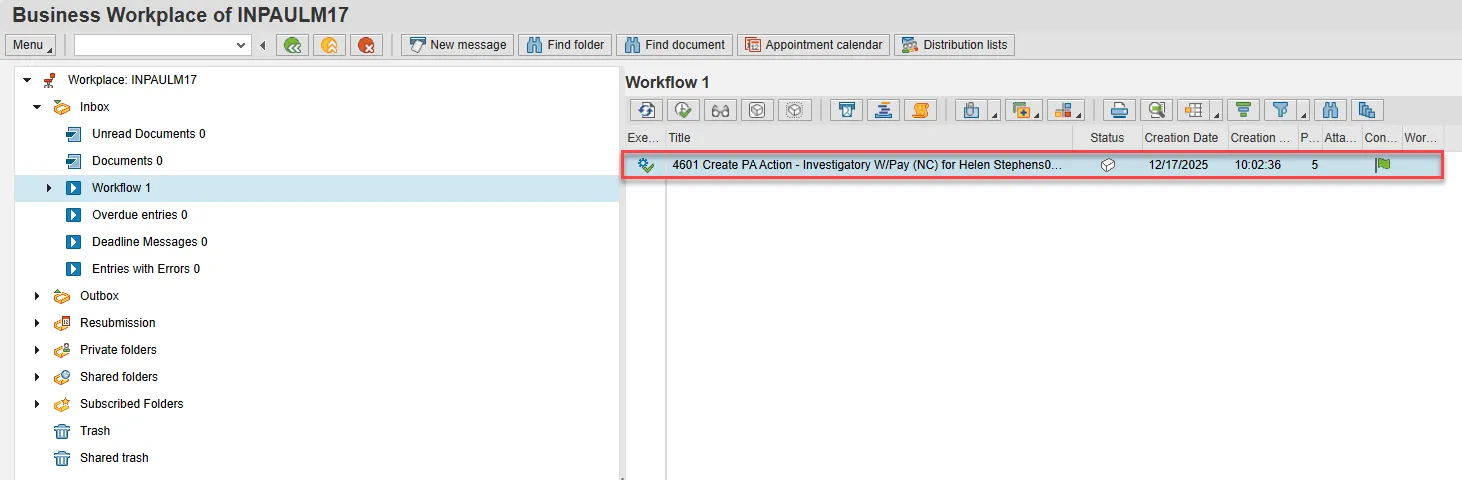
Step 5. Double click the PCR to begin the action.
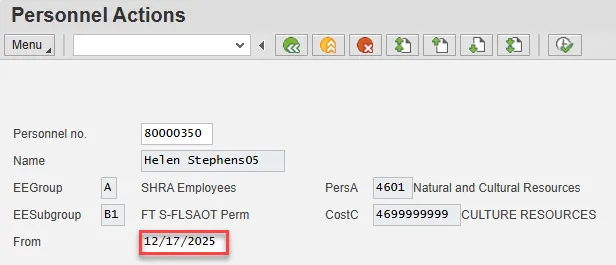
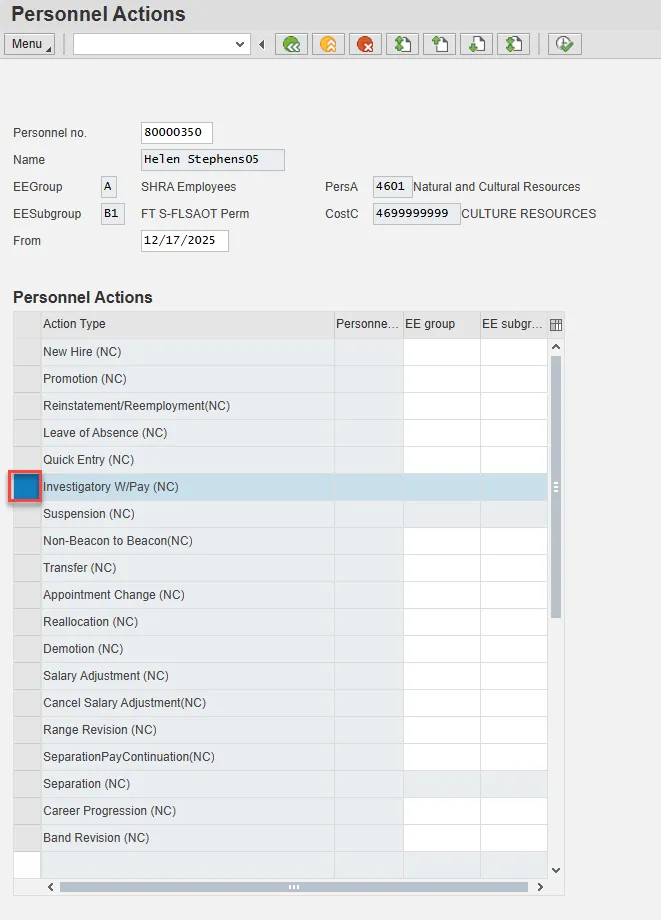
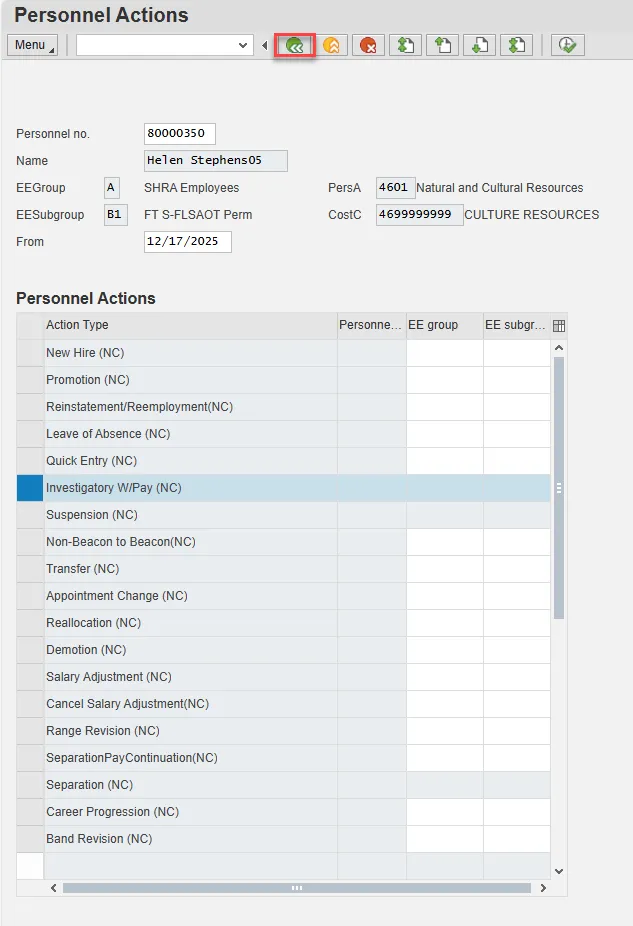
Step 6. On the Personnel Actions screen, enter the effective date in the From field. This must match the effective date used to create the request.
Step 7. Highlight Transfer by selecting the gray box at the beginning of the row.
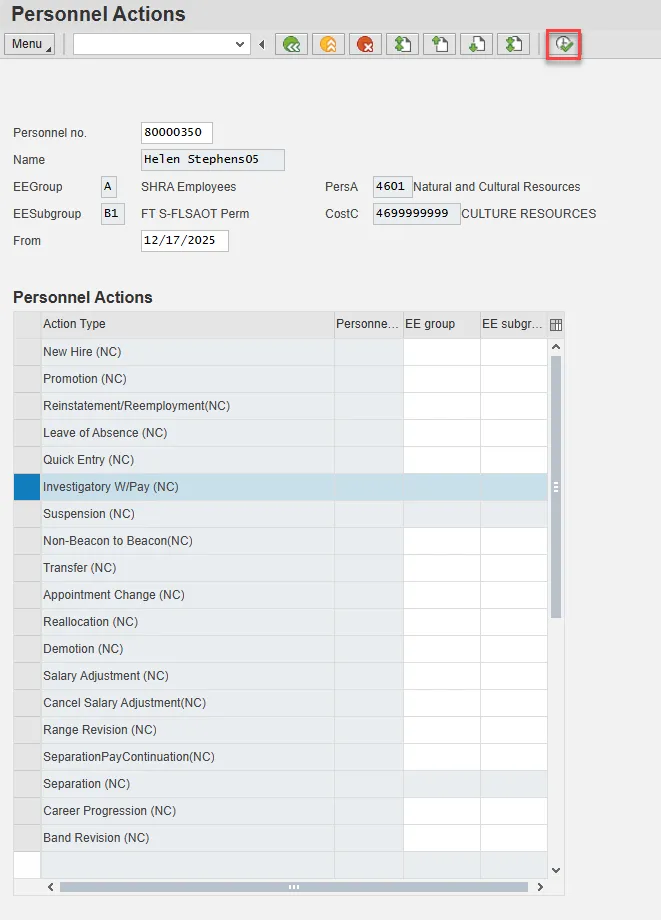
Step 8. Choose the Execute button.
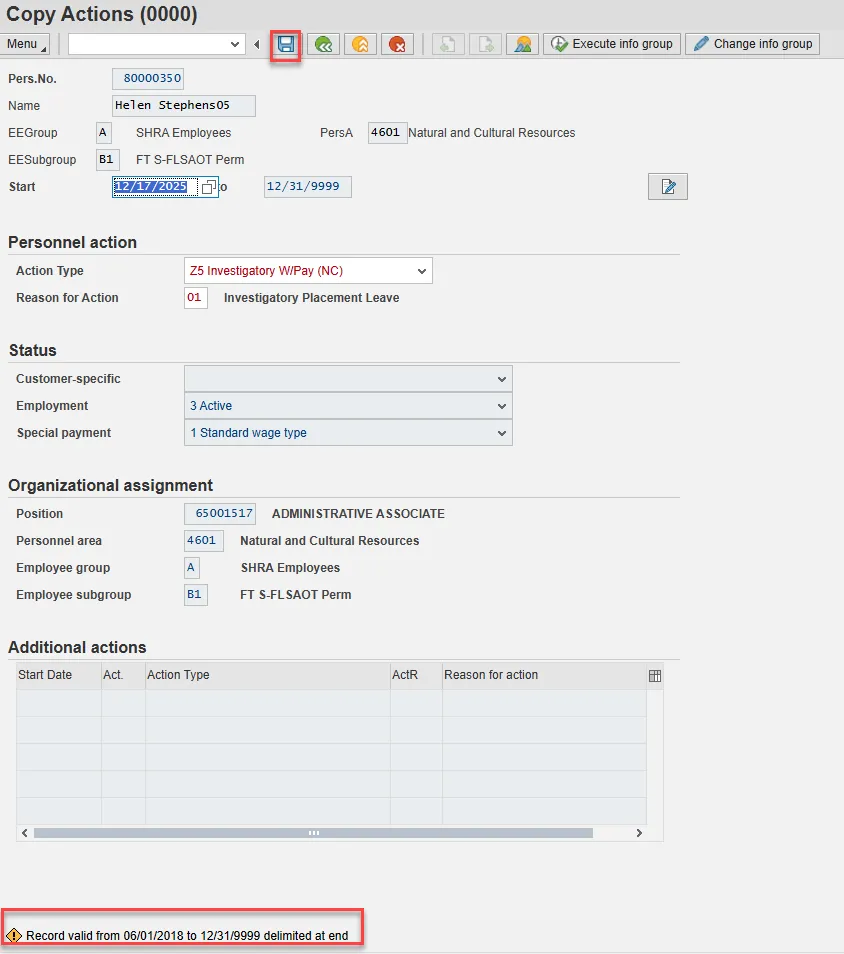
Step 9. On Copy Actions (0000), choose the Menu button.

Step 10. Hover over Edit and choose Maintain text (F9) from the pop-out menu.

Step 11. On the Text screen, insert your note and choose Save.

Step 12. Back on the Copy Actions (0000) screen, choose Enter on the keyboard.
Some items may turn red and there may be a yellow warning message in the bottom left stating that a record is being delimited. This is expected behavior. Choose Save.
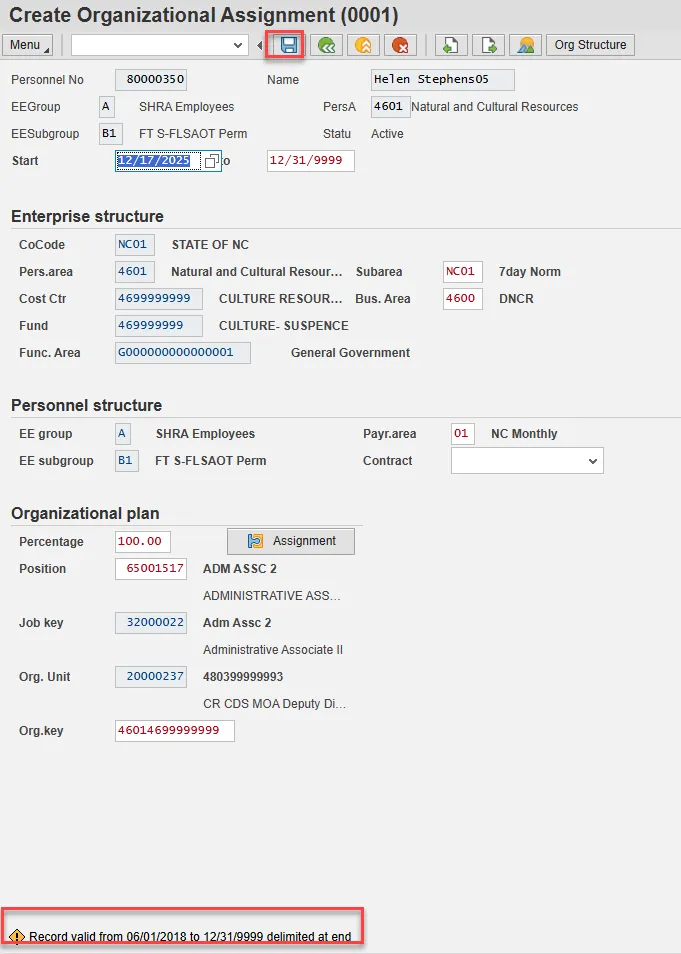
Step 13. On Create Organizational Assignment (0001), select Enter on the keyboard.
Some items may turn red and there may be a yellow warning message in the bottom left stating that a record is being delimited. This is expected behavior. Choose Save.
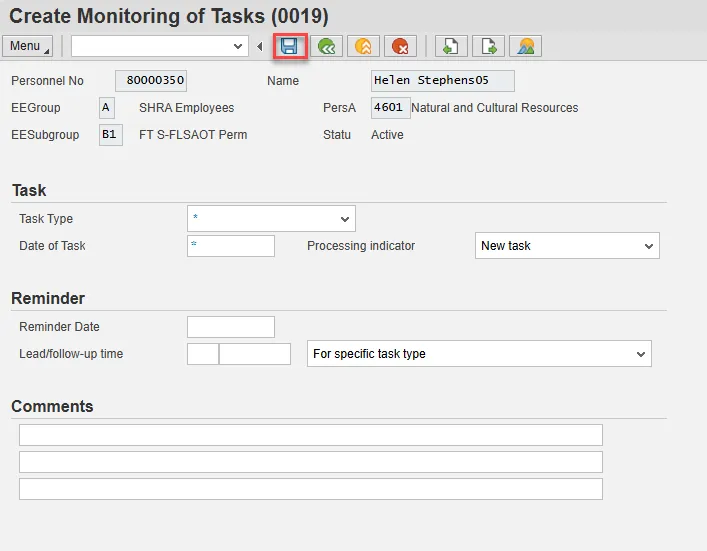
Step 14. Enter a reminder through the Monitoring of Tasks screen as appropriate.
Insert any notes or comments pertaining to the task. To view these task reminders, you can run the BOBJ Report – B0099 – Employee Deadline Dates. Managers can view for their employees via MSS.
Best Practice: Best Practice is to enter the date to remind the supervisor to review the appointment change (end of probation or other). If no data entry is required, move to the next infotype screen by clicking the Next Screen button.
Enter and Save.
Step 15. On the Delimit Objects on Loan (0040) screen, choose the gray box next to the item you wish to delimit. Select the Delimit button.

Step 16. Back at the Personnel Actions screen, select the Green Arrow Back button.
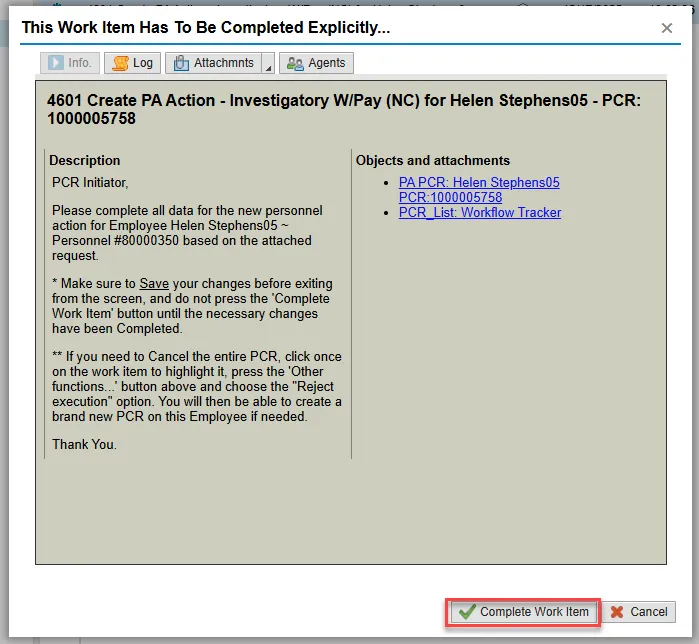
Step 17. On the pop-up, select Complete Work Item. (It has a green check beside it.)
Step 18. From the Business Workplace screen, select the Green Arrow Back button to return to the SAP Easy Access screen.
Note: You may need to create additional IT0019s via PA30. To view these task reminders, you can run the BOBJ Report – B0099 – Employee Deadline Dates. Managers can view for their employees via MSS.
The Investigatory with Pay Action is complete, but we recommend reviewing via PA20 all infotypes that have been processed.
As of 7/1/2013, the Investigatory Placement action requires A/A 9690 (Investigatory Leave) to be keyed for all scheduled workdays that fall within the effective dates of the action. If a holiday falls within the effective dates of the action, A/A 9300 (Holiday Leave) should be keyed. Leave codes other than A/A 9690 and A/A 9300 will error out in Time Evaluation for an EE on the Investigatory Placement (Z5) action.