PURPOSE
The purpose of this Business Process Procedure is to explain how to process a Cancel Salary Adjustment in the Integrated HR-Payroll System.
Trigger
There is a need to process a Cancel Salary Adjustment for one of the reasons listed in the Business Process Procedure Overview section.
Business Process Procedure Overview
Cancel Salary Adjustment – cancel increase given.
- 01 – Cancel Salary Adjustment - employee’s salary reverts to salary prior to adjustment; adjustment removed.
- 02 – Cancel Acting Pay/Promotion - employee’s salary reverts to salary prior to Acting Pay/Promotion; Acting Pay/Promotion removed.
- 03 – Cancel Lead Adjustment - employee’s salary reverts to salary prior to lead adjustment; Lead Adjustment removed.
- 04 – Cancel In-Range Adjustment - employee’s salary reverts to salary prior to salary before IRA; In-Range Adjustment removed.
- 05 – Cancel Geographical Differential - employee’s salary reverts to salary prior to the geographical differential; geographical differential removed.
- 06 – Cancel Site Differential - employee’s salary reverts to salary prior to the site differential; site differential removed.
- 07 – Cancel CGRA - employee’s salary reverts to salary prior to the CGRA; CGRA removed.
- 09 – Cancel Legislative Increase - employee’s salary reverts to salary prior to the LI; LI removed.
- 10 – Cancel Career Progression - employee’s salary reverts to salary prior to the Career Progression; Career Progression removed.
- 11 – Cancel LEO Sworn - employee’s salary reverts to salary prior to the LEO Sworn Increase; LEO Sworn Increase removed.
- 12 – Cancel Temp Comp/Skill - Employee’s salary reverts to the salary prior to the temporary comp/skill adjustment.
- 13 – Cancel Temp IRA for Job Change - Employee’s salary reverts to the salary prior to the temporary in-range adjustment for job change.
- 50 – Cancel Auto Sal Adj – AOC Only - Employee’s salary reverts to salary prior to salary before Salary Adjustment; Auto Sal Adj – AOC Only removed.
Tips and Tricks
Prior to initiating any workflow, ensure the data being used is valid and appropriate.
See the PA BPP Tips and Tricks Job Aid for a fuller listing of Best Practices and tips & tricks.
PROCEDURE
There are 16 steps to complete this process.
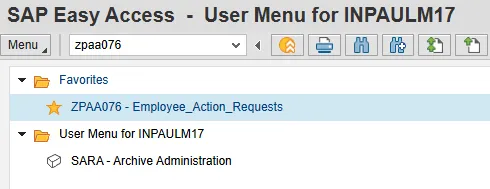
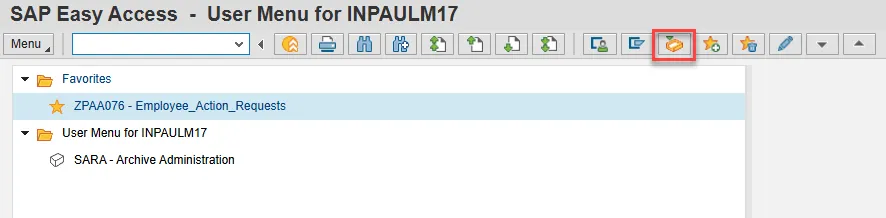
Step 1. From the SAP Easy Access page, select transaction code ZPAA076.
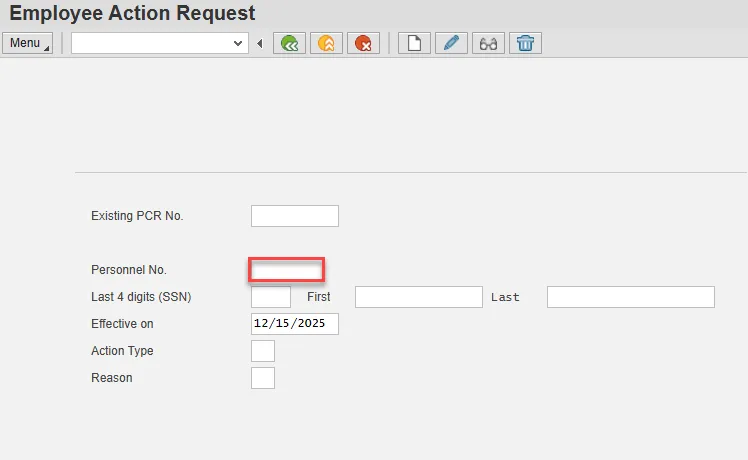
Step 2. On the Employee Action Request screen, update the Personnel No. field and choose Enter on the keyboard.
Note: You only enter the SSN and name for New Hires.
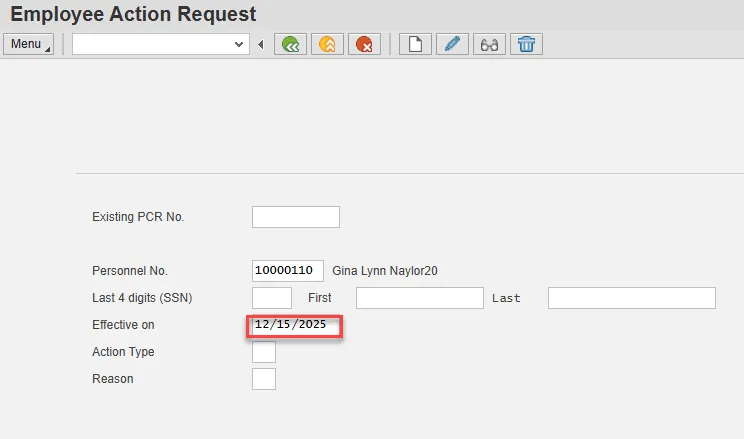
Step 3. Enter the effective date in the Effective on field.
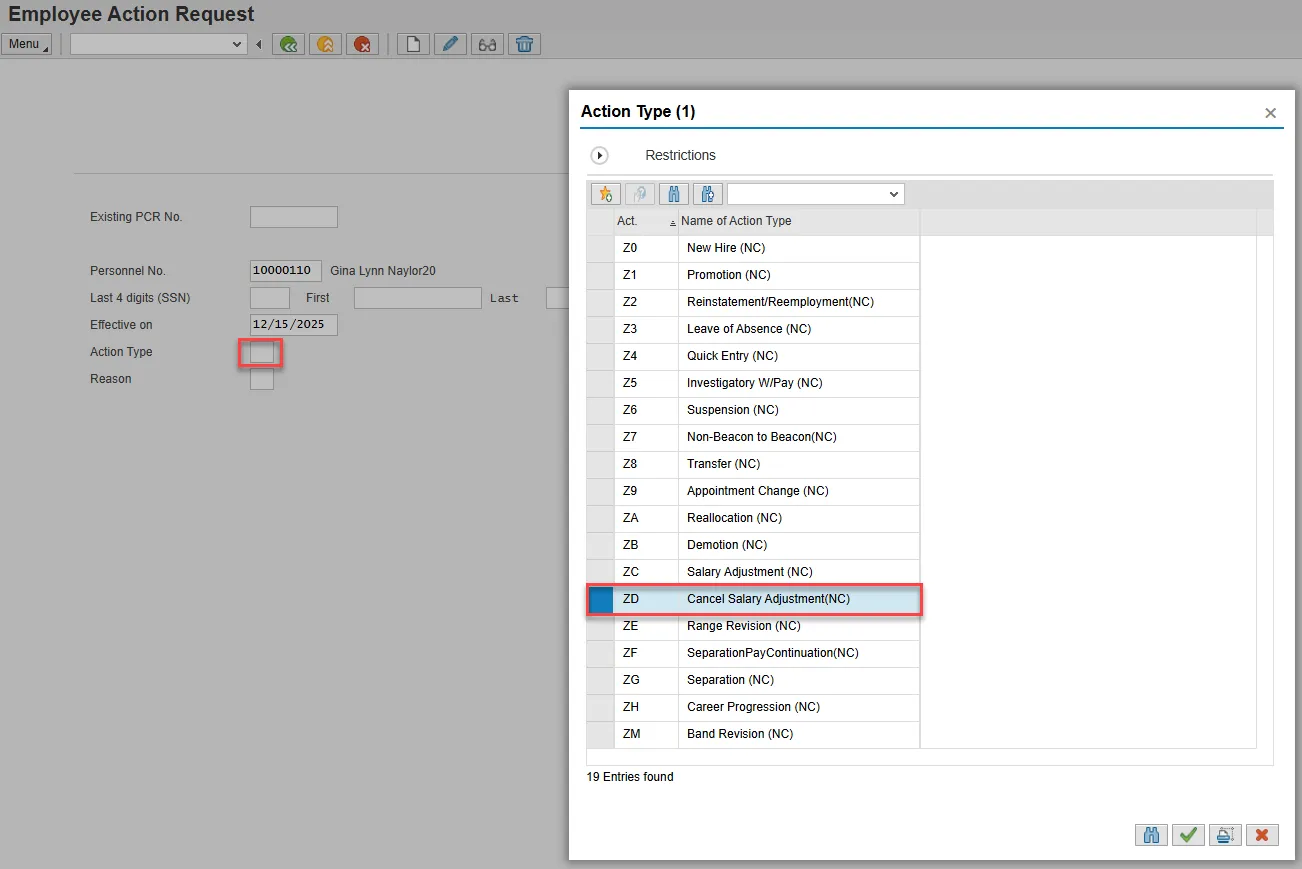
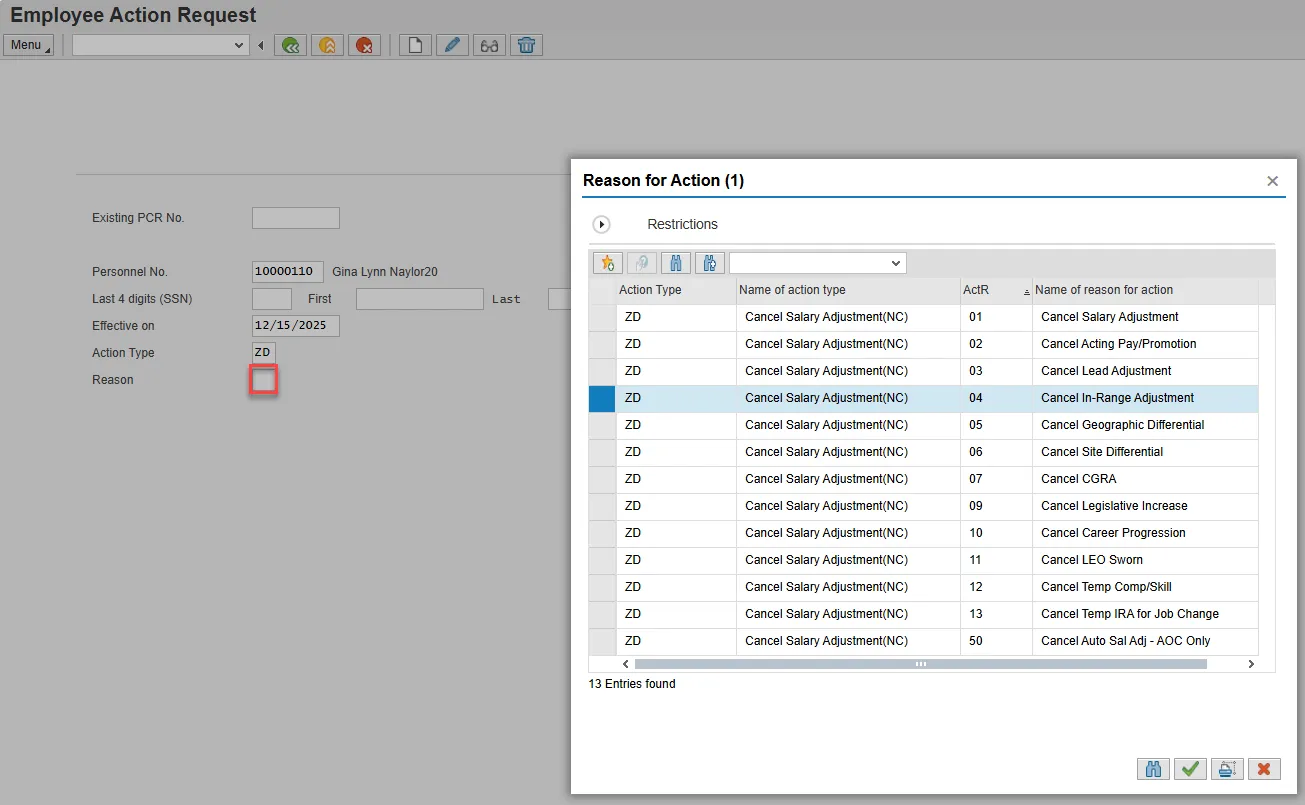
Step 4. Select the matchcode in the Action Type field and double-click Cancel Salary Adjustment (NC) from the list.
Step 5. Select the matchcode in the Reason field and double-click the appropriate reason for the Cancel Salary Adjustment action.
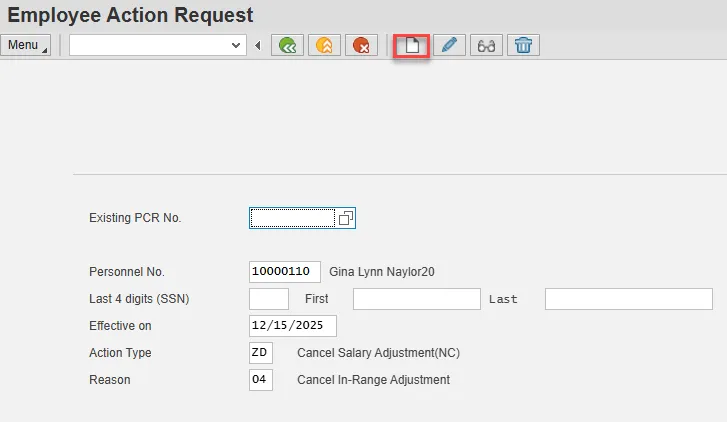
Step 6. Select Enter on the keyboard and choose the Create button.
Step 7. Enter the salary information in the Annual Salary field.
Make sure the Level field represents the level associated with the range of the salary. Choose the matchcode to find the correct level.
Choose Enter on the keyboard and Save.

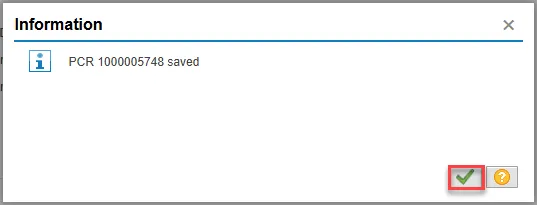
Step 8. You can save this information as many times as you like. Each time you will receive a confirmation of the save. Choose the green check in the bottom right of the pop-up.
Note: You will not be able to create a note attachment until you have saved it at least once. If you have submitted the PCR to workflow already, you will not be able to change the details, nor save any new information, only display the existing details.
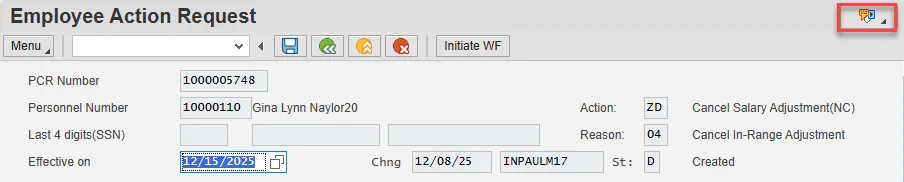
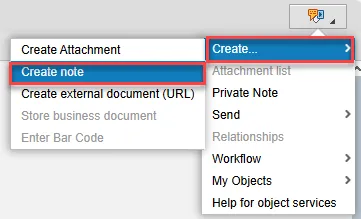
Step 9. Select the Services for Object button in the upper right corner.
Step 10. Hover over Create and choose Create note from the drop-down menu.
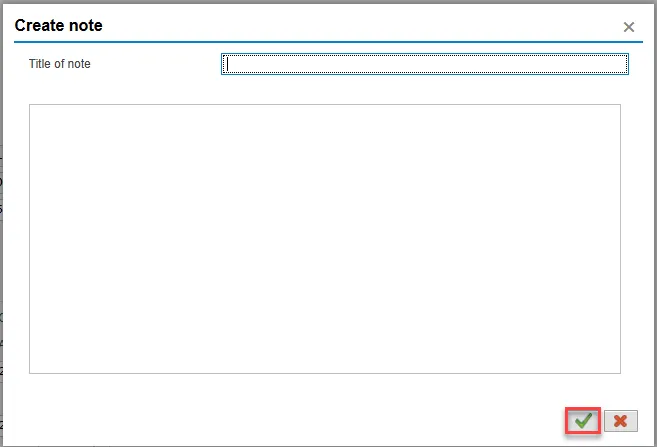
Step 11. Update the Title of note field and the body of the note.
The note is a required part of the request creation process. Notes entered during PA workflow must follow OSHR’s action notes template: PA Action Notes Template.
Choose the green check button in bottom right of note pop-up
Step 12. Choose Save.

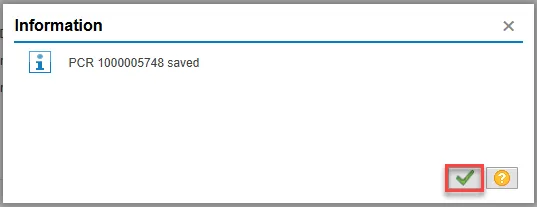
Step 13. Select the green check button in bottom right of Information pop-up.
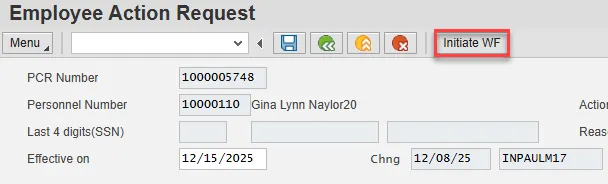
Step 14. Choose the Initiate WF button.
Select the Initiate Workflow button to send the Reinstatement Action through the approval process. No changes can be made after the PCR has been submitted for approval, unless the PCR is rejected at any stage and sent back to you (the initiator/requestor).
Step 15. Select the green check button in bottom right of the Information pop-up.

Step 16. Choose the green Back button.

The Cancel Salary Adjustment request is complete.
After Workflow Approvals have been received, process with the Complete Cancel Salary Adjustment Action process.
INSTRUCTIONS FOR COMPLETING THE ACTION
There are 22 steps to complete this process.
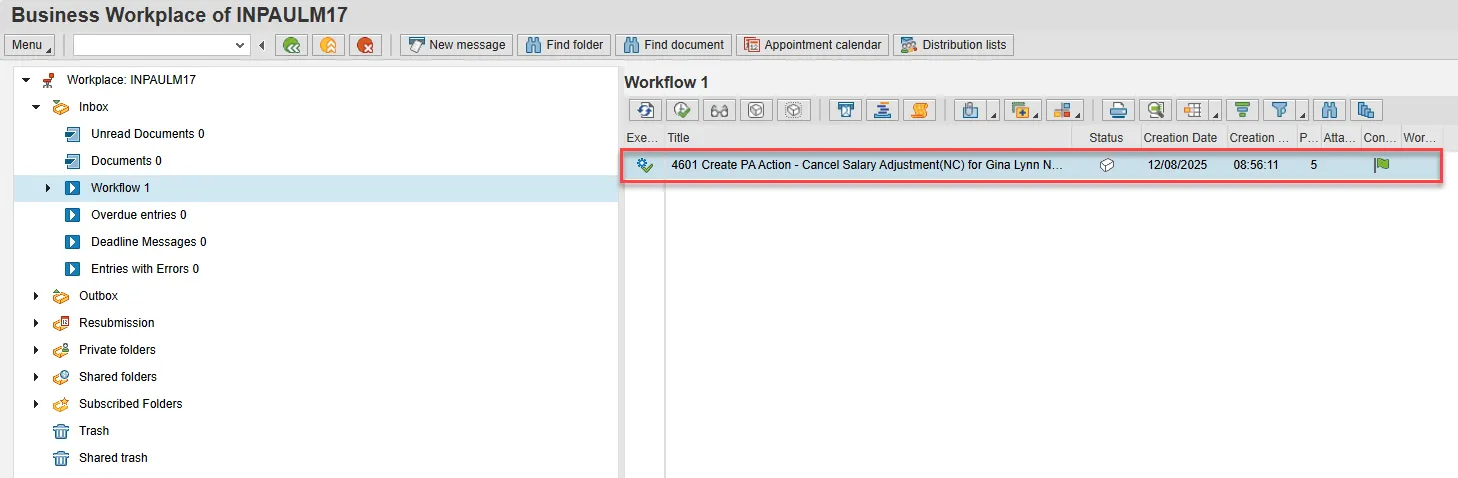
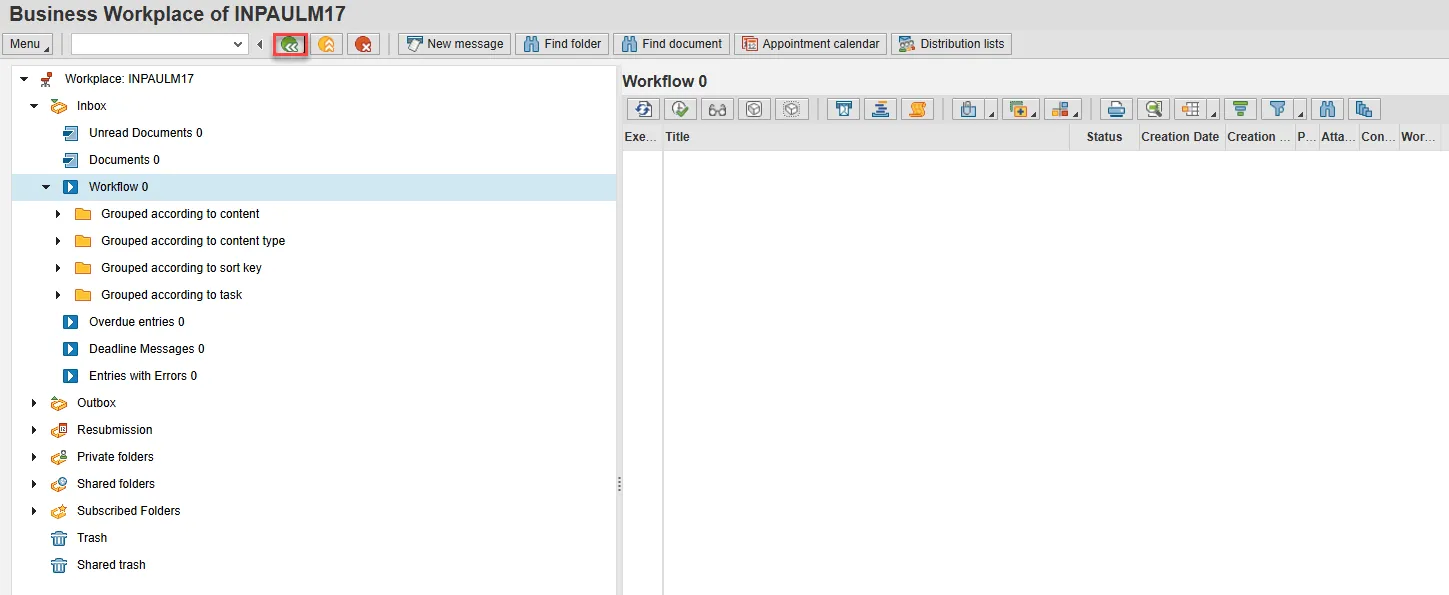
Step 1. Choose the SAP Business Workplace button from the SAP Easy Access page.
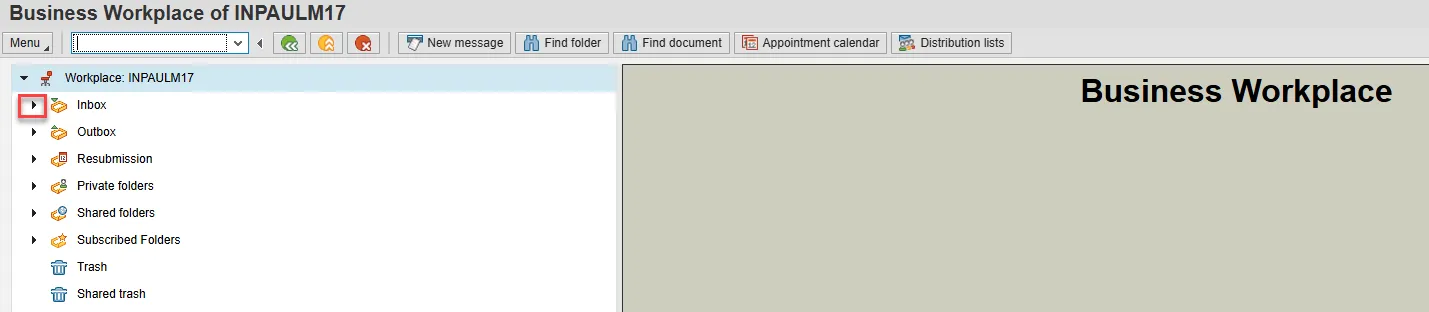
Step 2. Expand the Inbox using the expand node.
Note: Failure to complete this step could cause some functions to be unavailable on the secondary button ribbon in the subfolders.
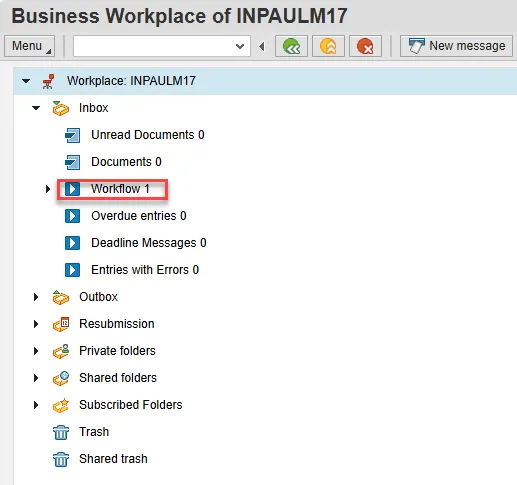
Step 3. Select the Workflow subfolder.
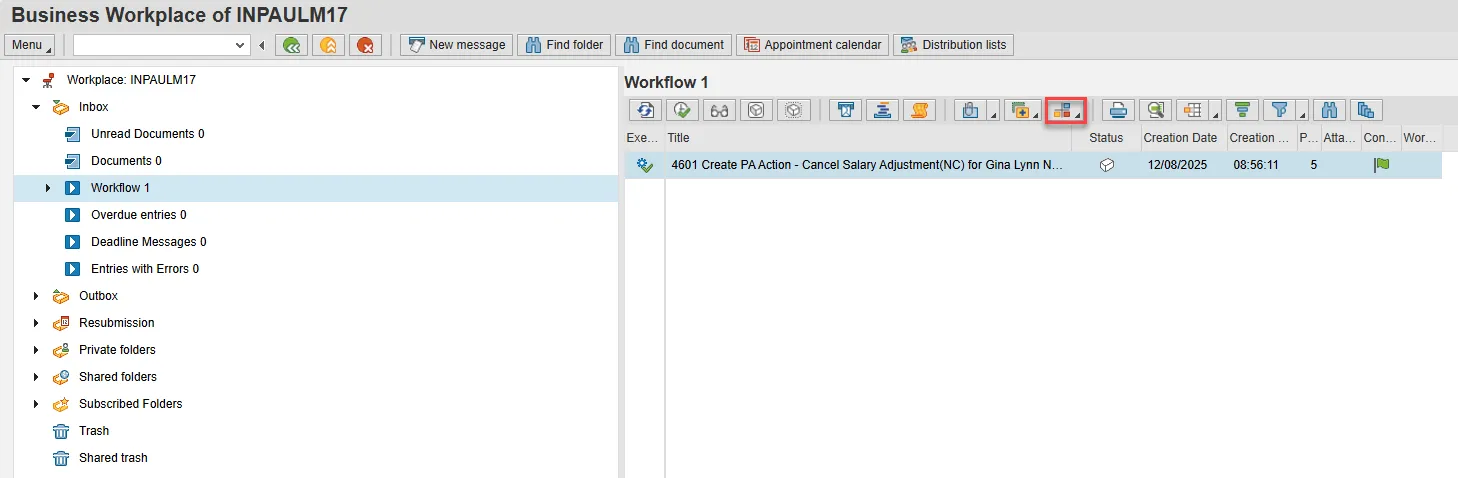
Step 4. Access the Environment button on the secondary button ribbon to retrieve a copy of the note. Access PER-57 Copying Notes from the PCR to Infotypes for steps on retrieving the note.
Step 5. Double click the PCR to begin the action.
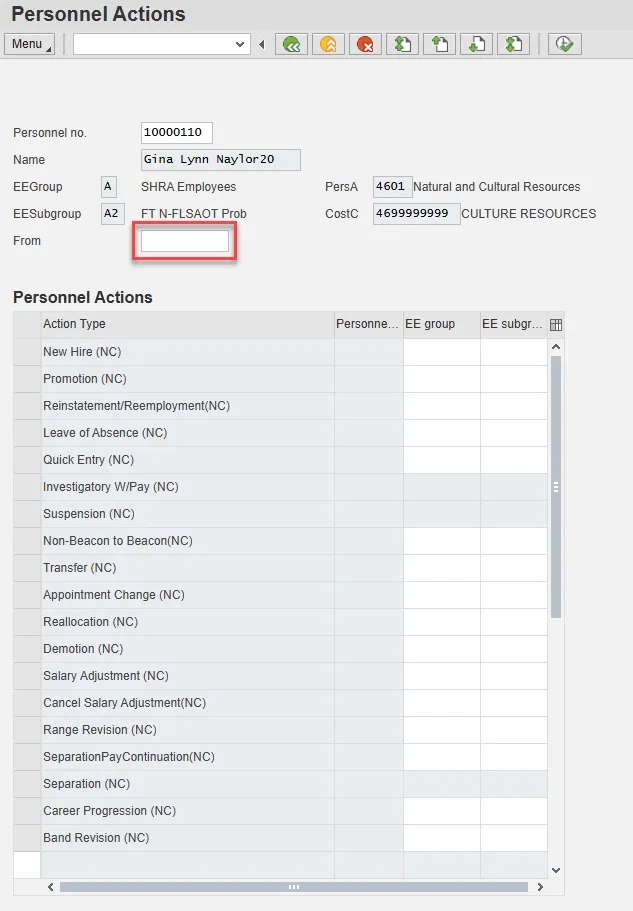
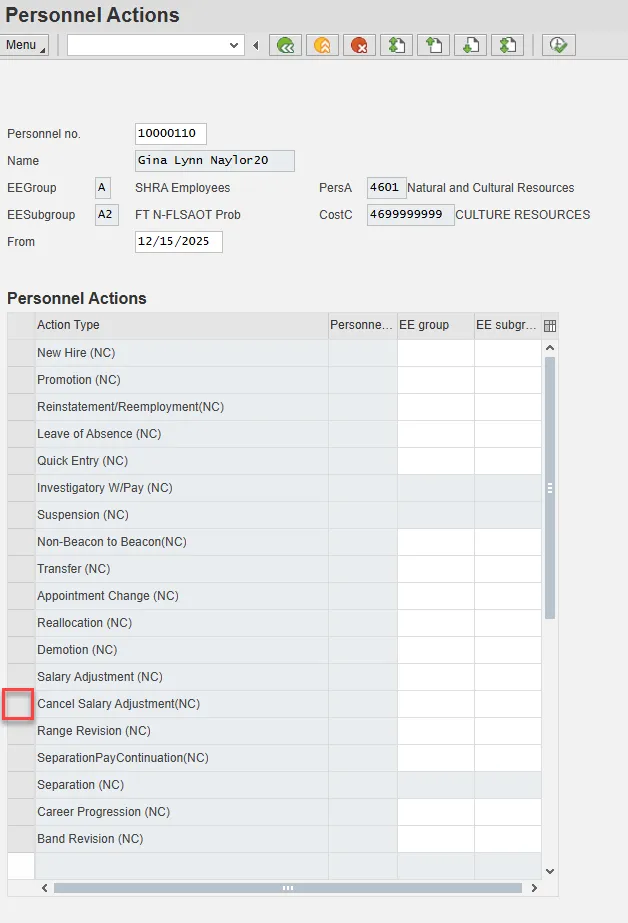
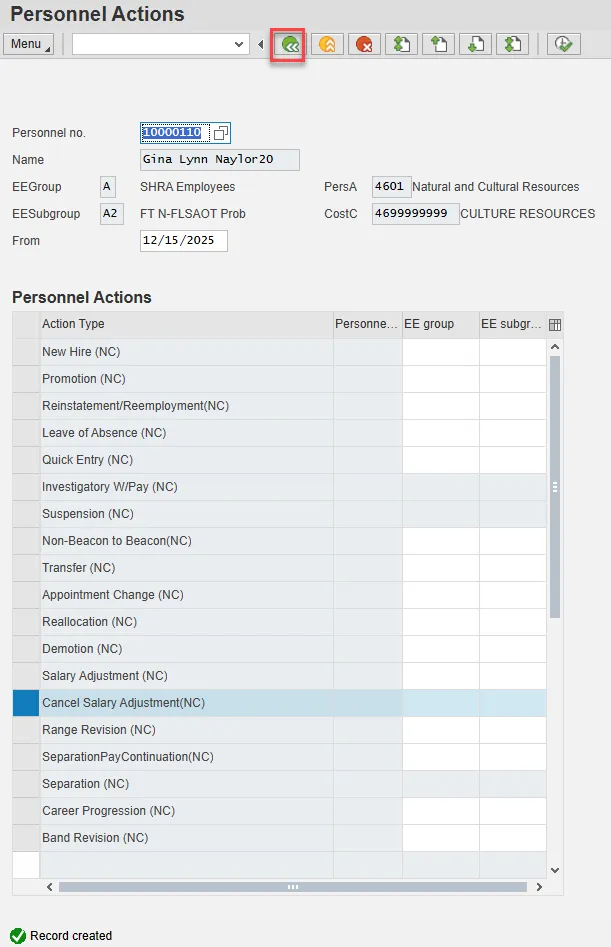
Step 6. On the Personnel Actions screen, enter the effective date in the From field. This must match the effective date used to create the request.
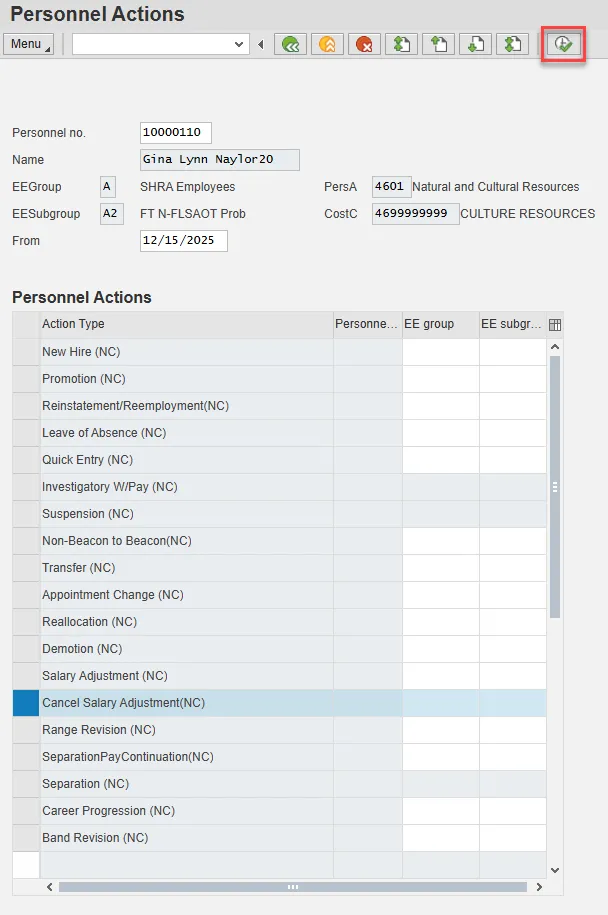
Step 7. Highlight Cancel Salary Adjustment(NC) by selecting the gray box at the beginning of the row.
Step 8. Choose the Execute button.
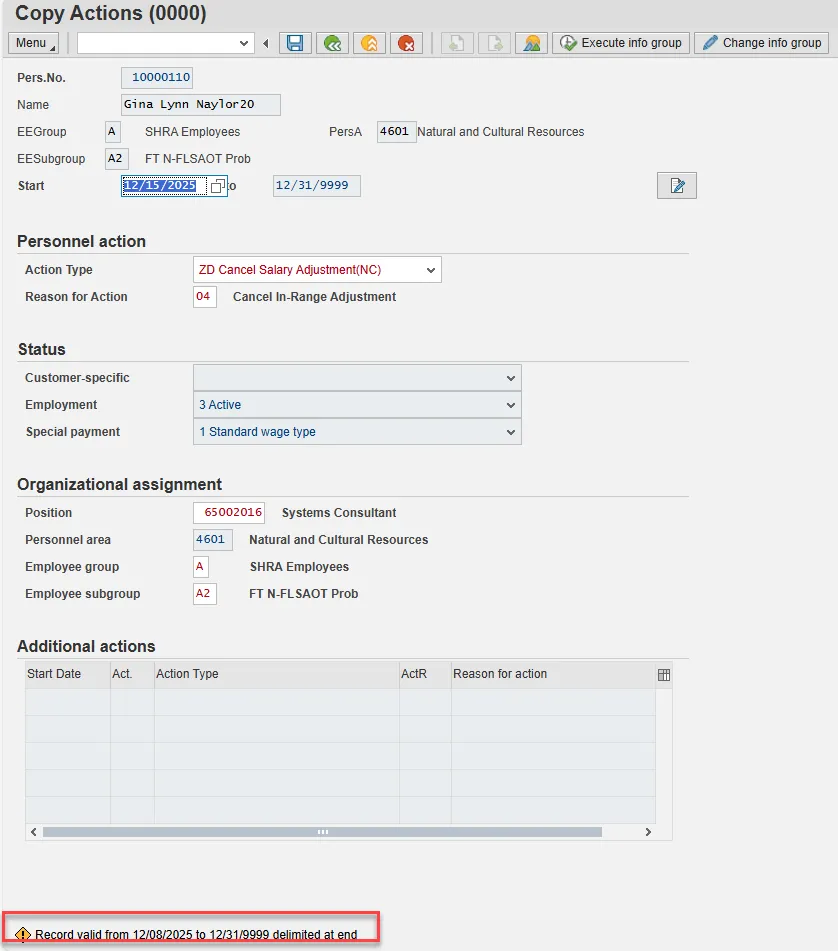
Step 9. On Copy Actions (0000), choose the Menu button.
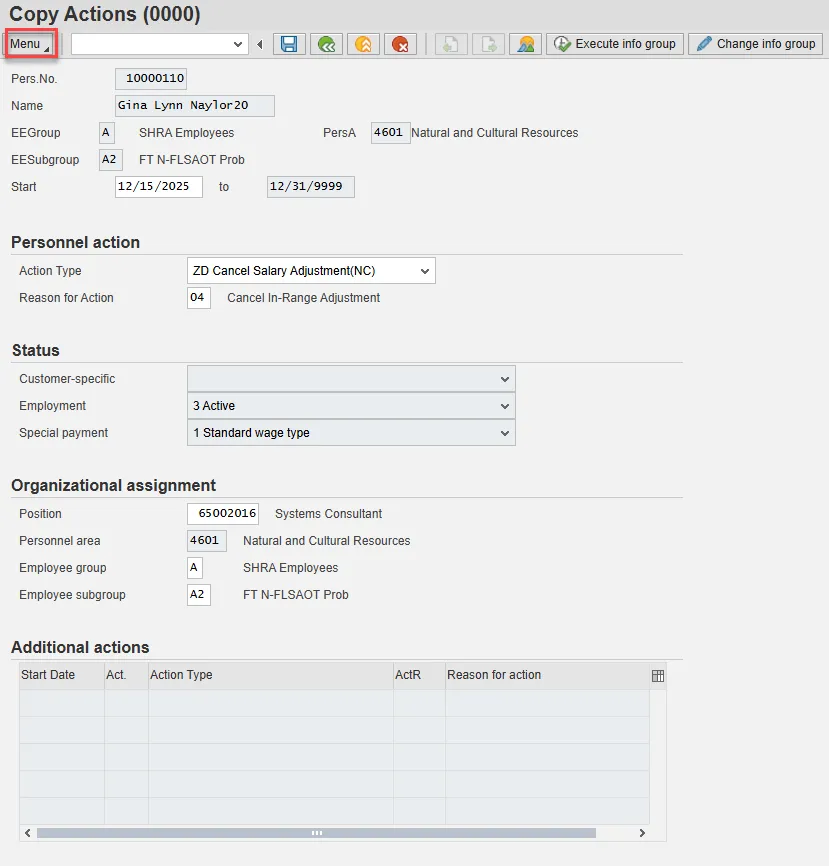
Step 10. Hover over Edit and choose Maintain text (F9) from the pop-out menu.

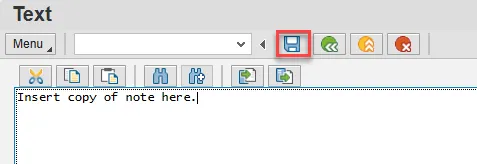
Step 11. If the text screen does not display, try carefully selecting Enter on the keyboard to display the screen.
Step 12. On the Text screen, insert your note and choose Save.
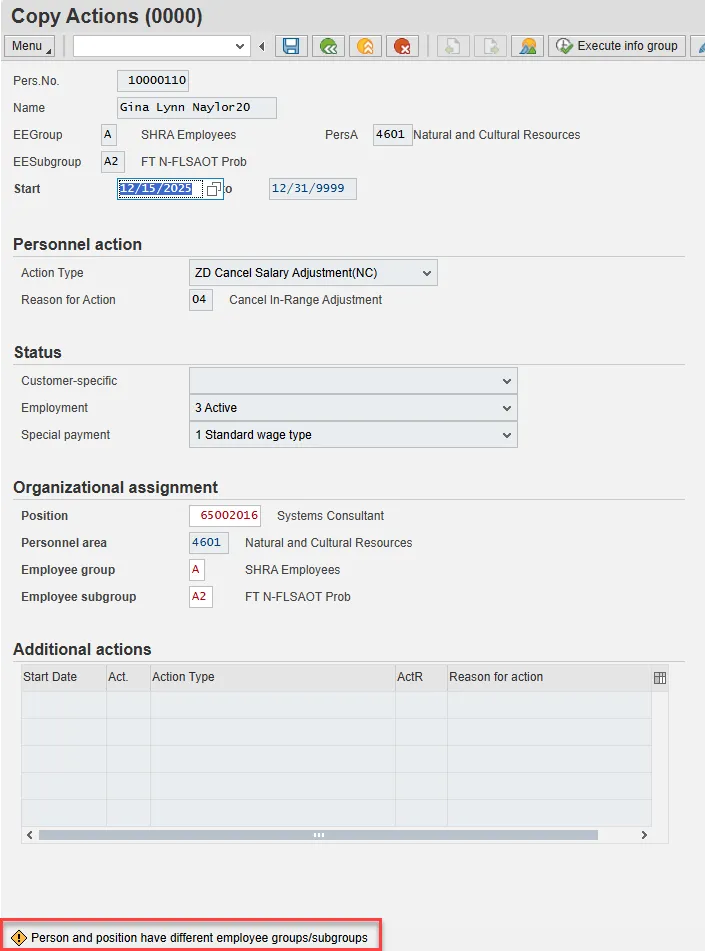
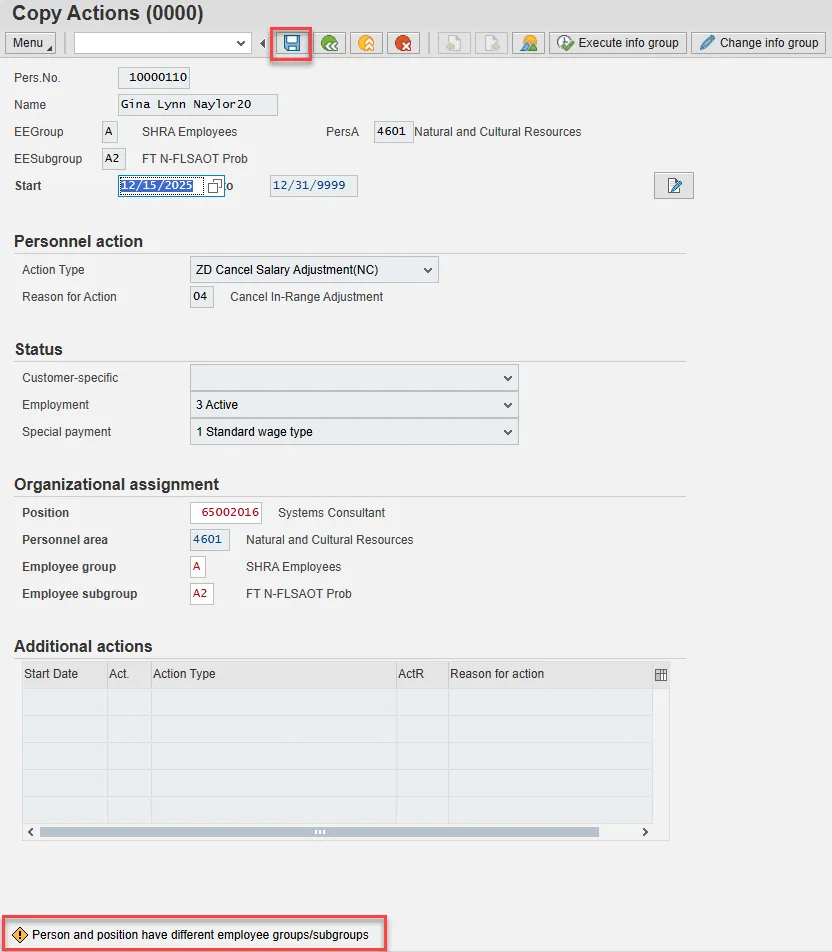
Step 13. Back on the Create Actions (0000) screen, choose Enter on the keyboard.
Some items may turn red and there may be a yellow warning message in the bottom left stating that person and position have different employee groups/subgroups. This is expected behavior. Choose Save.
Step 14. Another yellow warning message may appear stating that a record is being delimited.
Choose Enter on the keyboard to bypass this message.
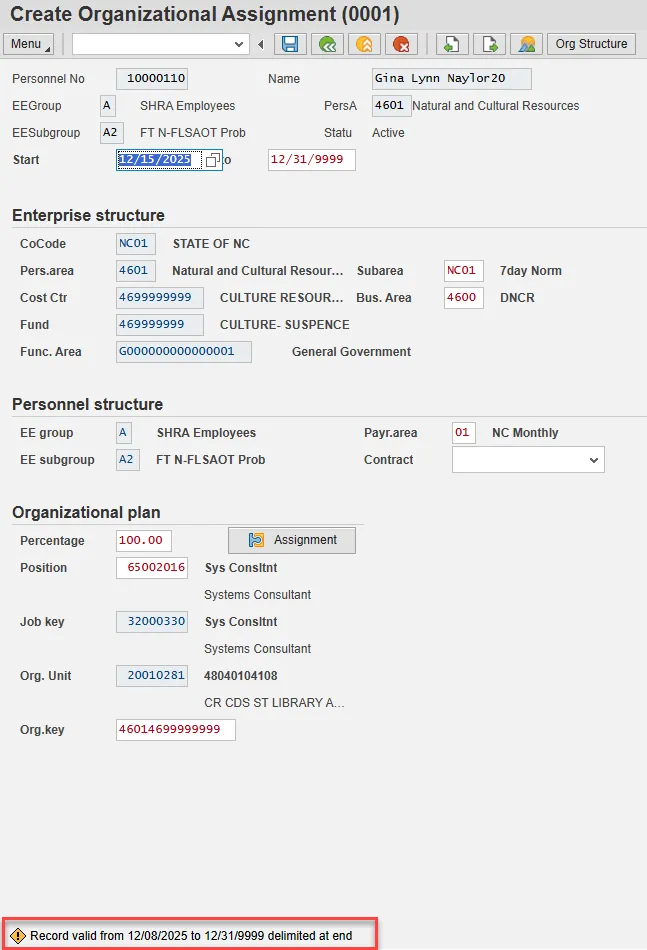
Step 15. On Create Organizational Assignment (0001), select Enter on the keyboard and Save.

Step 16. A yellow warning message may appear stating that a record is being delimited.
Choose Enter on the keyboard to bypass this message.
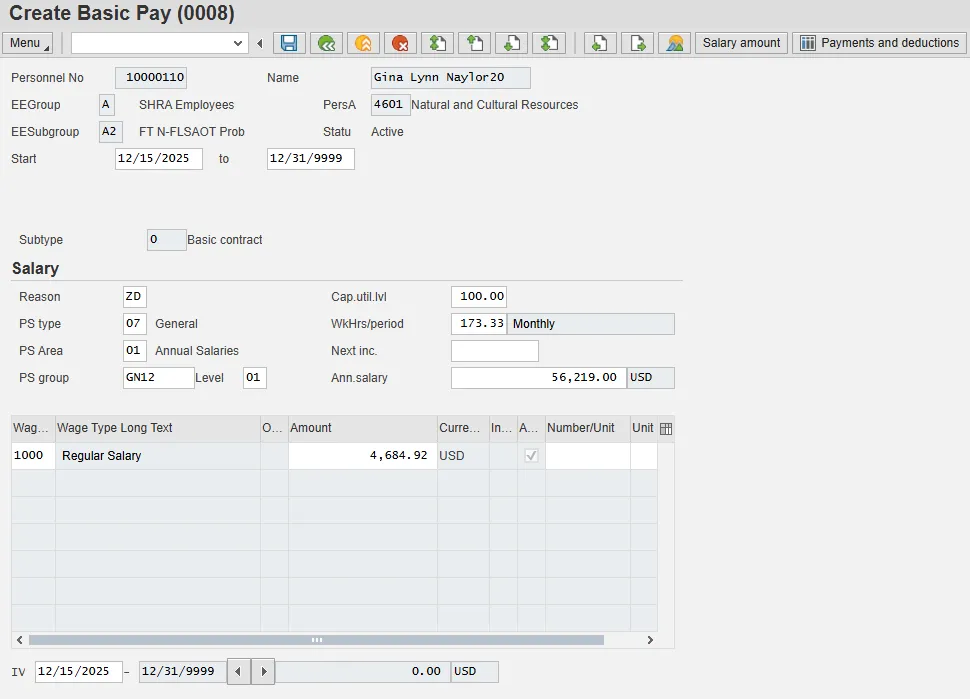
Step 17. On Create Basic Pay (0008), select the matchcode in the Reason field and double-click Cancel Salary Adjustment from the list.

Step 18. Select Enter on the keyboard.
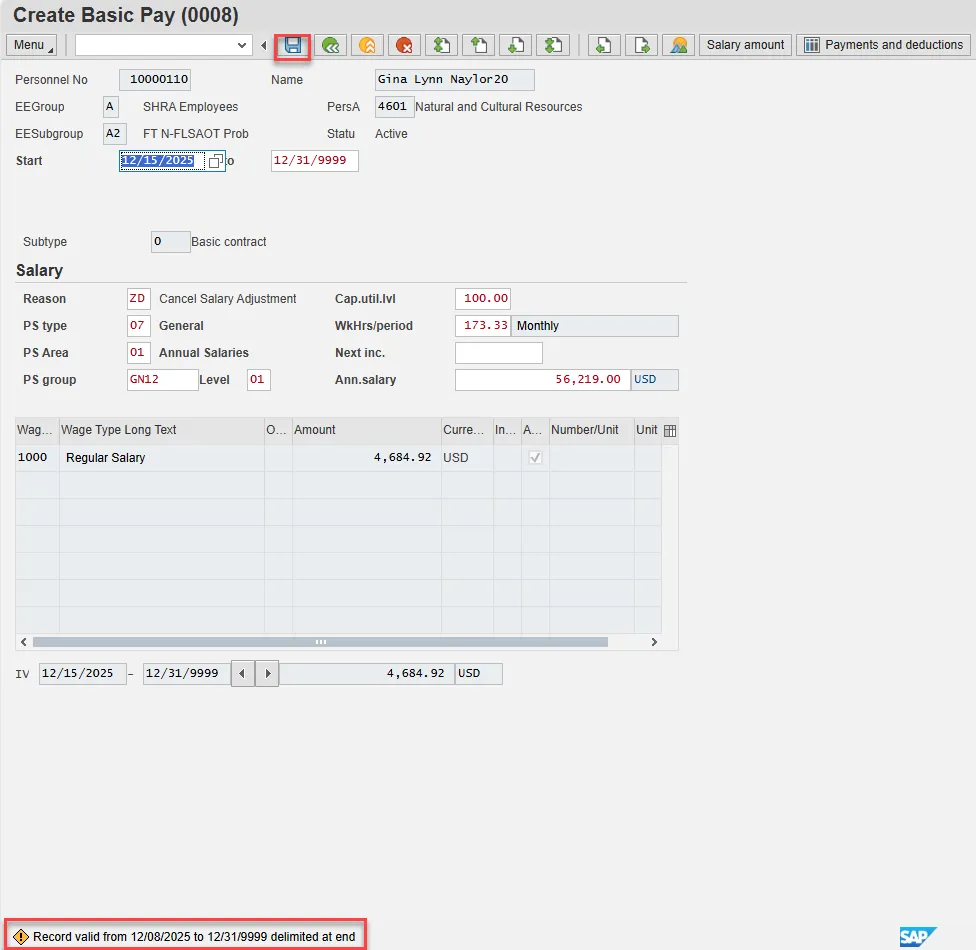
Step 19. Some items may turn red and a yellow warning message will appear in the bottom left stating that a record is being delimited. This is expected behavior. Choose Save.
Step 20. Back at the Personnel Actions screen, select the Green Arrow Back button.
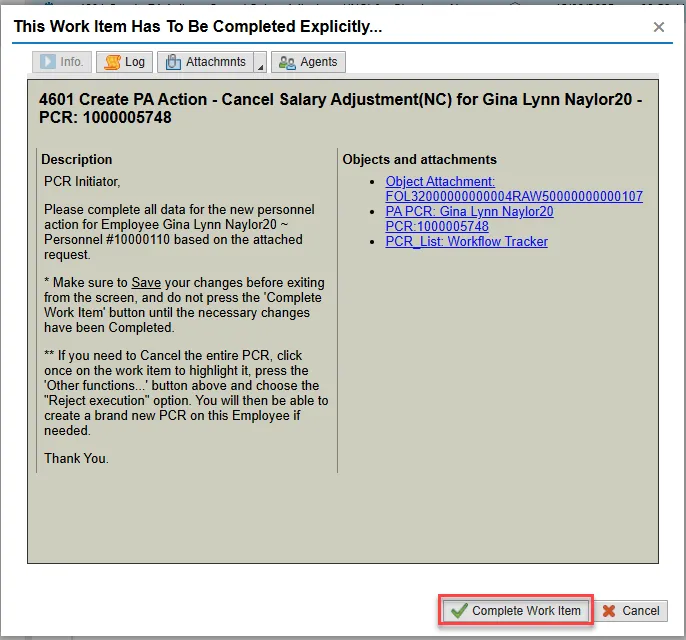
Step 21. On the pop-up, select Complete Work Item. (It has a green check beside it.)
Step 22. From the Business Workplace screen, select the Green Arrow Back button to return to the SAP Easy Access screen.
The Cancel Salary Adjustment action is complete. We recommend reviewing all infotypes via PA20.