Purpose
The purpose of this Business Process Procedure is to explain how to process a Transfer action in the Integrated HR-Payroll System.
Trigger
There is a need to process a Transfer action when moving an employee from one graded position to another or from one banded position to another within the present agency or between Integrated HR-Payroll System agencies without a break in service.
Business Process Procedure Overview
A transfer is the movement of an employee from one position to another within the present agency or between agencies without a break in service. Normally a transfer between agencies results in an employee reporting to work in the receiving agency the first workday after the last day worked at the releasing agency.
The Releasing Agency and the Receiving Agency should communicate prior to any entry into the Integrated HR-Payroll System. This communication process is critical to ensure that the employee does not lose pay or benefits during the transfer.
When an employee indicates he or she is leaving the agency, the agency should inquire if the employee is going to another agency. If the employee is going to another agency, the Releasing Agency does not separate the employee. The Releasing Agency does not enter any actions in the Integrated HR-Payroll System because as soon as the Receiving Agency enters the Transfer action, the employee is transferred out of the Releasing Agency automatically. The Releasing Agency only:
- ensures time has been entered, released and approved before time evaluation runs,
- delimit Agency specific Benefits,
- delimits objects on loan (using PA30) that the employee returned (IT0040 – Objects on Loan),
- verifies accuracy of leave accruals, and
- discusses overtime comp with the employee (only paid if S-FLSA-OT; otherwise lost if not used within the OT comp aging period).
The Receiving Agency does not create a New Hire action for the employee. After communicating with the Releasing Agency, the Receiving Agency creates a Transfer action for the appropriate reason. The Receiving Agency should verify with the Releasing Agency that the following has occurred prior to completing the action:
- time has been entered, released and approved prior to time evaluation,
- objects on loan have been delimited for returned items,
- the start date is accurate,
- rollover accrual amounts have been verified,
- all applicable information has been entered the Action infotype notes,
- overtime comp has been discussed with the employee, and
- Agency specific Benefits have been delimited
The HR Administrator gathers the necessary approved employee data (from documents) and initiates the request for approval for the transfer using transaction code ZPAA076. Once approval has been obtained using the workflow system, the initiator processes the Transfer action. If the transfer occurs within the same agency and the initiator has security access to the "from" and "to" organizational units, the action can be processed directly from the approved PCR in workflow.
Transfer Note: Effective immediately, agencies are no longer required to submit the BEST Shared Services PA Employee Movement within System Form when a Transfer – Temp to Perm or Perm to Temp action is to be processed by the PA/OM Team at BEST Shared Services.
Things BEST PA/OM will need from the agency to process the action via a ticket:
- Approved PCR number,
- Planned Working Time – Work schedule, Negative or Positive time recording, Working Period [Sat (mdnt) – Fri, etc.] and Weekly working hours, and
- EE’s work location phone number (IT0105-Communication).
Once the action has been processed at BEST, your BEST HR Specialist will notify you by phone or email that the action has been processed. You will then need to set your PCR to complete and review/maintain the EE’s infotypes/records in the system.
Reasons:
- 01 - Agency to Agency Lateral
- movement to a position assigned the same salary grade or
- movement between positions from one career-banded class to another with the same journey market rate or
- movement to a position within the same banded class within the same competency level
- 02 - Agency to Agency Re-assignment
- movement to a position assigned a lower salary grade or
- movement between positions from one career-banded class to another with a lower journey market rate or
- movement to a position within the same banded class with a lower competency level
- 05 - Agency to Agency Promotion
- movement to a position assigned a higher salary grade or
- movement between positions from one career-banded class to another with a higher journey market rate or
- movement to a position within the same banded class with a higher competency level
- 06 - Within Agency Lateral
- a change in status resulting from assignment to a position assigned a same salary grade or
- movement between positions from one career-banded class to another with the same journey market rate
- 07 - Within Agency Re-assignment
- a change in status resulting from assignment to a position assigned a lower salary grade or
- movement between positions from one career-banded class to another with a lower journey market rate
- 08 - Grade Band Transfer
- employee movement between banded and graded classes
- banded to graded
- graded to banded
- 09 – Class/Pay Plan Change – Employee movement between two SPA positions assigned to different class/pay systems:
- Graded
- Career banded
- Pilot banded
- Skill Based Pay
- Flat Rate
- 10 – EPA-SAP – Employee movement between an EPA position and an SPA position or vice versa (Change in position number)
- 12 – Temp to Perm – Employee movement from a temporary position to a permanent position (Change in position number) Contact BEST Shared Services for processing.
- 13 – Perm to Temp – Employee movement from a permanent position to a temporary position (Change in position number) Contact BEST Shared Services for processing.
- 60 – Within Agency Reorganization – Position and employee are being transferred to a new supervisor, work unit, county, and/or cost center within the current agency due to reorganization. Position number does not change.
- 61 – Agency to Agency Reorganization - Position and employee are being transferred to a new supervisor, work unit, county, and/or cost center outside of the current agency due to reorganization. Position number does not change.
Tips and Tricks
If working with a Transfer workflow, ensure the position to which the person is being transferred is vacant.
We recommend, on the Employee Action Request, first enter the EE Position number and then click Enter to request validation by the Integrated HR-Payroll System and the pre-population of many of the fields. If other fields are entered prior to the position number, when the system validates the position number, the fields may not populate properly.
Procedure
There are 18 steps to complete this process.
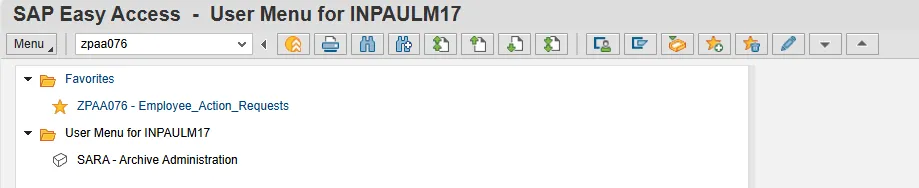
Step 1. From the SAP Easy Access page, select transaction code ZPAA076.
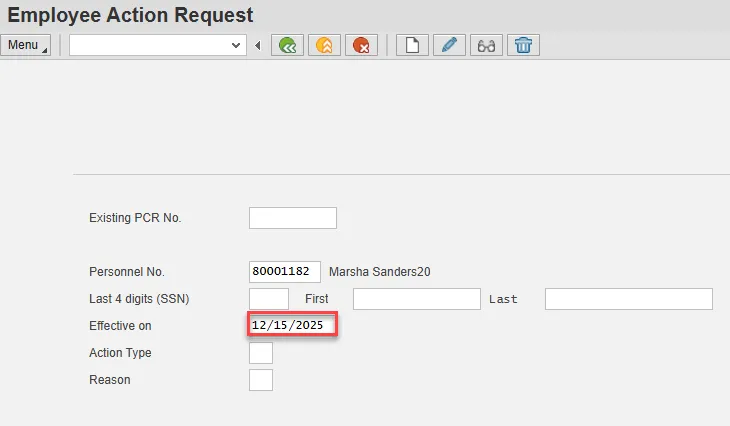
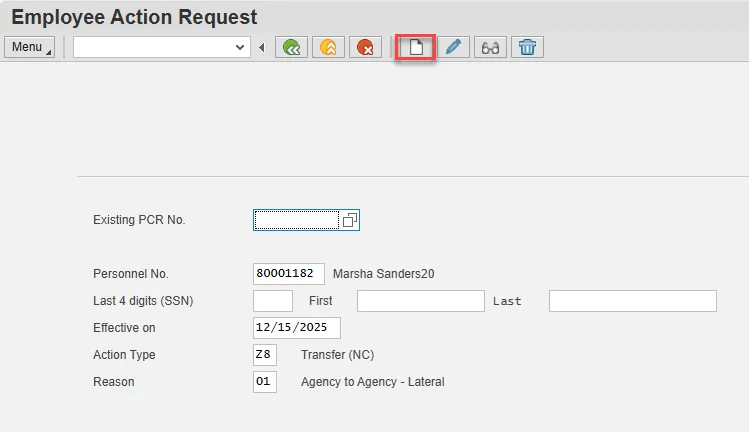
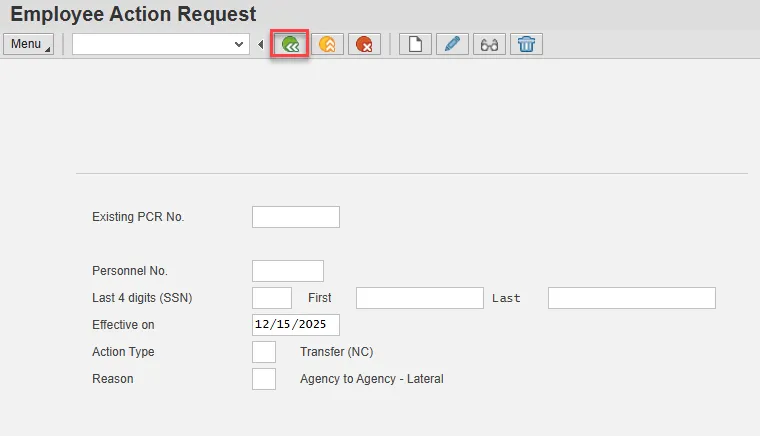
Step 2. On the Employee Action Request screen, update the Personnel No. field and select Enter on the keyboard.

Step 3. Update the Effective on field with the correct effective date.
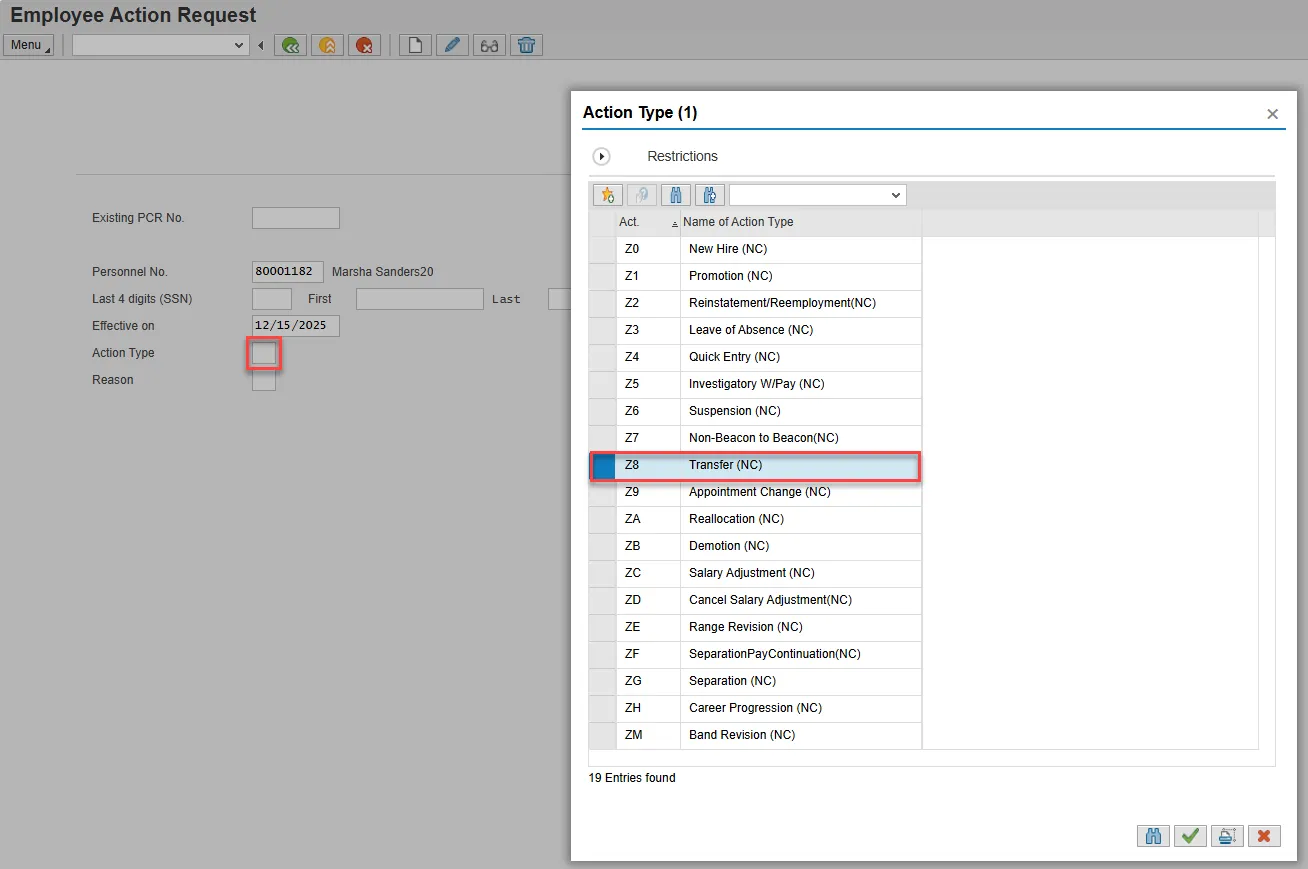
Step 4. Select the matchcode in the Action Type field and double click Transfer from the list.
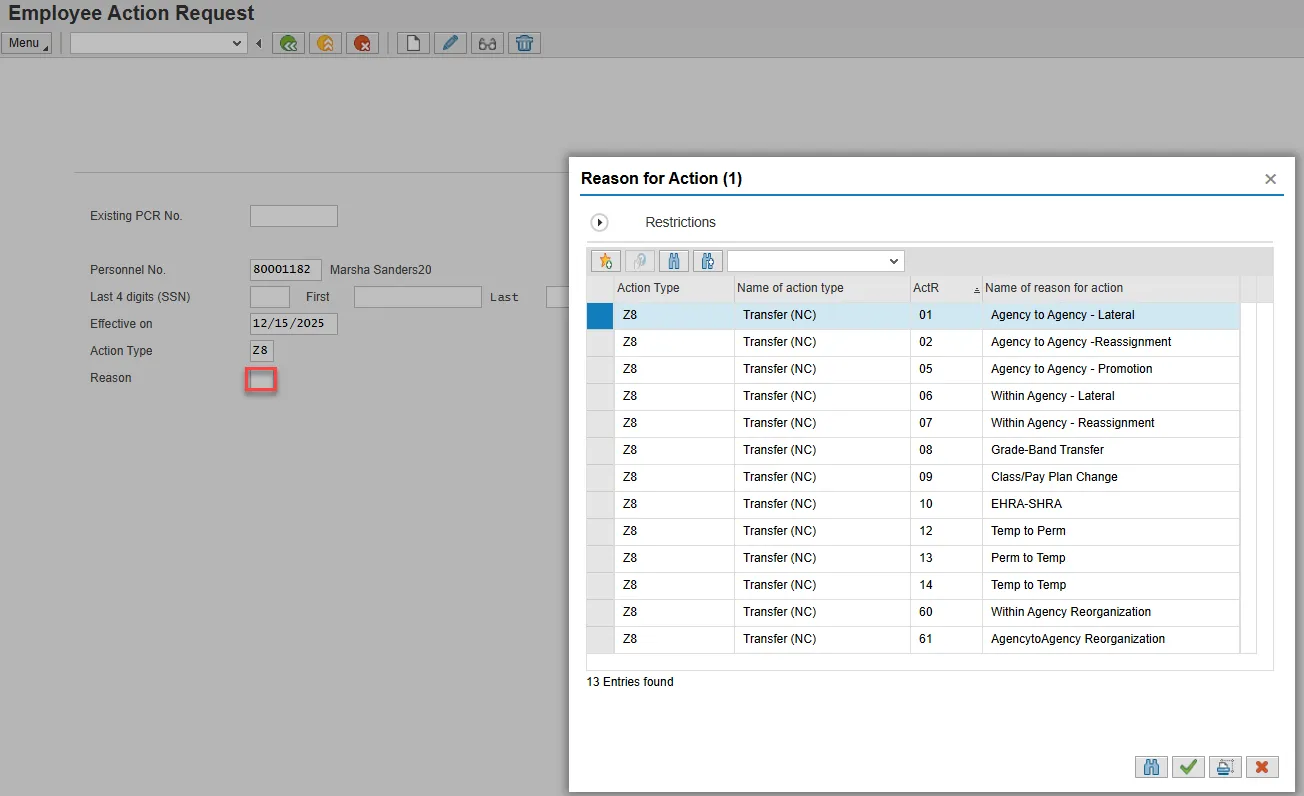
Step 5. Select the matchcode in the Reason field and double click the appropriate reason for the Transfer action.
Step 6. Select Enter on the keyboard and choose the Create button.
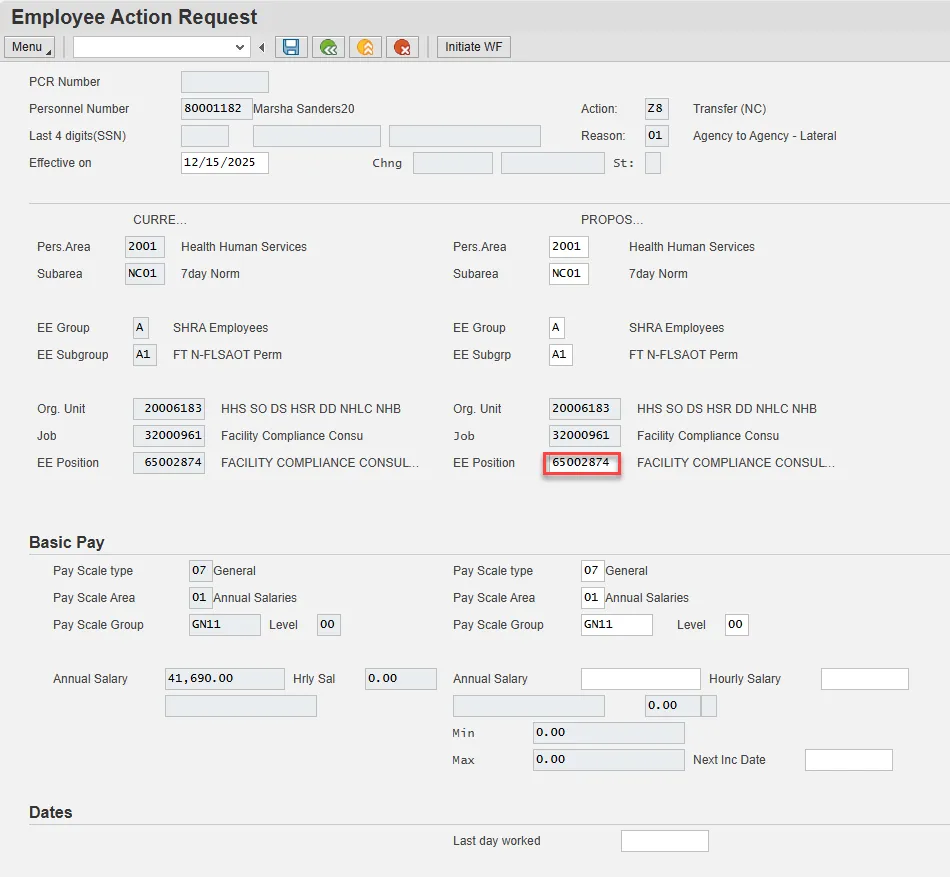
Step 7. OSC recommends entering the EE Position number in first, so the Personnel Area, Personnel Subarea, Employee Group, Employee Subgroup and Pay information pre-populate based on the position number entered. If you do not enter the position number first, the pre-population of data based on the position number may not work properly.
Complete the EE Position field and choose Enter on the keyboard.
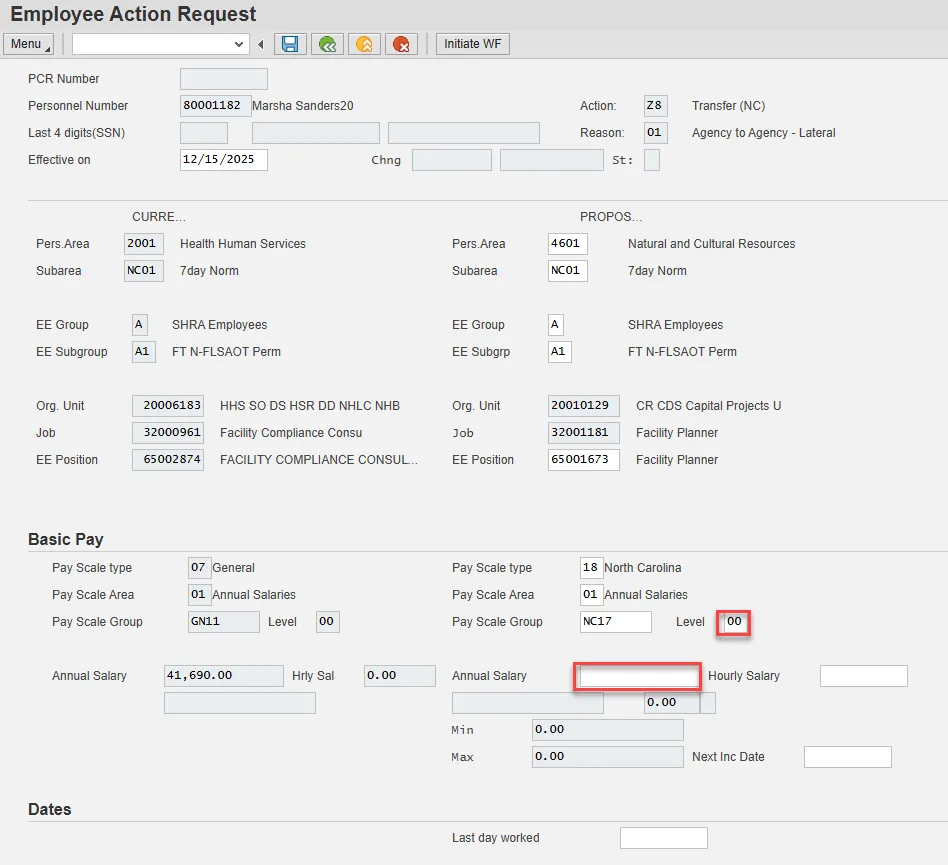
Note: You will notice as you're entering data that there is an order in which the system prefers to receive data. If this is a Pay Grade to Banded transfer (or Banded to Pay Grade transfer), enter the Pay Scale type, Pay Scale Area and Pay Scale Group on the right side before clicking Enter. If you enter the Pay Scale type and Pay Scale Area and click Enter before entering the Pay Scale Group, the system will give you an error message stating, "No entry in table T710 for the key XXXXX." This means that the combination of Pay Scale type and area don't match the Pay Scale Group, until you change to the new Pay Scale Group. Click Enter to pass by this message and complete all fields or enter all fields prior to clicking Enter to avoid this message.
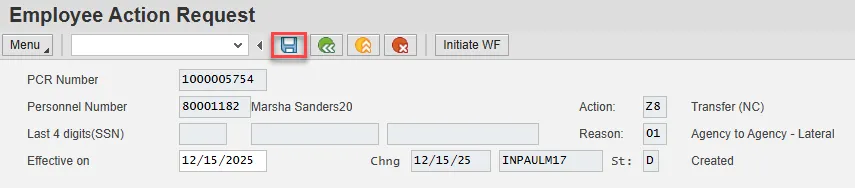
Step 8. Enter the salary information in the Annual Salary field.
Make sure the Level field represents the level associated with the range of the salary. Choose the matchcode to find the correct level.
Step 9. Choose Enter on the keyboard and Save.
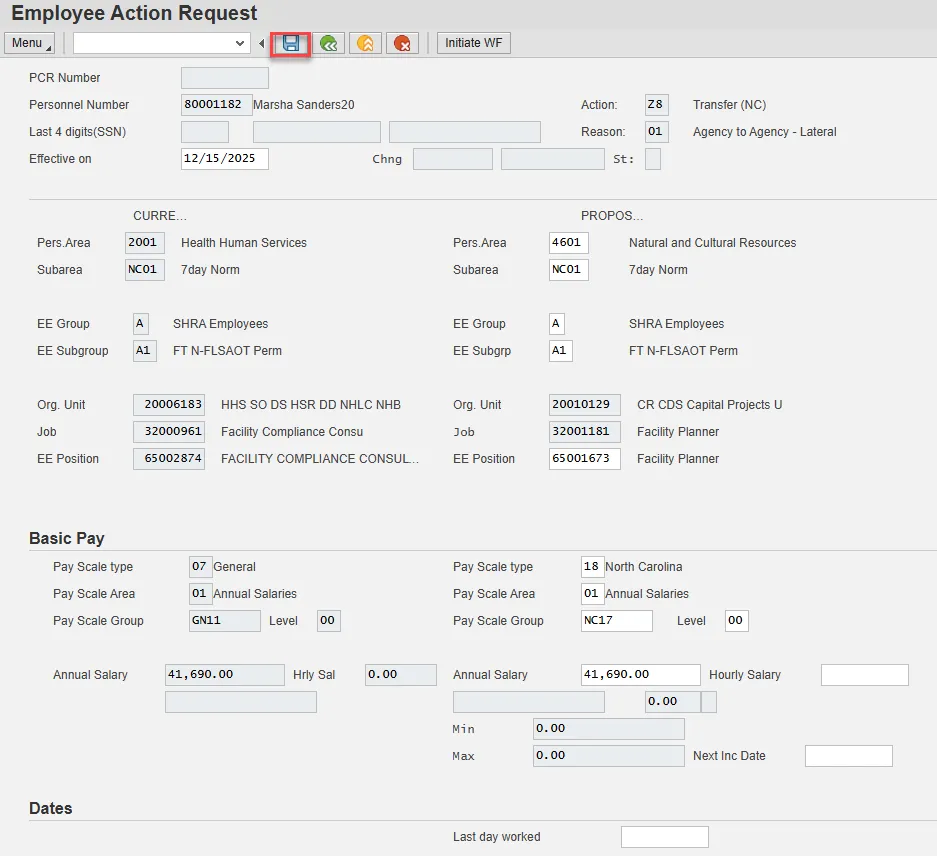
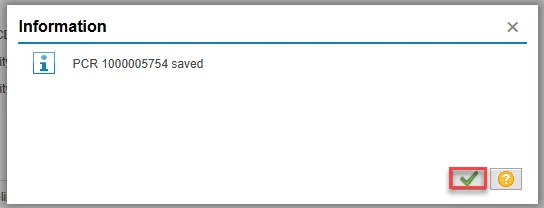
Step 10. You can save this information as many times as you like. Each time you will receive a confirmation of the save. Choose the green check in the bottom right of the pop-up.
Note: You will not be able to create a note attachment until you have saved it at least once. If you have submitted the PCR to workflow already, you will not be able to change the details, nor save any new information, only display the existing details.
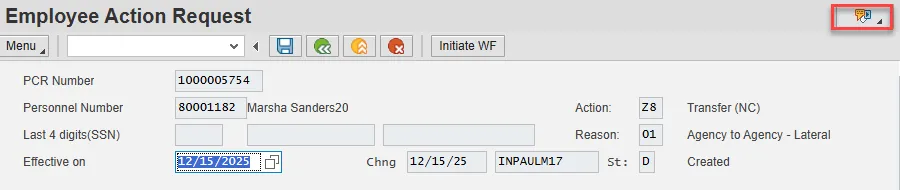
Step 11. Select the Services for Object button in the upper right corner.
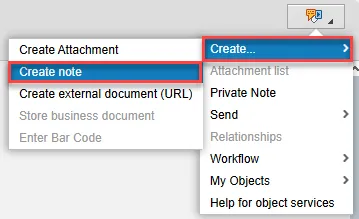
Step 12. Hover over Create and choose Create note from the drop-down menu.
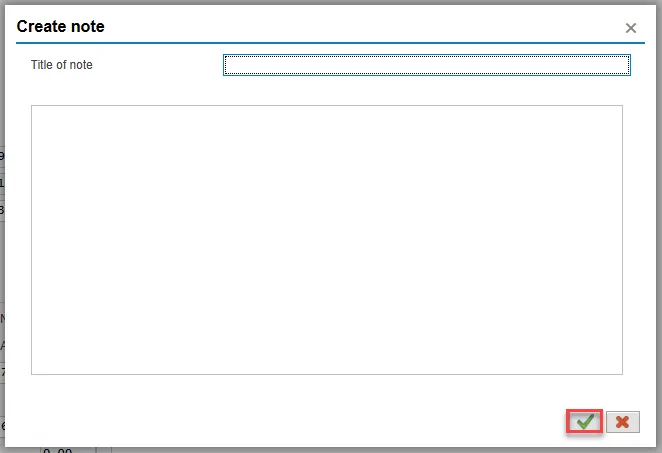
Step 13. Update the Title of note field and the body of the note.
The note is a required part of the request creation process. Notes entered during PA workflow must follow OSHR’s action notes template: PA Action Notes Template.
Choose the green check button in bottom right of note pop-up.
Step 14. Choose Save.
Step 15. Select the green check button in bottom right of Information pop-up.
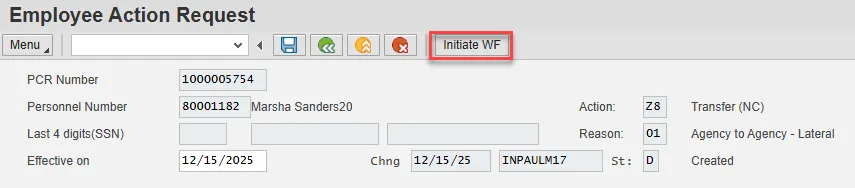
Step 16. Choose the Initiate WF button.
Select the Initiate Workflow button to send the Suspension Action through the approval process. No changes can be made after the PCR has been submitted for approval, unless the PCR is rejected at any stage and sent back to you (the initiator/requestor).
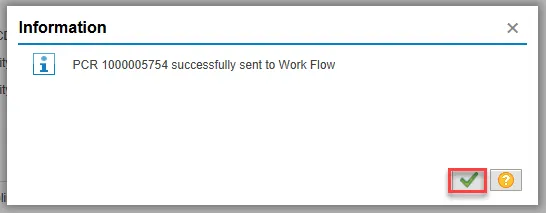
Step 17. Select the green check button in bottom right of the Information pop-up.
Step 18. Choose the green Back button.
After Workflow Approvals have been received, proceed with the Complete Transfer Action process.
Instructions for Completing the Action
There are 28 steps to complete this process.
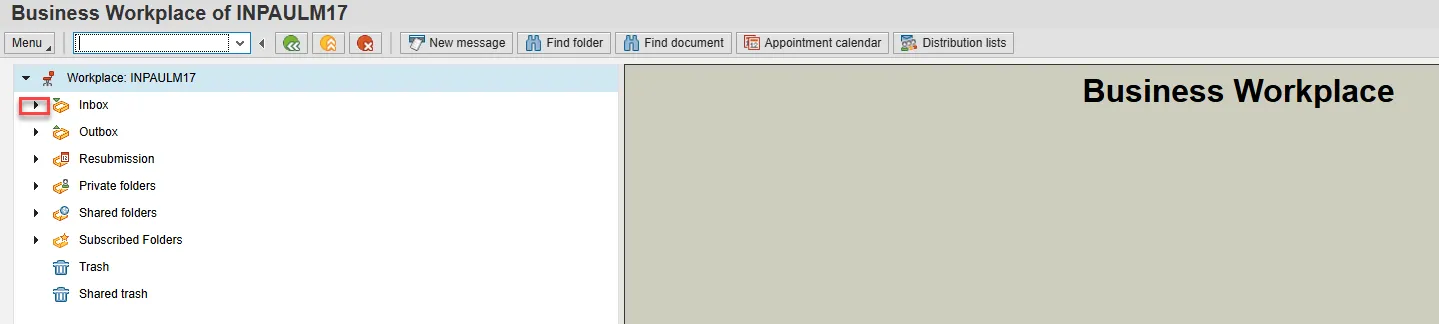
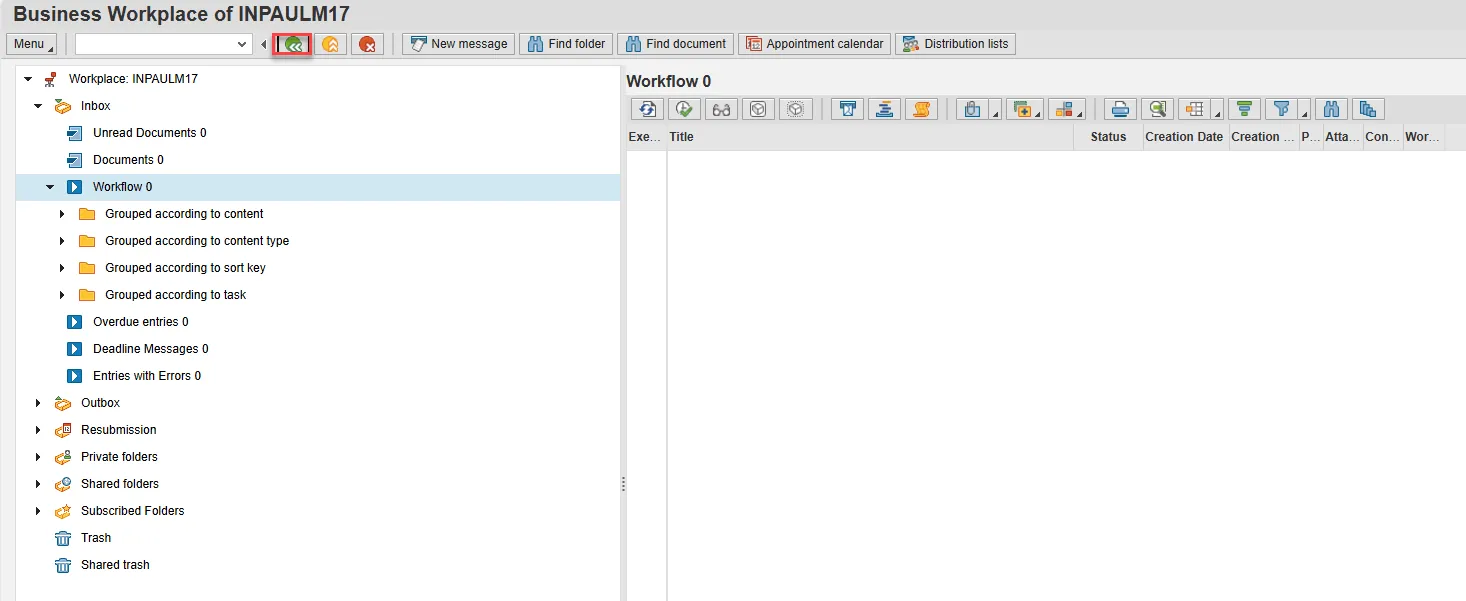
Step 1. Choose the SAP Business Workplace button from the SAP Easy Access page.

Step 2. Expand the Inbox using the expand node.
Note: Failure to complete this step could cause some functions to be unavailable on the secondary button ribbon in the subfolders.
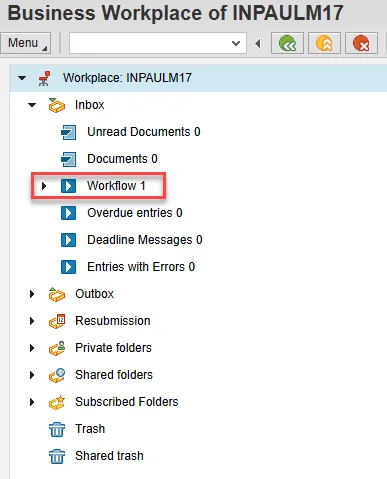
Step 3. Select the Workflow subfolder.
Step 4. Access the Environment button on the secondary button ribbon to retrieve a copy of the note. Access PER-57 Copying Notes from the PCR to Infotypes for steps on retrieving the note.
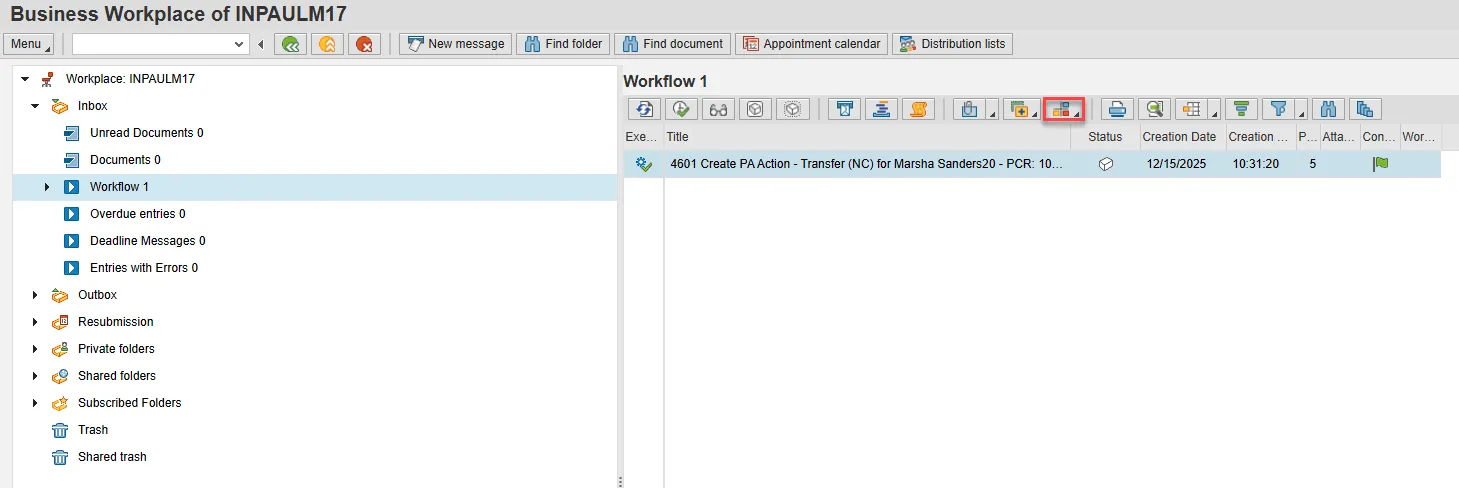
Step 5. Double click the PCR to begin the action.

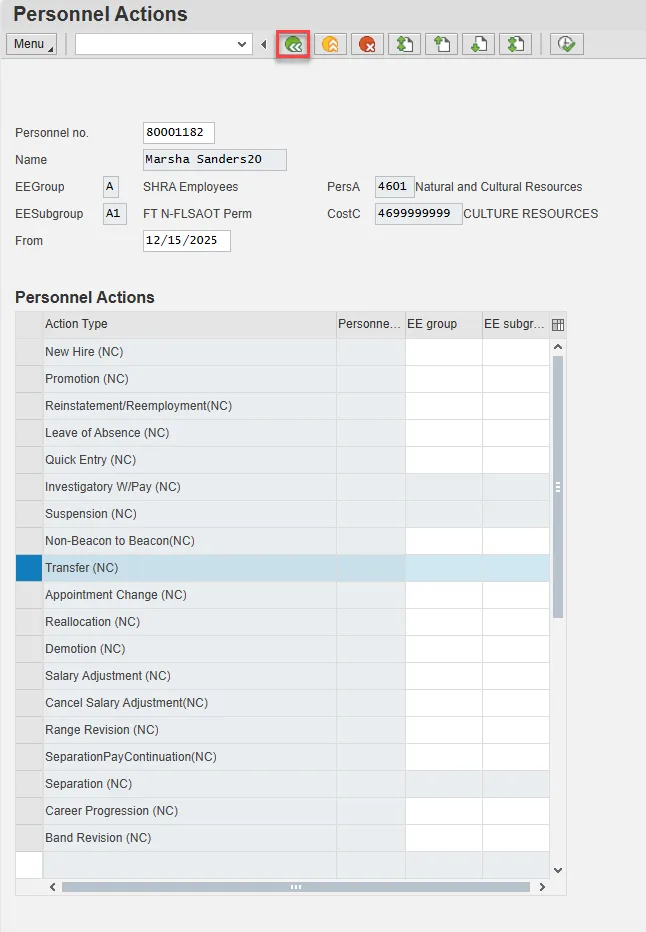
Step 6. On the Personnel Actions screen, enter the effective date in the From field. This must match the effective date used to create the request.
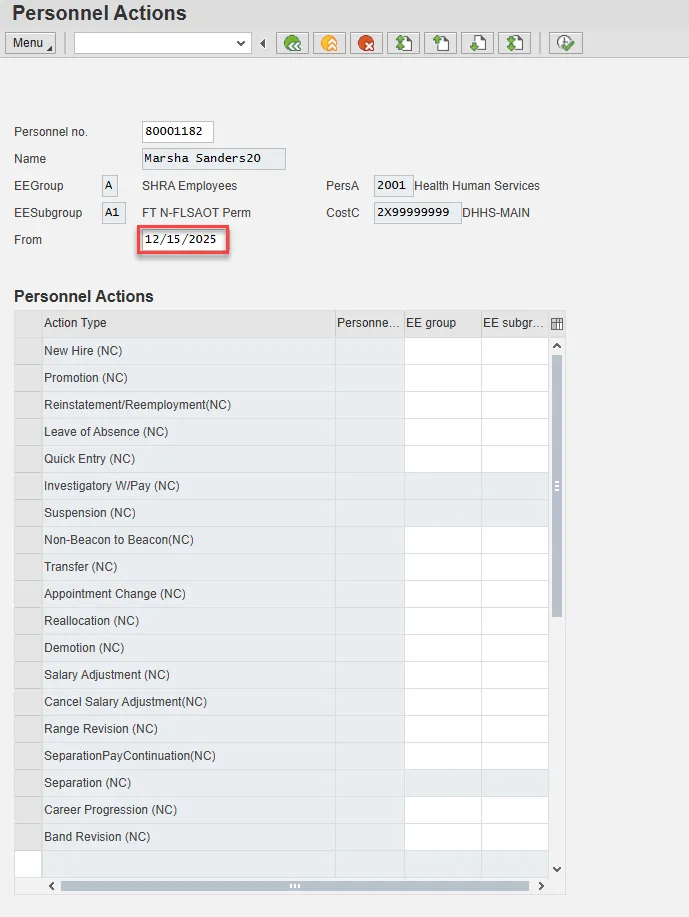
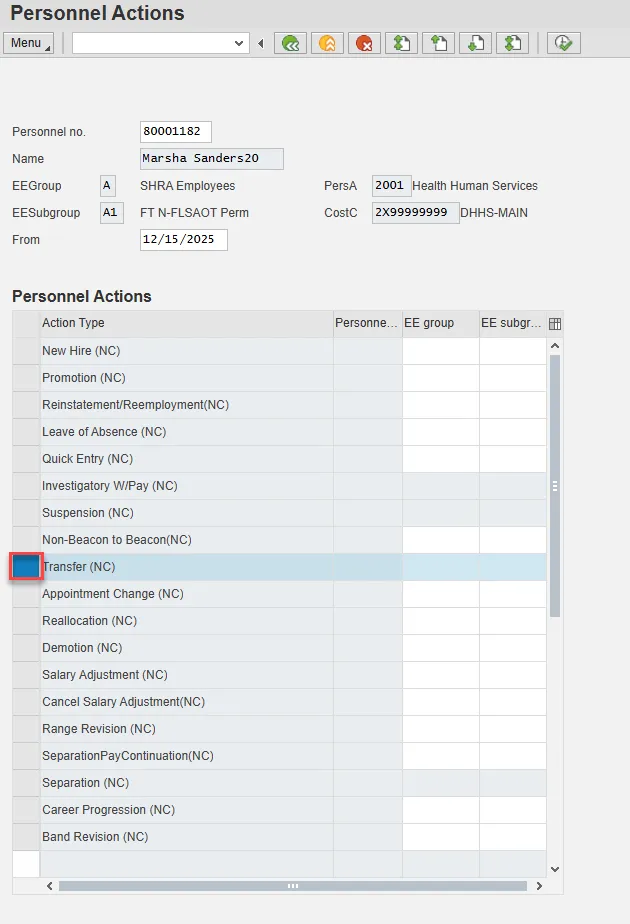
Step 7. Highlight Suspension by selecting the gray box at the beginning of the row.
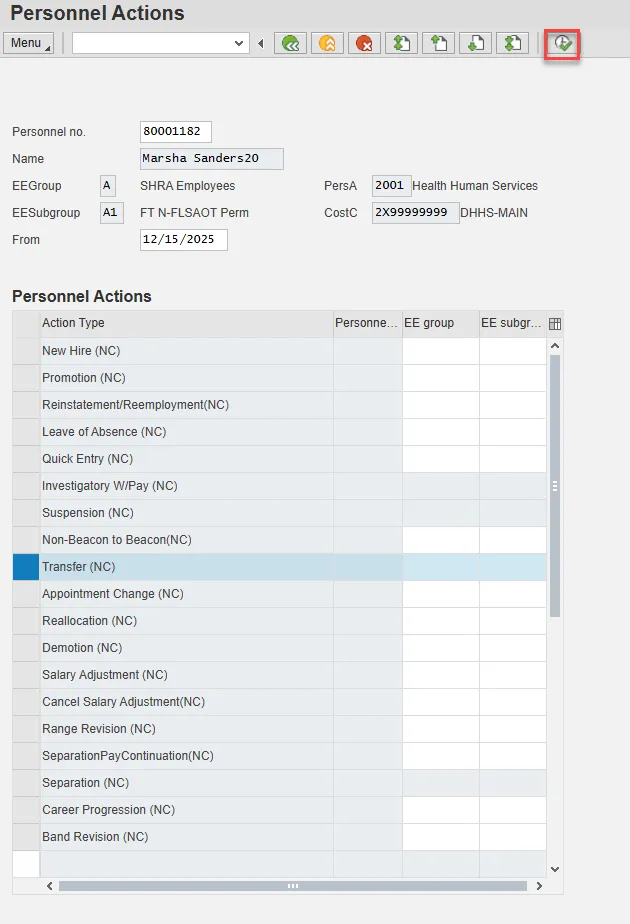
Step 8. Choose the Execute button.
Step 9. On Copy Actions (0000), choose the Menu button.
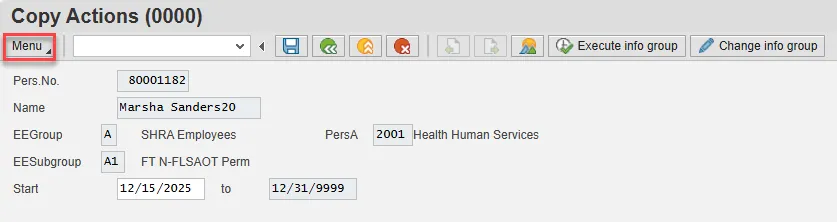
Step 10. Hover over Edit and choose Maintain text (F9) from the pop-out menu.

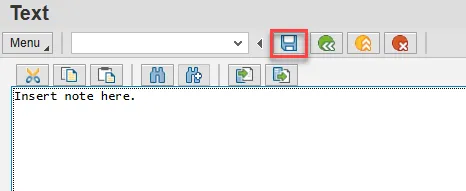
Step 11. On the Text screen, insert your note and choose Save.
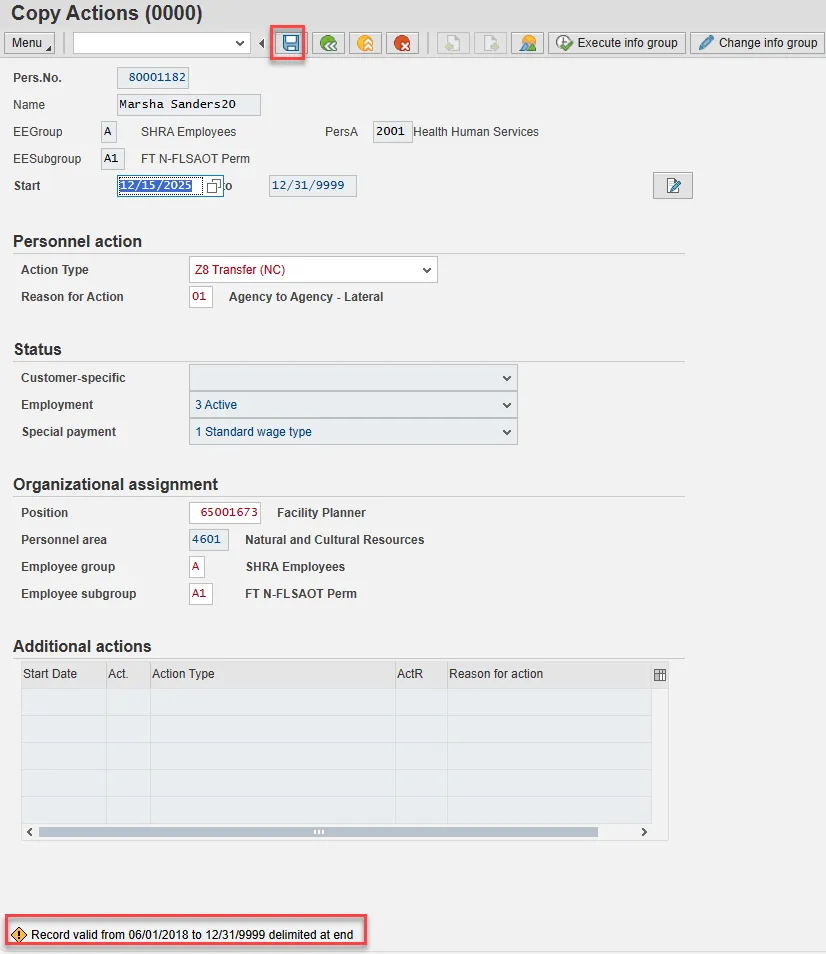
Step 12. Back on the Copy Actions (0000) screen, choose Enter on the keyboard.
Some items may turn red and there may be a yellow warning message in the bottom left stating that a record is being delimited. This is expected behavior. Choose Save.
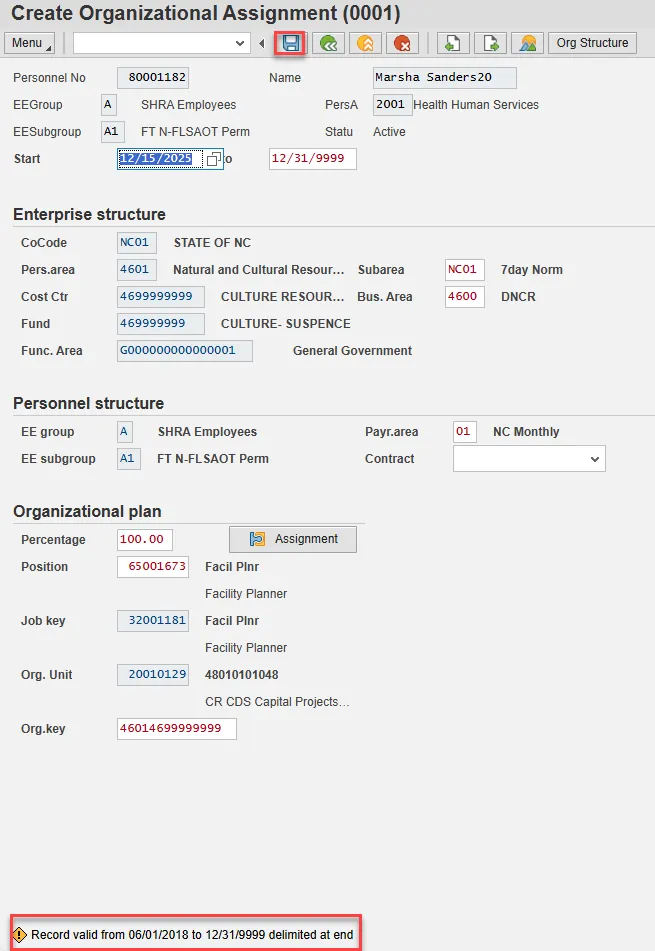
Step 13. On Create Organizational Assignment (0001), select Enter on the keyboard.
Some items may turn red and there may be a yellow warning message in the bottom left stating that a record is being delimited. This is expected behavior. Choose Save.
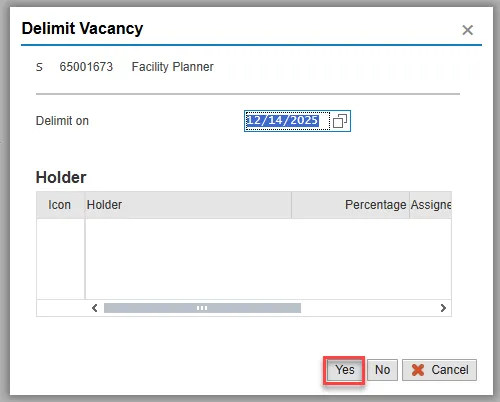
Step 14. On the Delimit Vacancy pop-up, choose Yes in bottom right.
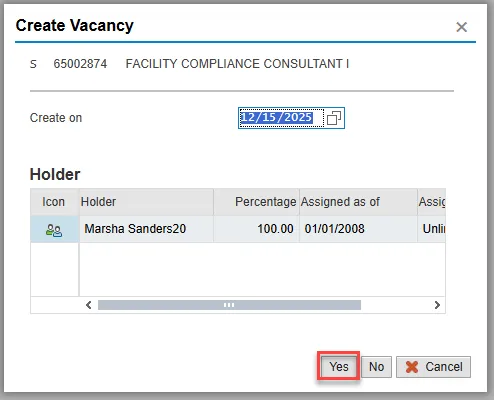
Step 15. On the Create Vacancy pop-up, choose the appropriate response. In this example, we are choosing Yes to show a vacancy for the position the employee is vacating.
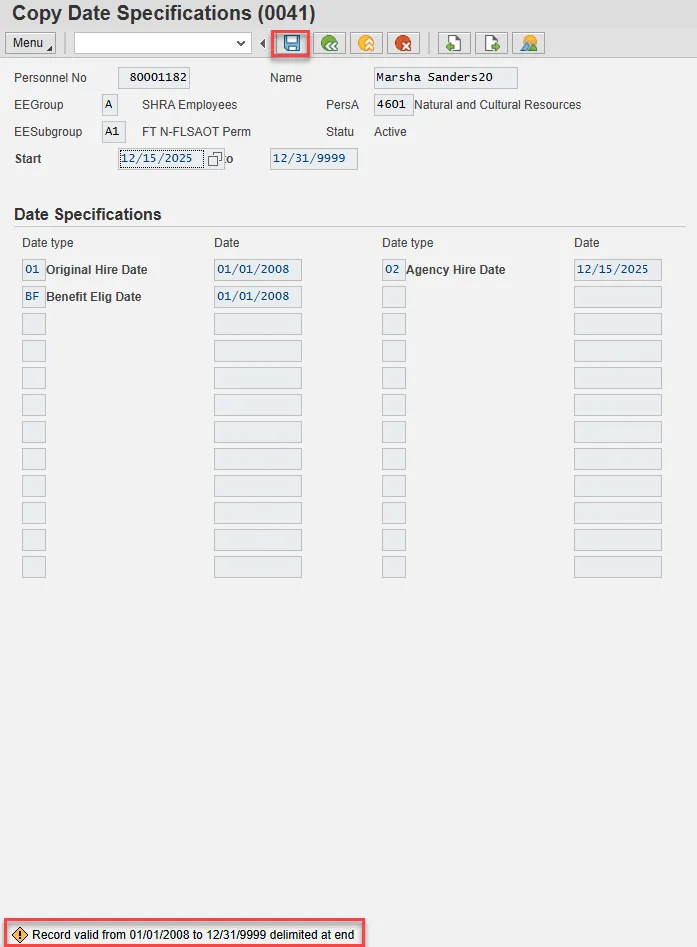
Step 16. On Copy Date Specifications (0041), select Enter on the keyboard.
The fields will be grayed out and a yellow warning message will appear in the bottom left indicating a record is being delimited.
Choose Save.
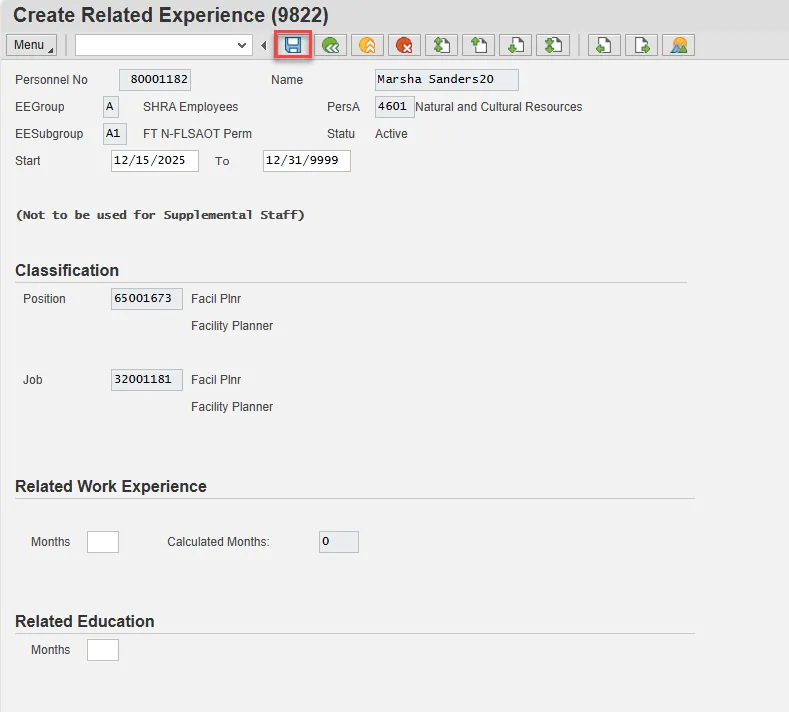
Step 17. On Create Related Experience (9822), update the Months fields under Related Work Experience and Related Education if you have the information.
Note: If you do not have the information at the time of the Transfer action, this can be updated via PA30 later. Enter and Save.
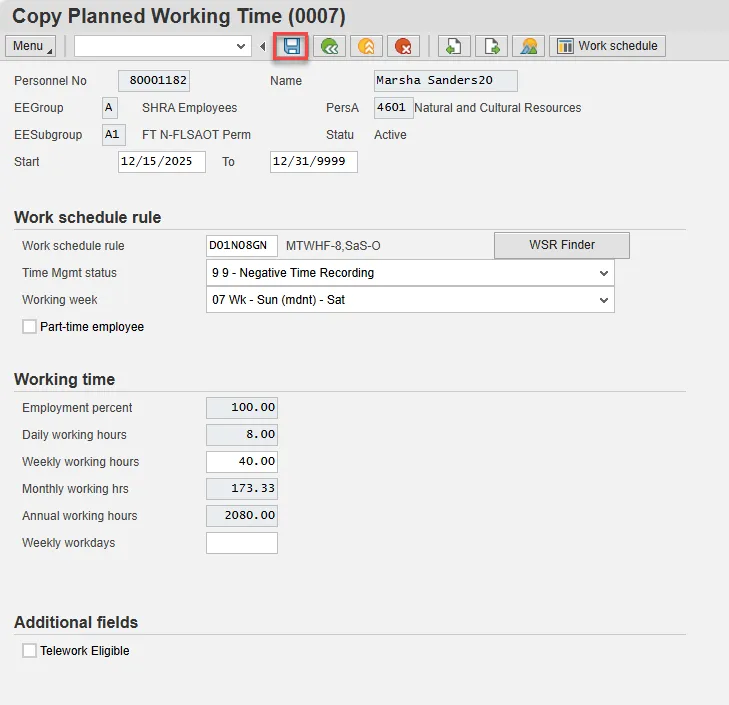
Step 18. On Copy Planned Working Time (0007), this information defaults from the position in which the employee was placed. You many need to update the Time Mgmt status and/or Working week fields.
Adjust their work schedule as appropriate and save the data.
The Work Schedule Rule and Time Mgmt status defaults from the employee's enterprise structure. It is critical that you review for correctness (including the working week) and change the work schedule as appropriate for the employee if it is different from the one that defaults.
If the individual is part-time, be sure to check the Part-time employee box.
The defaulted work schedule is based on information provided by the various agencies and the Integrated HR-Payroll System team members.
Once the necessary fields are updated (if needed), select Enter and Save.
Note: A yellow warning message may appear in the bottom left regarding delimiting a record.
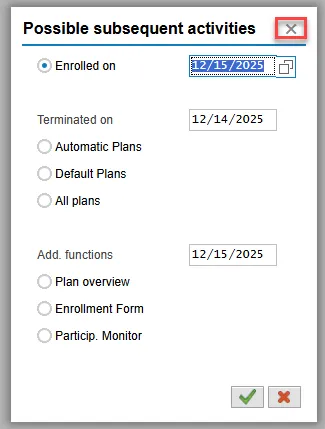
Step 19. Subsequent activities should be completed only if the employee is transferring to a position in a different retirement system than their current position (for example – going from TSERS to LEORS).
If you need to process changes to the benefits, click Continue. In this example we will not process changes to benefits and will choose the little X in upper right to close the pop-up.
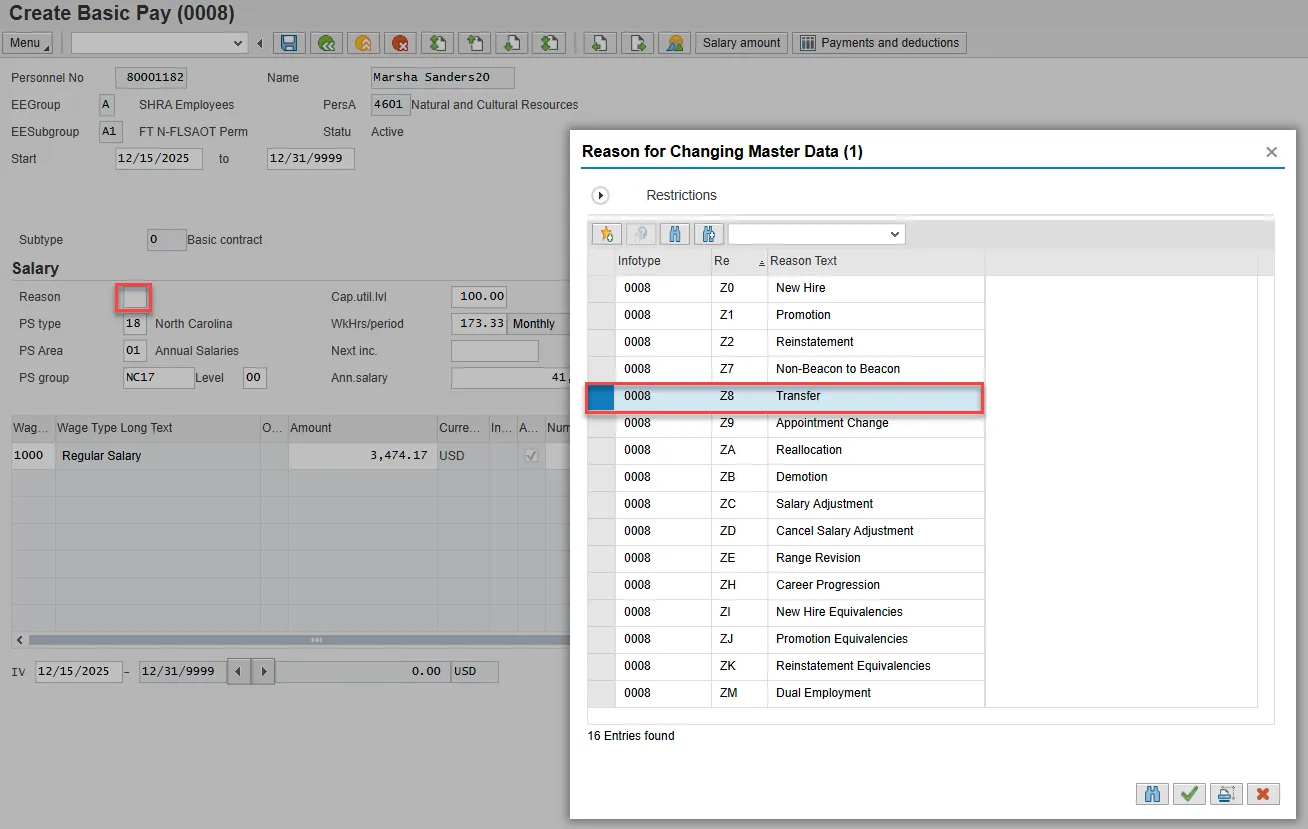
Step 20. On Create Basic Pay (0008), select the matchcode in the Reason field and double-click Transfer from the list.
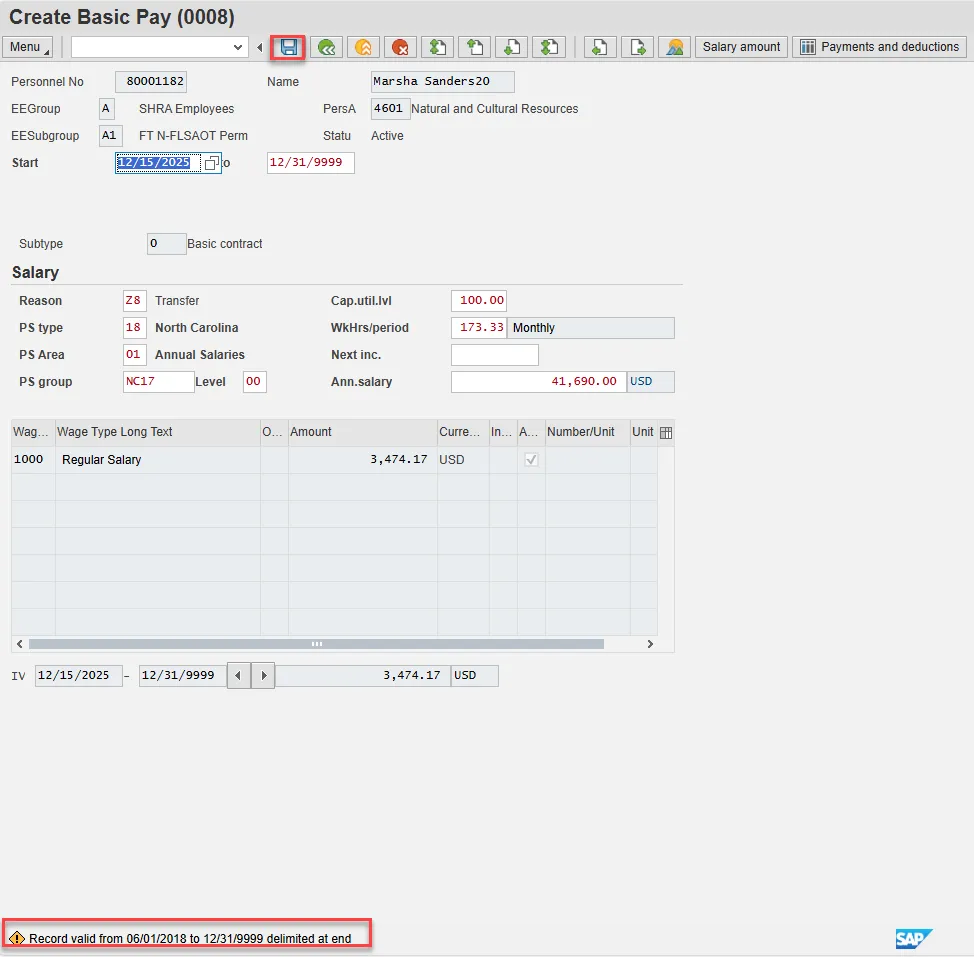
Step 21. Choose Enter on the keyboard.
A yellow warning message will appear in the lower left stating that you are delimiting a record.
Choose Save.
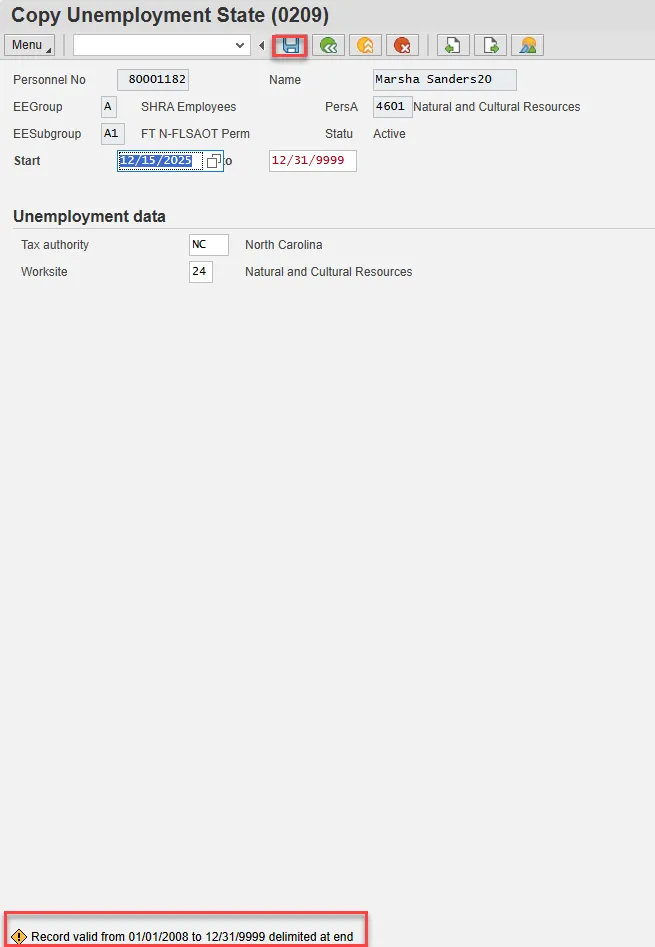
Step 22. On Copy Unemployment State (0209), choose Enter.
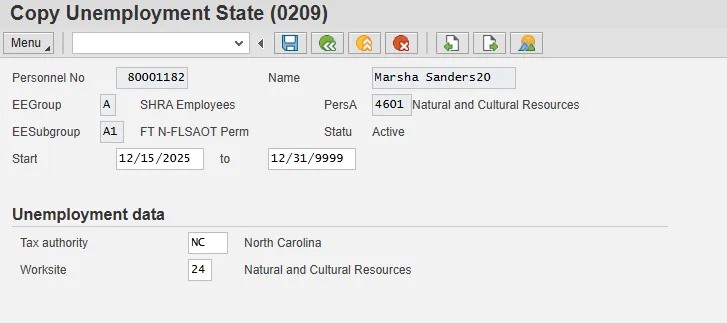
Step 23. A pop-up warning message will appear indicating you are delimiting a record. Choose the green check button within the pop-up.
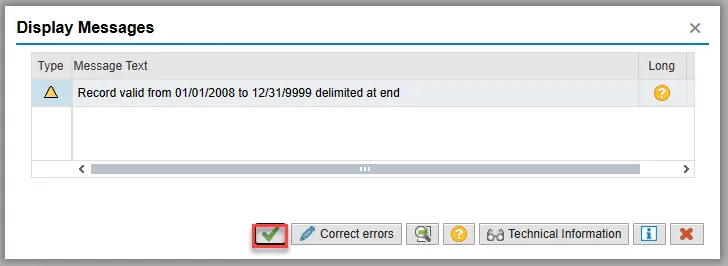
Step 24. Some fields will turn red and a yellow warning message will appear in the lower left.
Choose Save.
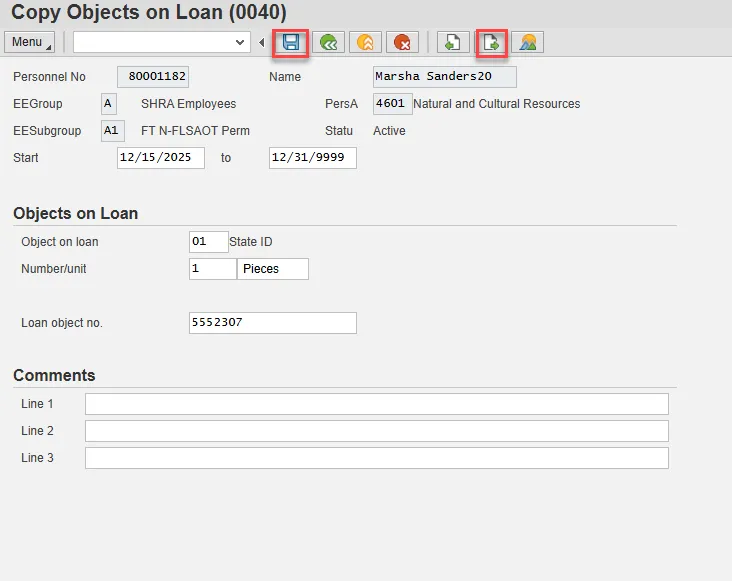
Step 25. On Copy Objects on Loan (0041), either enter items you loan the employee (then, Enter and Save) OR skip this infotype using the Next Record button if your agency does not use this infotype to keep a record of items loaned to employees.
Step 26. Back at the Personnel Actions screen, select the Green Arrow Back button.
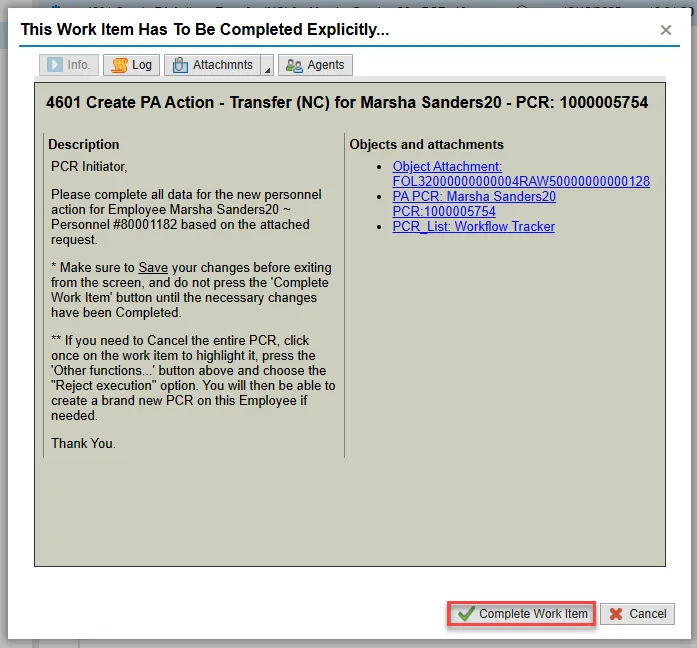
Step 27. On the pop-up, select Complete Work Item. (It has a green check beside it.)
Step 28. From the Business Workplace screen, select the Green Arrow Back button to return to the SAP Easy Access screen.
The Transfer Action is complete, but we recommend reviewing via PA20 all infotypes that have been processed.