Purpose
The purpose of this Business Process Procedure is to explain how to display working times in the Integrated HR-Payroll System.
Trigger
Use this transaction to view Integrated HR-Payroll timesheet data stored in the Cross Application Timesheet (CATS).
Business Process Procedure Overview
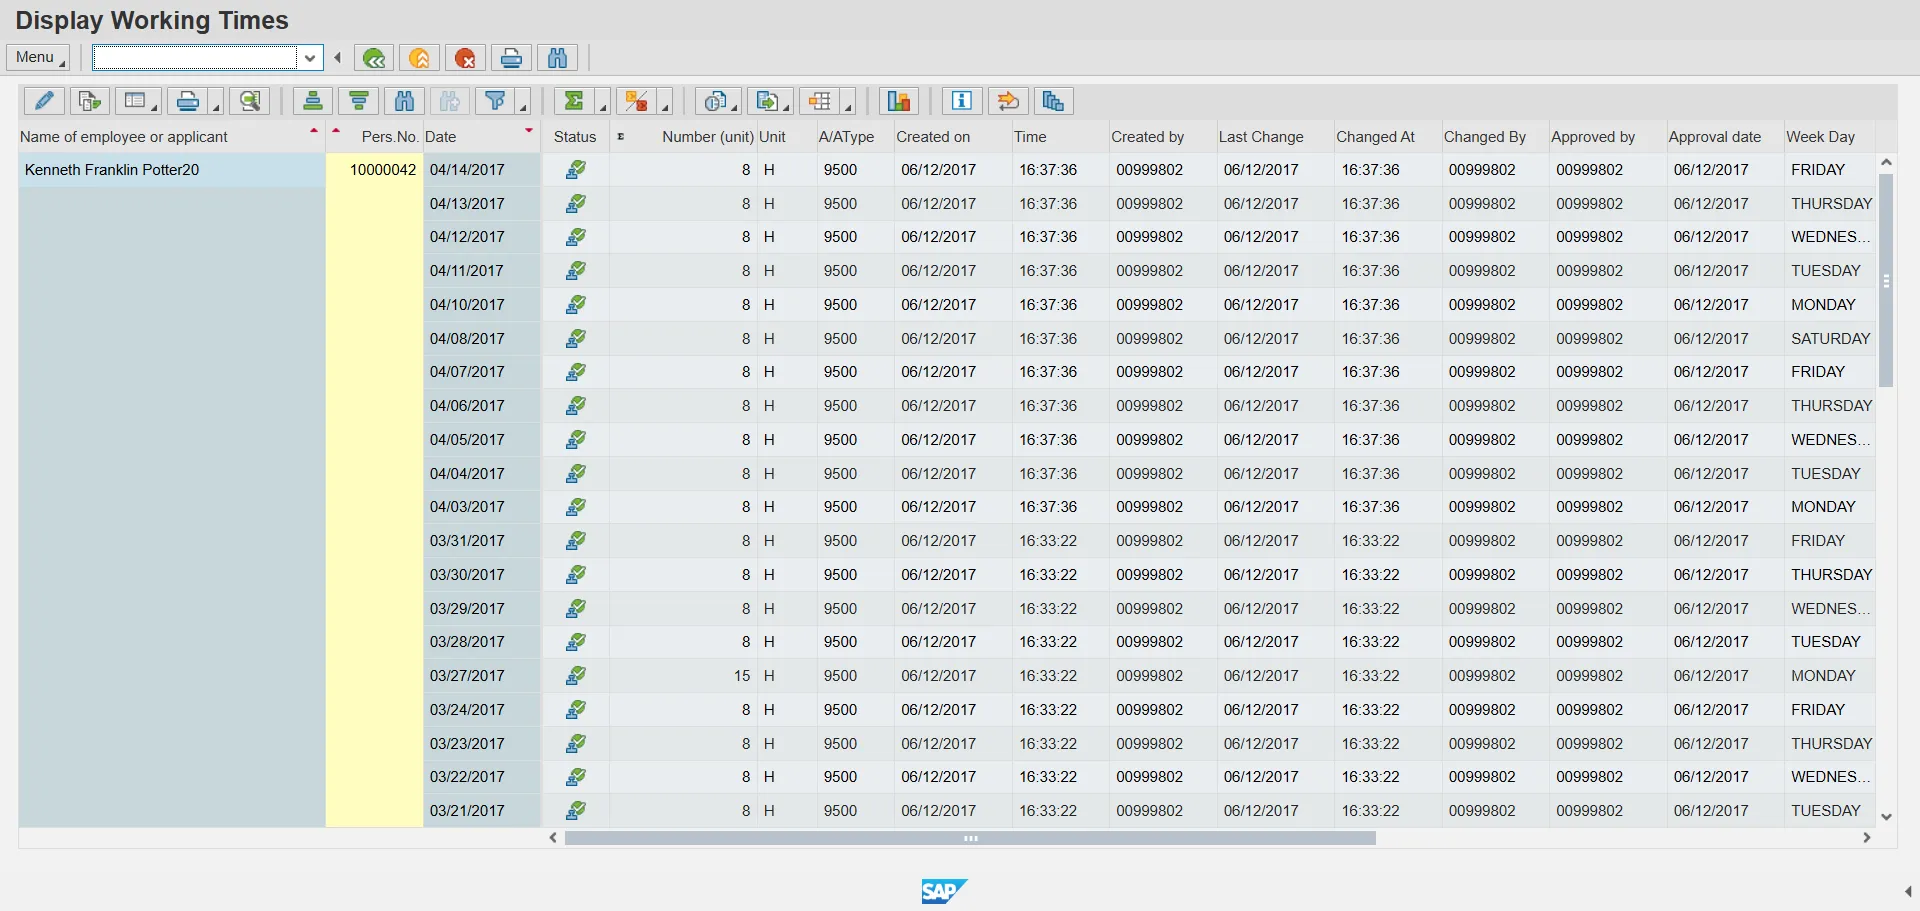
This transaction can be used to view an employee's timesheet data including:
- Name
- Attendance/absence type
- Personnel number
- Creation date
- Dates worked
- Entered by
- Approval status
- Last change date (if applicable)
- Number of hours worked
- Changed by (if applicable)
Time Administrators and Leave Administrators will commonly use this report to research issues related to time recorded. For example, a Leave Administrator may check a period for leave taken. Another important use of this transcription will be to check for Employee Self-Service users' time that is released but not approved prior to the Payroll run. This is done by adjusting the Processing Status field to show status 20 - Released for approval.
Access Transaction Via Transaction Code: CATS_DA
Procedure
There are 13 steps to complete this process.
SAP Easy Access
Step 1. Update the Command field with transaction code CATS_DA.
Step 2. Click Enter.
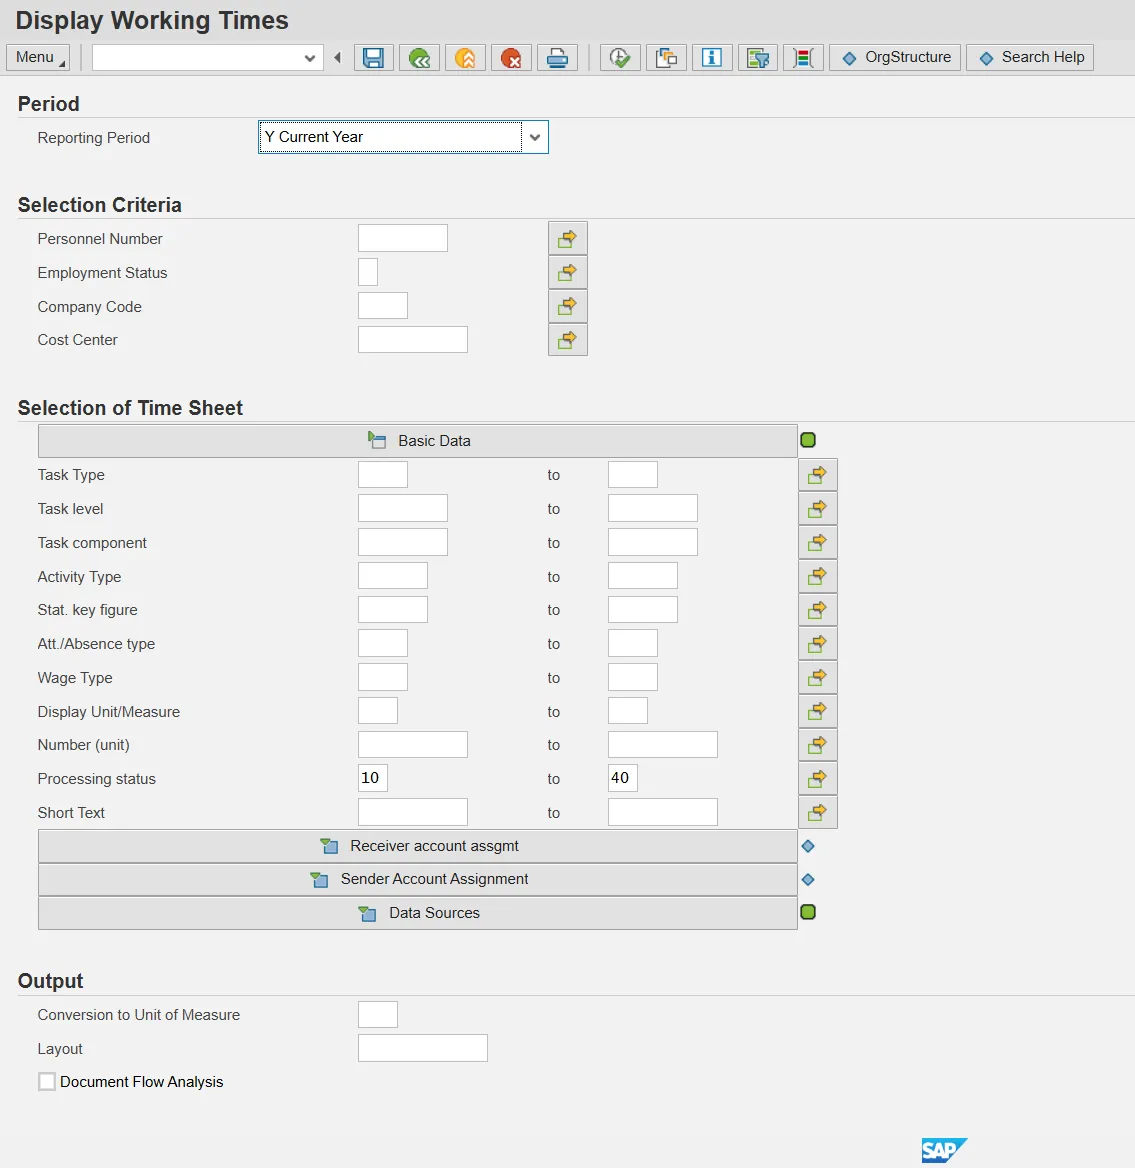
Step 3. Click the Reporting Period dropdown. Select desired reporting period.
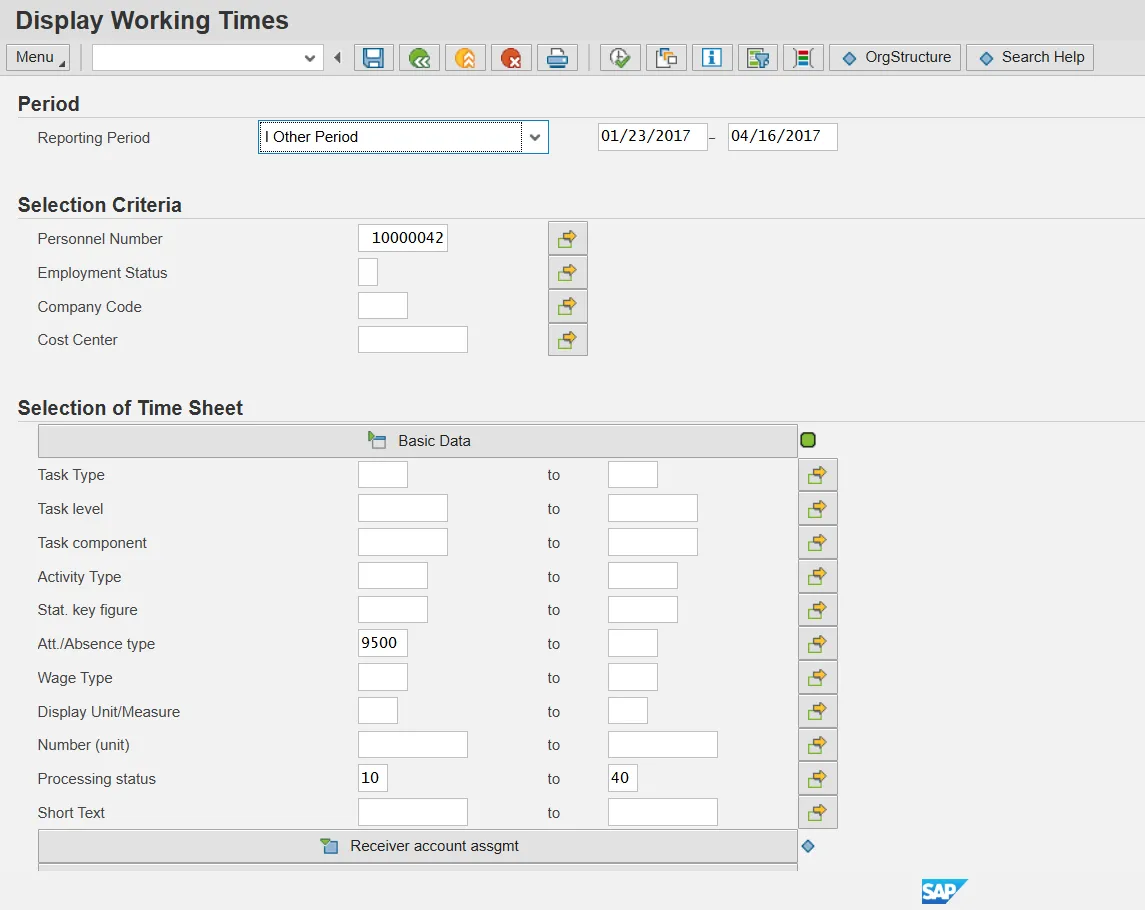
Step 4. Update the Personnel Number field.
Step 5. Click the Att./Absence type matchcode.

Step 6. Click 9500.
Step 7. Click the Copy (Enter) button.
Step 8. Click the Execute (F8) button.
Step 9. Click the Back (F3) button.
Step 10. Click the Att./Absence type matchcode.
Step 11. Click 9000.
Step 12. Click the Copy (Enter) button.
Step 13. Click the Execute (F8) button.

Step 14. Click the Back (F3) button.
Step 15. Click the Back (F3) button.
The system task is complete.