Purpose
The purpose of this job aid is to document the disciplinary warning the employee has received. Disciplinary information should be entered as instances occur so that the system is current.
Infotypes that currently exist for the employee accessed are identified by green check marks to the right of the infotype descriptions.
- An overview of the process contains some or all of the following steps:
The Employee violates Policy/Procedure - The Supervisor/Warnings Maintainer – In conjunction with (approval from) an Agency Official, the disciplinary warning is created
- The Supervisor issues the Warning to the Employee
- The Warnings Maintainer enters the Warning and related tasks into the Integrated HR/Payroll System.
- The Supervisor monitors MSS for Warning-related Tasks
- When warning tasks come due, the supervisor reviews them with the Employee
- The Warnings Maintainer – As appropriate updates the Employee record in the Integrated HR/Payroll System.
There are 12 steps to complete this process.
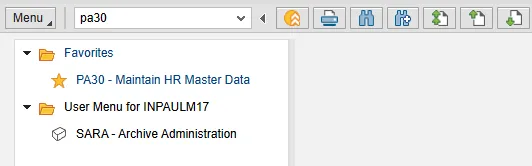
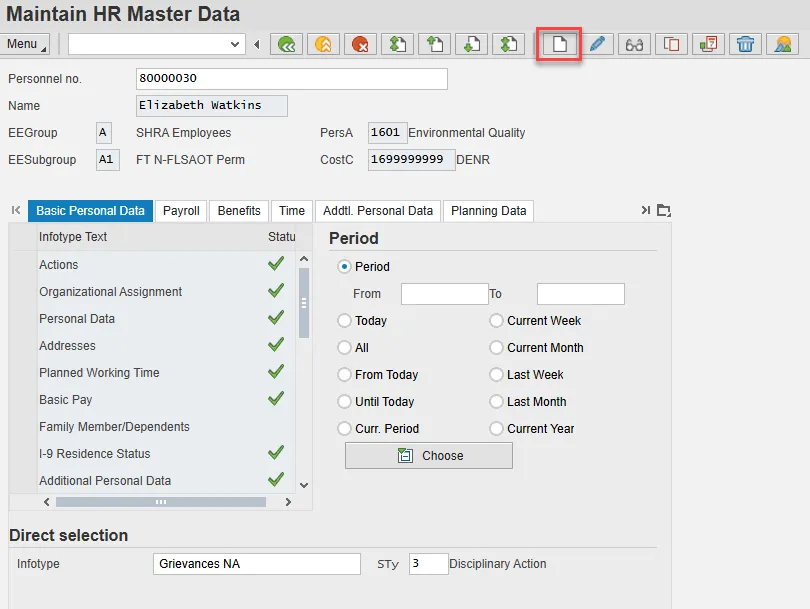
Step 1: Use transaction code PA30.
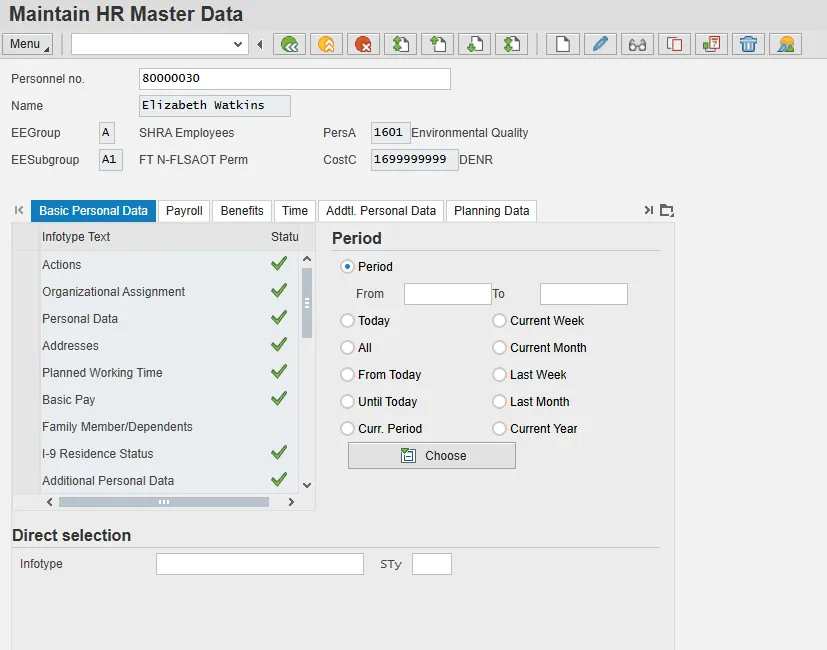
Step 2: Enter the Personnel number in the Personnel no. field and choose Enter on the keyboard.
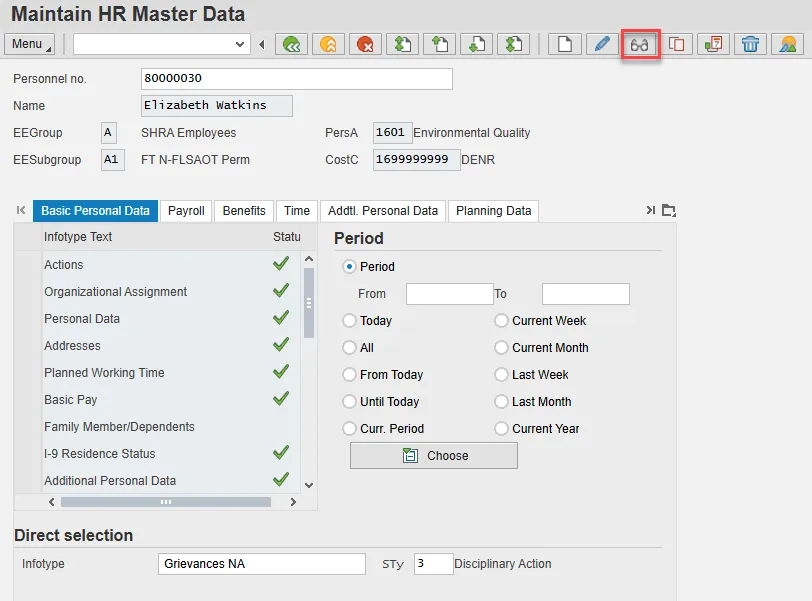
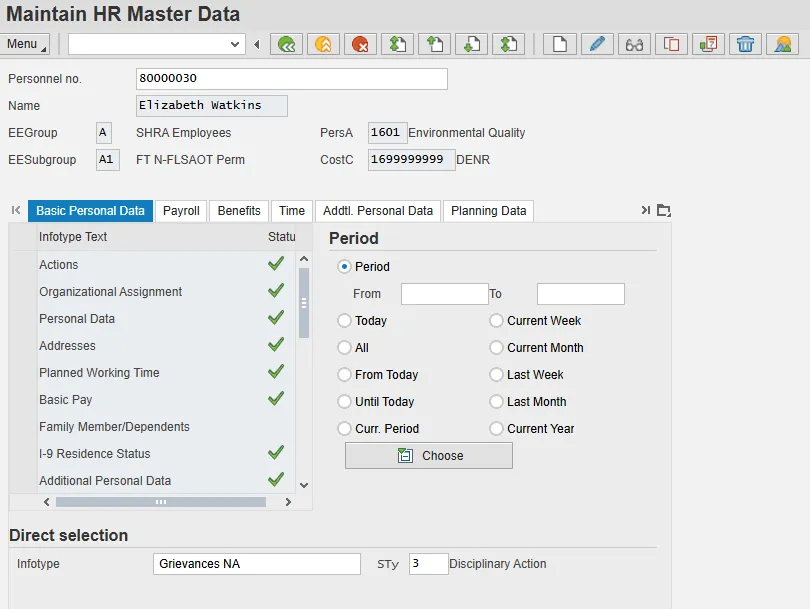
Step 3: In the Direct selection area, type 0102 (the code for Grievances infotype) in the Infotype field. Type 3 in the STy (subtype) field. Choose Enter on the keyboard.
Step 4: Select Create.
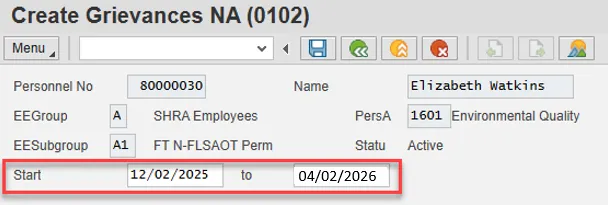
Step 5: Complete the Start and to fields.
The start date is when the warning process began. When records are created, they are assigned a “Start Date.” Because the end dates are not typically known, SAP automatically applies an end date of 12/31/9999. Change the end date to account for 18 months from the effective date. The Warning is only in effect for 18 months. If approved to delimit earlier, the end date can be changed at that time.
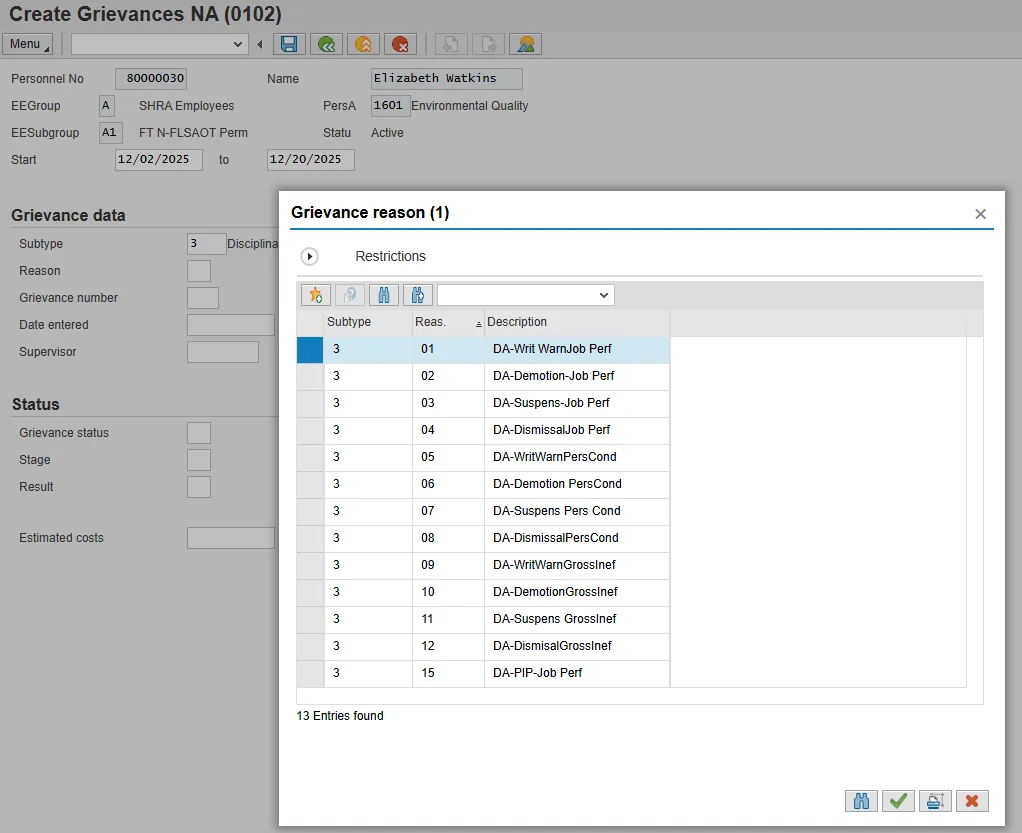
Step 6: Select the matchcode in the Reason field and choose the appropriate reason from the list.
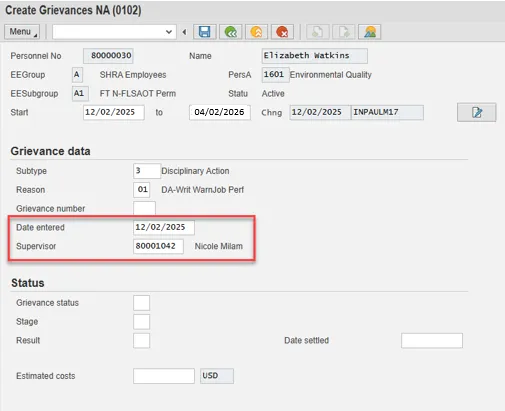
Step 7: Complete the Date entered and Supervisor fields. Then, choose Enter on the keyboard.
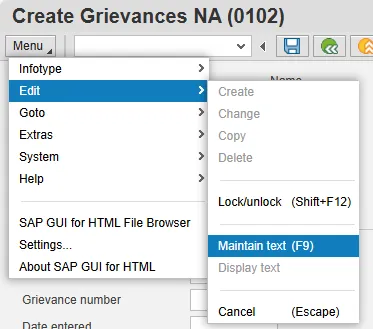
Step 8: Select the Menu button in the upper left, hover over Edit, and choose Maintain text.
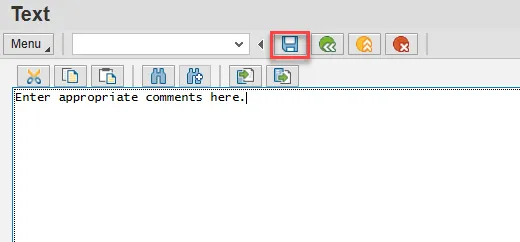
Step 9: Enter appropriate text in the Infotype Text box that is displayed. (Don’t forget to Save your comments.)
Step 10: Save the infotype.

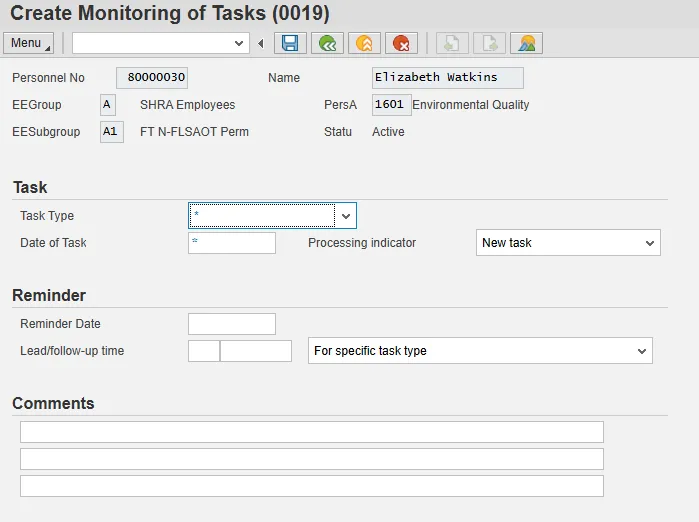
Step 11: Monitoring of Tasks (0019) will appear. This is an optional infotype. You can choose to use it to create a reminder of the 90-day ending date or choose Save to skip this infotype.
Step 12: Choose Display to view infotype 0102.