Purpose
The purpose of this Business Process Procedure is to demonstrate how Funding Approvers use transaction PO13 to change the budgeted amount for positions during the PCR review process in the Integrated HR-Payroll System.
Trigger
When reviewing PA PCRs, adjustments to a position’s budgeted salary is often required.
Business Process Procedure Overview
Funding Approvers are required to approve many Personnel Administration actions which necessitate a change to the budgeted amount to the position that the employee holds. The approver will review the PCR’s header info to determine if a change to the position is likely. A new screen is opened to review the current budgeted amount for the position. If it is determined that a change is required, the Funding Approver will use transaction PO13 to make the necessary adjustment before returning to PCR and approving.
Access Transactions
Via Menu Path: SAP menu >> Human Resources >> Organizational Management >> Expert Mode >> PO13 – Position
Via Transaction Code: PO13, ZPOS, SBWP
Note: All data in this document is from the OSC training environment and does not reflect any real-world information.
Procedure
There are 20 steps to complete this process.
Step 1. Click on the SAP Business Workplace button to open your inbox.
Step 2. Review the Workflow Header for each PCR as part of the approval process. Carefully review the Annual Salary fields.

If an employee’s salary is changing as part of the PCR process, then the budgeted amount of the position most likely needs to change as well. Make note of the effective date on the PCR and check the budgeted amount for the position in the proposed column. This is the date that will be used when adjusting the position’s budget.
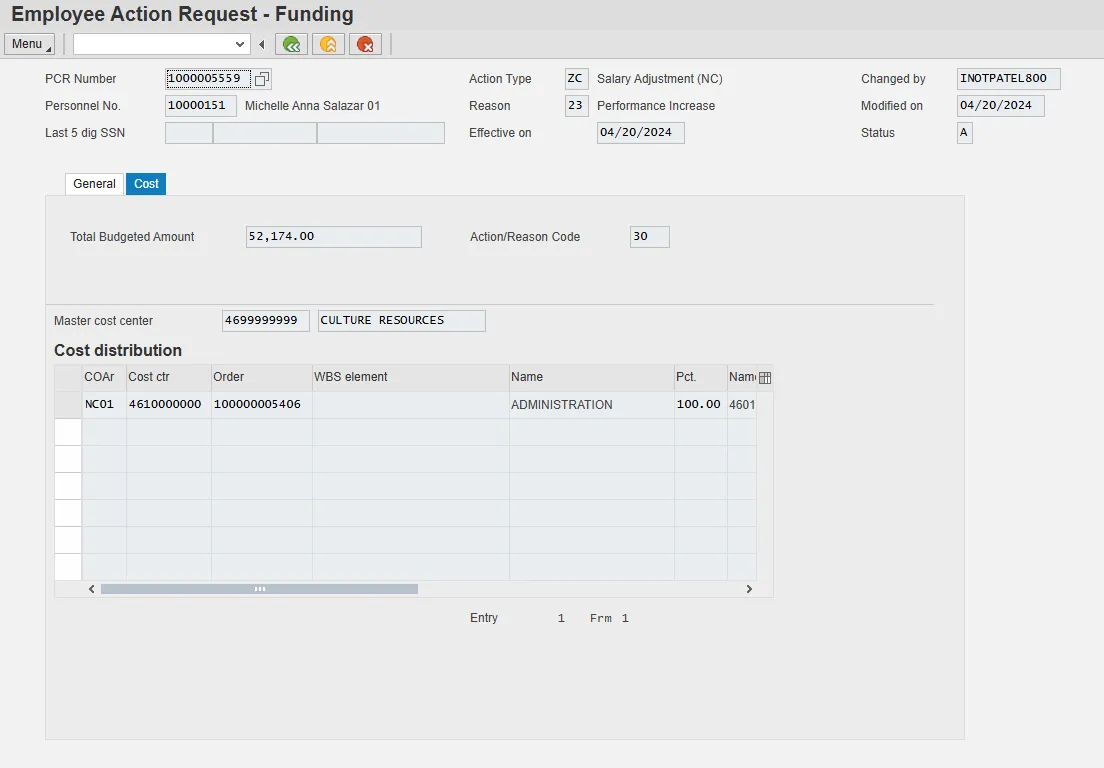
Some PA PCRs have a cost tab. Viewing this area will allow you to see relevant budget information; however, it cannot be changed via Workflow’s PA action approval process.
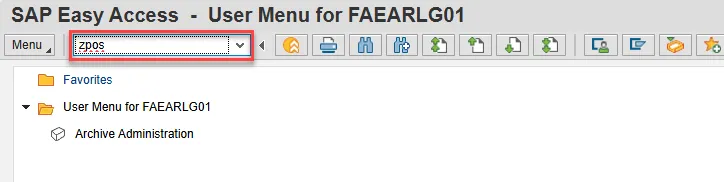
Step 3. Input transaction ZPOS into the command field. Click the Enter button.
Step 4. Input the position number and effective date and choose Execute.
Step 5. Review the Fund Data.
If the position is occupied, it should match the incumbent employee’s salary before the PA action is completed. If it is vacant, then it should match the minimum of its classification.
If the Budgeted Salary equals the amount in the PCR, then no adjustment needs to be made and you can close this window and approve the PCR without further action. Otherwise, proceed with the following steps
Step 6. Click the back button twice to bring you back to the SAP Easy Access screen
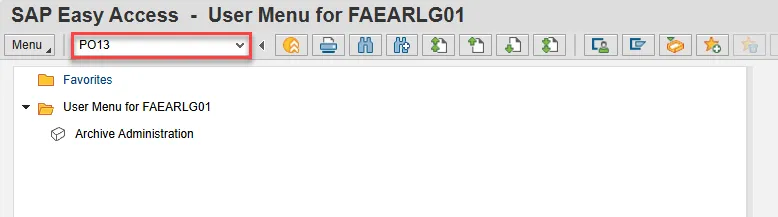
Step 7. Input PO13 into the command bar and click the Enter button.
Step 8. Input the position number and choose Enter. Also, ensure that your time period encompasses the effective date of the PCR. Using the ‘All’ option is an easy way to do this.

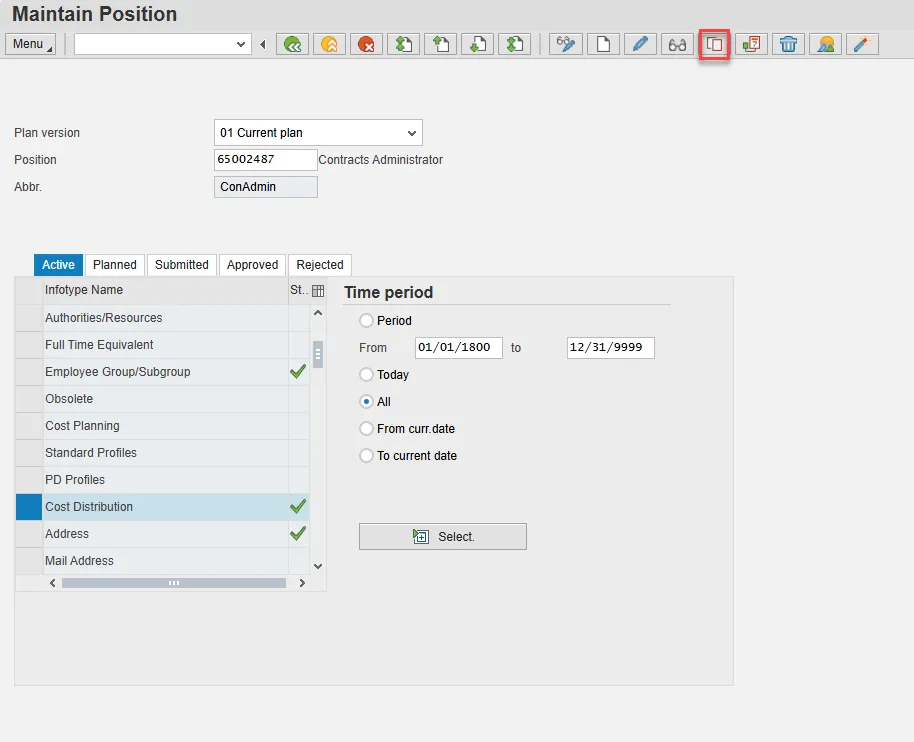
Step 9. Locate and select the Cost Distribution infotype in the list of infotypes. You will have to scroll down just a little way and it will have a check mark next to it.

Step 10. Click the Copy button.
**Very Important**
It is VERY important that you use copy when updating a position’s budgeted amount. Doing so will ensure that prior budgetary information is retained.
Step 11. Input the effective date of the PCR in the Start date field and click the Enter button.
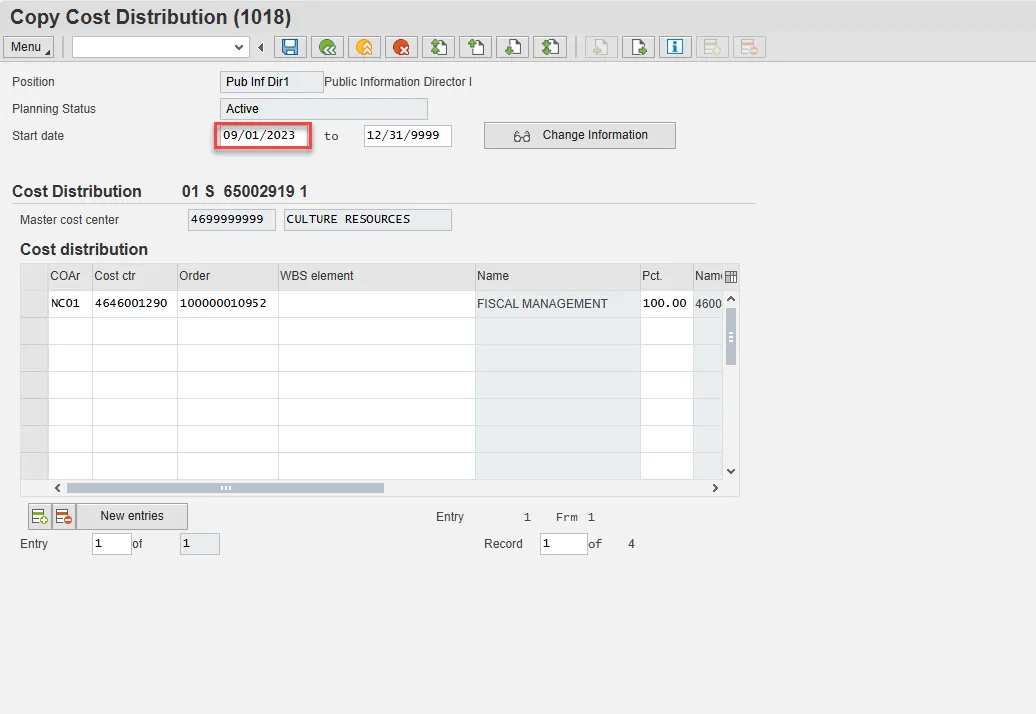
Step 12. On the Budget Distribution screen that comes up, input the proposed salary amount from the PCR. In the Action/Reason field, choose 111 – Position Budgeted Salary Change.

Step 13. Click the Continue button.
Step 14. Click Save on the Copy Cost Distribution screen.
Step 15. Click Yes in the pop-up window.

By delimiting the previous record, you have created history for this position!
Step 16. You can close the Maintain Position screen, or you can leave it open to use again if you have more PCRs to review.
Step 17. Return to your PCR list and execute the PCR for which you previously viewed the header.

Step 18. On the pop-up window, click into the Cost tab and ensure that your change is reflected in the data.
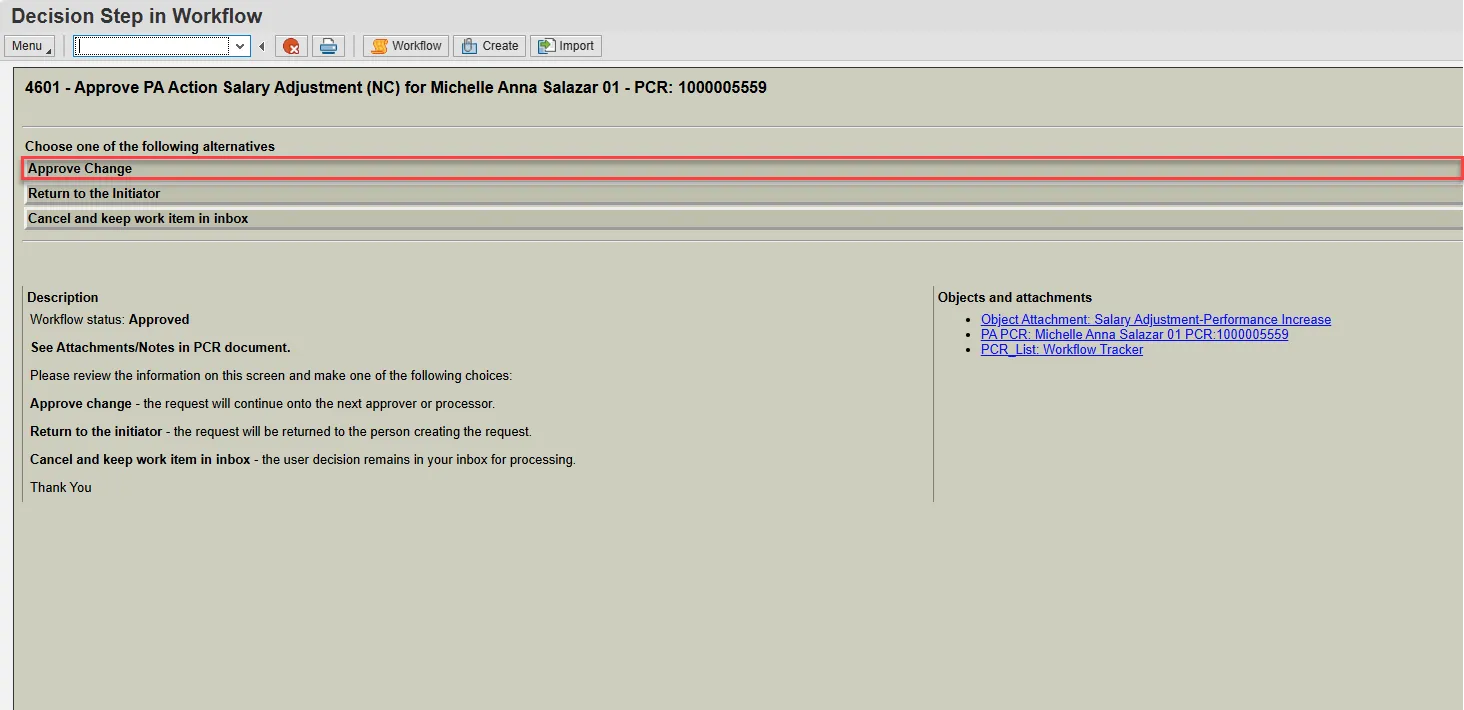
Step 19. Click the Back button to return to the Decision Step in Workflow Screen. Click Approve Change.
Step 20. The system task is complete.