Purpose
This document is used when a Position Competency Level change is needed for Career Banded or Skilled Based Pay (SBP) positions only.
Business Process Procedure Overview
All Position Competency Level changes are submitted via the OM Workflow, transaction code ZOMA069, Action 118 to change Career Banded or SBP position competency level.
Access Transaction
Via Transaction Code: ZOMA069
Procedure
Please follow the steps below. There are 8 steps to complete this process.
Step 1. Type ZOMA069 in the command field.
Step 2. Click the Enter button on your keyboard.
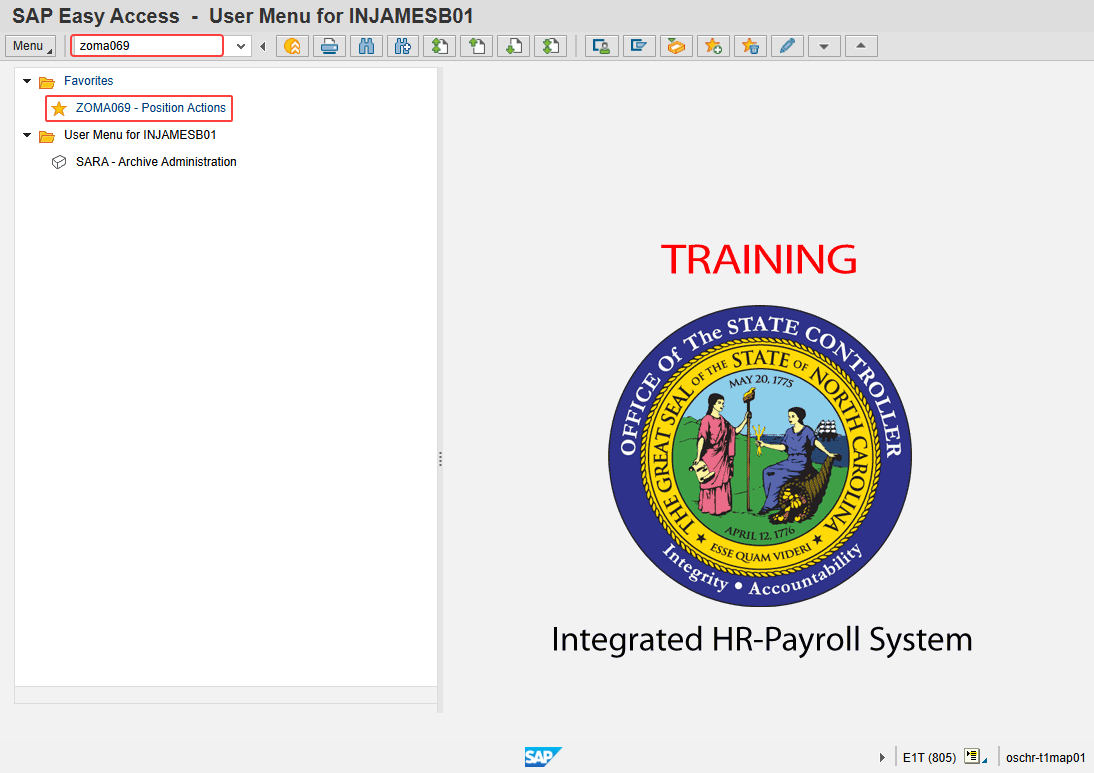
Note: You may want to enter this transaction code in your Favorites folder. Use the following help document for useful tips and tricks when using your 'Favorites' folder:
GN-08 Working With Your Favorites Folder
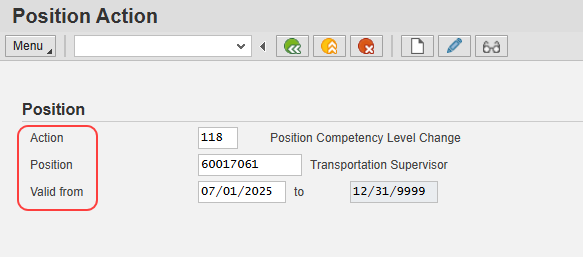
Step 3. Input a position number and an effective date and then click enter on your keyboard to validate the data. (Fields will validate and display the position title and date in the correct format.)
The beginning date should be the effective date of the Position Comp Level change (it can be dated in the past or in the future). The format can be mm/dd/yyyy, mmddyy, or mm/dd/yy. The end date will default to 12/31/9999 and cannot be edited.
Be sure to double check your information before moving to the next step. Once the create button is clicked, the information that you just input will no longer be editable.
This help document will use training database position 60017061 and an effective date of 07/01/2025.
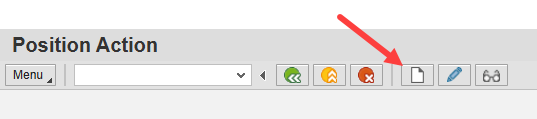
Step 4. Click the Create button (Hotkey: F5). The button looks like a piece of paper.
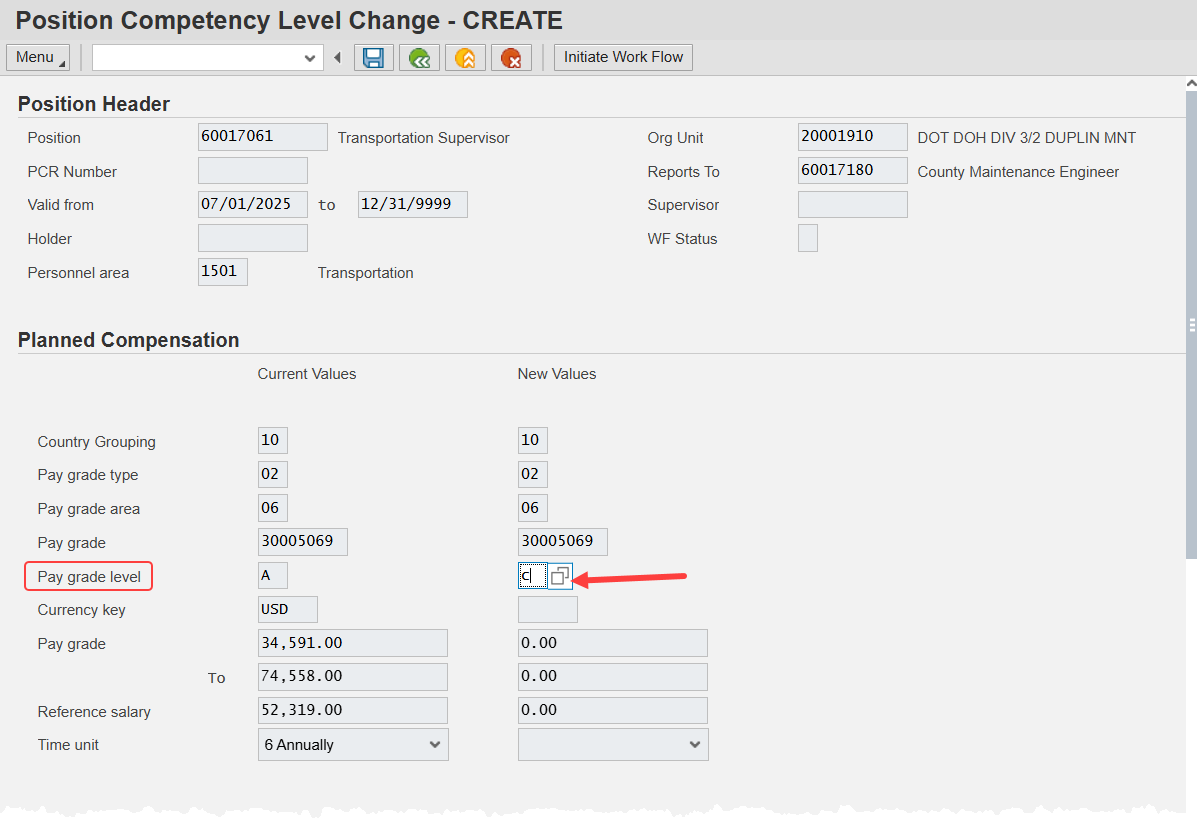
Step 5. Update the Pay Grade Level field which represents the Competency Level for Career Banded or Skill Based Pay positions only. Examples include A, C or J for Career Banded positions or 1 through 5 for Skill Based Pay positions (DOT).
You can type a value directly into this field or choose one from the matchcode pop-up which appears when you click in the editable field.
This help document has used a value of 'C'.
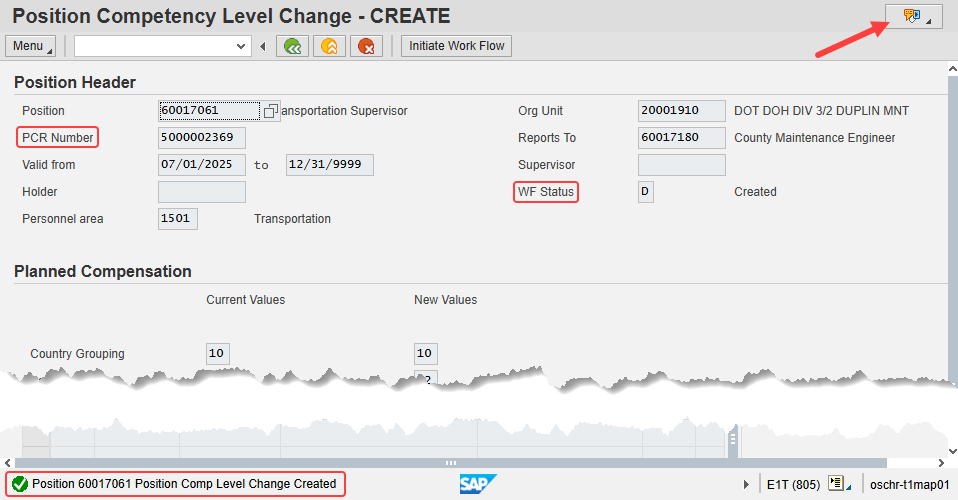
Step 6. Click the Save button and note several changes on your screen. First, the Services for Object button has appeared on the top right of the window. The system has generated a PCR Number (Position Change Request) and given it a WF Status of 'D' (created). Finally, there is a confirmation message in the Message Center on the bottom left of the screen.
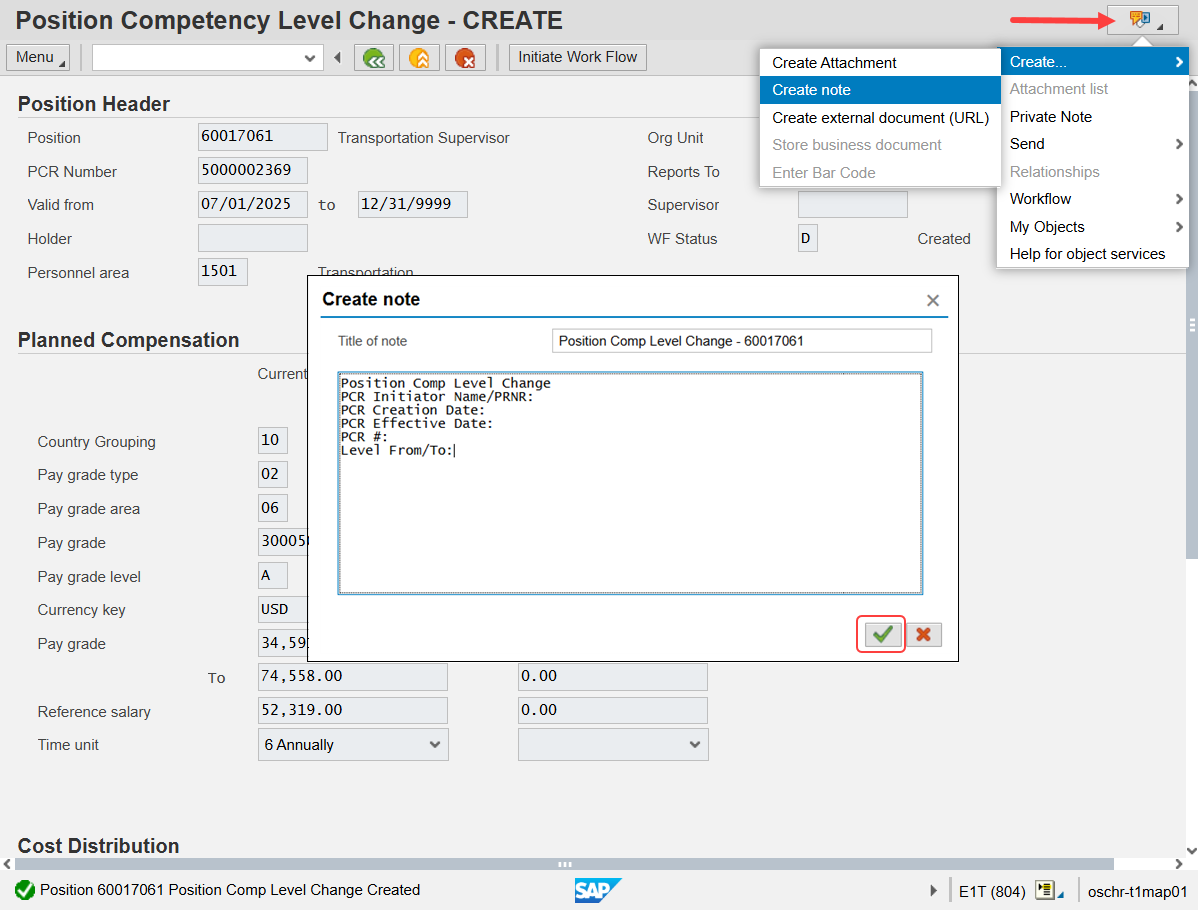
Step 7. Add your required note.
Before a position action is initiated in Workflow, you are required to include a note that can be reviewed by approvers. A template has been created by OSC and OSHR which indicates what information needs to be included in the note.
The note is added to the request by clicking the Services for Object button, hovering over Create and then clicking Create Note. A pop-up will appear. Provide a title for the note, typically the type of action and a position number. Next, copy the template into the body of the note and add the required information. Finally, click the Save button on the bottom right of the pop-up to save the note to the request.
Step 8. Verify your data and click the Initiate Work Flow button. Your request has been sent for review and approval. The verification step is very important because once you click this button, you will only be able to make changes if one of the approvers rejects it back to you.
The PCR Number can be used to track the request through the approval process.
Additional Resources
You may find the following documents helpful when creating and monitoring a Change Position Comp Level action: