Purpose
The purpose of this Quick Reference Guide (QRG) is to provide a step-by-step explanation of how to Manage Purchase Orders in the North Carolina Financial System (NCFS).
Introduction and Overview
This QRG covers the steps to manage Purchase Orders and check the details for a specific Purchase Order (PO).
User Tip
The following are prerequisites to manage purchase orders in NCFS:
-
All NCFS Purchase Orders must be sourced from approved NCFS requisitions.
-
All Ariba POs will be interfaced in real time from Ariba into NCFS, and these cannot be modified directly in NCFS. Instead, all modifications must be initiated directly from Ariba.
Manage Purchase Orders
To Manage Purchase Orders in NCFS, please follow the steps below. There are 18 steps to complete this process.
Step 1. Log in to the NCFS portal with your credentials to access the system.
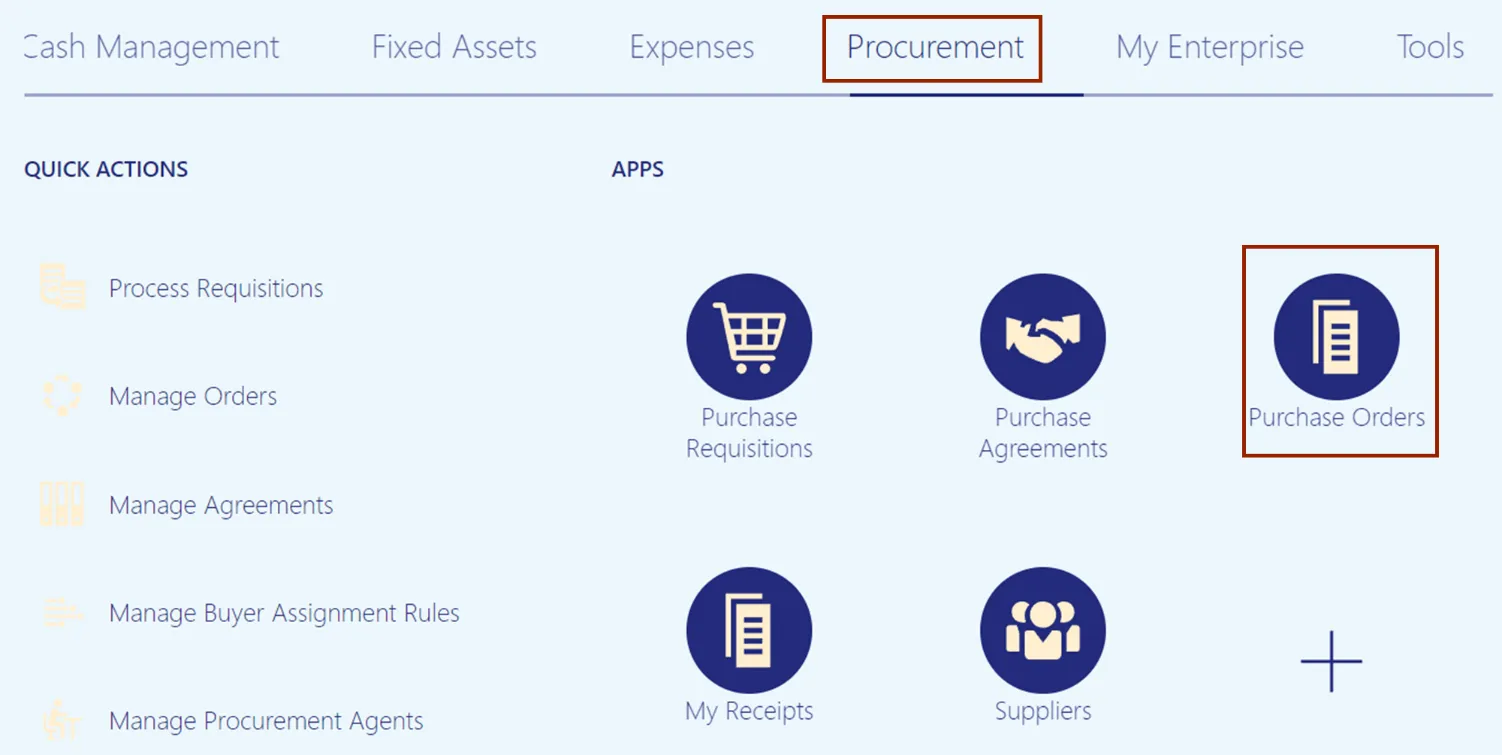
Step 2. On the Home page, click the Procurement tab. Click the Purchase Orders app.
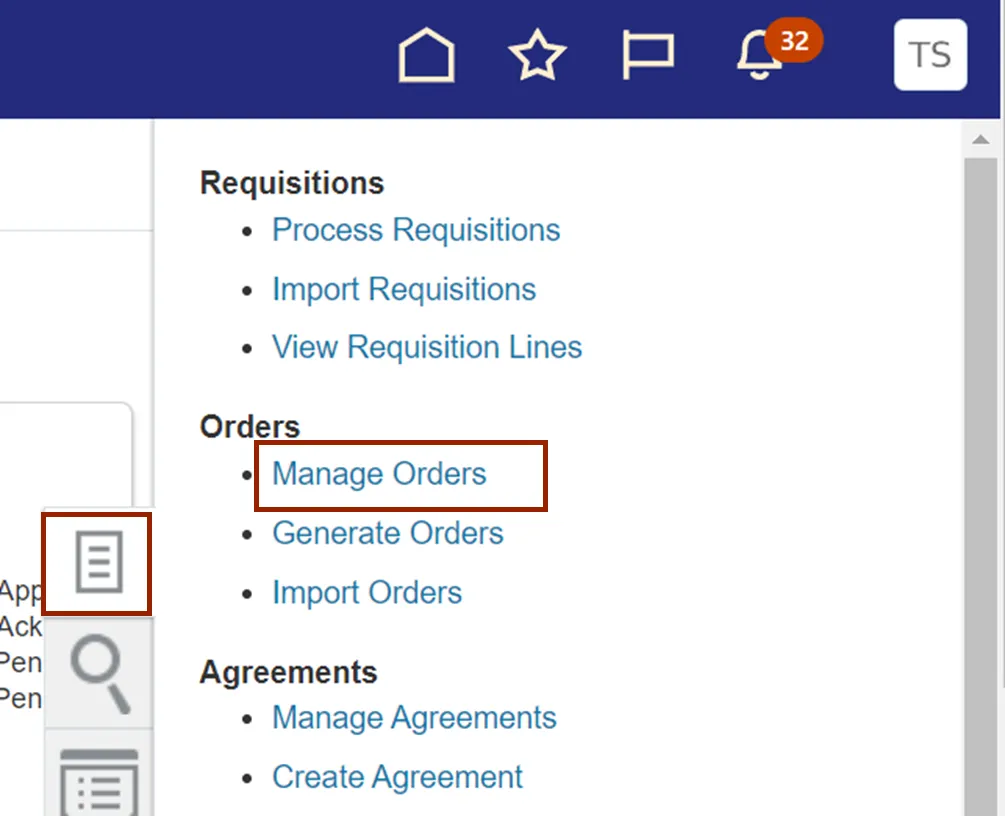
Step 3. Click the Tasks icon. Under Orders, click Manage Orders.
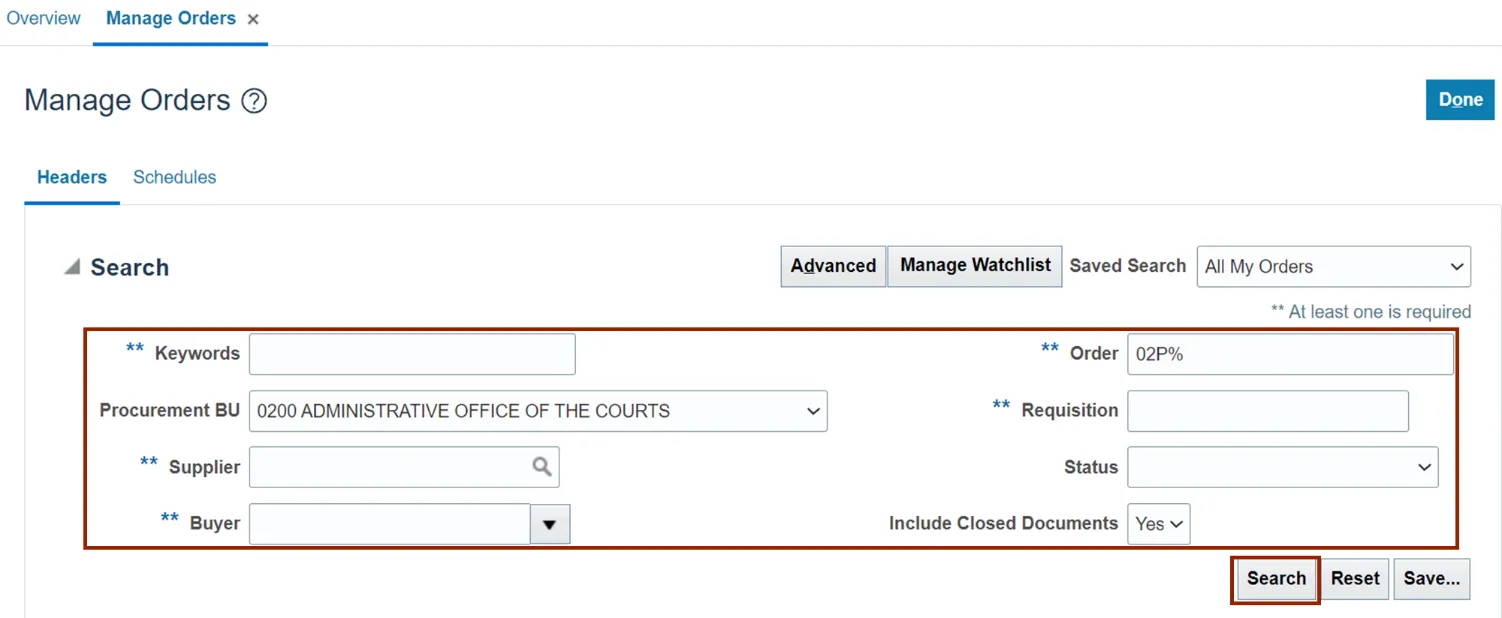
Step 4. The Manage Orders page opens. Under the Search section, enter the required fields.
In this example, we choose Procurement BU as 0200 Administrative Office of the Courts, **Order as 02P%, and Include Closed Documents as Yes. Click the Search button.
Note: Delete any auto-populated details in the Buyer field.
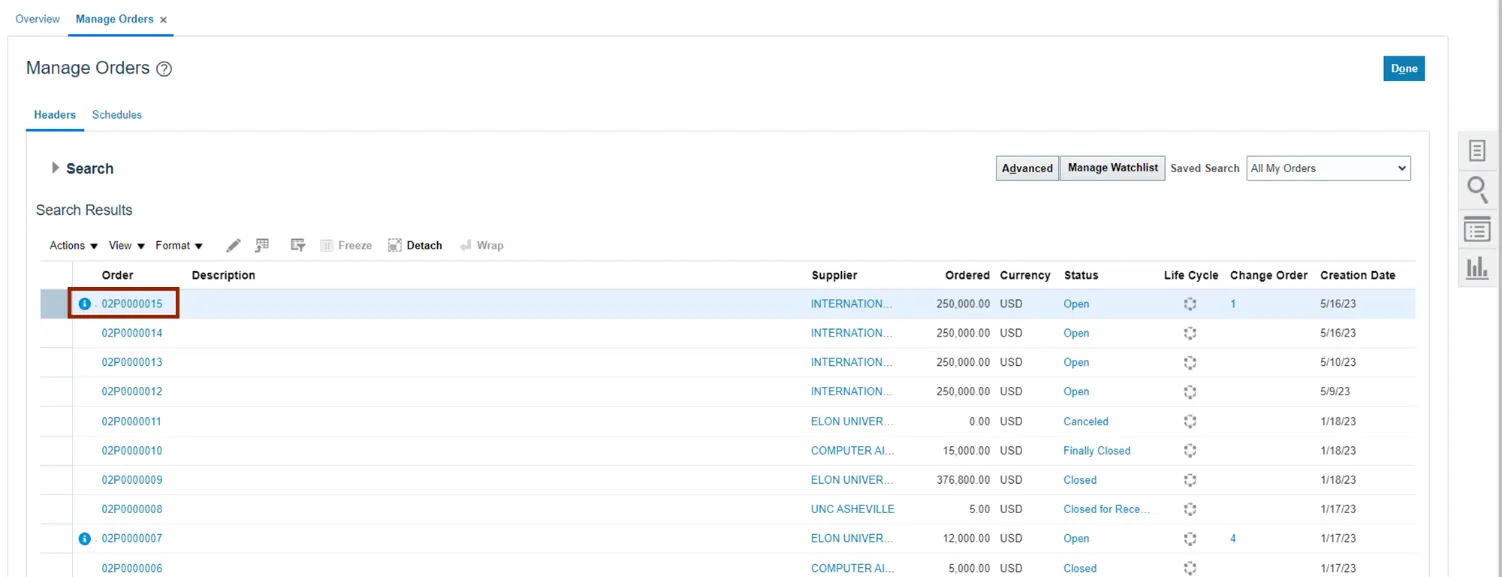
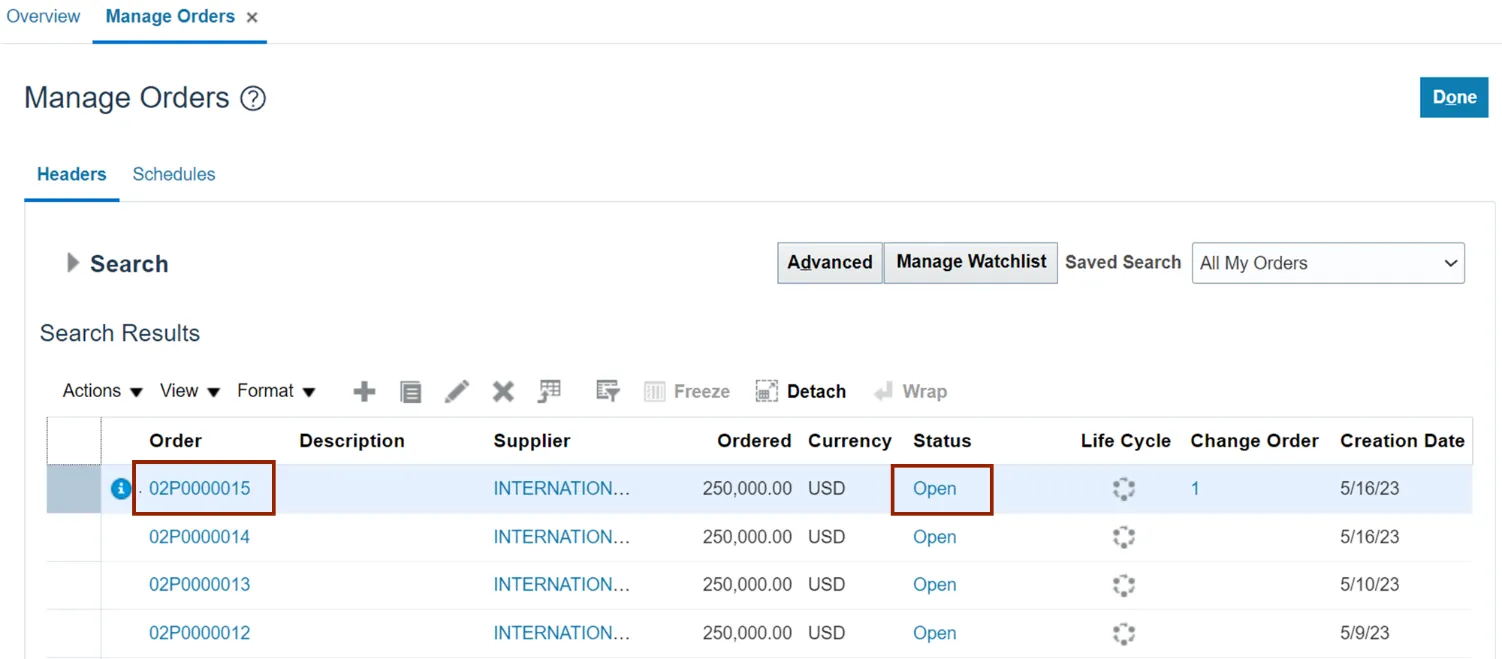
Step 5. The Manage Orders Search Results page opens. In the Search Results section, click the Purchase Order.
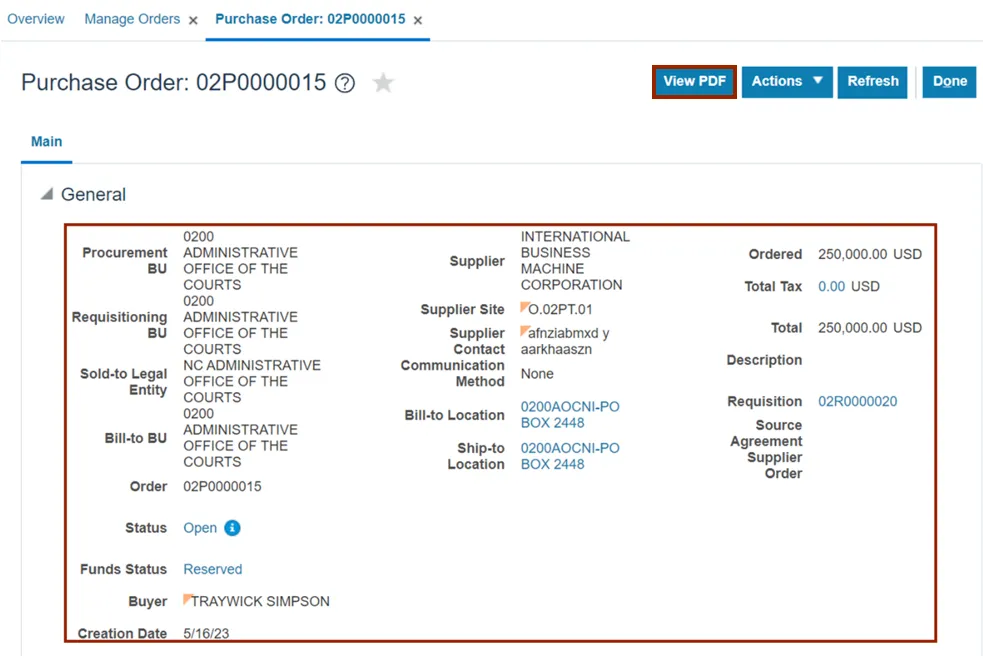
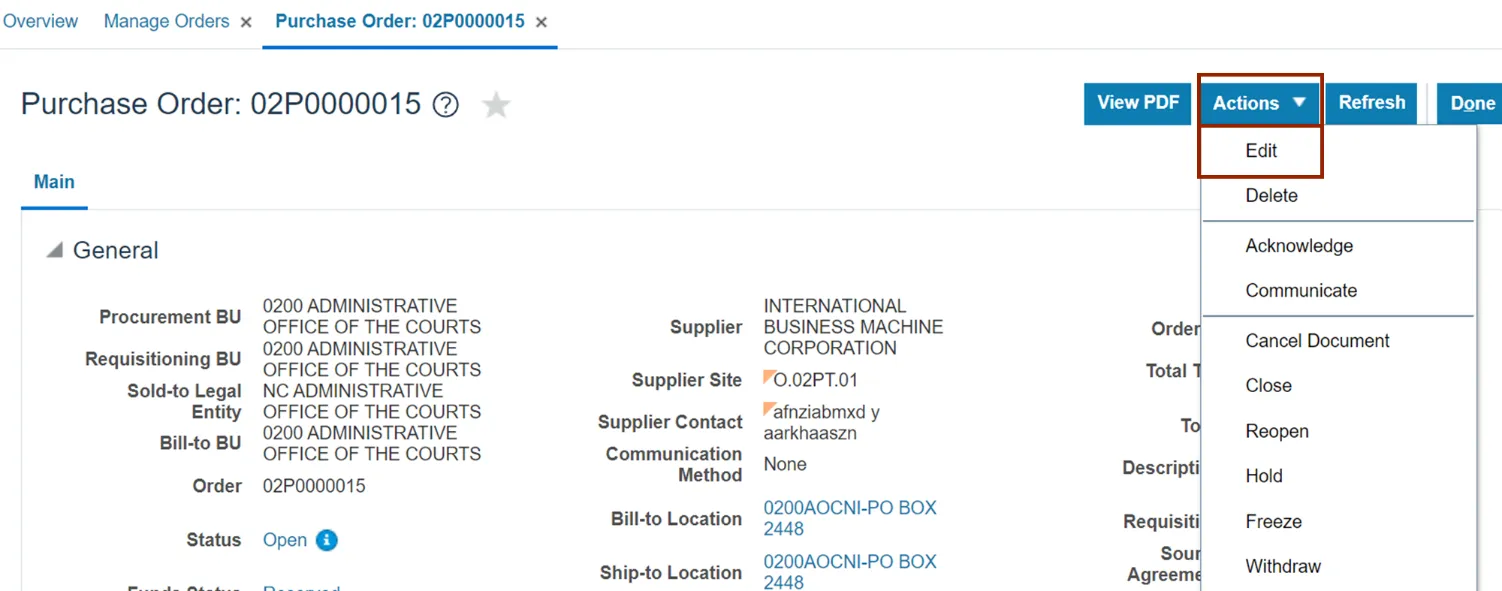
Step 6. The Purchase Orders page opens. On the General section, check the PO Status, Funds Status, Buyer, Total Amount, Description, Requisition, Supplier Name, and Supplier Site fields.
Note: To view the PO in PDF version, click the View PDF button.
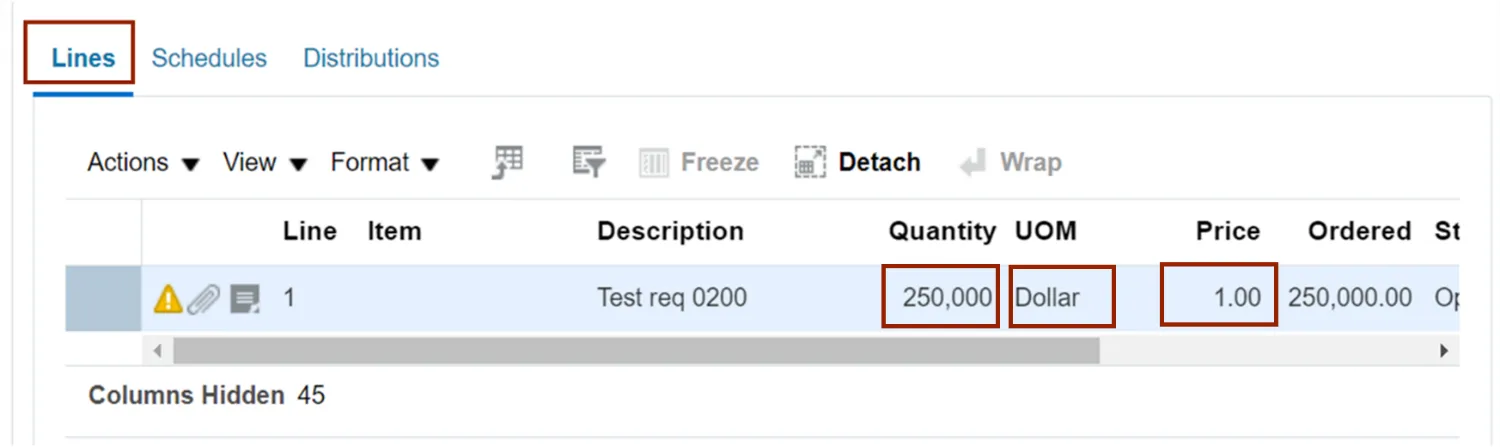
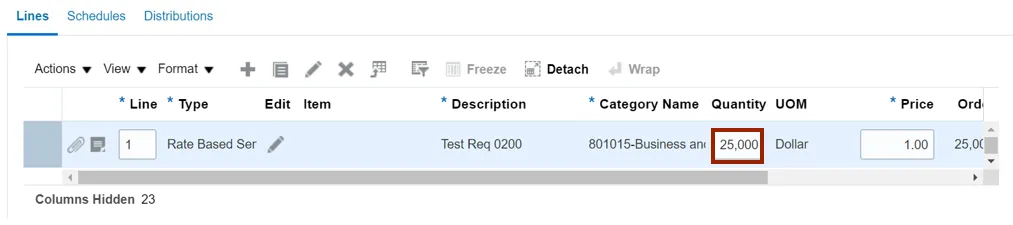
Step 7. Scroll down and validate the Lines section information. Check the Quantity, UOM, and Price fields.
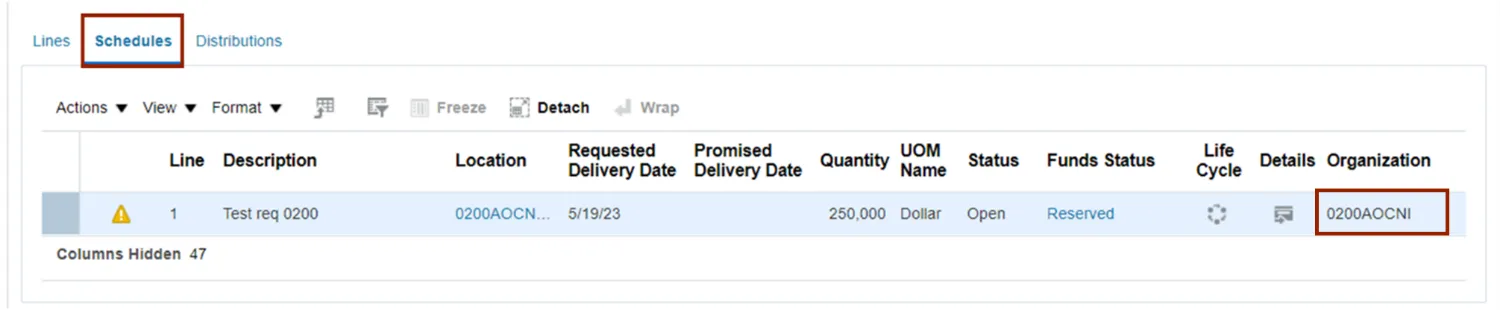
Step 8. Validate the Schedules section information. Check the Organization field.
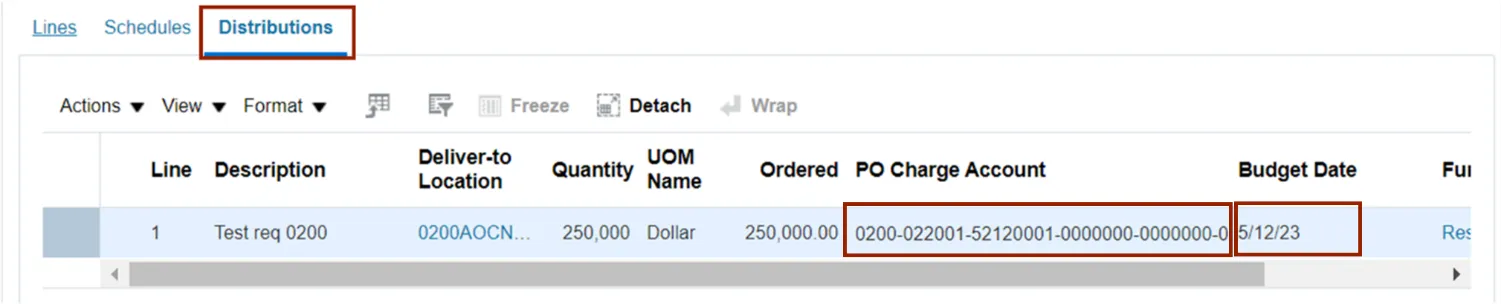
Step 9. Validate the Distributions section information. Check the Charge Account and Budget Date field.
Note: If there are changes identified and required after validation of the information on the Purchase order page, please follow the steps from step 10- 15. If there are no changes required in the PO, please skip to step 15.
Step 10. From the Actions drop-down choice list, select Edit.
Step 11. Make the required edit in the Purchase Order.
In this example we choose, to update Quantity - 25,000 in the Lines section.
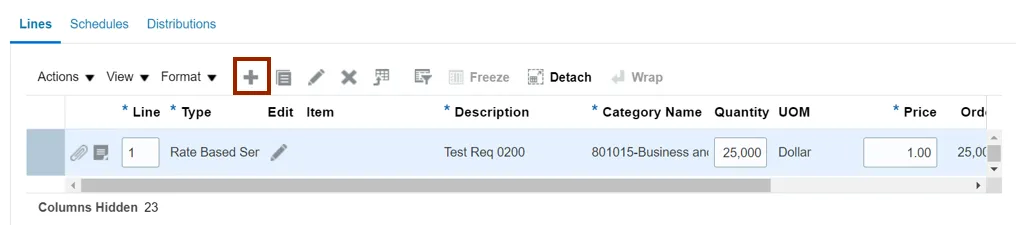
Step 12. Click the Plus icon to add a new line to the Purchase Order.
Step 13. Enter the applicable details in the new line of the Purchase Order.
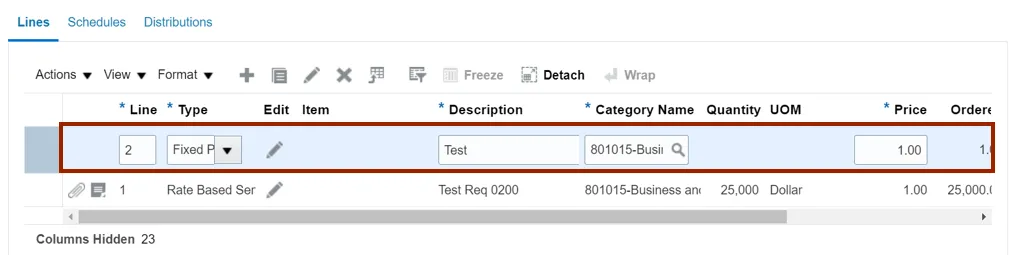
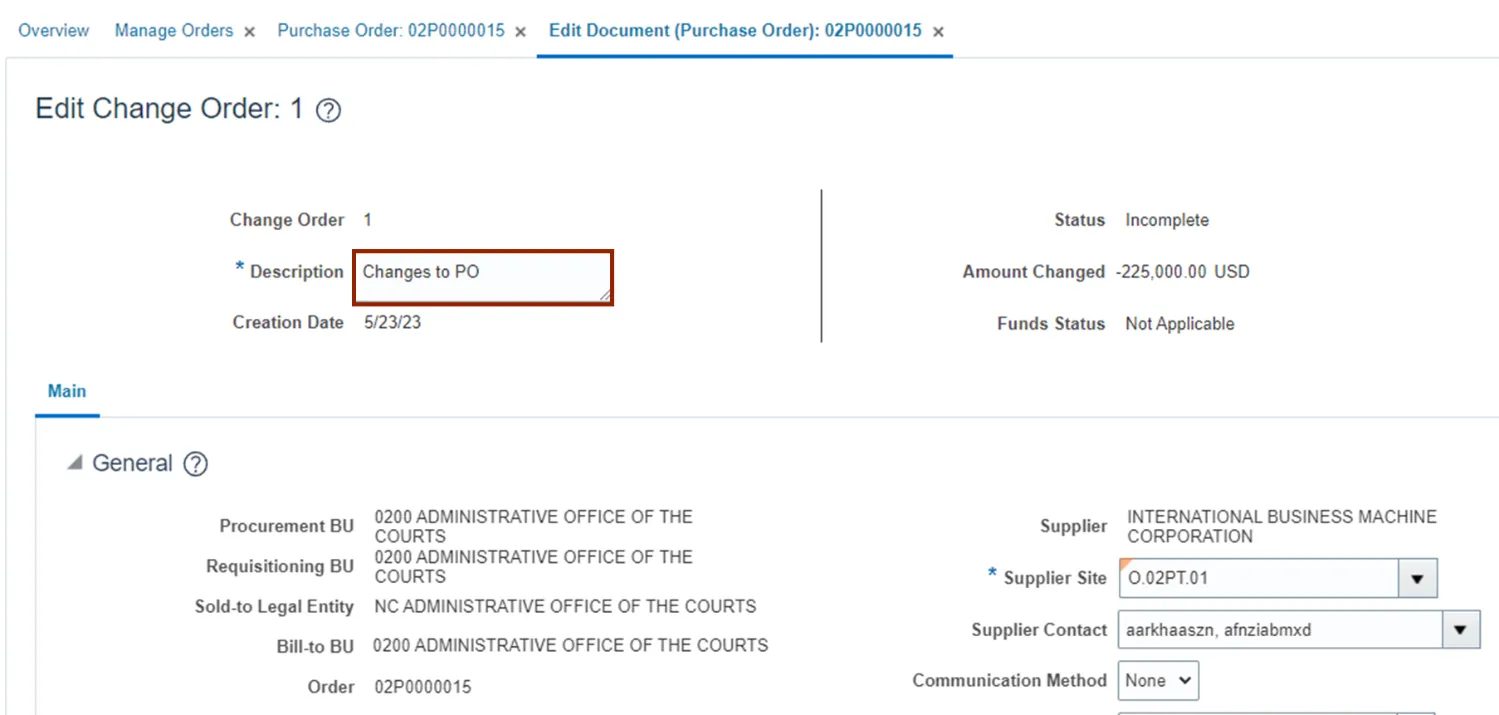
Step 14. Enter the value in *Description field.
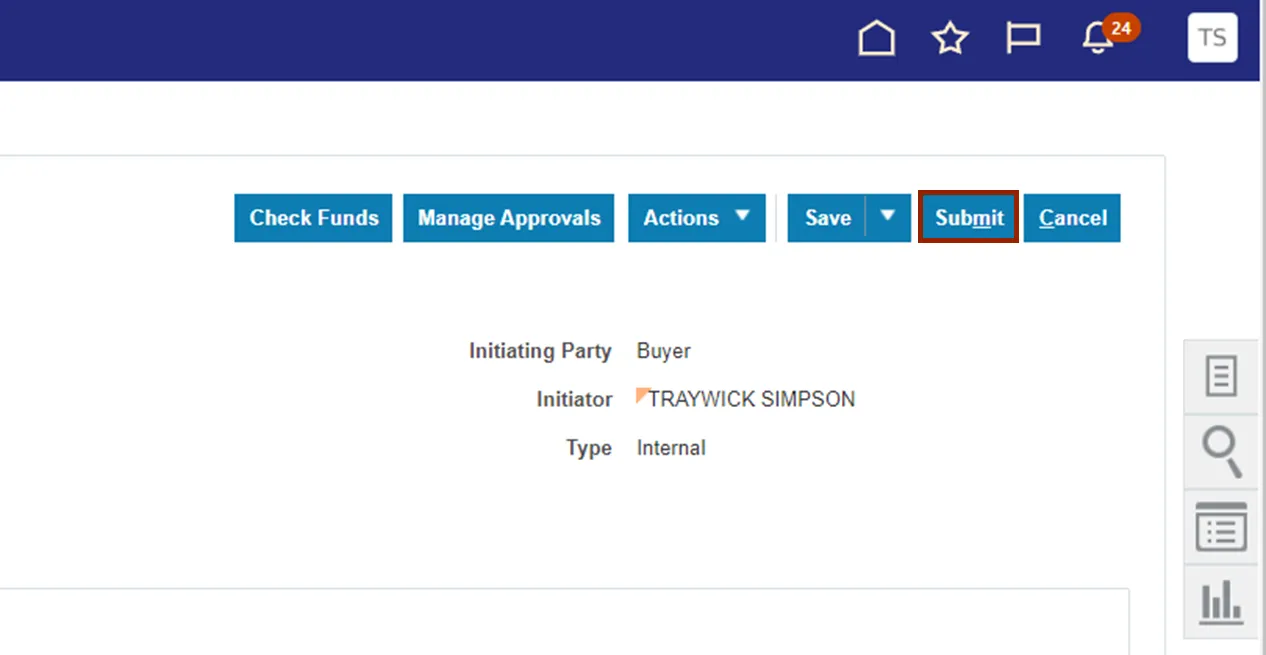
Step 15. Click the Submit button.
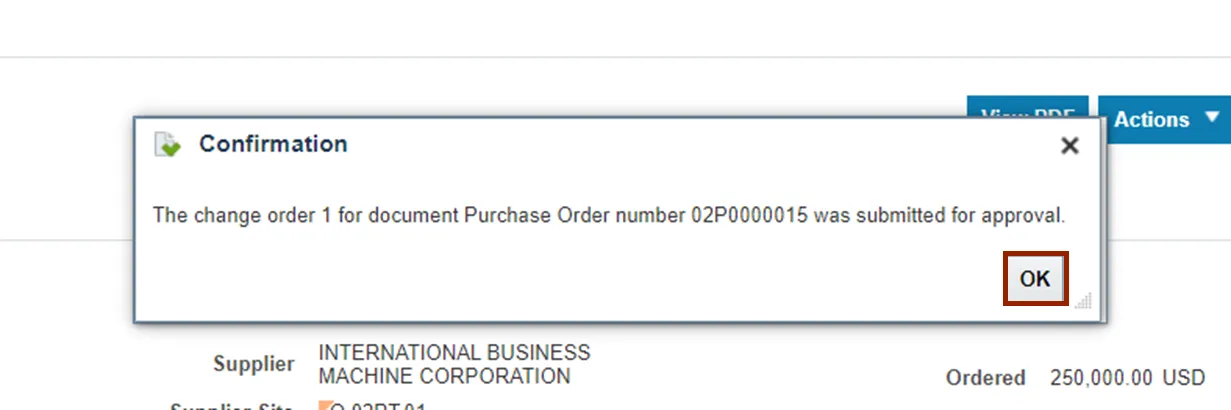
Step 16. The Confirmation pop-up appears, the changes done to PO are submitted for approval. Click the OK button.
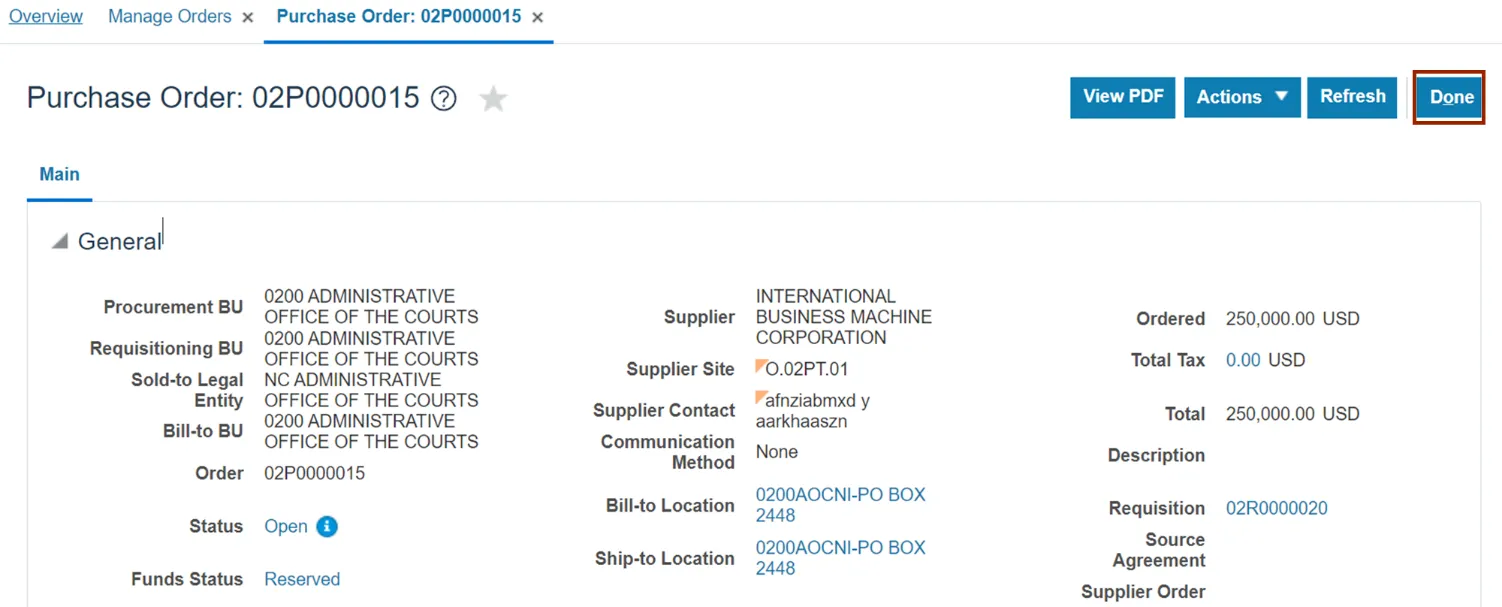
Step 17. Click the Done button.
Note: Change Order has been submitted for approval, and once reviewed and approved, it will be completed and the PO will be updated as needed.
Step 18. You are now redirected to Manage Orders page. You can see the submitted PO in the Order field and it’s status under the Status field.
Wrap-Up
Manage Purchase Orders using the steps above.
Additional Resources
- Virtual Instructor-Led Training (vILT)