Purpose
The purpose of this Quick Reference Guide (QRG) is to provide a step-by-step explanation of how to Create Counts in the North Carolina Financial System (NCFS).
Introduction and Overview
This QRG covers the creation of counts in NCFS which will enable you to define the Cycle count and initiate the Cycle count process by generating the Cycle Count listing report.
Note: This is an optional step in Cycle Counting.
Define Cycle Count
To define cycle count in NCFS, please follow the steps below. There are 15 steps to complete this process.
Step 1. Log in to the NCFS portal with your credentials to access the system.
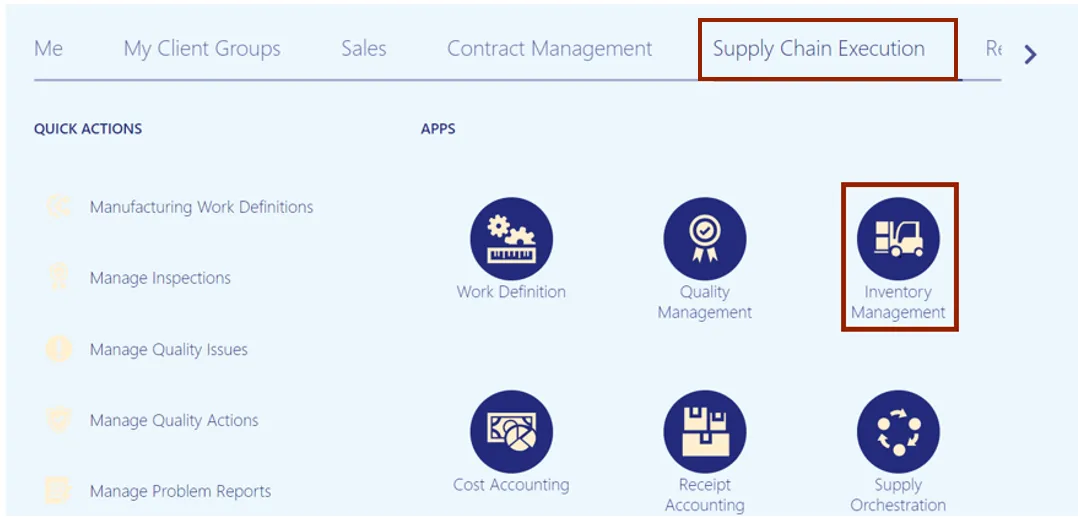
Step 2. On the Home page, click the Supply Chain Management tab and click the Inventory Management app.
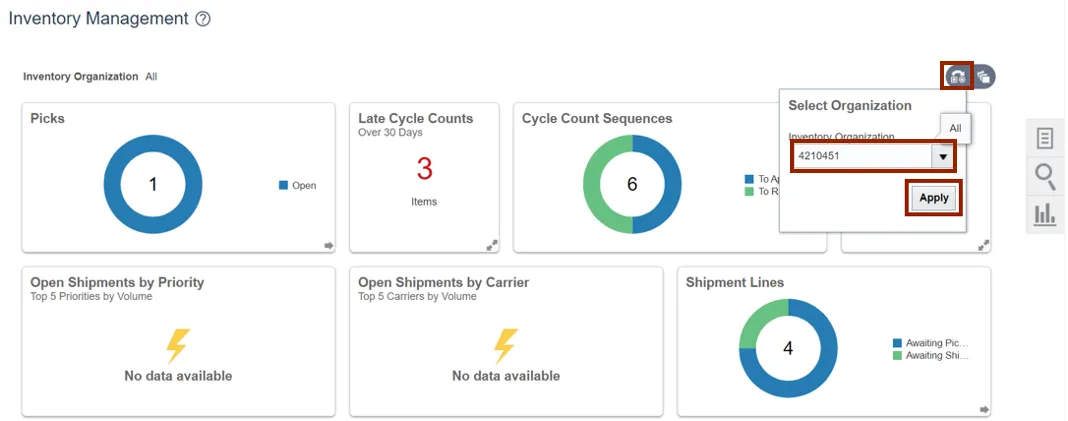
Step 3. On the Inventory Management dashboard, click the View By icon. Click the Inventory Organization drop-down choice list, select the Inventory Organization.
In this example, we choose 4210451. Click the Apply button.
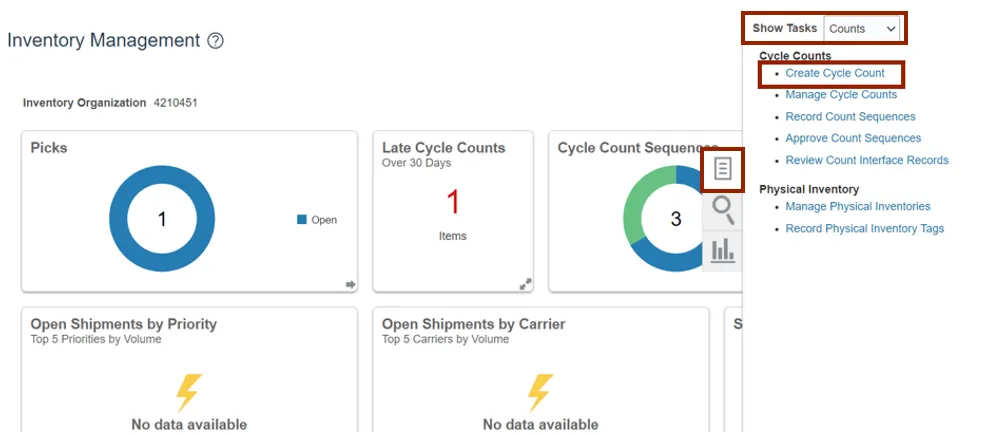
Step 4. Click the Tasks icon. Click the Show Tasks drop-down choice list, then select Counts and click Create Cycle Count.
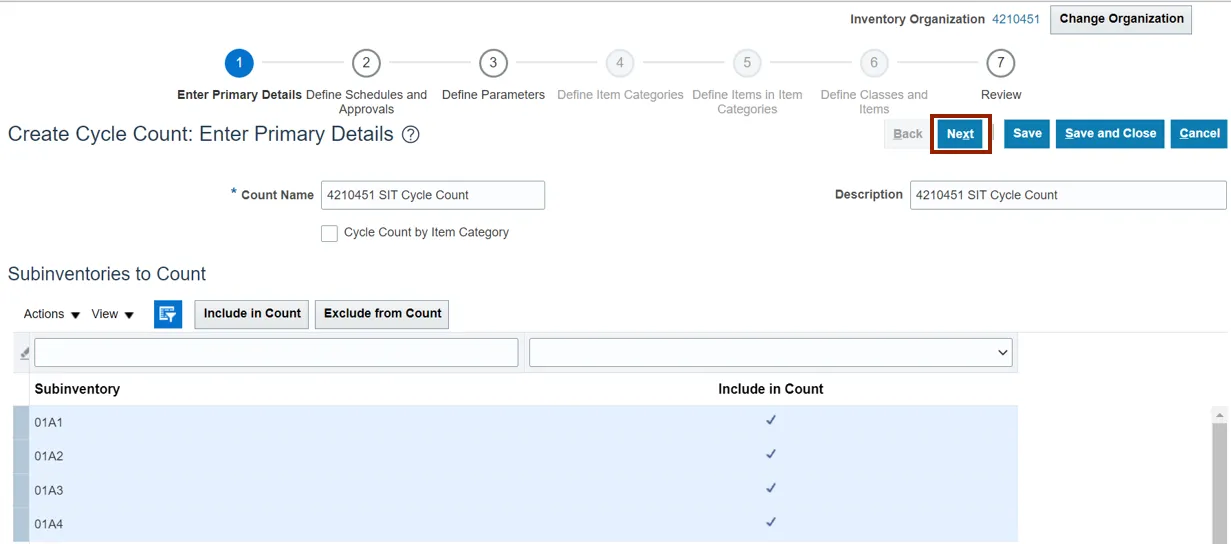
Step 5. Enter the Count Name in the Count Name field.
In this example, we choose 4210451 SIT Cycle Count1. Enter the Description as required. In this example, we entered 4210451 SIT Cycle Count1.
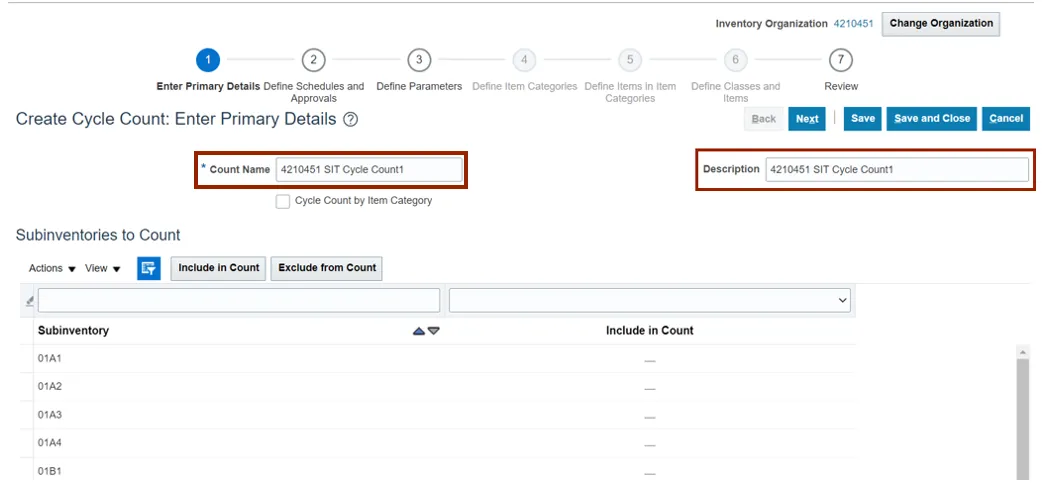
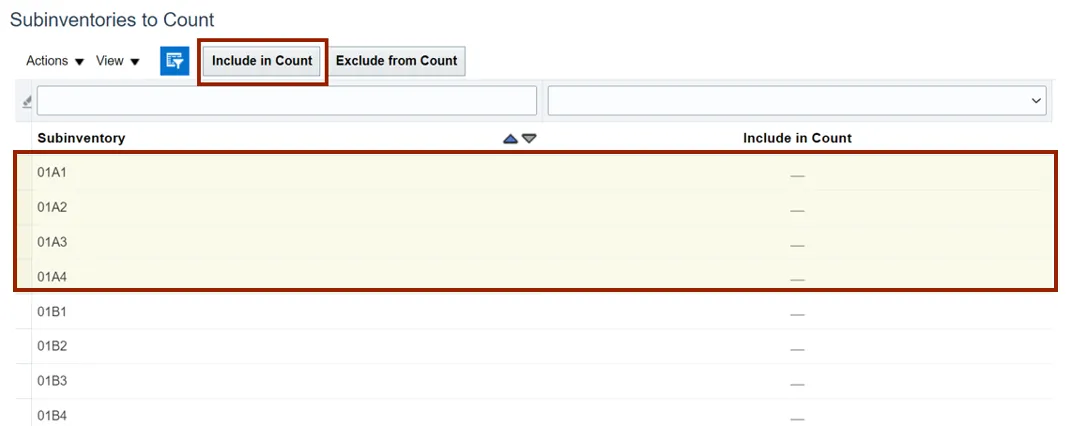
Step 6. You can select a Subinventory. Either you can add them one by one, or you can hold the CTRL key and select multiple Subinventories, and then click the Include in Count button.
Step 7. Scroll down to the Synchronize Count Classes and Items with ABC Group section, then select the ABC Assignment Group.
In this example, we choose 4210451 SIT AG. From the Synchronization Mode, select the Complete radio button.
Note: ABC Assignment Groups are an optional step. Cycle counts can be scheduled directly instead.

Step 8. Scroll up to the top of the page, click the Next button.
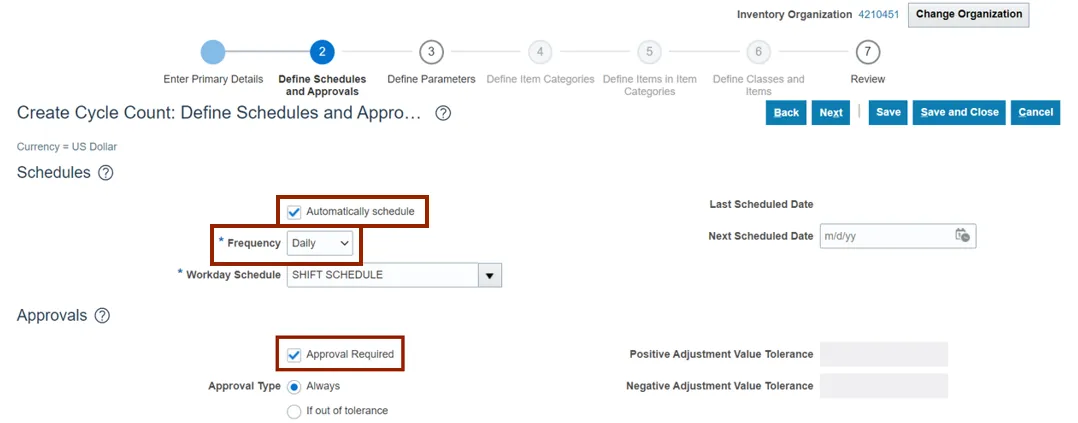
Step 9. In the Schedules section, select the Automatically schedule check box. Click the Frequency drop-down choice list, then select Daily. In the Approvals section, select the Approval Required check box.
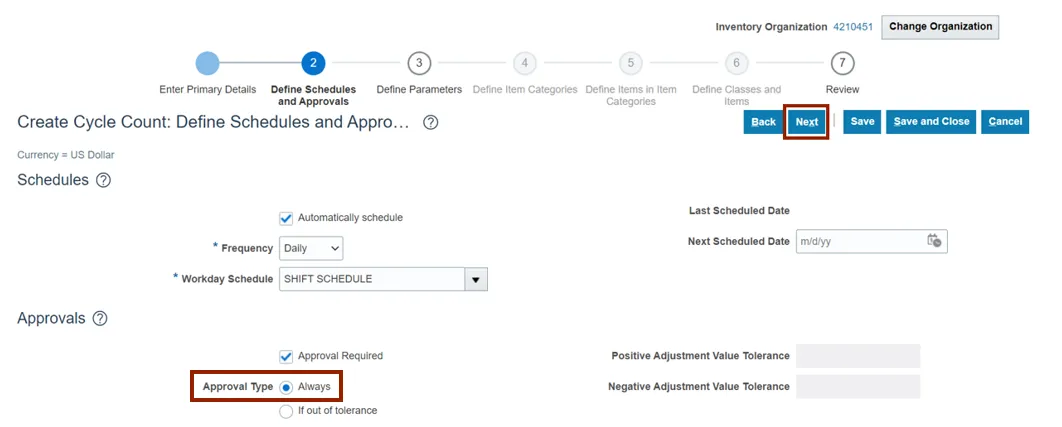
Step 10. Select the Always radio button for Approval Type if not already selected. Click the Next button.
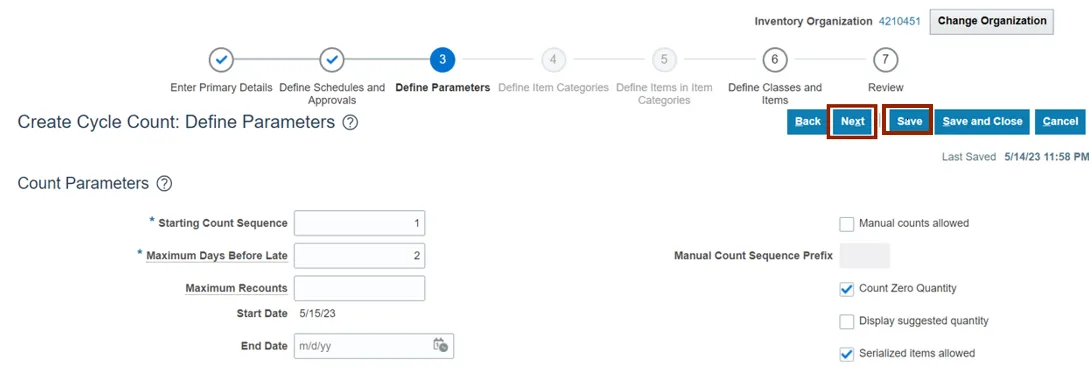
Step 11. In the Count Parameters section, enter the Starting Count Sequence in the Starting Count Sequence field.
In this example, we choose 1. Enter the Maximum Days Before Late in the Maximum Days Before Late field. In this example, we choose 2 (Note: Leave the Maximum Recounts field blank.) Select the Count Zero Quantity check box.

Step 12. Click the Save button and click the Next button.
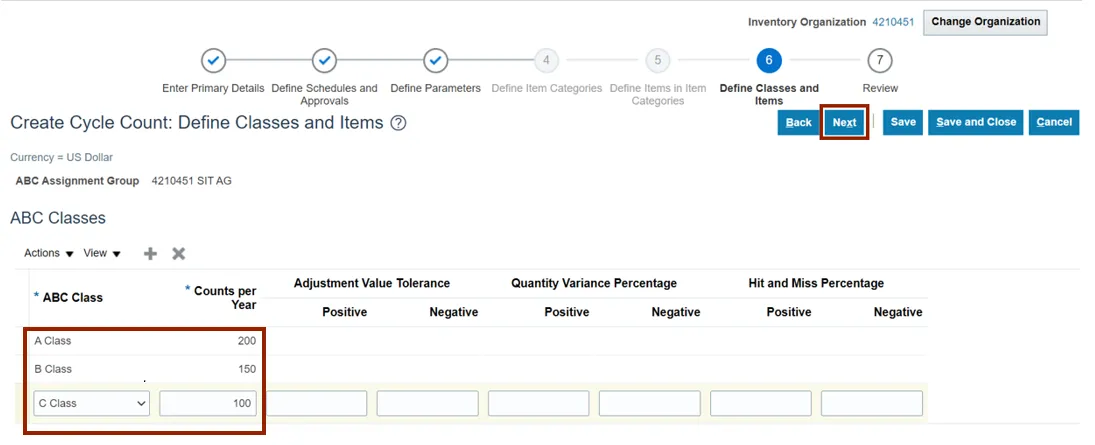
Step 13. In the ABC Classes section, provide the Counts per year for the ABC Classes in the Counts per year field.
In this example, we choose A Class-200, B Class-150, C Class-100.
Note: Provide the Adjustment Value Tolerance, Quantity Variance Percentage and Hit and Miss Percentage fields if required. Click the Next button.
Note: ABC Assignment Groups are an optional step. Cycle counts can be scheduled directly instead
Step 14. Review the details of the cycle count created. Additional details can be viewed by scrolling down.

Step 15. Click the Save button to save your cycle count.

Wrap-Up
Create Counts using the steps above, to define cycle count and generate count sequences.
Additional Resources
- Virtual Instructor-Led Training (vILT)