Purpose
The purpose of this Quick Reference Guide (QRG) is to provide a step-by-step explanation of how to Create and Manage Movement Requests in the North Carolina Financial System (NCFS).
Introduction and Overview
This QRG covers the procedure of creation and management of movement requests in NCFS which will enable you to create movement requests.
Create Movement Requests
To create movement requests in NCFS, please follow the steps below. There are 17 steps to complete this process.
Step 1. Log in to the NCFS portal with your credentials to access the system.
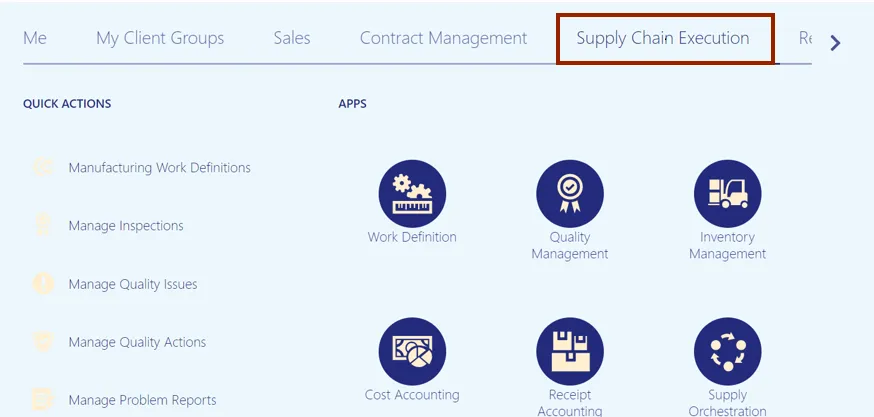
Step 2. On the Home page, click the Supply Chain Execution tab.
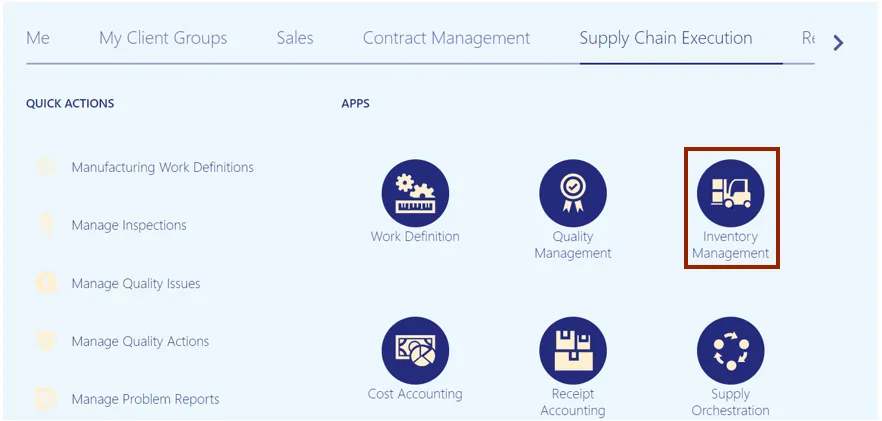
Step 3. Click the Inventory Management app.
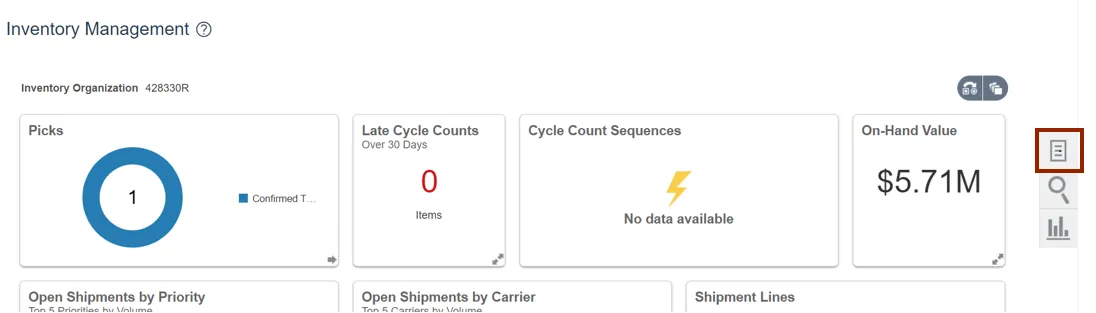
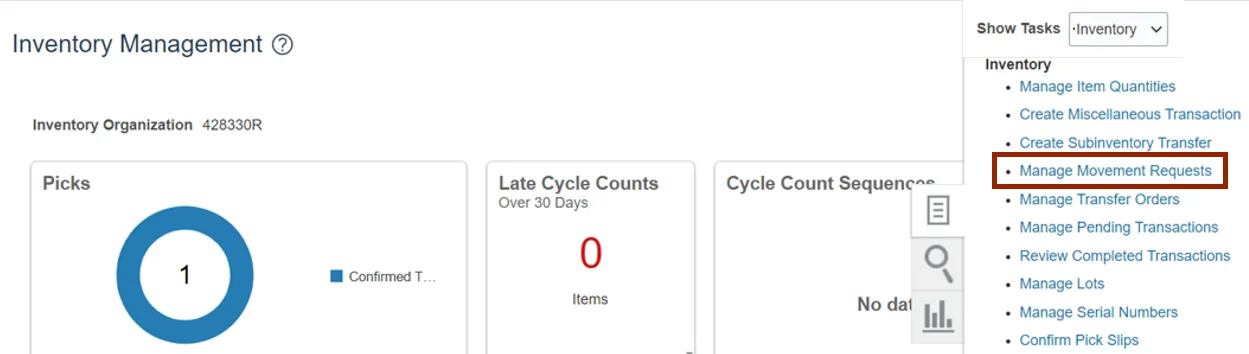
Step 4. On the Inventory Management dashboard, click the Tasks icon.
Step 5. Click the Show Tasks drop-down choice list, then select Inventory.
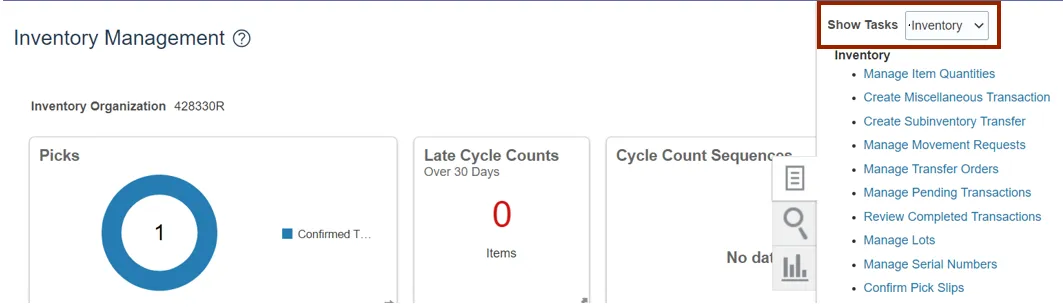
Step 6. Click Manage Movement Requests.
Step 7. The Manage Movement Requests page opens. On the Search Results section, click the Add icon.

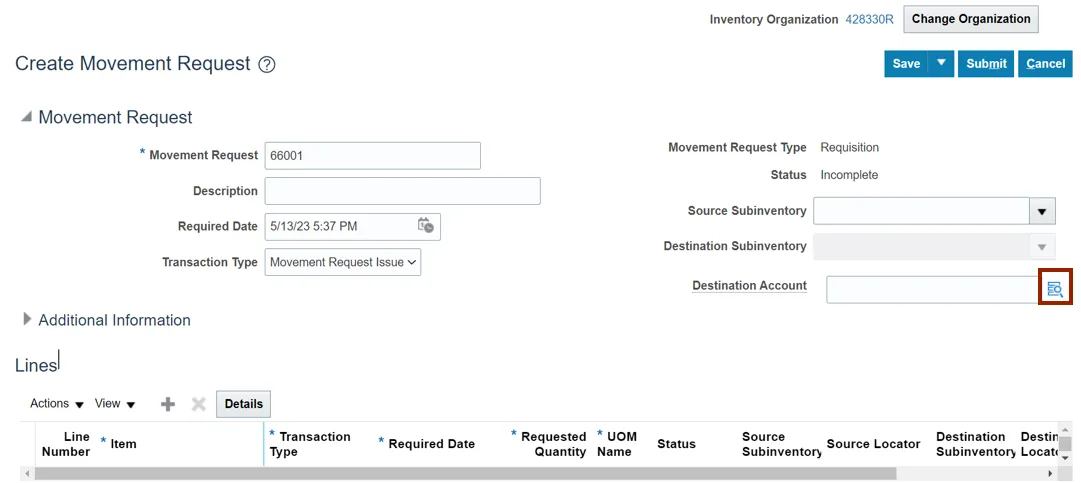
Step 8. Select Movement Request Issue from the Transaction Type drop-down choice list.

Step 9. On the Destination Account field, click the Magnifying Glass icon.
Step 10. The Destination Account pop-up appears. Enter the fields on the Destination Account window as required for your agency, item, and inventory organization.
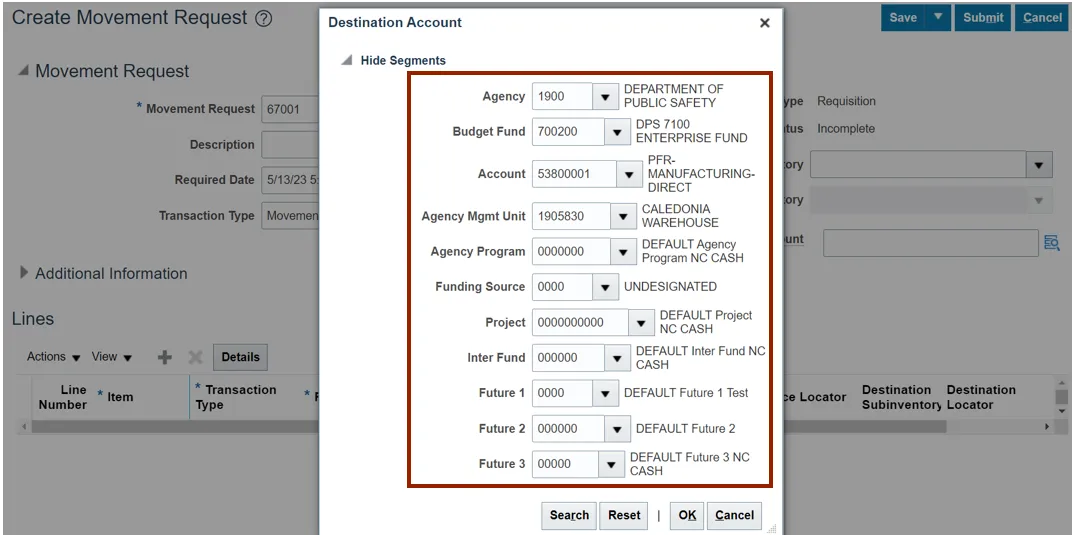
Step 11. Click the OK button.

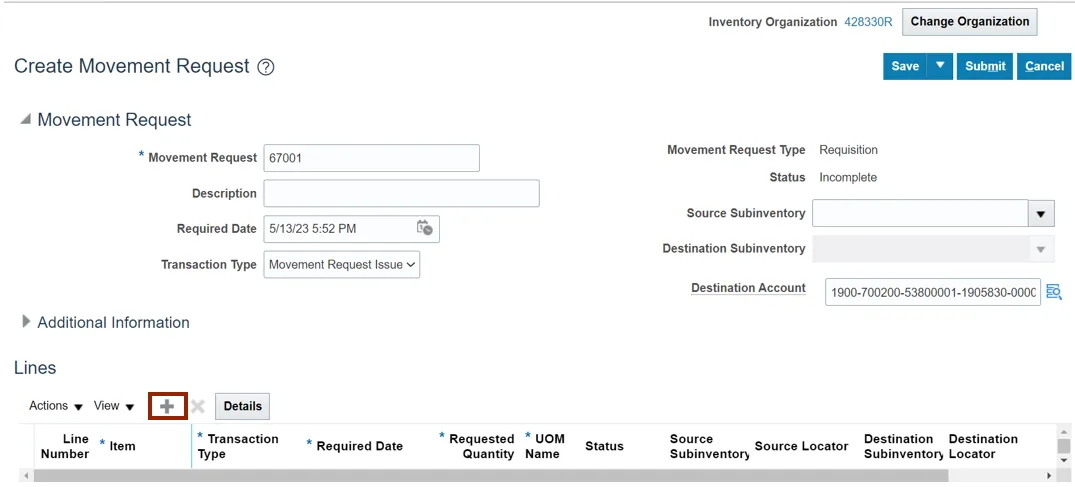
Step 12. On the Lines section, click the Add icon.
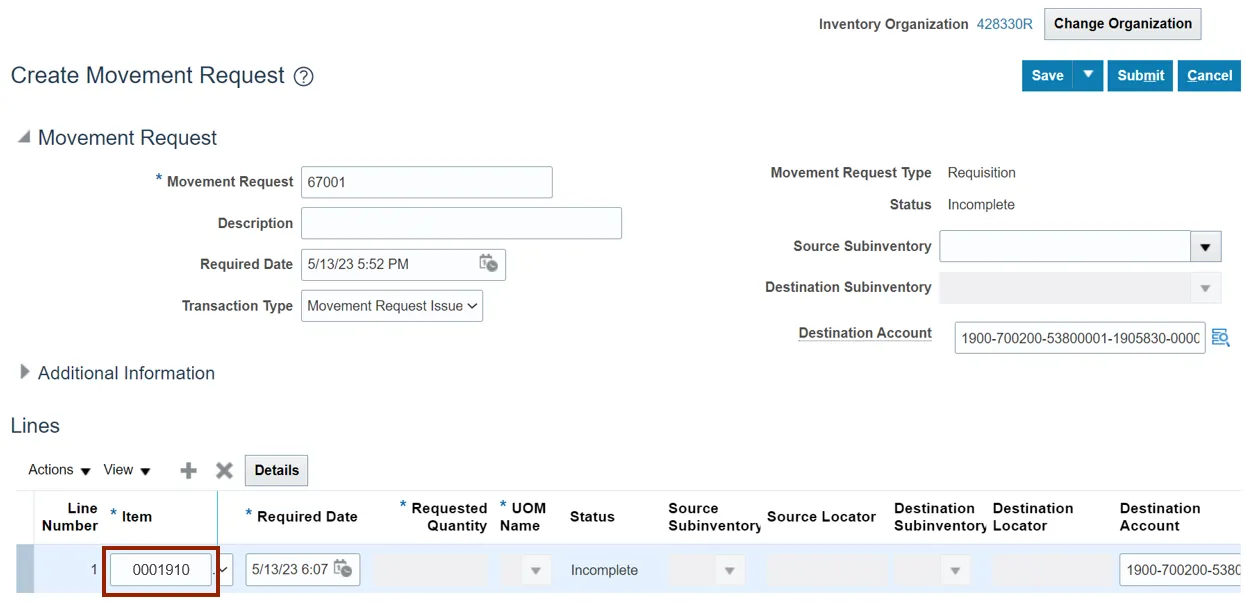
Step 13. Enter the Item Number in the Item field.
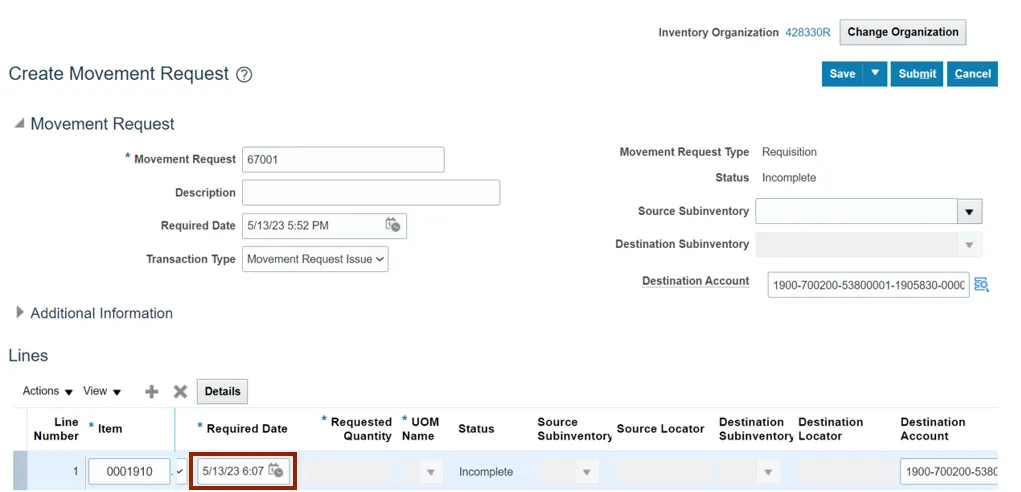
Step 14. Enter the Required Date in the Required Date field.
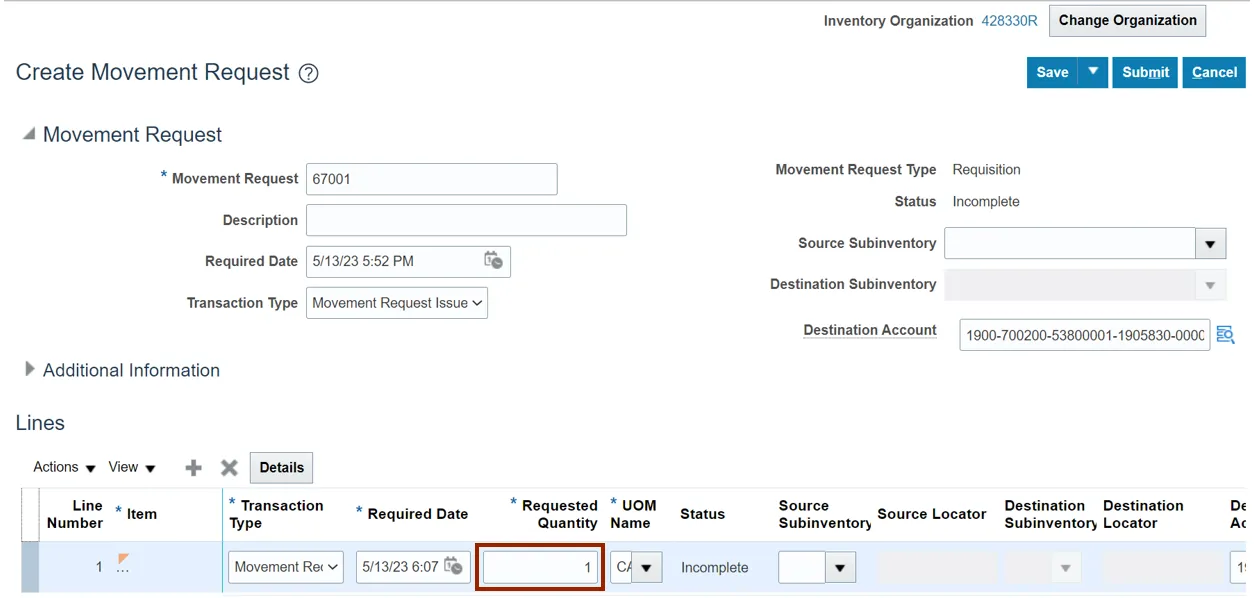
Step 15. Enter the Required Quantity in the Requested Quantity field.
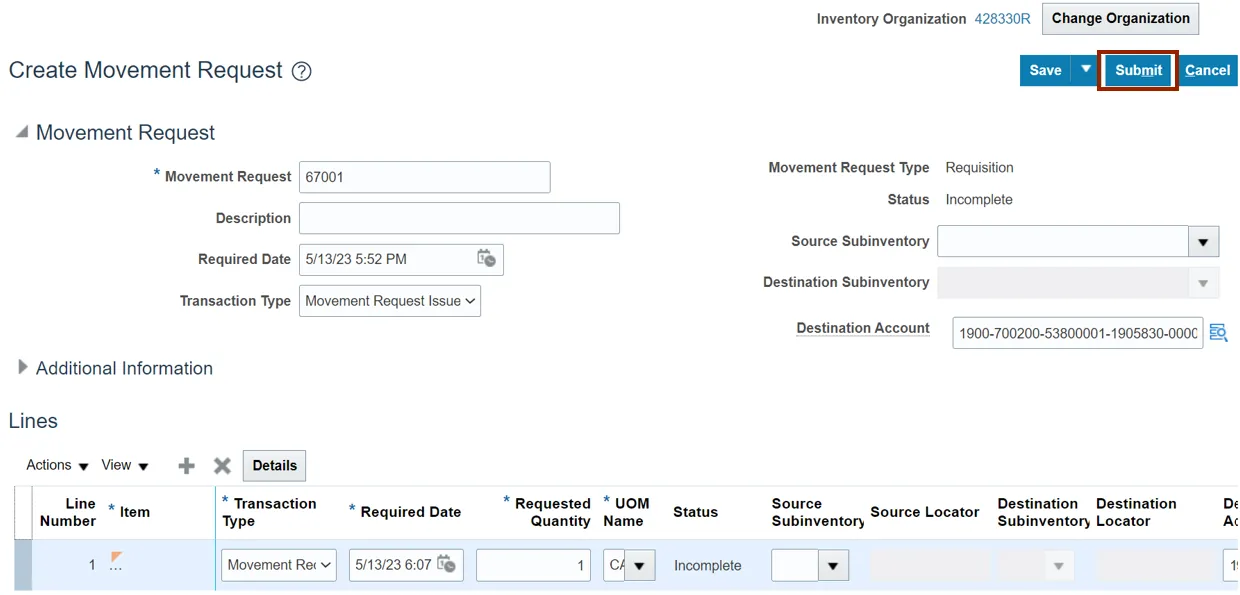
Step 16. Click the Submit button.
Step 17. The Information message pop-up appears. Click the OK button. This will lead you to the Manage Movement Requests page. Now you have completed the creating movement process.

Manage Movement Requests
To manage movement requests in NCFS, please follow the steps below. There are 19 steps to complete this process.
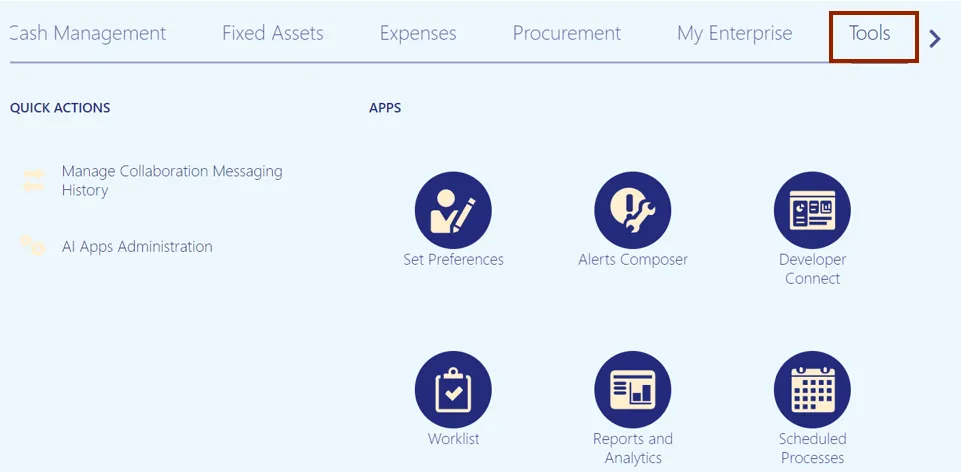
Step 1. Navigate to the Home page, click the Tools tab.
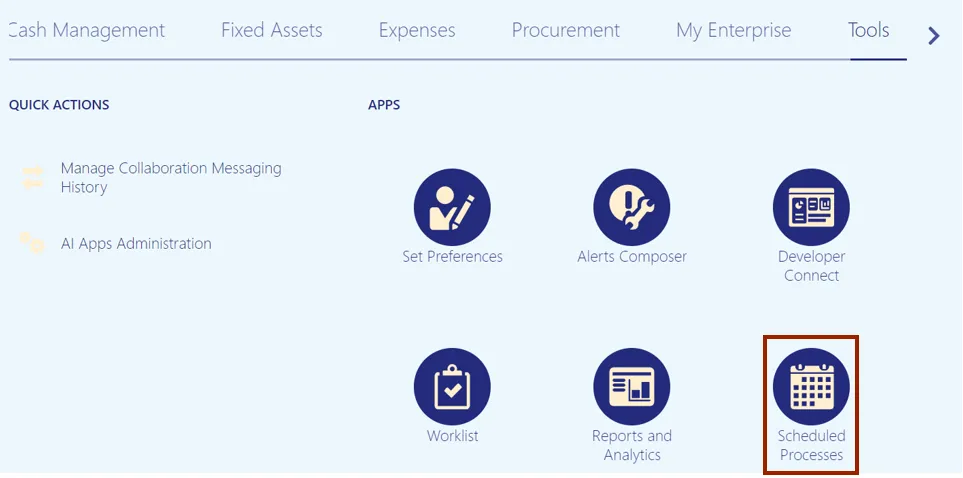
Step 2. Click the Scheduled Processes app.
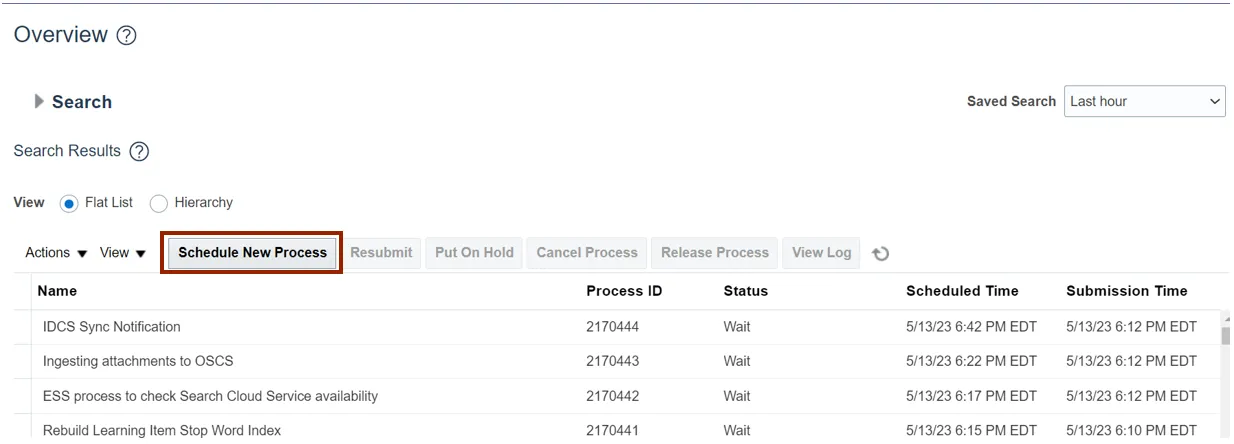
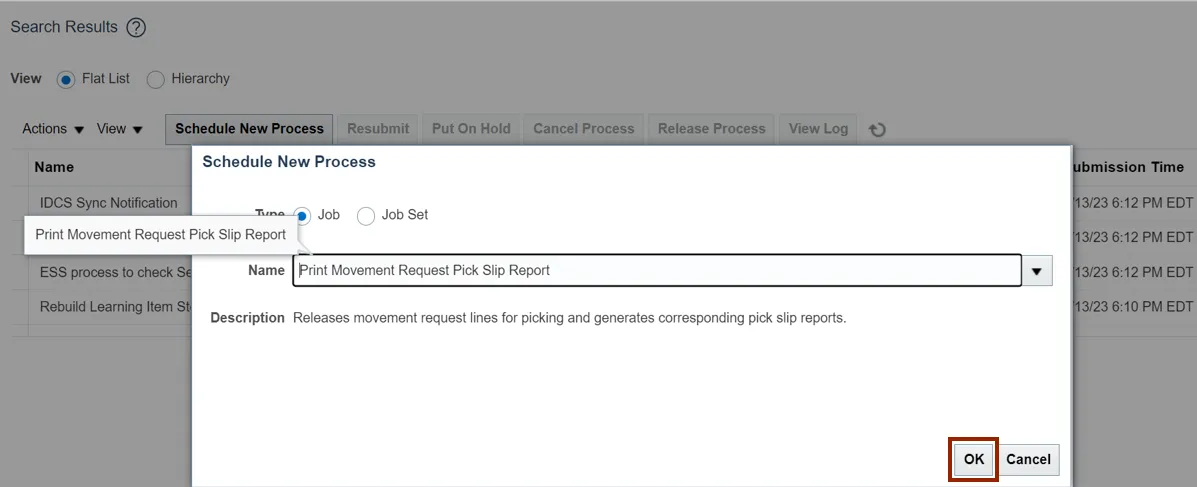
Step 3. On the Overview page, click the Schedule New Process button.
Step 4. Search in the Name field. From the Name drop-down choice list select Print Movement Request Pick Slip Report. The description is auto populated once the name is entered.
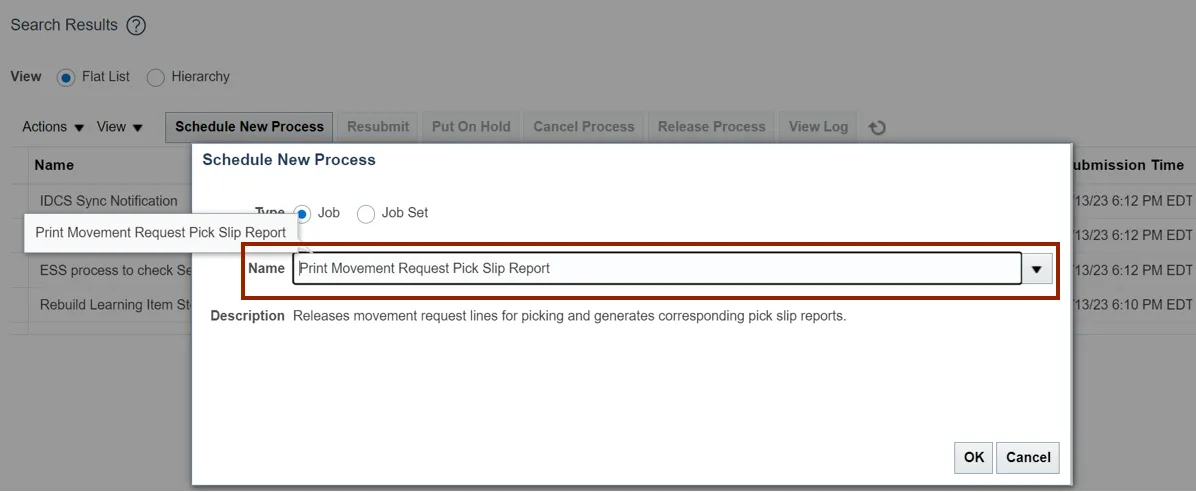
Step 5. Click the OK button.
Step 6. The Process Details pop-up appears. Enter the Organization name in the Organization field.
In this example we choose 428330R.

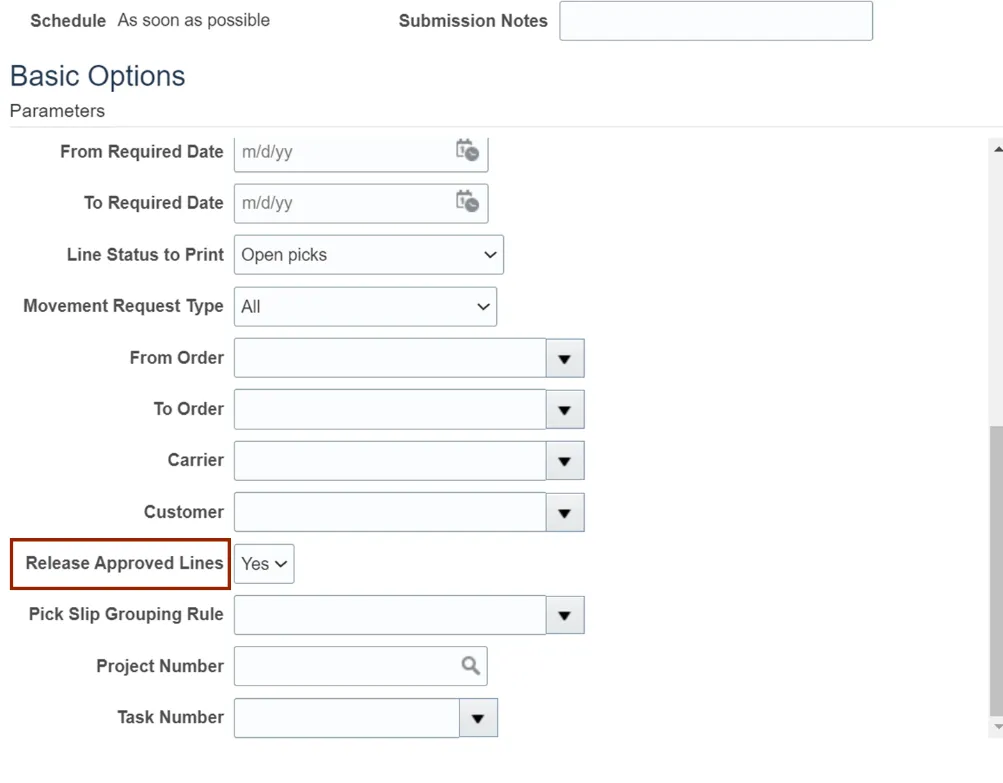
Step 7. Scroll down and select Yes from Release Approved Lines drop-down choice list.
Step 8. Scroll up and click the Submit button.

Step 9. The Confirmation pop-up appears. Click the OK button. This will lead you to the Overview dashboard.

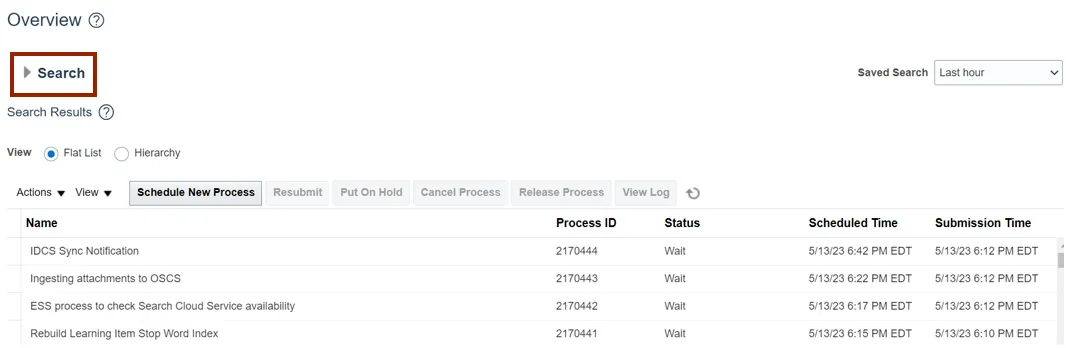
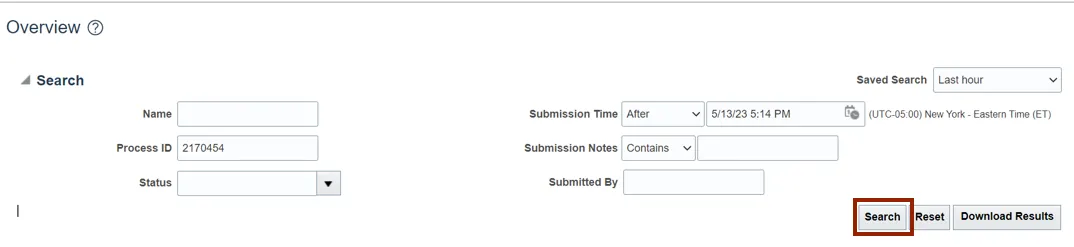
Step 10. Expand the Search section on the Overview dashboard.
Step 11. Enter the Process ID.
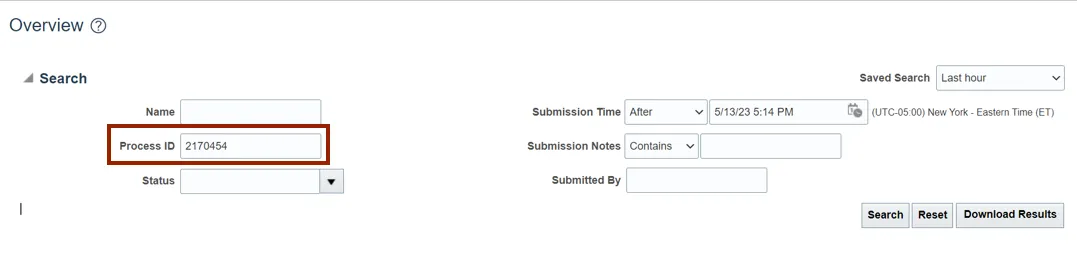
Step 12. Click the Search button.
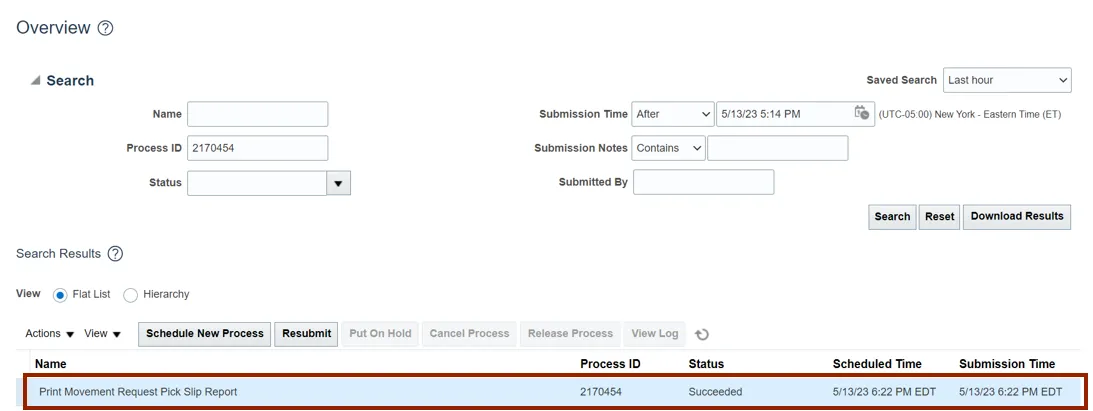
Step 13. Click the Process line.
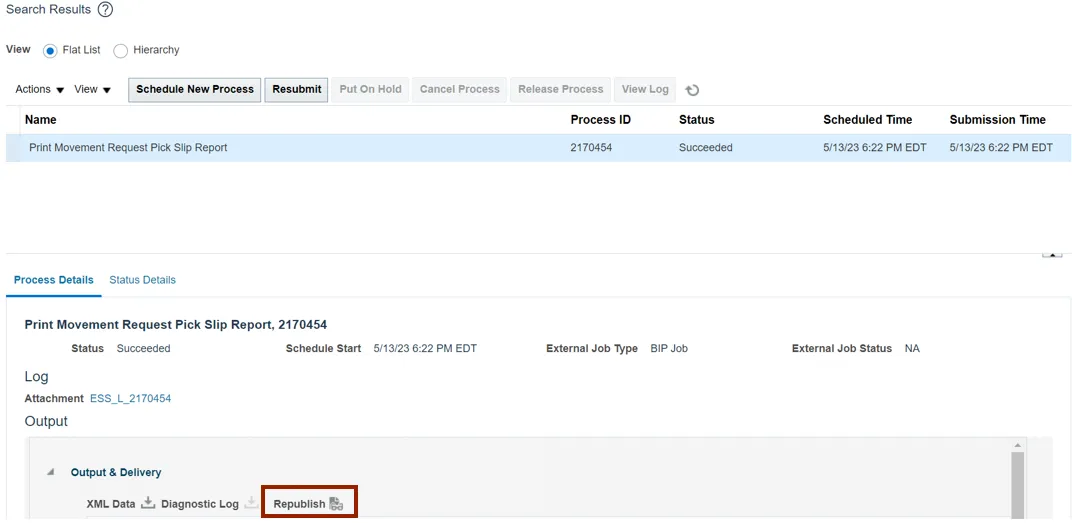
Step 14. On the Process Details tab, click Republish.
Step 15. The Movement Request Pick Slip Report tab opens, click the Actions icon.

Step 16. Click Export.

Step 17. Click PDF.

Step 18. Click the Open button.

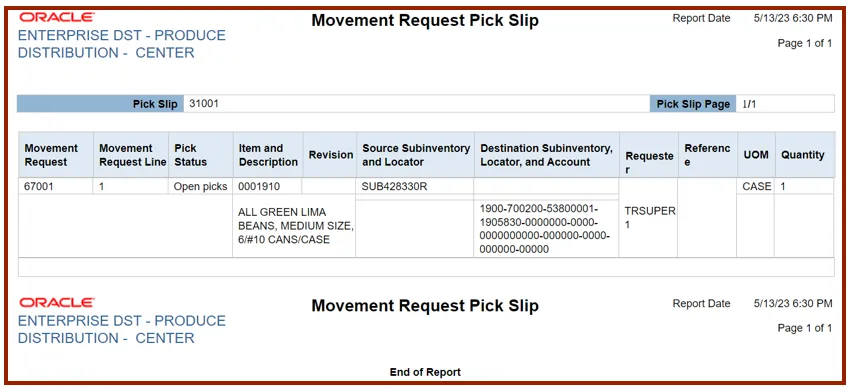
Step 19. View The Movement Request Pick Slip report.
Wrap-Up
Using the steps above to create and manage movement requests and view movement request pick slip report.
Additional Resources
- Virtual Instructor-Led Training (vILT)