Purpose
The purpose of this Quick Reference Guide (QRG) is to provide a step-by-step explanation of how to generate Dunning Letters in the North Carolina Financial System (NCFS).
Introduction and Overview
This QRG covers the generation of Dunning Letters in the NCFS which will enable you to generate and send Dunning letters to customers who have overdue invoices, debit memos, and/or credit memos.
User Tip
The following are prerequisites to generating Dunning letters:
-
Create Late Charges
-
Refresh Receivables Transactions for Customer Account Summaries
-
Collections Delinquency Management
-
Collections Scoring and Strategy Assignment
-
Update Collections Summary Data
Generate Dunning Letters
To generate Dunning Letters in NCFS, please follow the steps below. There are 16 steps to complete this process.
Step 1. Log in to NCFS portal with your credentials to access the system.
Step 2. On the Home page, click the Tools tab.
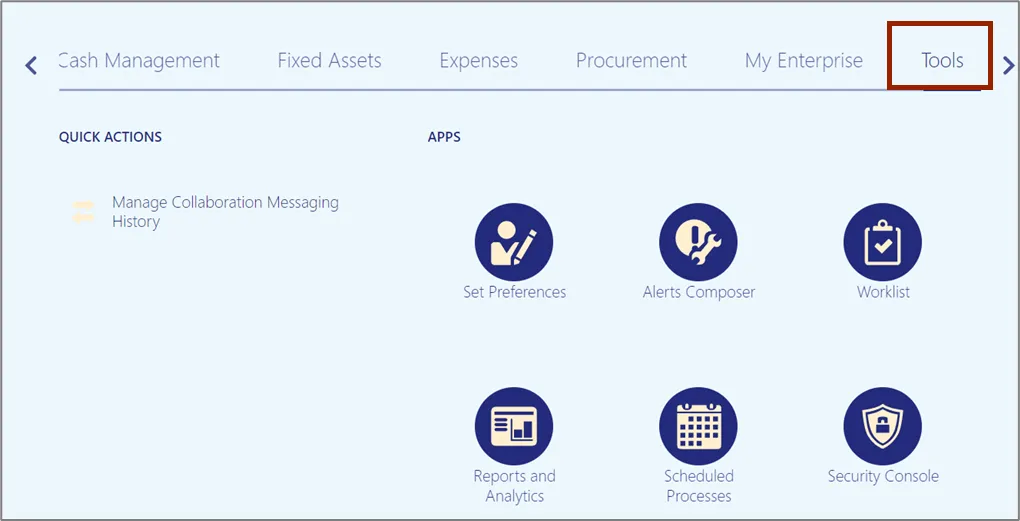
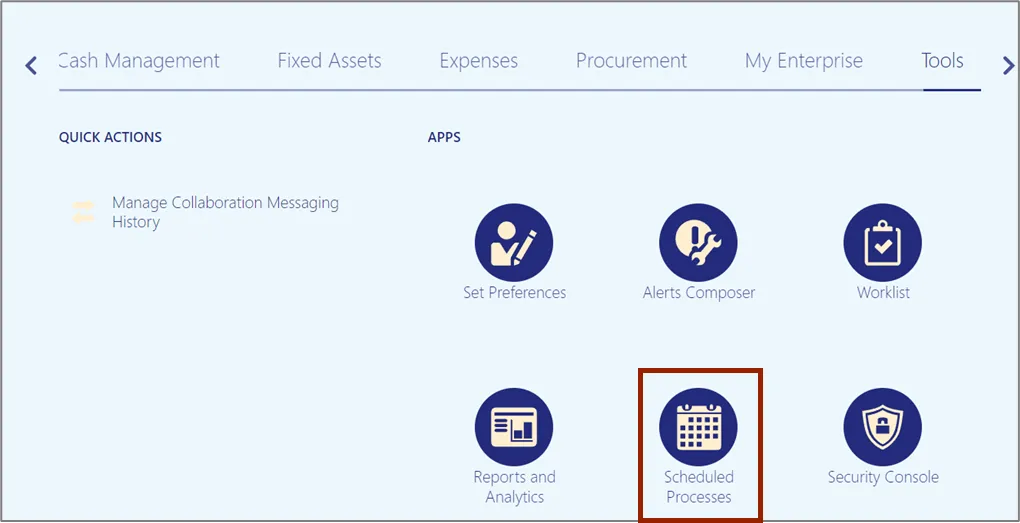
Step 3. Click the Scheduled Processes app.
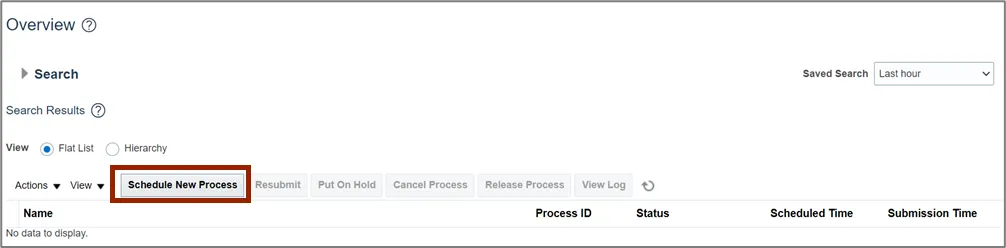
Step 4. On the Schedule Processes Overview page, click the Schedule New Process button.
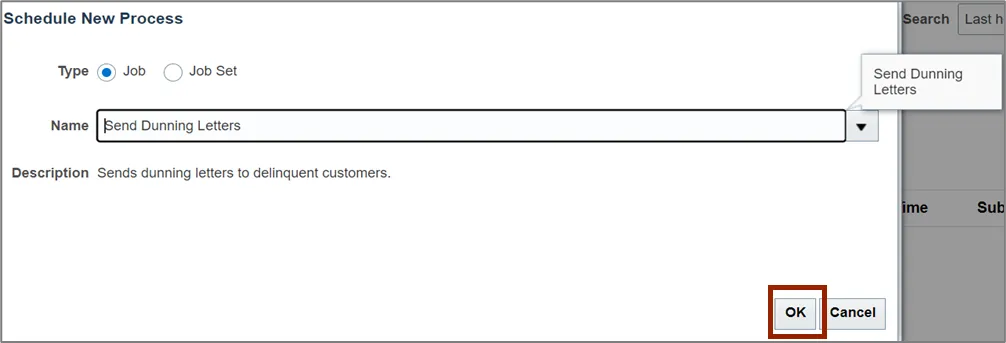
Step 5. On the Schedule New Process pop-up, enter Send Dunning Letters in the Name field. Alternatively, you can search from the drop-down choice list.

Step 6. Click the OK button.
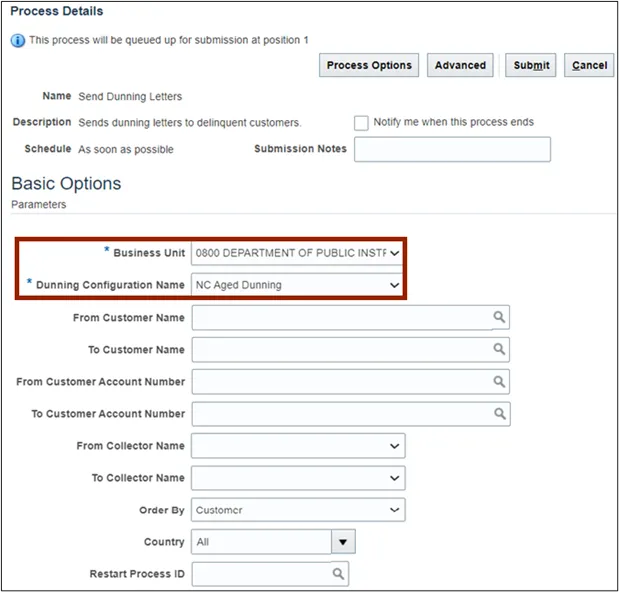
Step 7. On the Process Details pop-up, select the applicable Business Unit and Dunning Configuration Name from the respective drop-down choice list.
In this example, we choose 0800 DEPARTMENT OF PUBLIC INSTITUTE for the *Business Unit drop-down choice list and NC Aged Dunning from the *Dunning Configuration Name drop-down choice list.
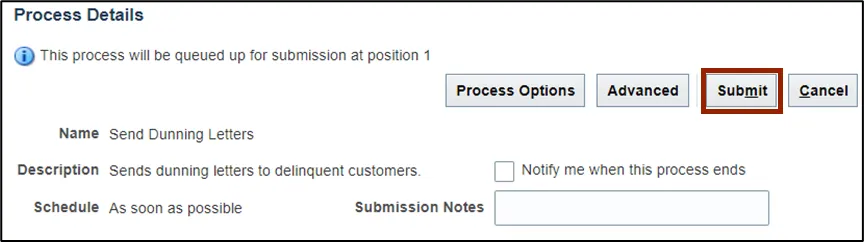
Step 8. Click the Submit button.
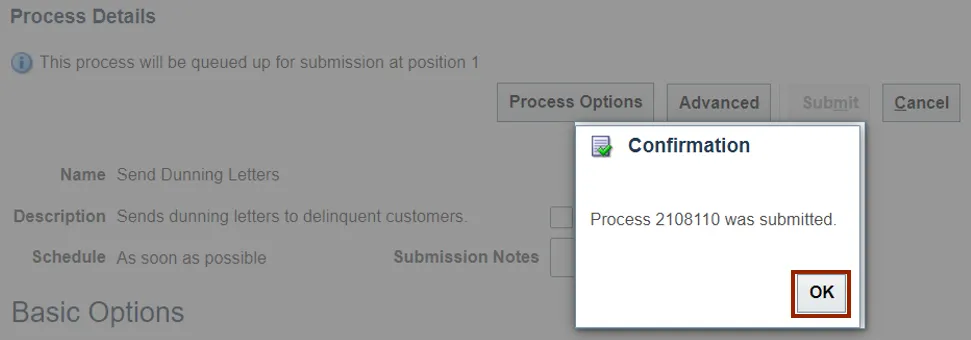
Step 9. The Confirmation pop-up page is displayed with the Process ID number. Click the OK button.
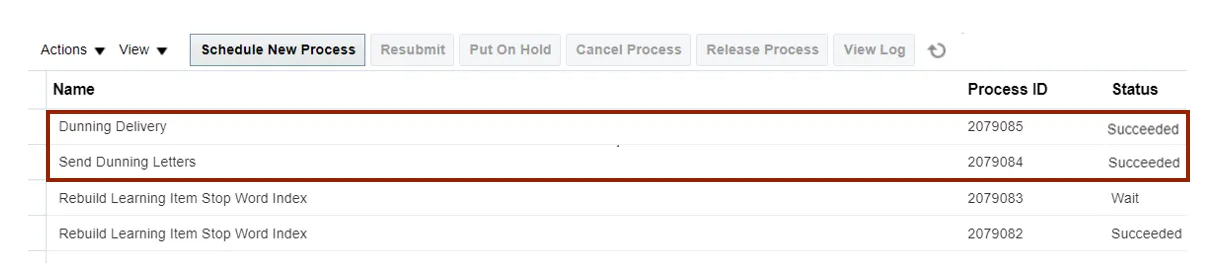
Step 10. The Overview page is displayed. Click the Refresh icon until the Status field displays Succeeded.
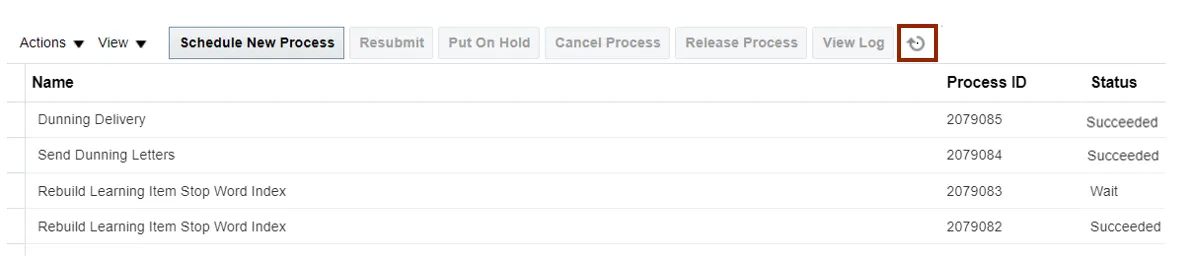
Step 11. Select Send Dunning Letters under the Name section.
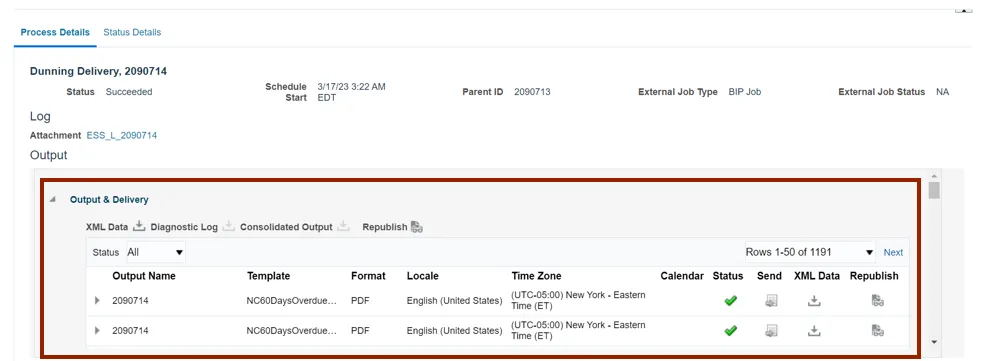
Step 12. Scroll down to view the succeeded output and Deliver of the Dunning letter.
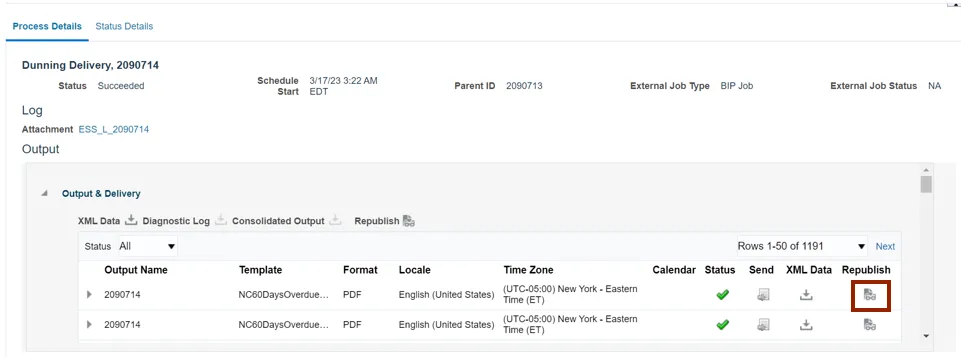
Step 13. Click the Republish icon to view the Dunning letter.
Step 14. Click the Settings icon.
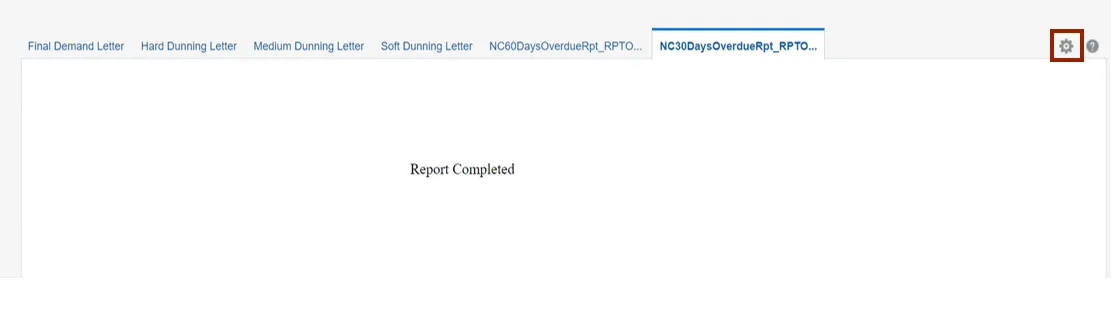
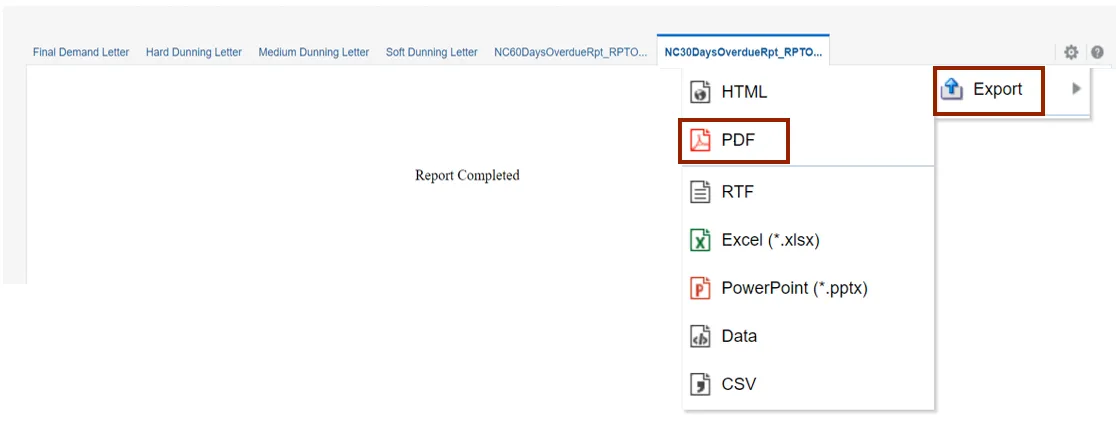
Step 15. Click the Export drop-down choice list, then select PDF.
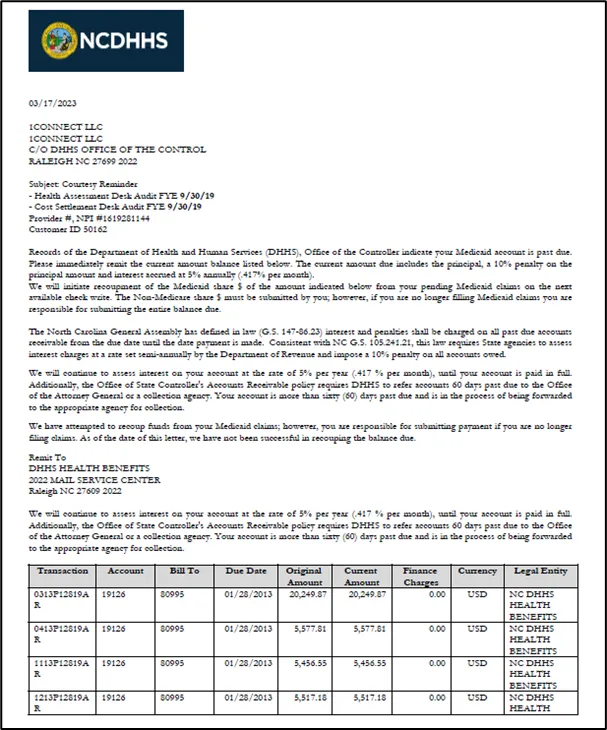
Step 16. View the Dunning Letter in PDF format.
Wrap-Up
Generate Dunning Letters using the steps above, for any late charges like overdue invoices, debit memos, and/or credit memos.
Additional Resources
- Virtual Instructor-Led Training (vILT)