Purpose
The purpose of this Quick Reference Guide (QRG) is to provide a step-by-step explanation for how to print 1099 Correction forms in the North Carolina Financial System (NCFS).
Print 1099 Correction Forms
Follow the steps to print 1099 Correction forms in NCFS. There are 22 steps to complete this process.
Step 1. Log in to the NCFS portal.
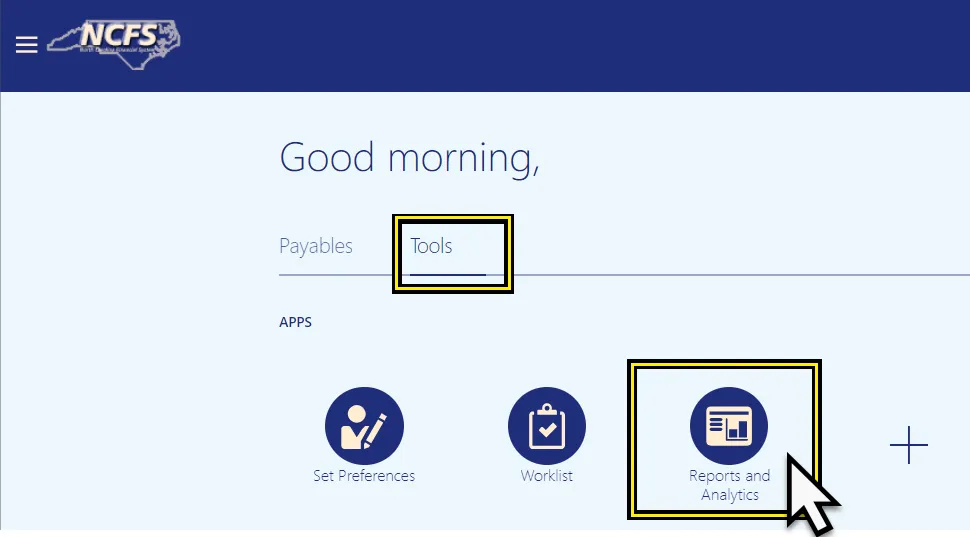
Step 2. Click the Tools tab, from the home page.
Step 3. Click the Reports and Analytics app.
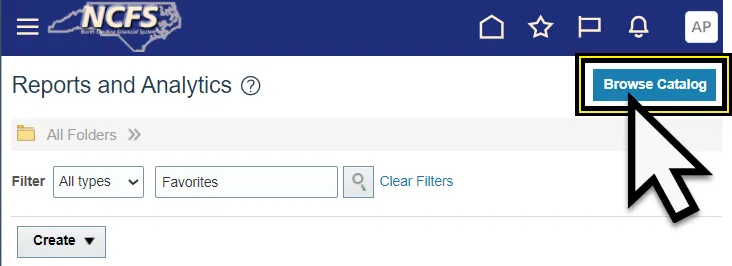
Step 4. Click the Browse Catalog button at the top right corner of the page.
Step 5. The Catalog page is displayed.
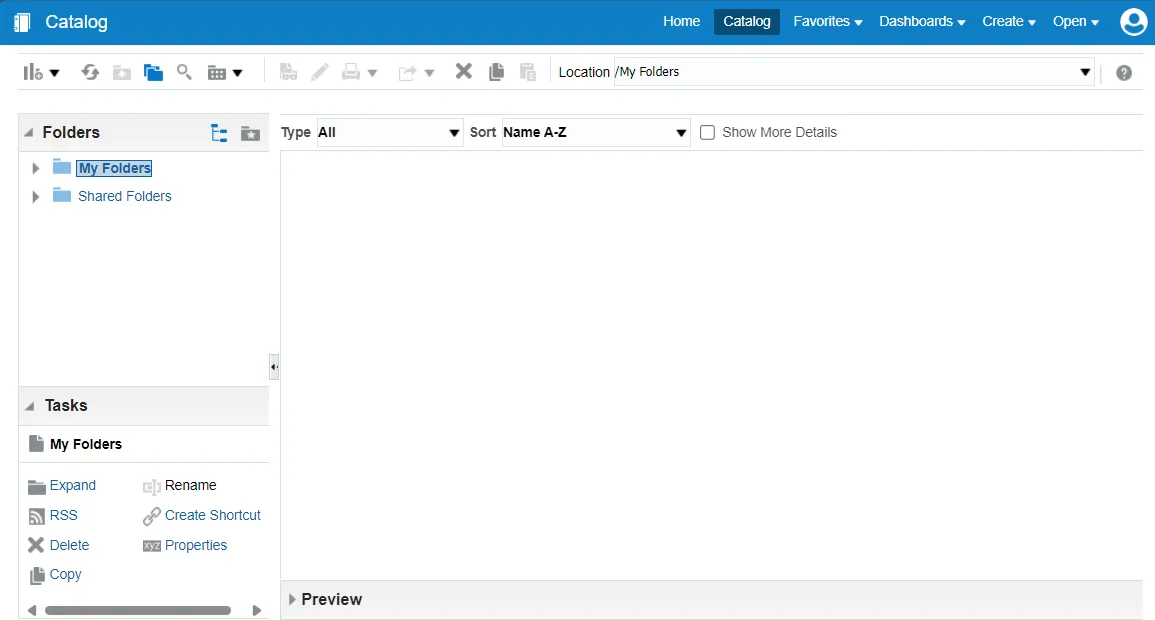
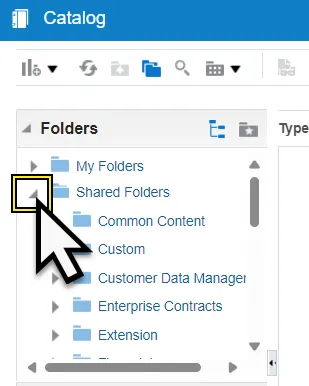
Step 6. Click the arrow to the left of Shared Folder in the left side panel to select and expand the Shared Folder.
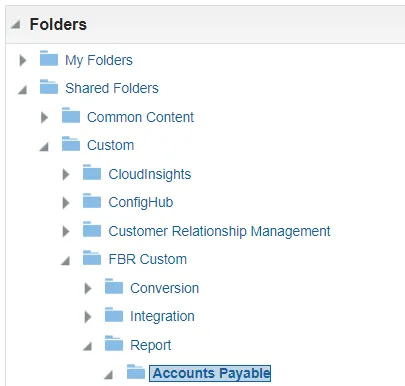
Step 7. Select and expand Custom Folder.
Step 8. Select and expand FBR Custom Folder.
Step 9. Select and expand Report Folder.
Step 10. Select and expand Accounts Payable Folder.
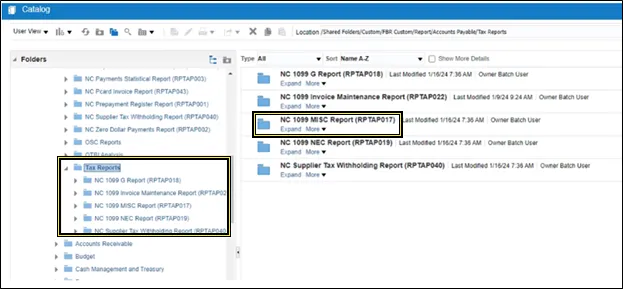
Step 11. Select and expand Tax Reports Folder.
Step 12. Reports listed in the Tax Reports folder are displayed. Select and expand the appropriate report folder you would like to print. In this example, we will use NC 1099 MISC Report.
Step 13. Click Expand under the desired report folder and click Open.
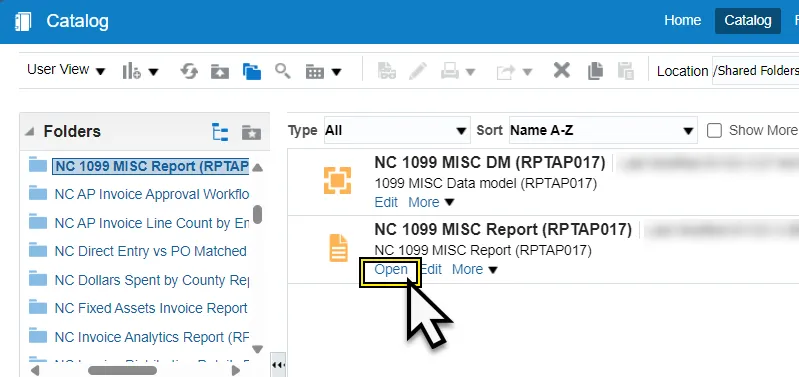
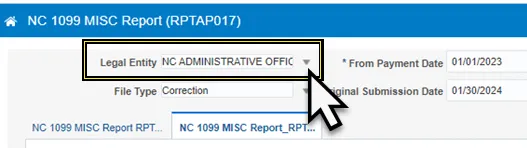
Step 14. NC 1099 MISC Report is displayed.

For Corrections:
- Select the Legal Entity (Business Unit).
- Correct From Payment Date -01/01/20XX.
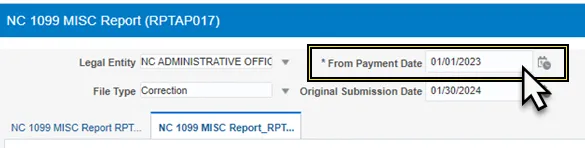
- To Payment Date – 12/31/20XX.

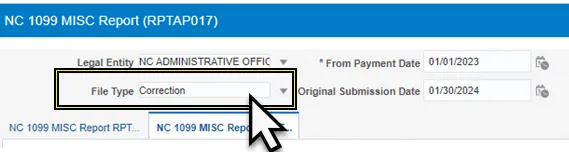
- File Type – Correction.
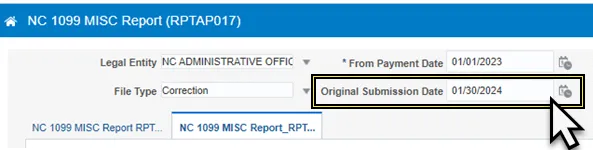
- Original Submission Date – 01/XX/20XX.
Note: This date will vary from year to year and is based on when the original 1099 file is submitted to the IRS by OSC. The original submission date will be communicated to the agencies before the 1099 correction forms are available to be printed.
vi. Click Apply.

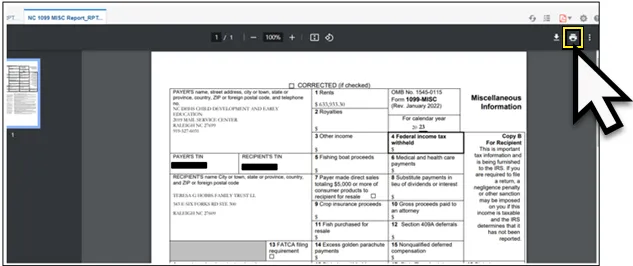
Step 15. The Completed report will be displayed. Click the Printer Icon on the right side of the page.
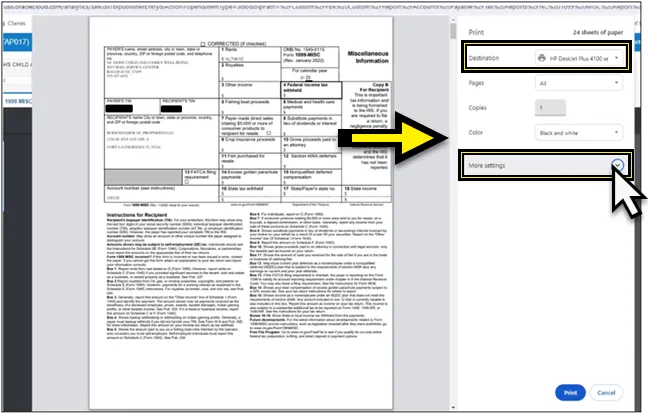
Step 16. Select the correct printer from Destination dropdown in the Printer options displayed in the right-side panel.
Note: Please do not select the Check Printer.
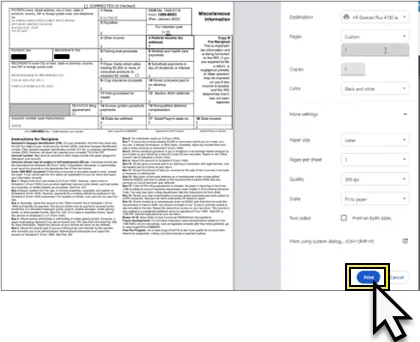
Step 17. Click the arrow next to More Settings to expand printer settings.
Step 18. More settings options are displayed. Select the correct settings including paper size, pages per sheet, Quality, Scale, Two-sided printing, etc.
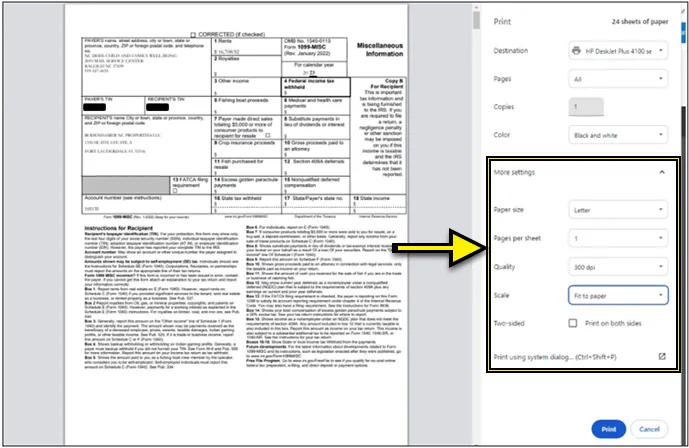
Step 19. Print a test page once all settings are selected. Printing a test page ensures the printout comes out as expected.
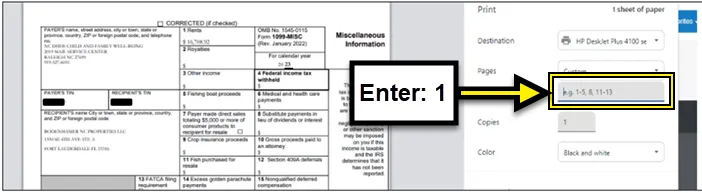
Step 20. Click the Pages dropdown option and select Custom.
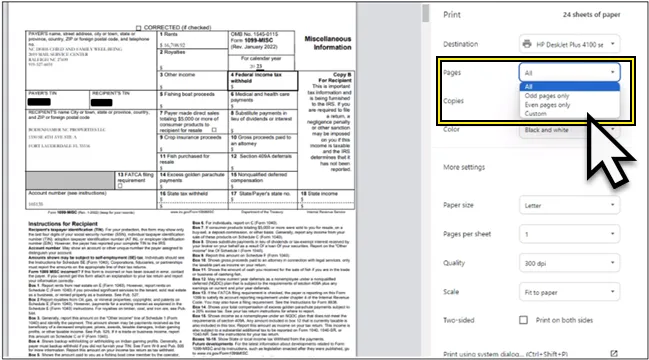
Step 21. Enter 1 in the eg – field. This prints one test page before proceeding to print all the pages in the report.
Step 22. Click the Print button.
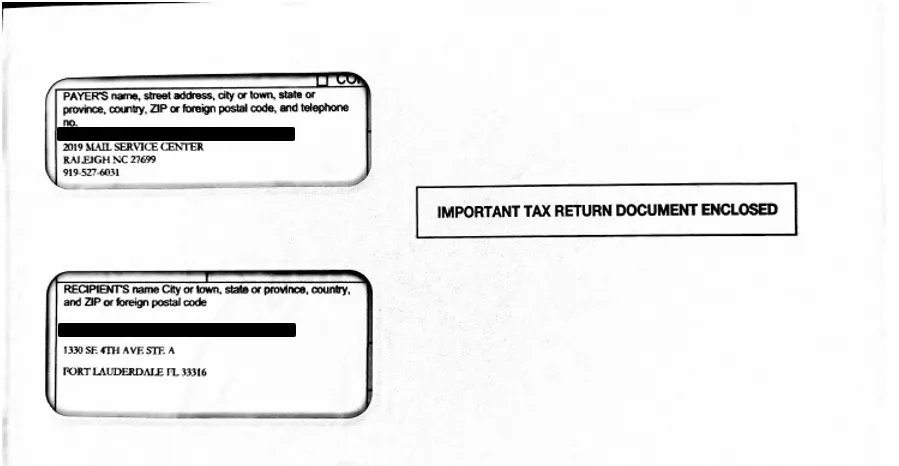
Note: Fold your form in half and put it in the envelope and please make sure that the form fits in the envelope. Please refer to the image below.