Purpose
The purpose of this Business Process Procedure is to explain how to change the position employee group/subgroup in the Integrated HR-Payroll System.
Trigger
There is a need to change the position employee group or subgroup.
Business Process Procedure Overview
This action is used when a change occurs to the appointment type or an FLSA overtime calculation rule for a position. The position number does not change.
Tips and Tricks
See the OM Tips and Tricks Job Aid for a full listing of Best Practices and Tips & Tricks. The job aid is located on the Training HELP website.
- Copy is to be used most of the time. This will delimit the existing record and create a new record with the start date given. Copying keeps a history of the old record.
- Change is to be used only if you make a spelling or other simple error and want to change the record. There is no history tracked on what the record used to be if you use the change functionality.
Access Transaction
Via Menu Path: This transaction code is not on the menu path. Enter the transaction code in the Command Field (white field in the upper left-hand corner of the screen. If the Command field is not visible, click the gray triangle in this area to display it). Click Enter once the transaction code has been entered.
Via Transaction Code: ZOMA069
Procedure
There are 18 steps to complete this process.
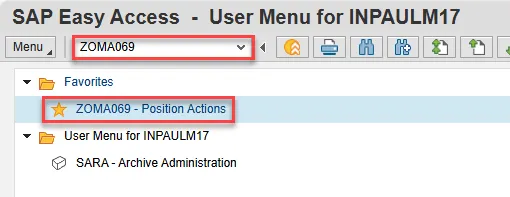
Step 1. Type ZOMA069 in the command field (1). Hit enter on your keyboard (2). Also, you can double click it from your favorites folder if you’ve previously saved it there (3).
Step 2. Use action code 116 to complete position employee group/subgroup change action. It may be typed directly into the Action field or you can use the Matchcode button to select it from a list of all available actions.
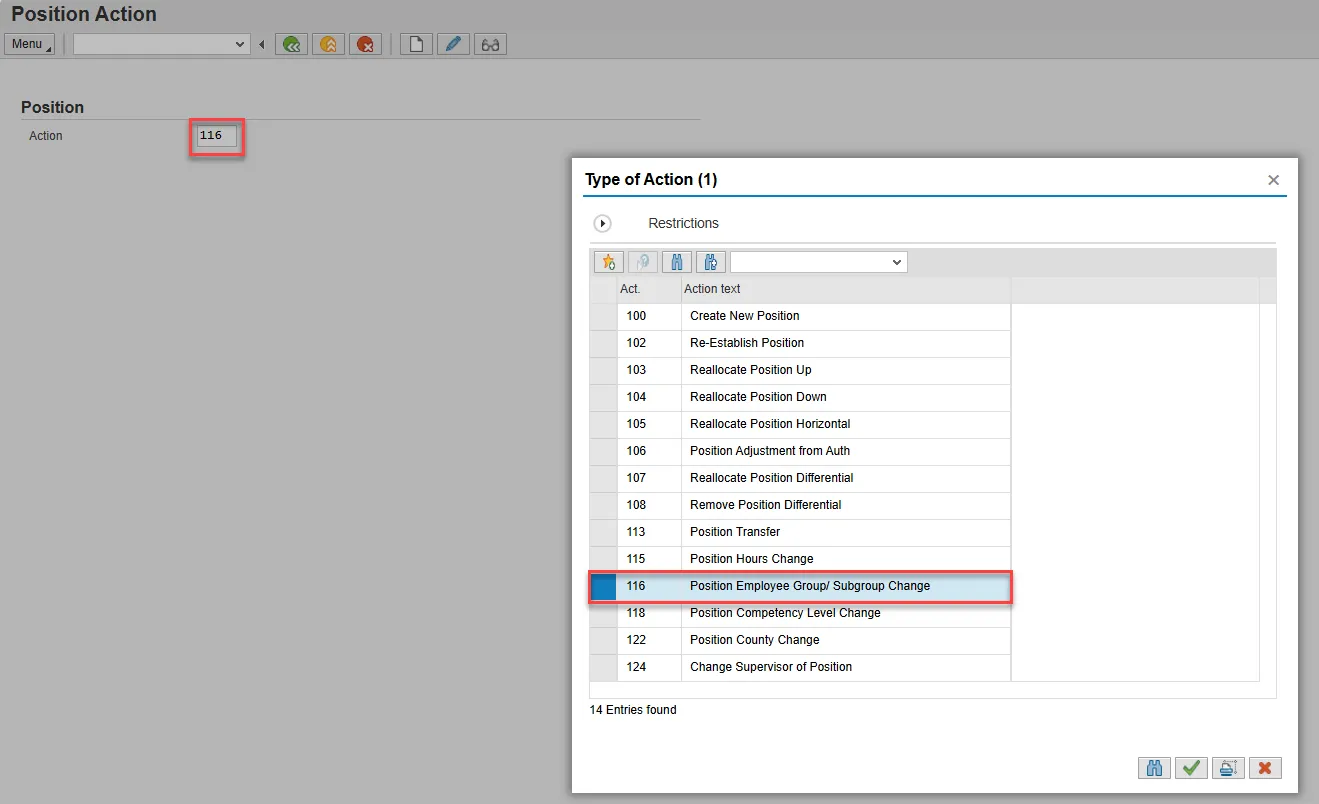
Step 3. Click the Enter button. You will be able to verify that you’ve chosen the correct action, and two new editable fields will be available.
Step 4. Input the Position number needing the Employee Group/Subgroup change. This document will use 60087100 from the OSC training environment. Next, input the Valid from (effective) date of the new data.
IMPORTANT: If the position is occupied by an employee, the effective date for this position action must be the same as the effective date for the corresponding personnel action. Please contact the appropriate HR staff within your agency to coordinate the required OM and PA actions. The PPOSE or PO13D transactions can be used to determine if the position is currently held by an employee.
The OM action should precede the PA action!
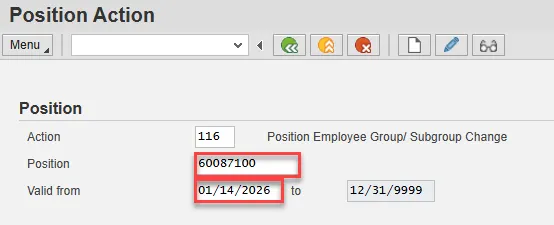
Step 5. Click the Enter button and verify the position displayed is the one you need to change.
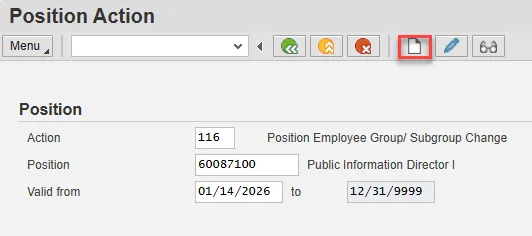
Alert! Be vigilant on this step. Once you complete the next step, the Action type and Valid from date are locked in. They can only be changed by starting over.

Step 6. Click the Create button.
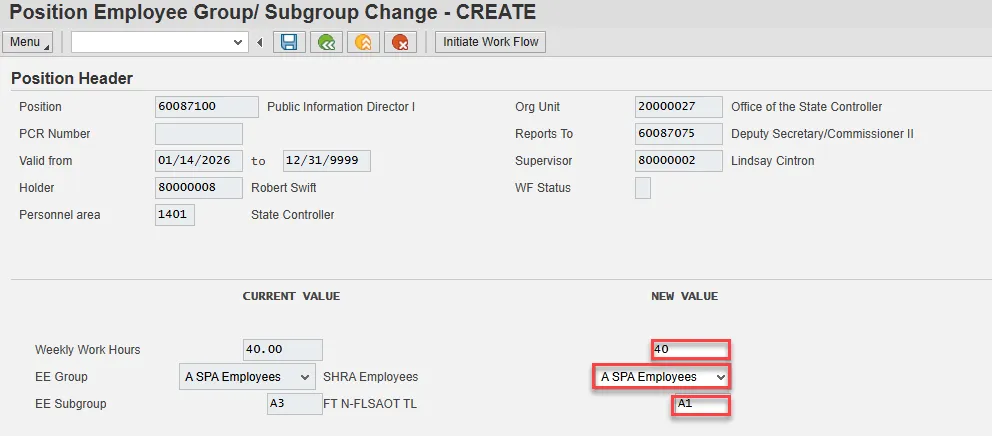
Step 7. Enter the applicable data in the Weekly Work Hours, EE Group, and EE Subgroup fields. While it is not necessary that all the fields have new values, each of the fields must be completed and the EE Group and/or EE Subgroup must have a new value.
The EE Group field has a drop-down menu which is recommended for use. Once this field is completed, then you may use the Matchcode button in the EE Subgroup field. You also may type the EE Subgroup Key value directly in the field.
The EE Group/Subgroup Job Aid is a useful resource when completing this OM action.
Note: The data used in this example is provided for sample purposes only. The data will change depending on the Agency and specific position being changed.
If the affected position has a Holder, it will be displayed in the Position Header section, as will the name of their Supervisor if that is an occupied position. These fields can be used to verify that the correct position number has been selected.
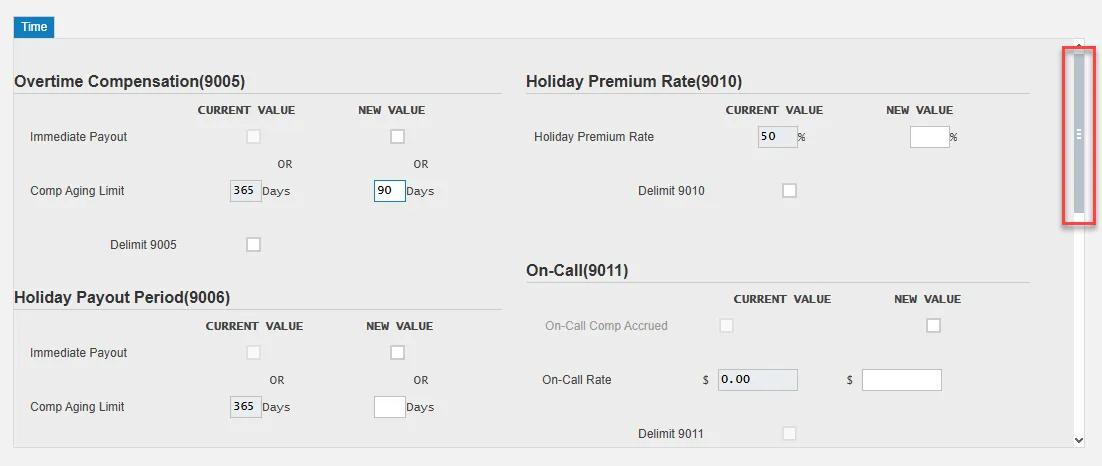
Step 8. Update the fields in the Time tab as appropriate. These fields are not required and if no data is entered, the position will retain its current settings. There are a total of 10 fields that may be updated and the scroll bar on the right will need to be used to access them.
The OM Infotypes document is a helpful resource for information about each of these settings.
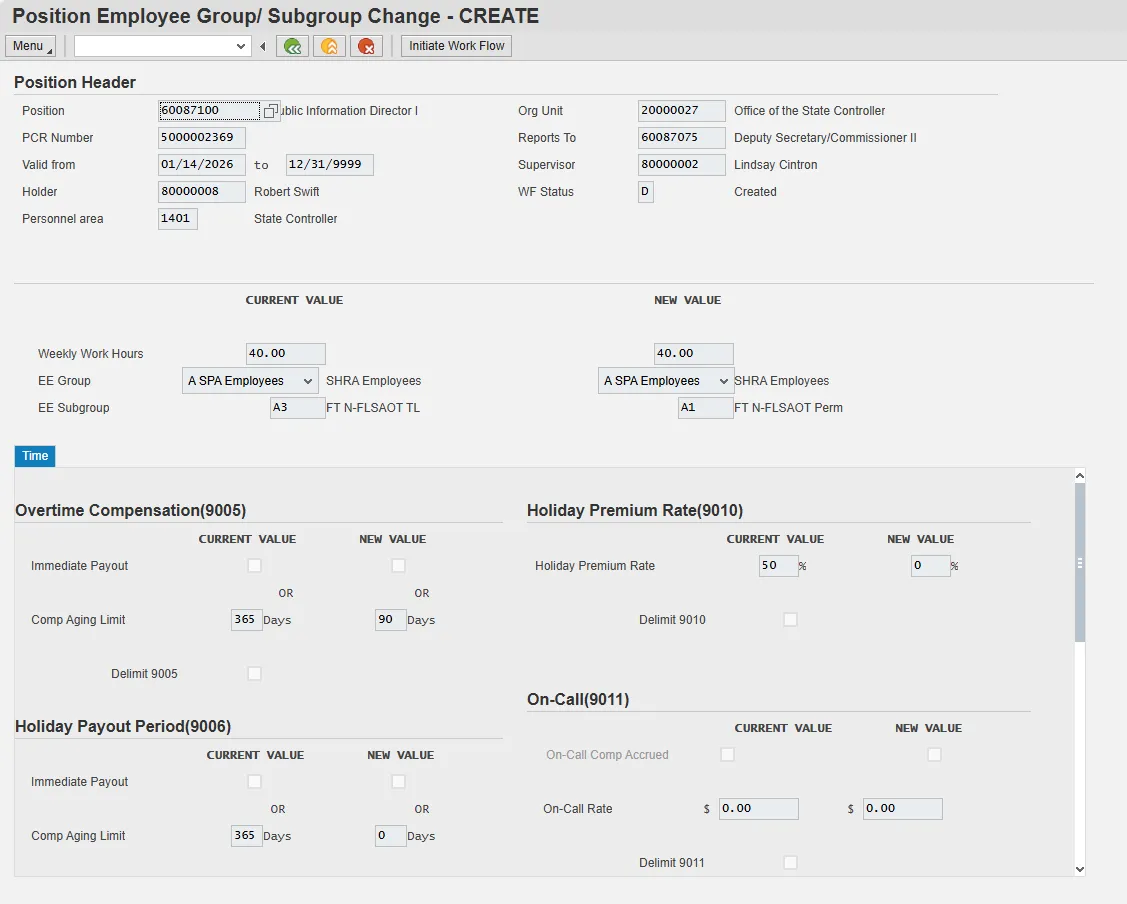
Step 9. Click Enter. Review and verify that you’ve entered the correct data.
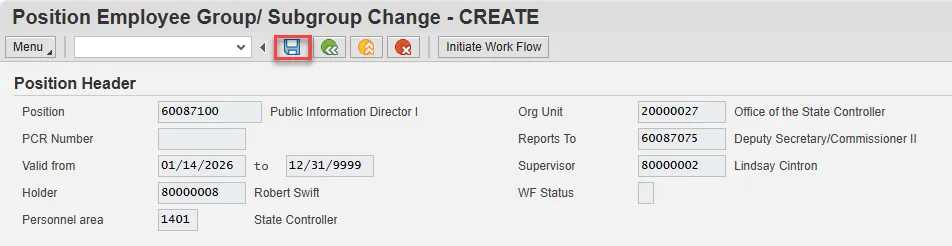
Step 10. Click the Save button.
Step 11. Record the pertinent data in your OM Transaction log. OSC Training recommends recording the PCR Number, Position, Valid From date, Action Type, and date of initiation at a minimum. This data can be used to track your request through the Workflow process.
A sample transaction log is on the last page of the OM210 student guide which may be found on the OSC Training System Courses web page.
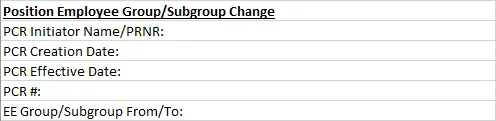
Step 12. Add a note. This is a required step and is not optional. Access the OM Action Notes Template help doc to utilize the template for a Position Employee Group/Subgroup Change action. Copy this template into your clipboard. (Highlight the needed cells then press Ctrl-C or Right click and choose Copy).
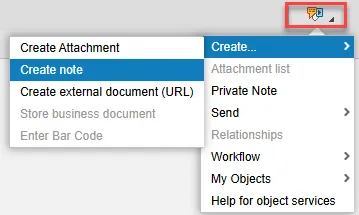
Step 13. Return to your SAP window and click the right side of the Services for Object button to access the dropdown menu. Hover over Create and then click on Create Note.
Step 14. Give your note a title and then click into the bottom area of the pop-up screen. Paste the template (Ctrl-V or Right click and choose Insert) and then complete the required data.
Step 15. Click the green check button to save your note. You will receive a message that your note was successfully created.
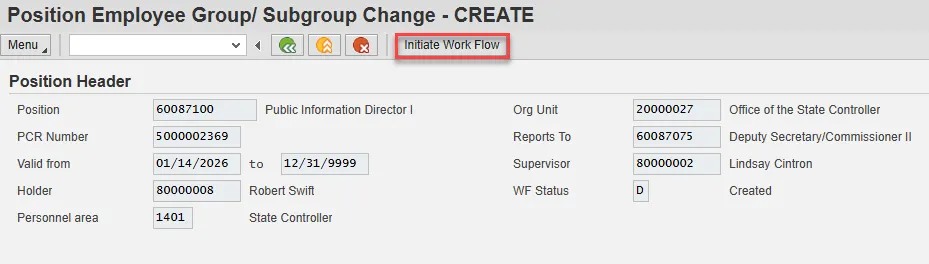
Step 16. Click the Initiate Work Flow button.
Note: Clicking the Initiate Workflow button will lock in your data and no changes can be made unless the PCR is rejected and sent back to you. Prior to clicking this button, you can make changes to your proposed data by using the Change button within the ZOMA069 transaction.
Step 17. You will receive a message that your Workflow has been submitted.
Step 18. You can use the PCR number and position ID to track your request through the Workflow process. The OM Workflow Report help document demonstrates how to do so.
The system task is complete.