Purpose
The purpose of this Business Process Procedure is to explain how to display various Benefit infotypes on a personnel number in the Integrated HR-Payroll System.
Trigger
There is a need to display various Benefit infotype records on a personnel number, such as Insurance Plans or Savings Plans.
Business Process Procedure Overview
In some instances, you may need to view the Benefit Infotypes only using the display function (PA20). In display mode you are unable to process or update data. Common Infotypes you may want to view for Benefit Processing purposes include:
- IT0021: Family Member/Dependents
- IT0167: Health Plans
- IT0168: Insurance Plans
- IT0169: Savings Plans
- IT0170: Flexible Spending Accounts
- IT0171: General Benefits Information
- IT0219: External Organizations (used for designating an outside entity as a beneficiary for a Life Insurance Plan)
- IT0377: Miscellaneous Plans
Access Transaction
Via Menu Path
SAP menu >> Human Resources >> Personnel Management >> Administration >> HR Master Data >> PA20 – Display
Via Transaction Code
PA20
Procedure
There are 30 steps to complete this process.
Step 1. Update the following required and optional fields.
| Field Name | Description | R/O/C | Values |
|---|---|---|---|
| Command | White alphanumeric box in upper left corner used to input transaction codes | R |
Enter value in Command Example: PA20 |
Step 2. Click the Enter button.
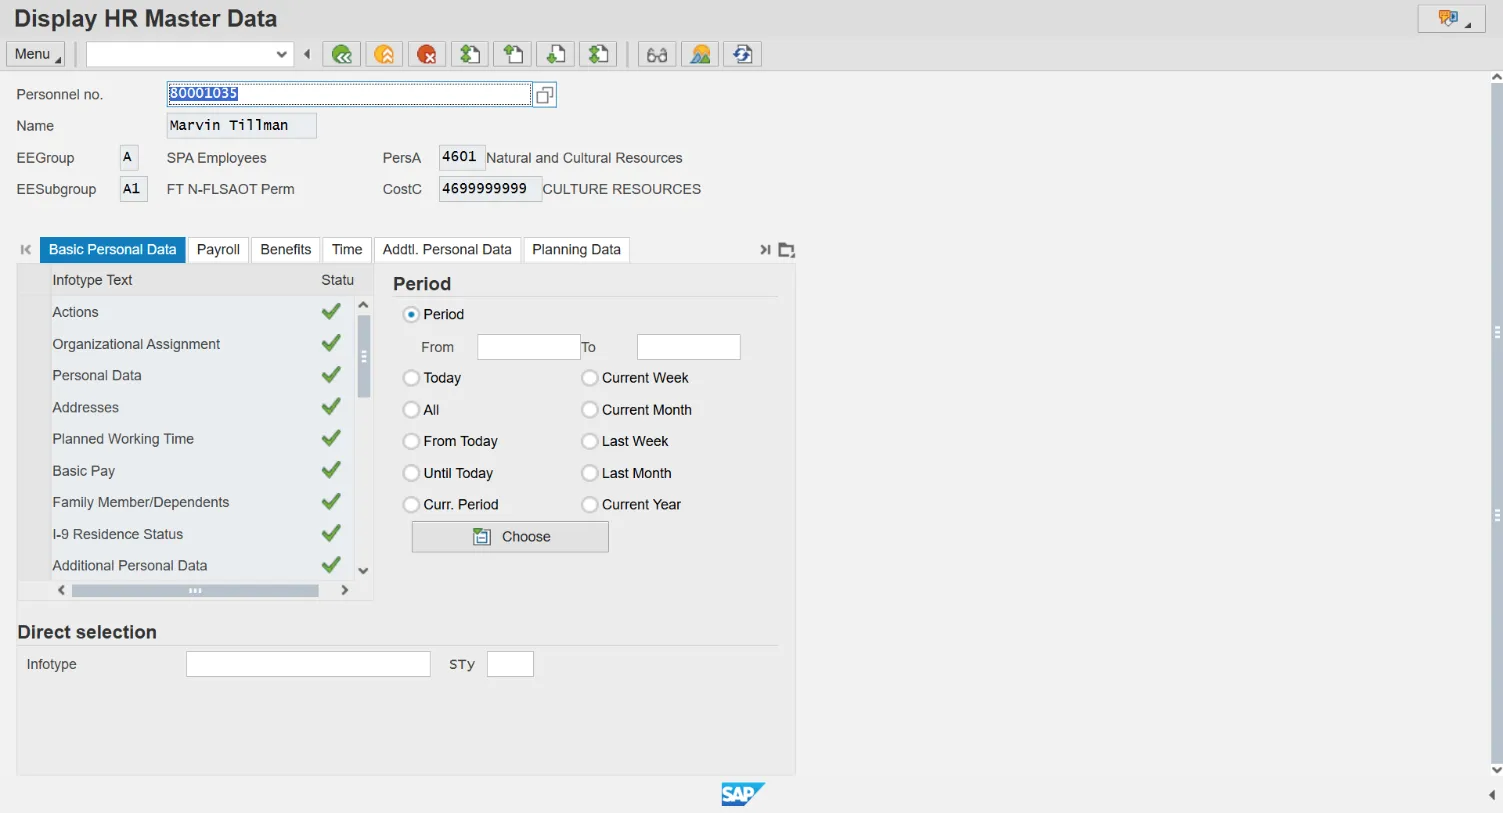
Step 3. Update the following required and optional fields.
| Field Name | Description | R/O/C | Values |
|---|---|---|---|
| Personnel no. | Unique employee identifier | R |
Enter value in Personnel no. Example: 80001035 |
Step 4. Click the Enter button.
Note: Click Enter and ensure the correct personnel number was entered.
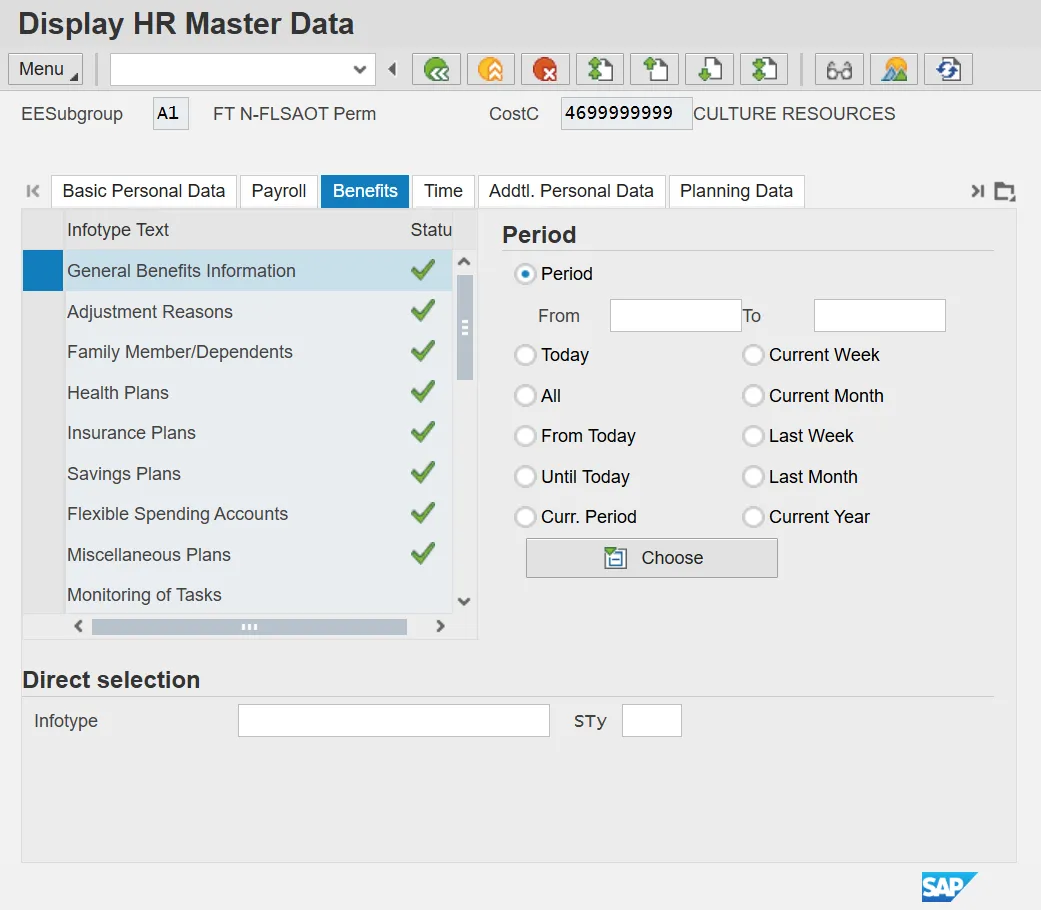
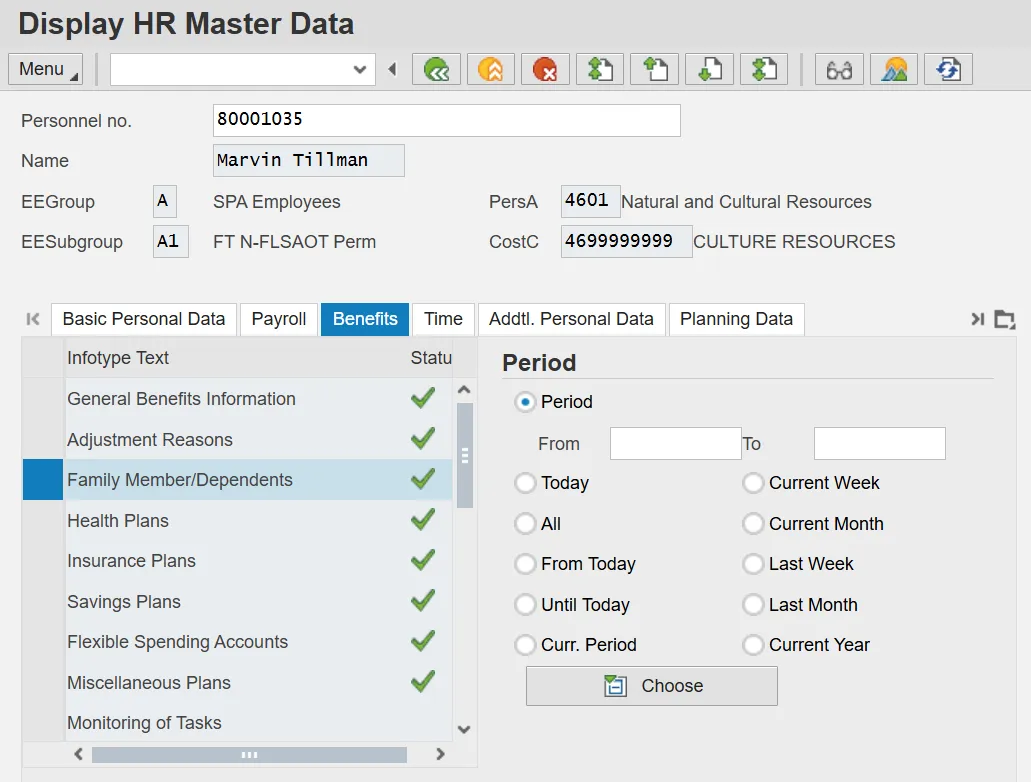
Step 5. Click the Benefits tab button.
Note: Review the infotype master data as appropriate. Depending on the type of infotype data, there may be additional screens to scroll through to locate all the data.
Note: To review history, you can select an overview of the Infotype and select multiple rows. When displayed you will be able to move from record to record with the Next button.
Note: Many infotypes related to Benefits information can be displayed via [PA20]. In this example Personal Data is displayed. To display master data contained within an infotype, highlight the line item for the infotype and click Display, or enter the infotype number in the Infotype field at the bottom of the screen and click Display.
Step 6. Click General Benefits Information button.
Note: The Benefits tab contains various infotypes typically used by the Benefits functionality, although users may need to view other data such as personal information or address information, located on other tabs.
Step 7. Click Display (F7) button.
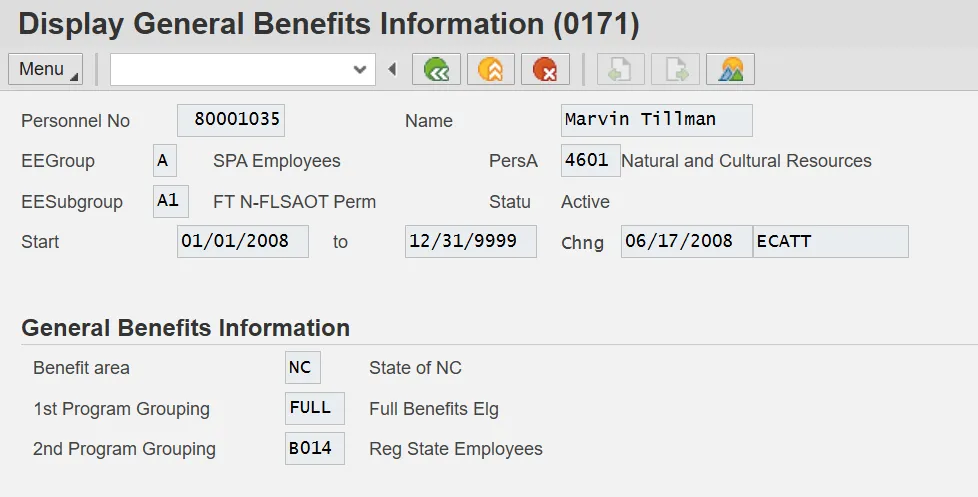
Step 8. Review the General Benefit Infotype data as appropriate.
Step 9. Click Back (F3) button.
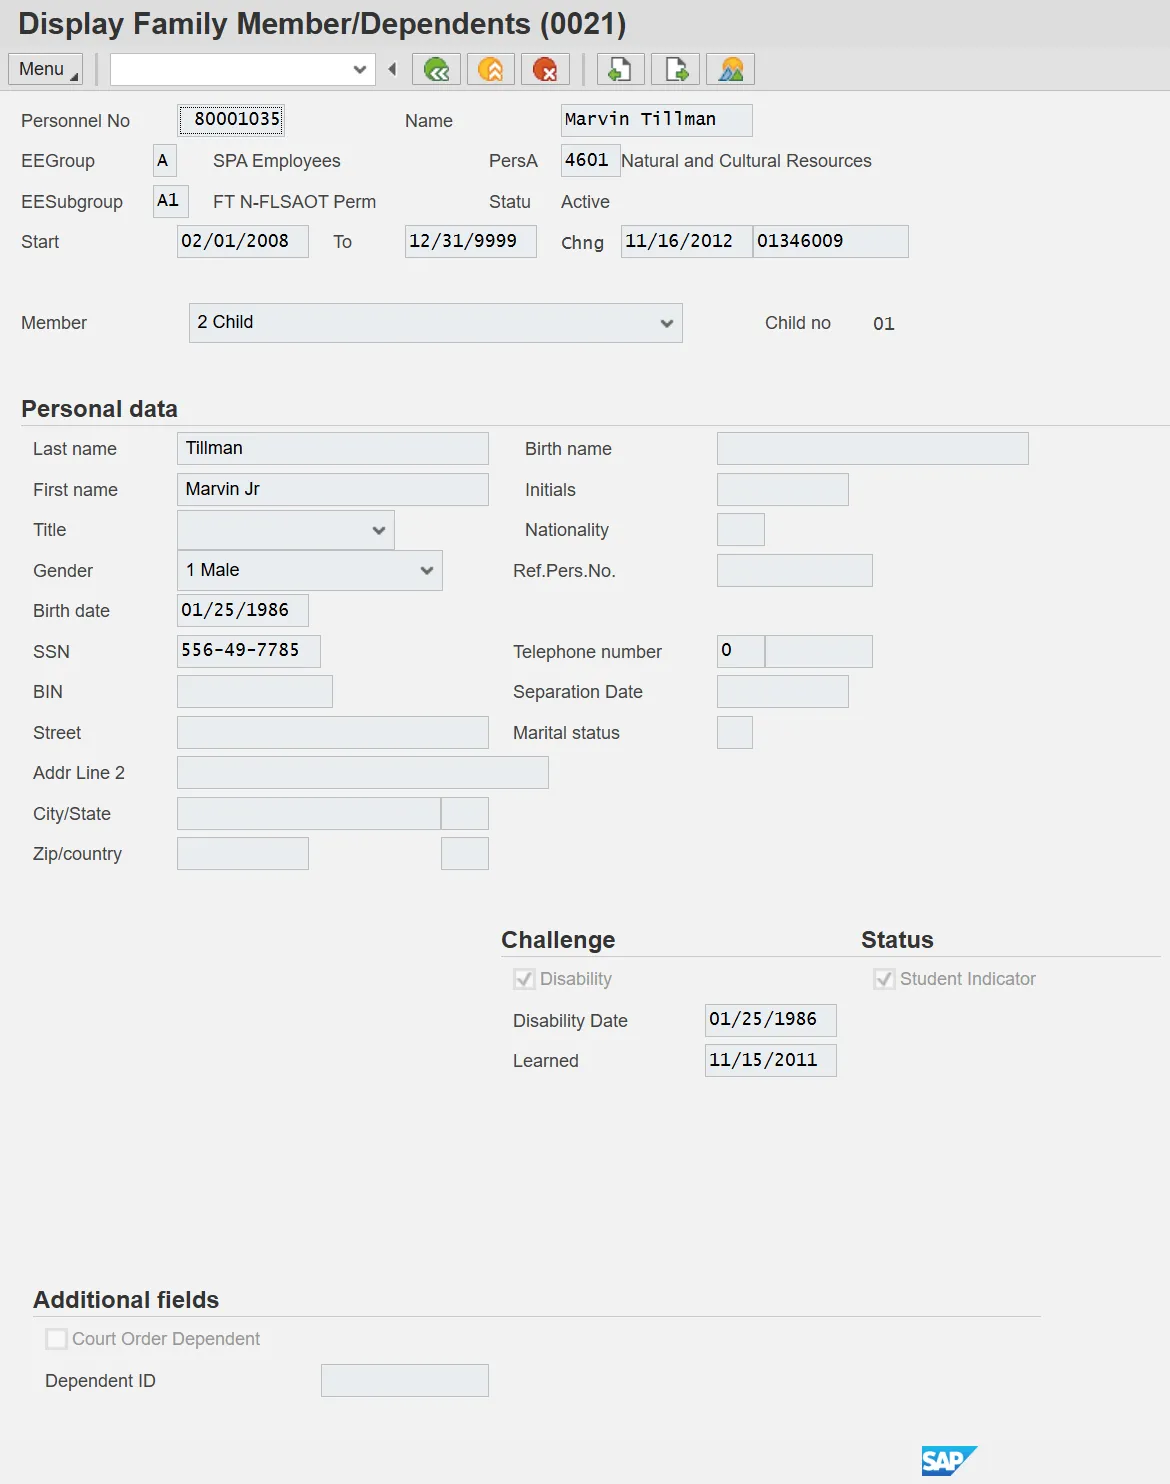
Step 10. Click Family Member/Dependents button.
Step 11. Click Display (F7) button.

Step 12. Click Next record (Shift+F7) button.
Review the Family Member/Dependents infotype data as appropriate. In some cases, there is more than one record. To view the next record, click the Next record button.
Step 13. Click Back (F3) button.
Step 14. Click Health Plans button.
Click Display (F7) button.
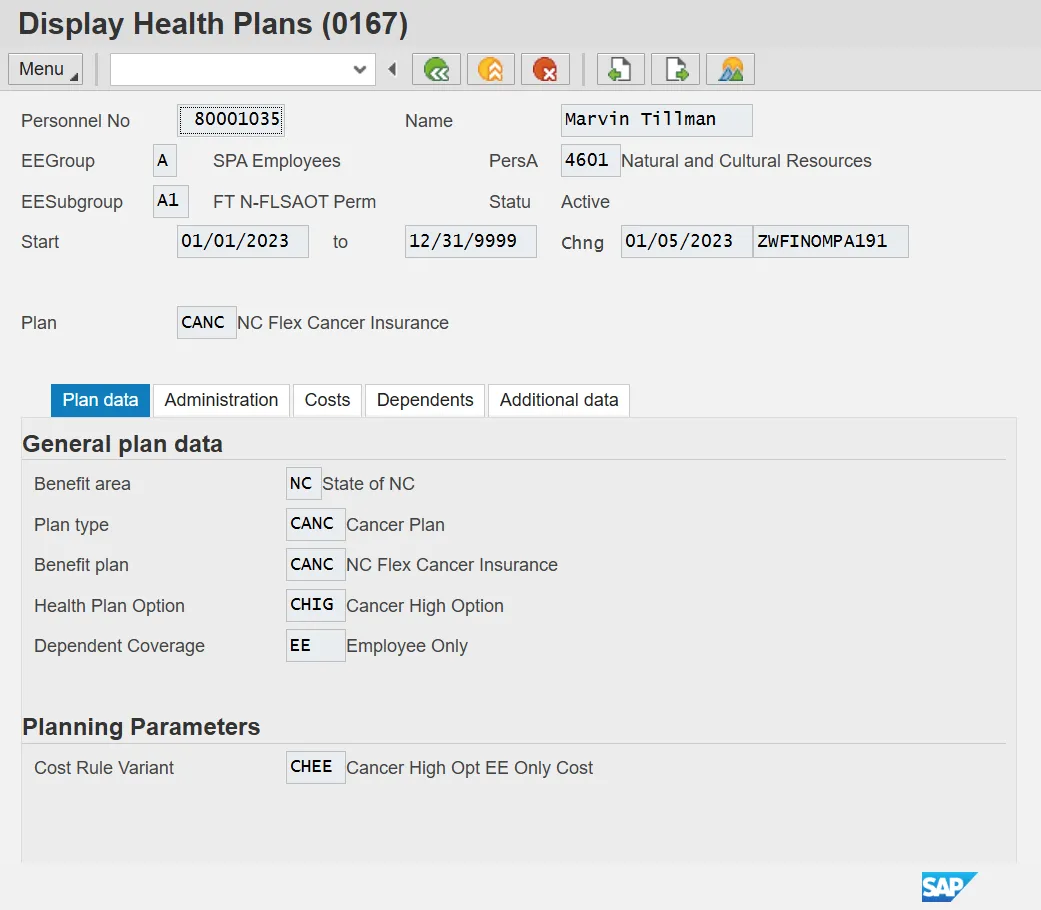
Step 15. Click Next record (Shift+F7) button.
Review the Health Plans infotype data as appropriate. In some cases, there is more than one record. To view the next record, click the Next record button.
Step 16. Click Back (F3) button.
Step 17. Click Insurance Plans button.
Step 18. Click Display (F7) button.
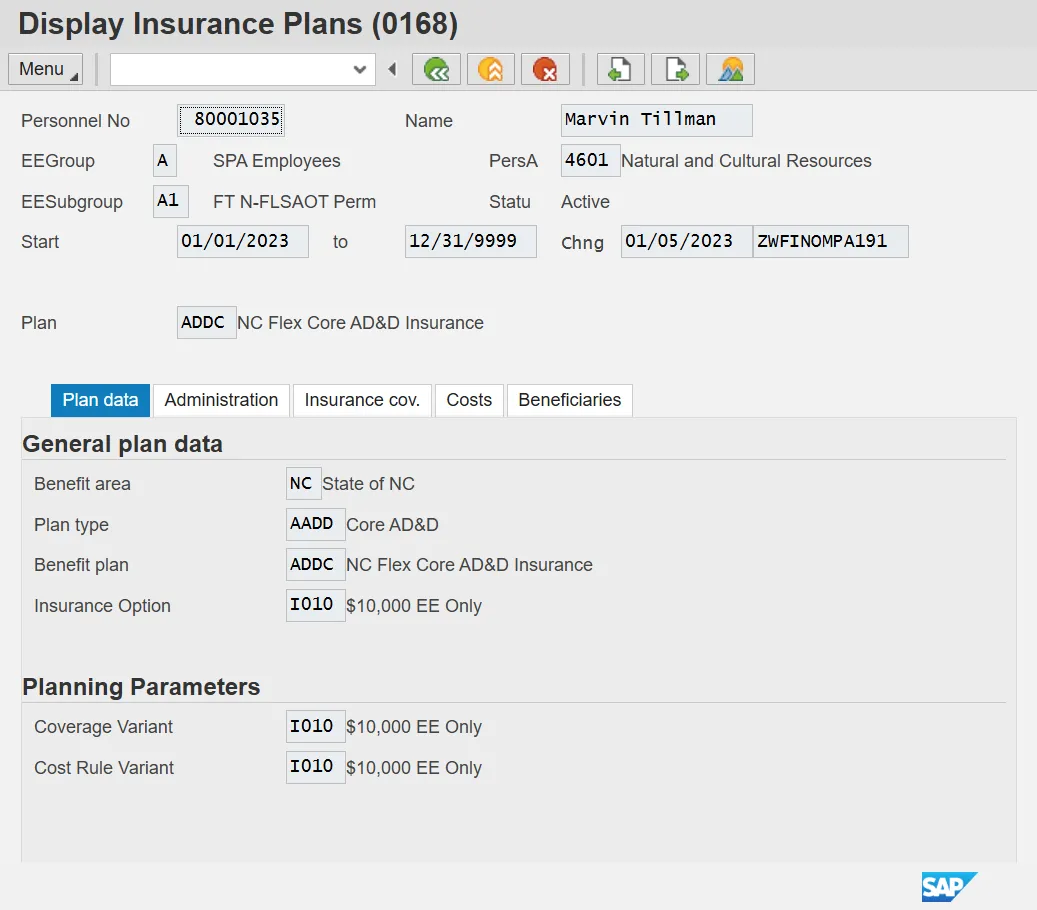
Step 19. Click Next record (Shift+F7) button.
Review the Insurance Plans infotype data as appropriate. In some cases, there is more than one record. To view the next record, click the Next record button.
Step 20. Click Back (F3) button.
Step 21. Click Flexible Spending Accounts button.
Step 22. Click Display (F7) button.
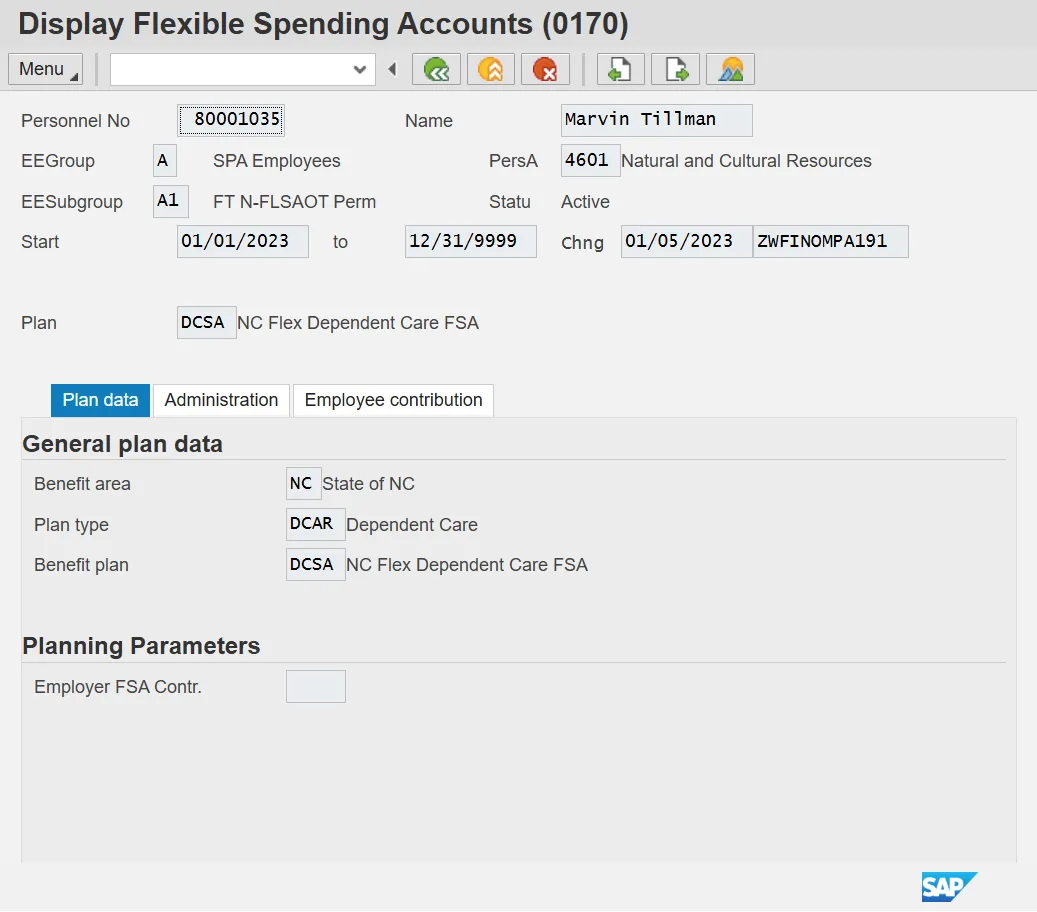
Step 23. Click Next record (Shift+F7) button.
Review the Flexible Spending Accounts infotype data as appropriate. In some cases, there is more than one record. To view the next record, click the Next record button.
Step 24. Click Back (F3) button.
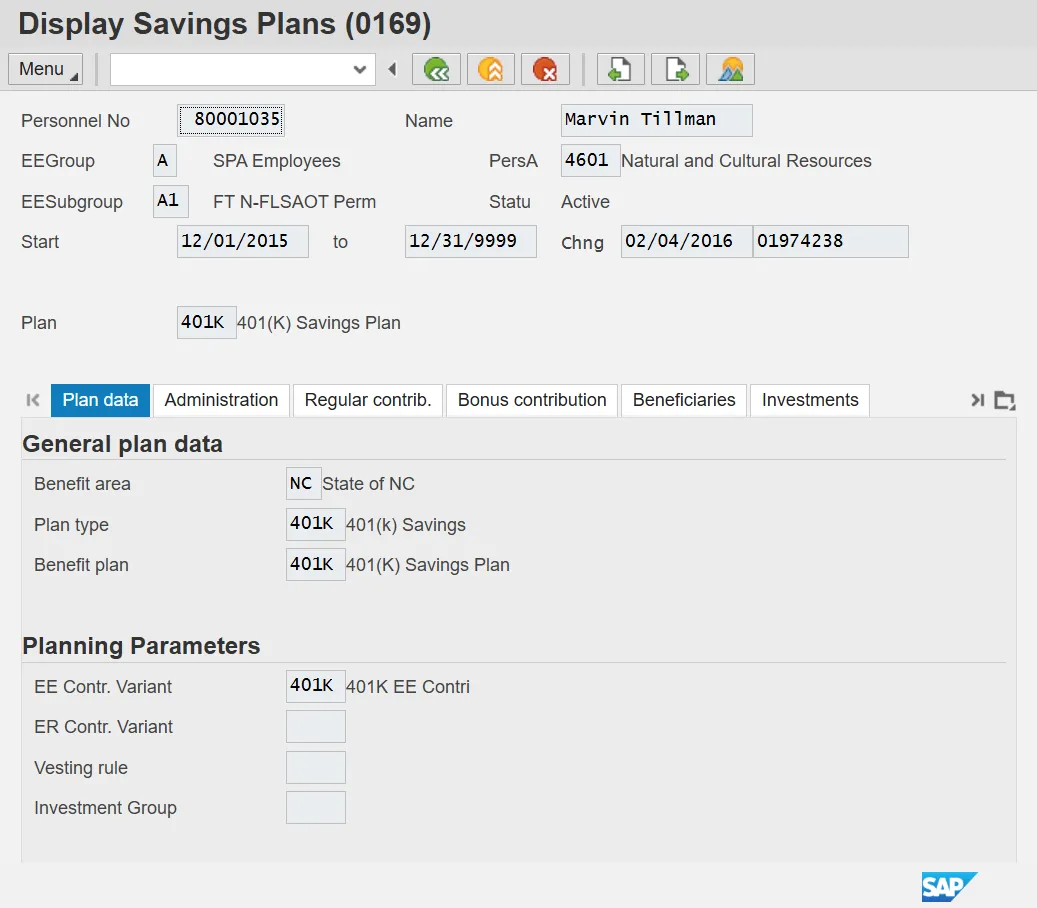
Step 25. Click Savings Plans button.
Step 26. Click Display (F7) button.
Review the Savings Plans infotype data as appropriate. There may be multiple records for infotype 0169 (savings plans) available by clicking on the next screen or previous screen buttons. If there are multiple tabs on the screen, additional data is available on other tabs.
Step 27. Click Back (F3) button.
Step 28. Click Back (F3) button.
Step 29. Review additional infotypes as appropriate. If there is a green check mark next to an infotype title, then master data has been entered for that infotype on this employee’s record.
Step 30. The system task is complete.