Purpose
The purpose of this Business Process Procedure is to explain the process for generating Health Plan Not Yet Enrolled Letter in the Integrated HR-Payroll System.
Trigger
Agency Benefit Specialist creates a system-generated letter for employees who have not yet enrolled in a health plan. The Benefit Specialist sends the letter to eligible employees as a reminder seven days prior to the end of the employee's initial eligibility event.
Business Process Procedure Overview
Agency Benefit Specialist creates the ZBNS012 - Health Plan: Not Yet Enrolled Letter as a reminder to send to employees who have not yet enrolled in a state sponsored health plan. The letter is generated seven days prior to the end of the employee's initial eligibility event as a new hire.
The recommended business practice is to run the letters daily or weekly and distribute to employees. It may be beneficial to generate the letters to follow up with the employee after the employee's Benefit Orientation has been conducted within the agency.
Selecting a date range for the letters is required.
Access Transaction
Via Transaction Code: ZBNS012
Procedure
There are 9 steps to complete this process.
Step 1. Update the following field:
| Field Name | Description | Values |
|---|---|---|
| Command | White alphanumeric box in upper left corner used to input transaction codes. |
Enter value in Command. Example: ZBNS012 |
Step 2. Click the Enter button.
The Reminder Dates and Expiration Days will default into the selection screen Reminder Dates fields. The Not Yet Enrolled letters are generated for employees seven (7) days prior to the end of their eligibility event from Today's date. If needed, the user can alter the defaulted criteria for their business needs. It is recommended to run the letters with the system defaulted Reminder Dates and Expiration Days.
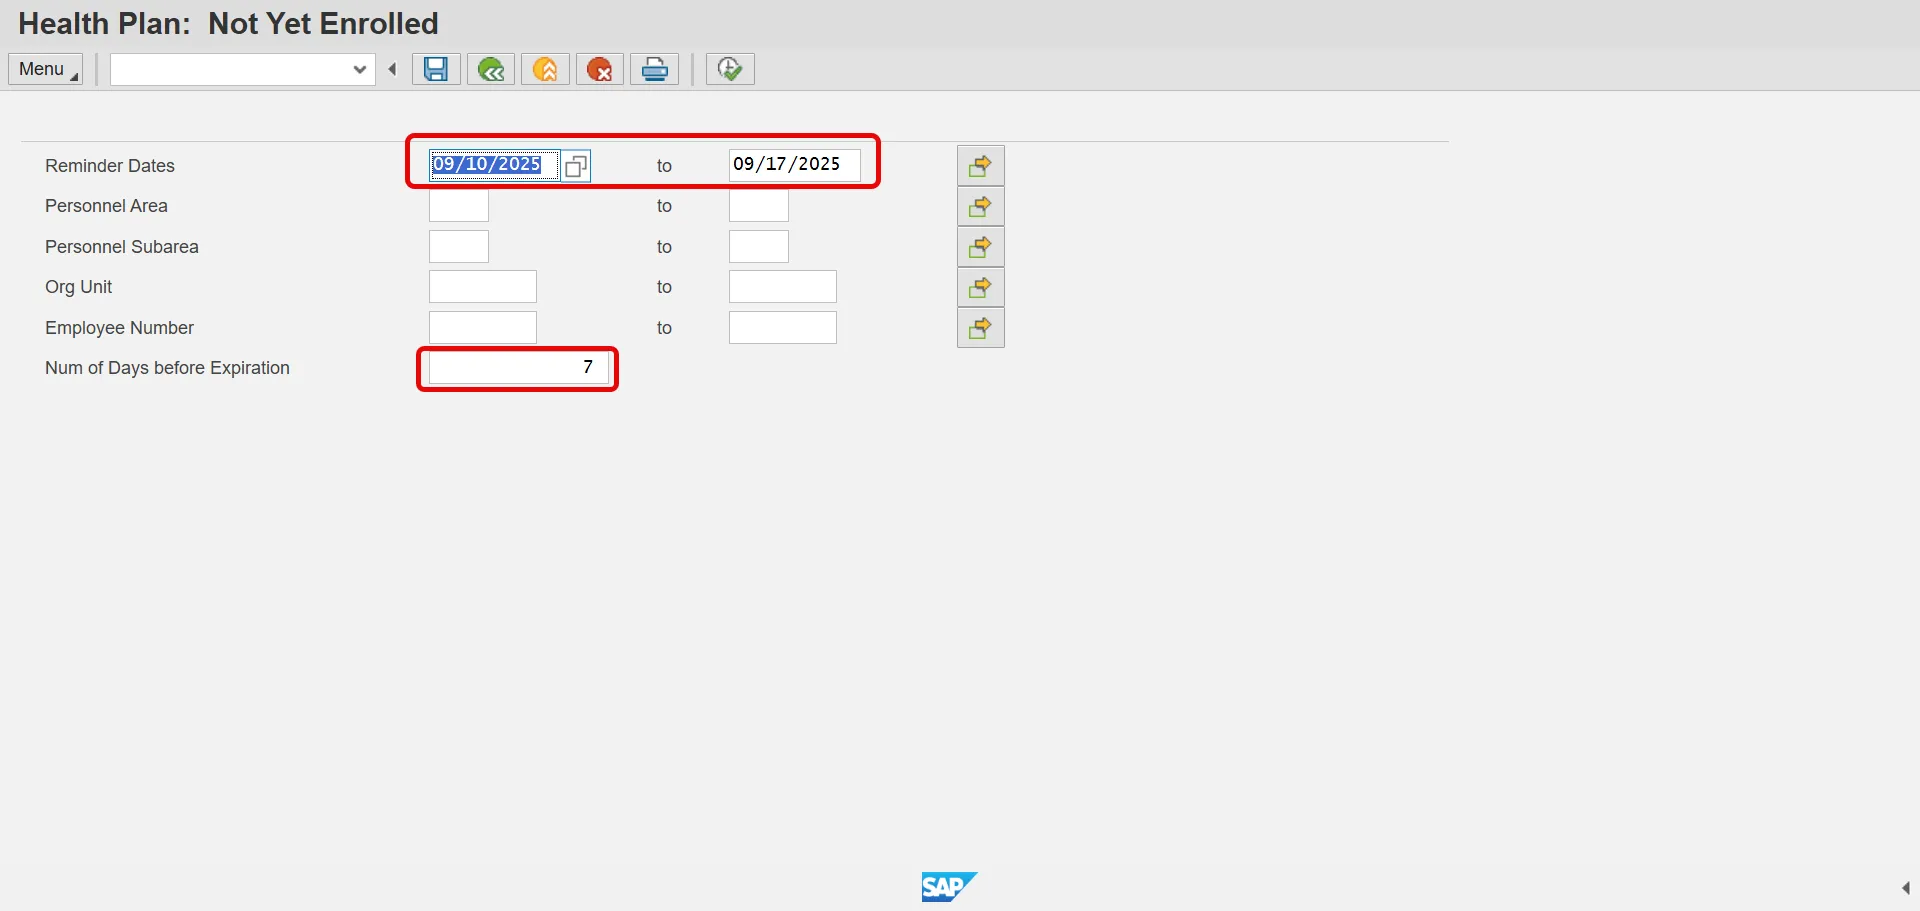
Step 3. Click the Execute (F8) button.
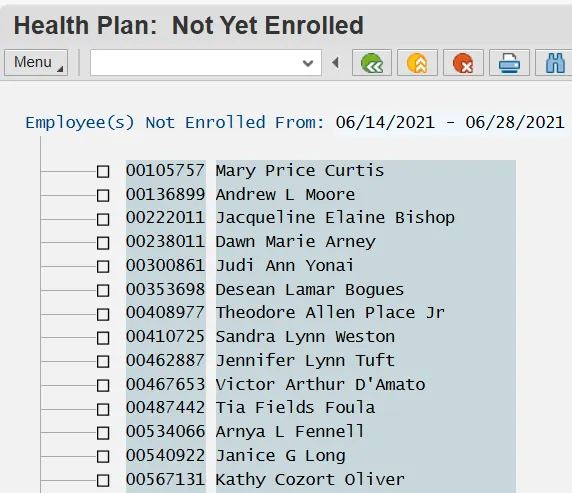
Step 4. Click the Select All (F7) button.
The Select All button allows users to select all employees at one time. Or if preferred, the user can select only certain employees by clicking in the checkbox in front of the employee’s name.
Step 5. Click Letter (Ctrl+F1) button.
Step 6. Update the following field:
| Field Name | Description | Values |
|---|---|---|
| Output Device | Code identifying a printer or fax machine to which a document or report can be sent |
Enter value in Command. Example: ZLOCL |
Selecting LOCL as the output device will allow the header and footer information to print as designed.
Step 7. Click the Print Now checkbox.
To expedite printing, use the Print Now option.
Step 8. Make sure that Do Not Print is the displayed selection for the SAP cover page field.
The Do Not Print option under the SAP cover page list saves paper.
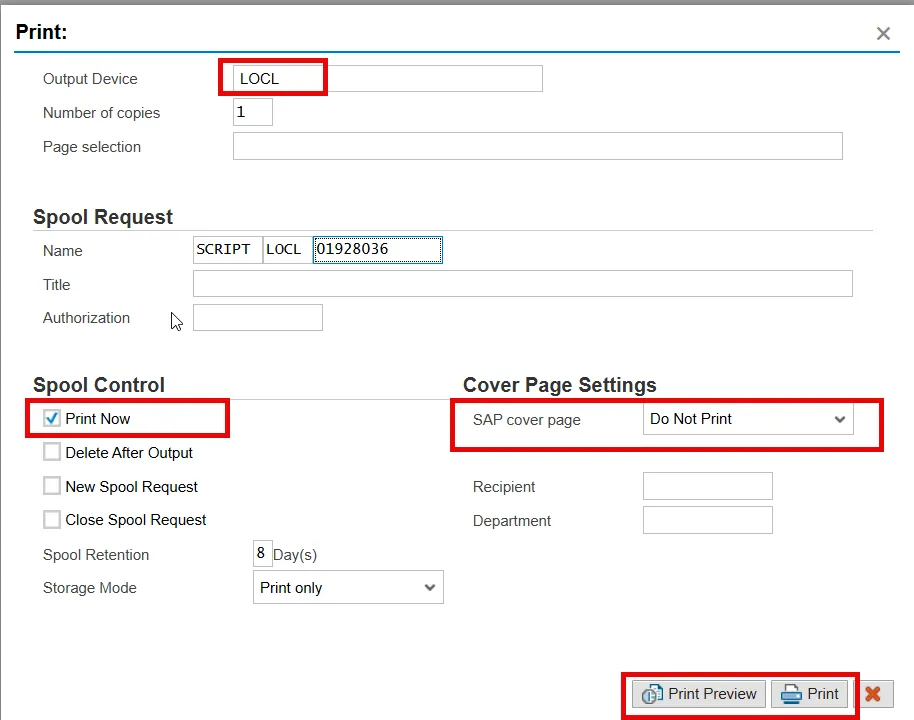
Step 9. Click the Print button.
You can also select Print Preview to view the form prior to printing.
The system task is complete.