Purpose
The purpose of this Quick Reference Guide (QRG) is to provide a step-by-step explanation on how to Delete an Inventory Item that is associated to an Inventory Organization in error in the North Carolina Financial System (NCFS).
Introduction and Overview
This QRG covers an explanation on how to delete an inventory item that is associated to an Inventory Organization in error in NCFS. By deleting the item, the item is removed and will no longer be tracked within that specific inventory organization.
Inventory Item Delete
To delete an inventory item in NCFS, please follow the steps below. There are 18 steps to complete this process.
Step 1. Log in to the NCFS portal with your credentials to access the system.
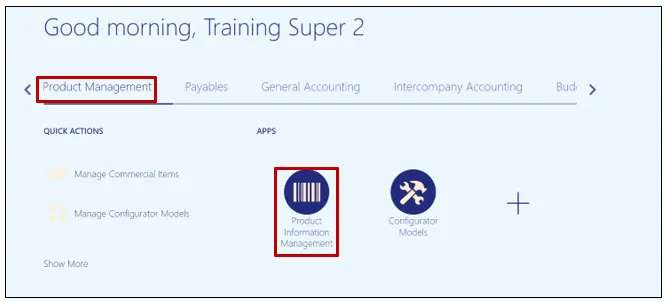
Step 2. On the Home page, under the Product Management tab, click the Product Information Management app.
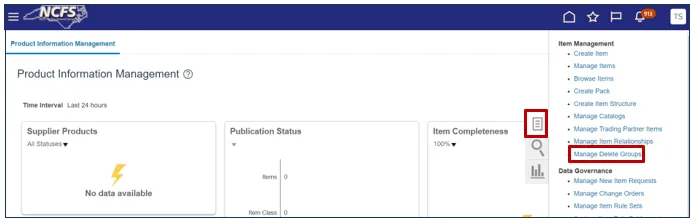
Step 3. Click the Tasks icon and select Manage Delete Groups.
Step 4. Click the Create button to create a Delete Group.
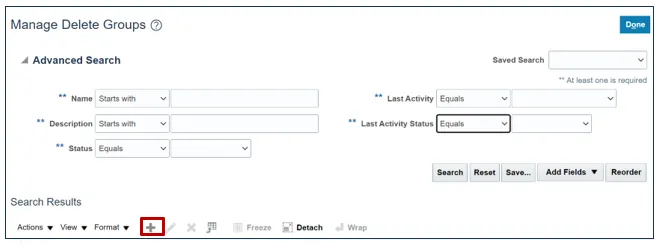
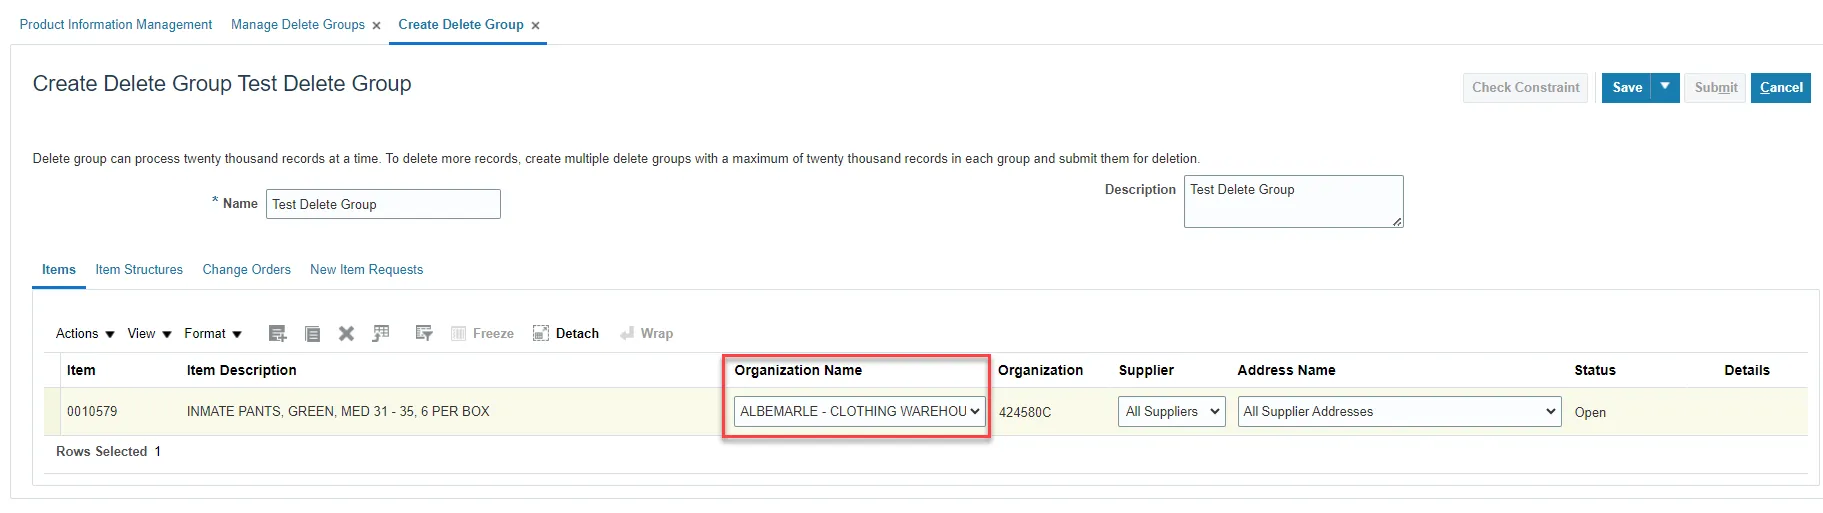
Step 5. Name the Delete Group. In this example, the group was named Test Delete Group. Add a Description if desired. Then, click the Select and Add button.

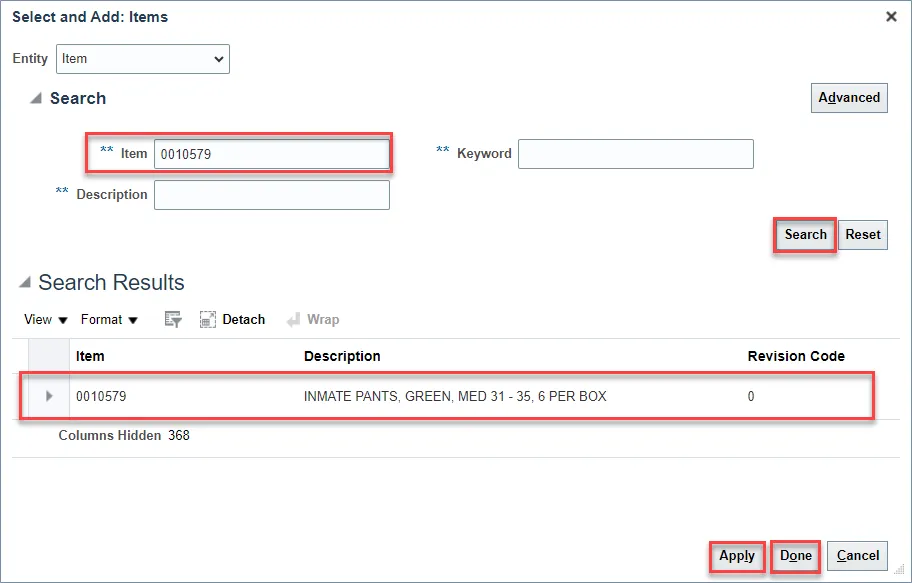
Step 6. Search for the item to be deleted by using the search fields, then click Search. Select the item within the Search Results, then click Apply. When the item(s) to be disassociated are selected click Apply, then click Done.
In this example, item 0010579 was chosen.
Step 7. Double click the item line to edit the item fields. From the Organization Name drop-down list, choose the Inventory Organization to delete the item from.
Step 8. Click Save. Then click Check Constraint. Constraints are reasons that prevent the item from being deleted. Example: Completed Transaction activity.

Step 9. An Information pop-up will appear, click OK.

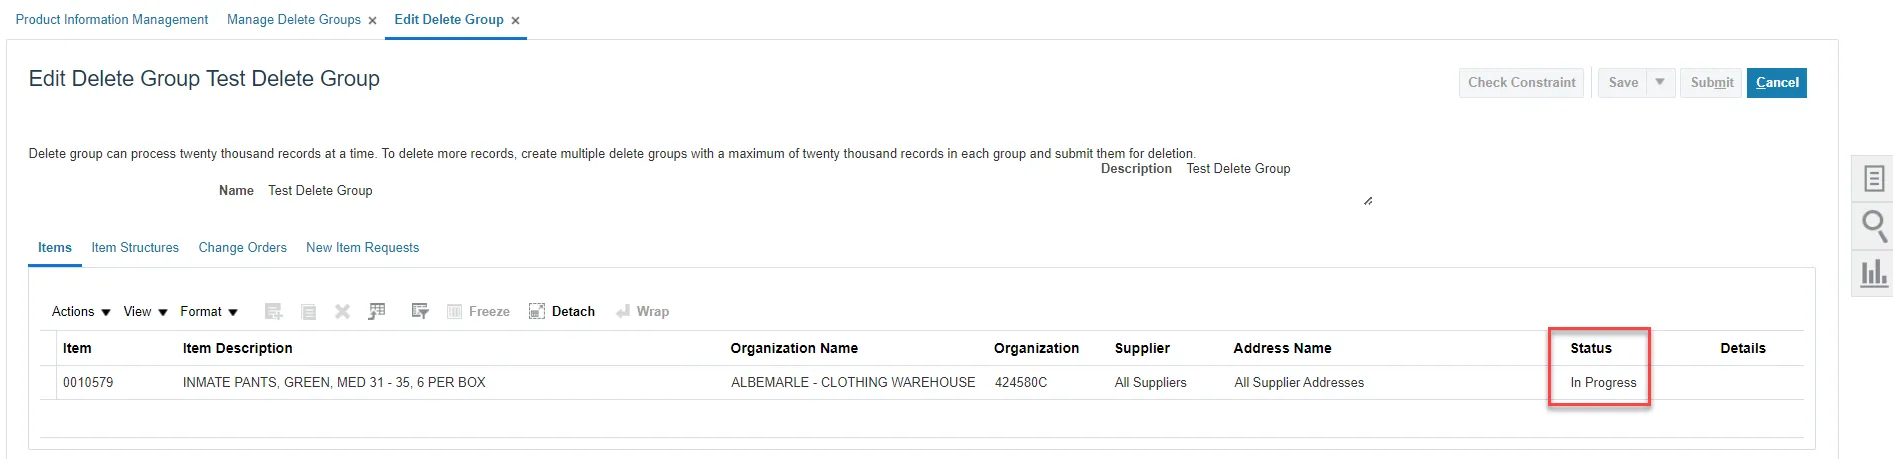
Step 10. The Item Delete Group Status in the Delete Group will show In Progress while checking constraints.
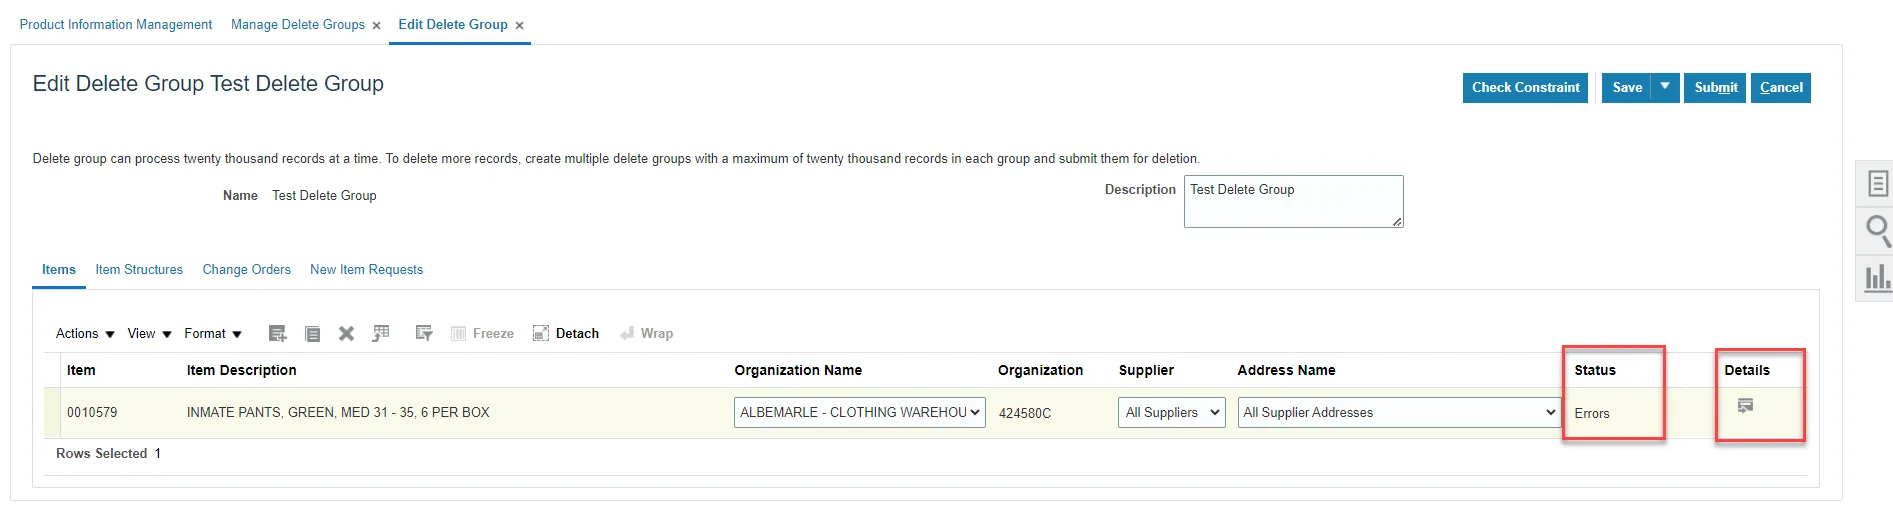
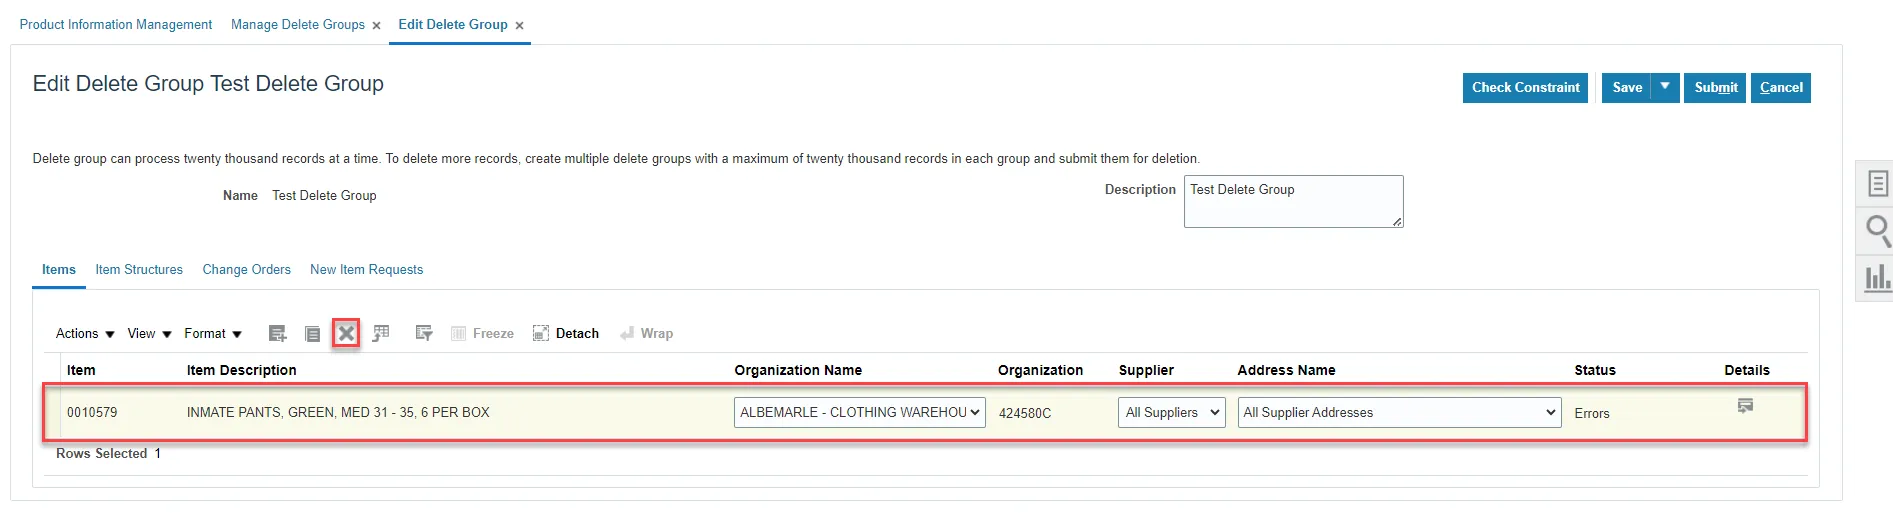
Step 11. If the Item Delete Group Status shows Errors, click the Details icon.
Step 12. The Error Details Window will appear with an information message regarding the deletion error(s). Click Done.
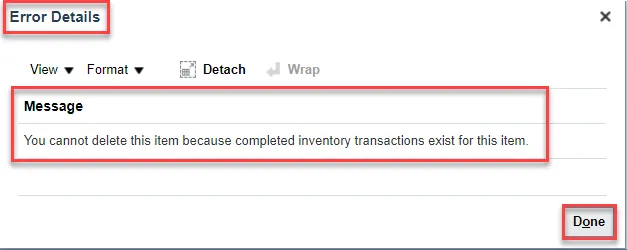
Step 13. This record cannot be deleted due to completed inventory transactions existing. Highlight the row and click the X button to remove it from the delete group.
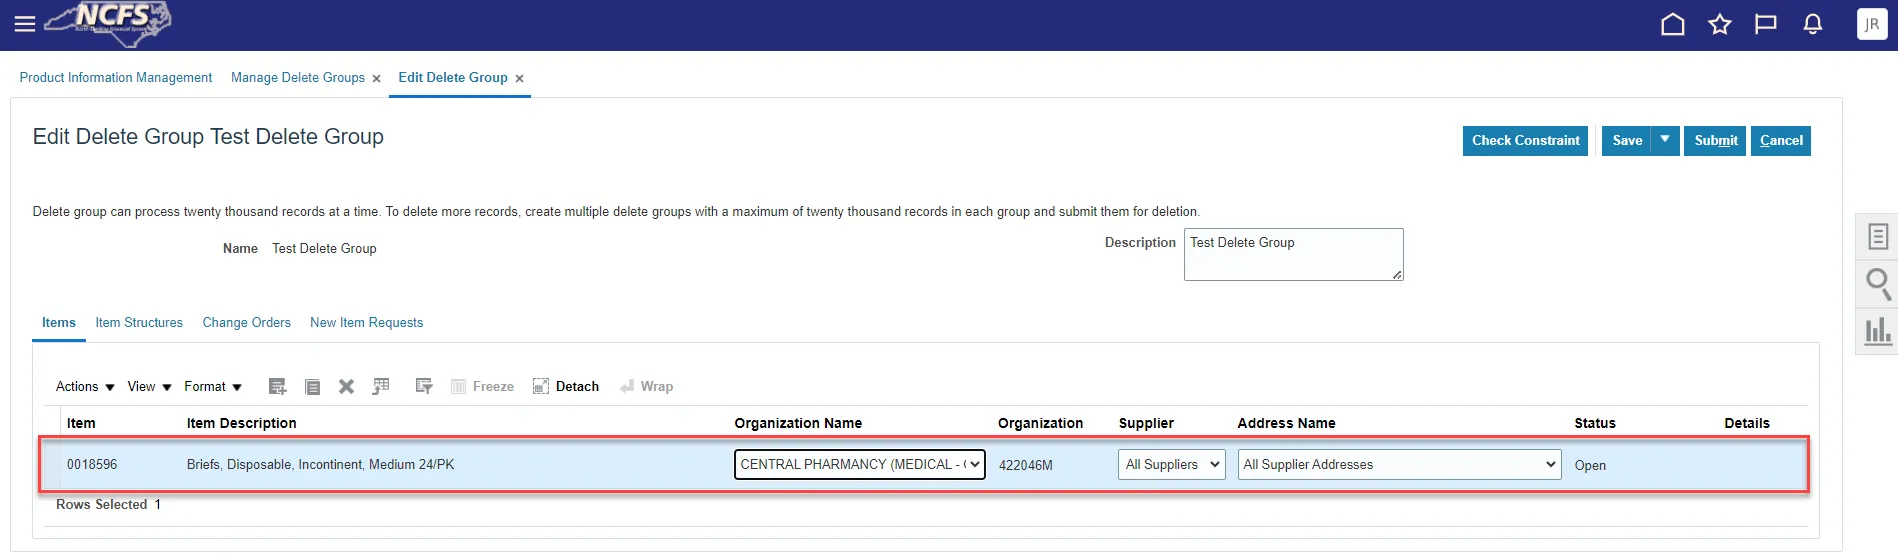
Step 14. Add the next item to be deleted to the delete group.
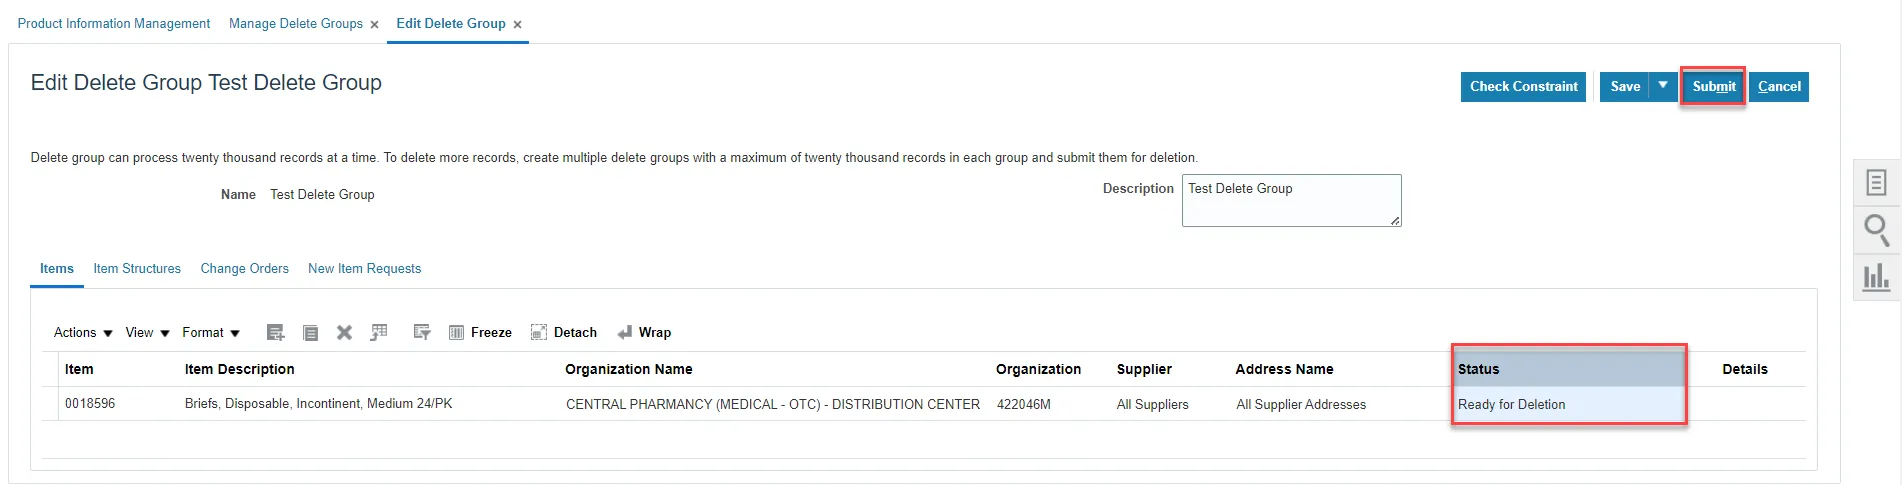
Step 15. Follow Steps 7-10 above. Once the Constraints Check completes and passes the Status will show Ready for Deletion. Click Submit.
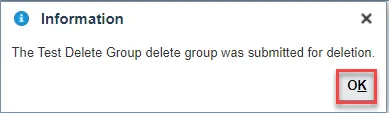
Step 16. An Information pop-up will appear. Click OK.
Step 17. Navigate to the Mange Delete Groups screen and the Delete Group Last Activity will show Delete Group Submission and Last Activity Status Completed.

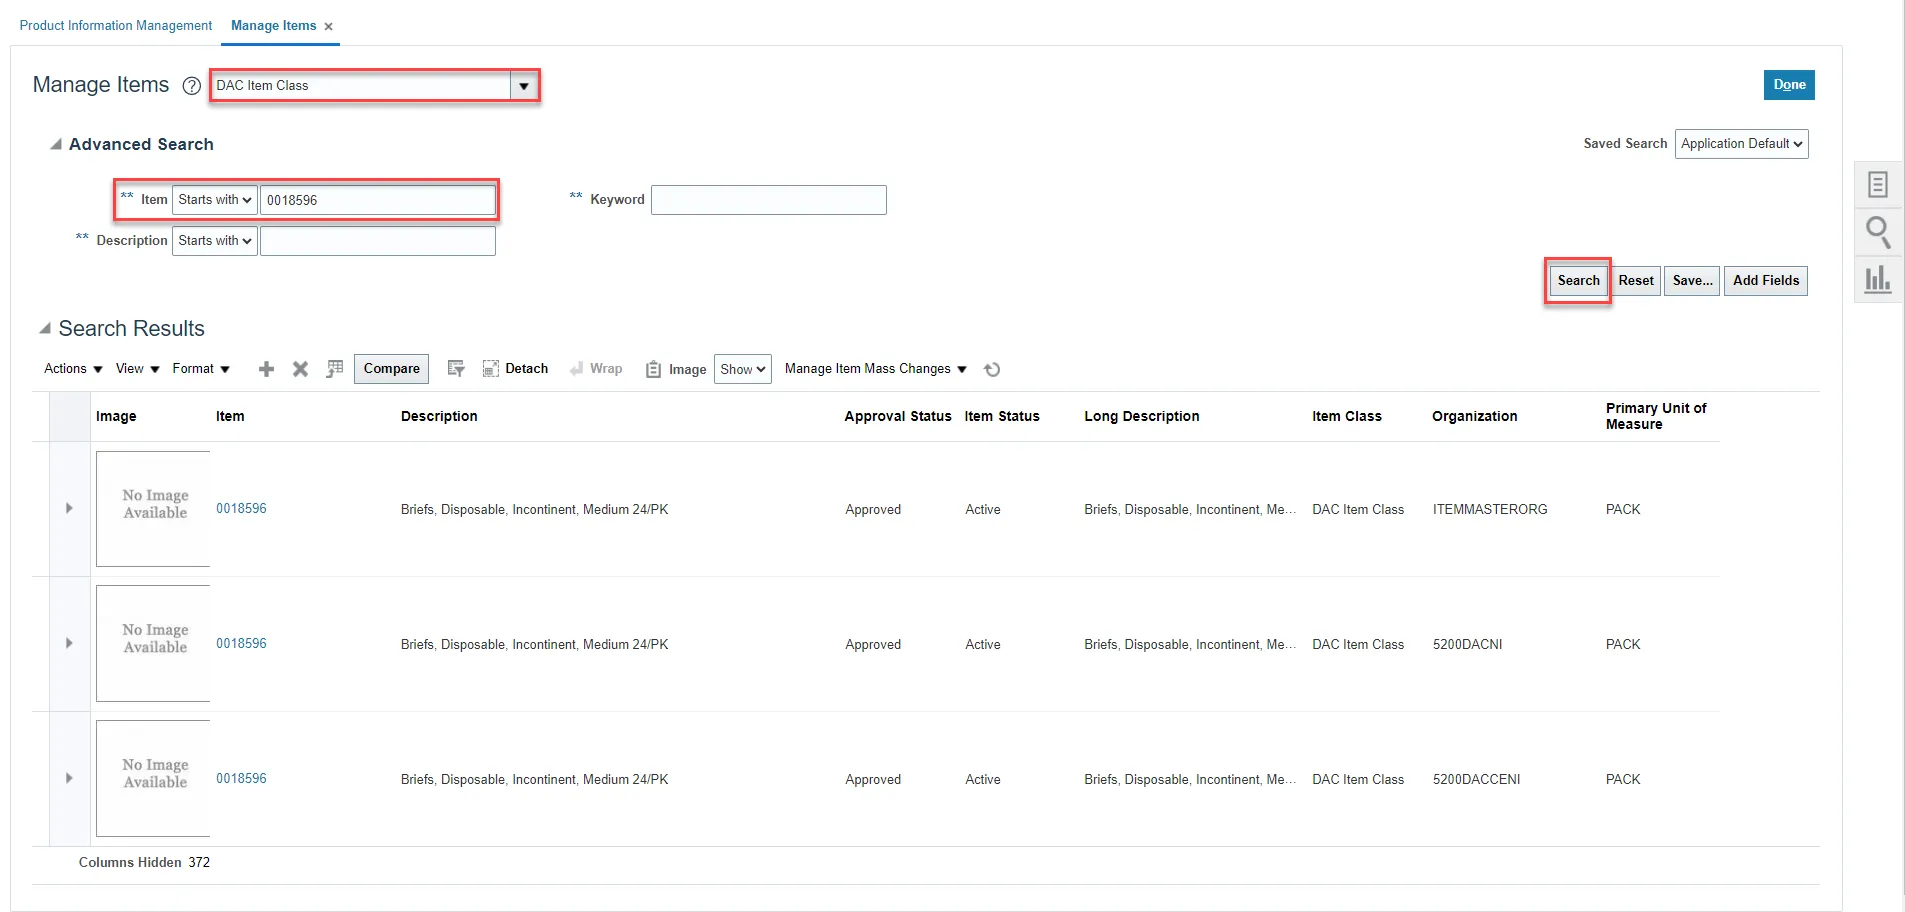
Step 18. Navigate to Manage Items task. Select the Item Class. Enter the Item Number into the Item field. Click Search. The deleted item should not be associated with the Inventory Organization (warehouse) selected for deletion.
Wrap-Up
This QRG covers an explanation on how to delete an inventory item in NCFS added in Error. By deleting an inventory item, the item is no longer associated with the Inventory Organization selected for deletion and transactions cannot be performed with the item.
Additional Resources
- Virtual Instructor-Led Training (vILT)