Purpose
The purpose of this Quick Reference Guide (QRG) is to provide a step-by-step explanation of how to build an OTBI report from scratch in the North Carolina Financial System (NCFS).
Introduction and Overview
This QRG covers the process of building an OTBI report from scratch which gives users the flexibility to customize the reporting process.
Process
To Build an OTBI Report from Scratch, please follow the steps below. There are 15 steps to complete this process.
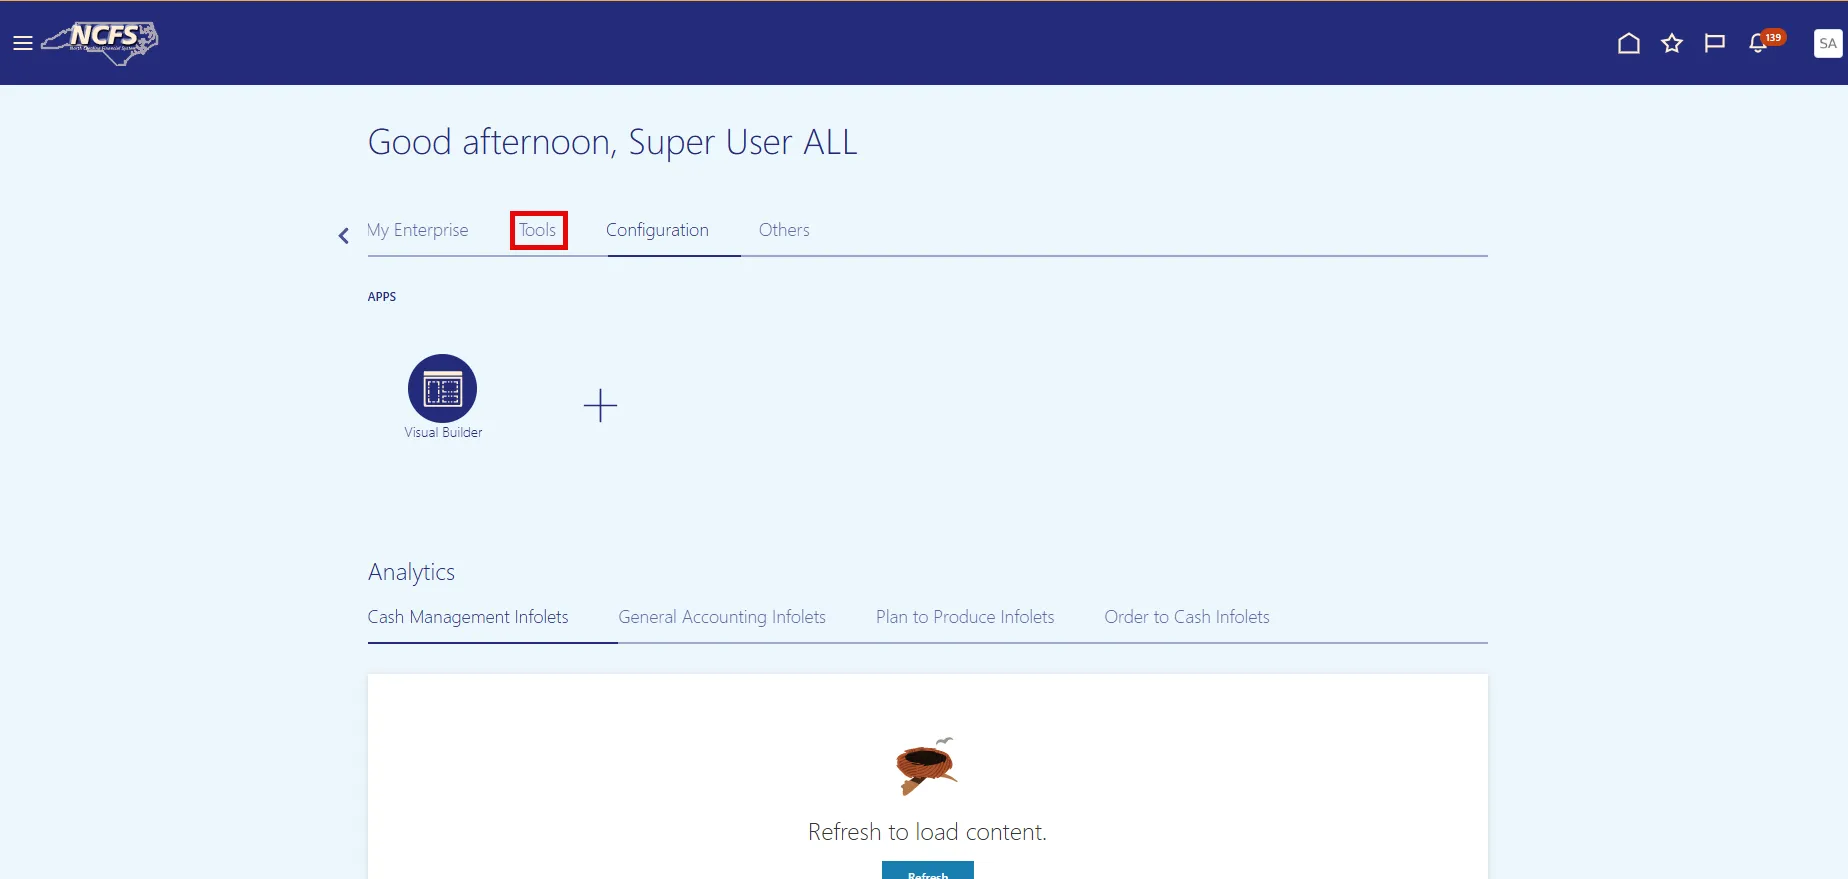
Step 1. On the NCFS home page, choose the Tools tab.
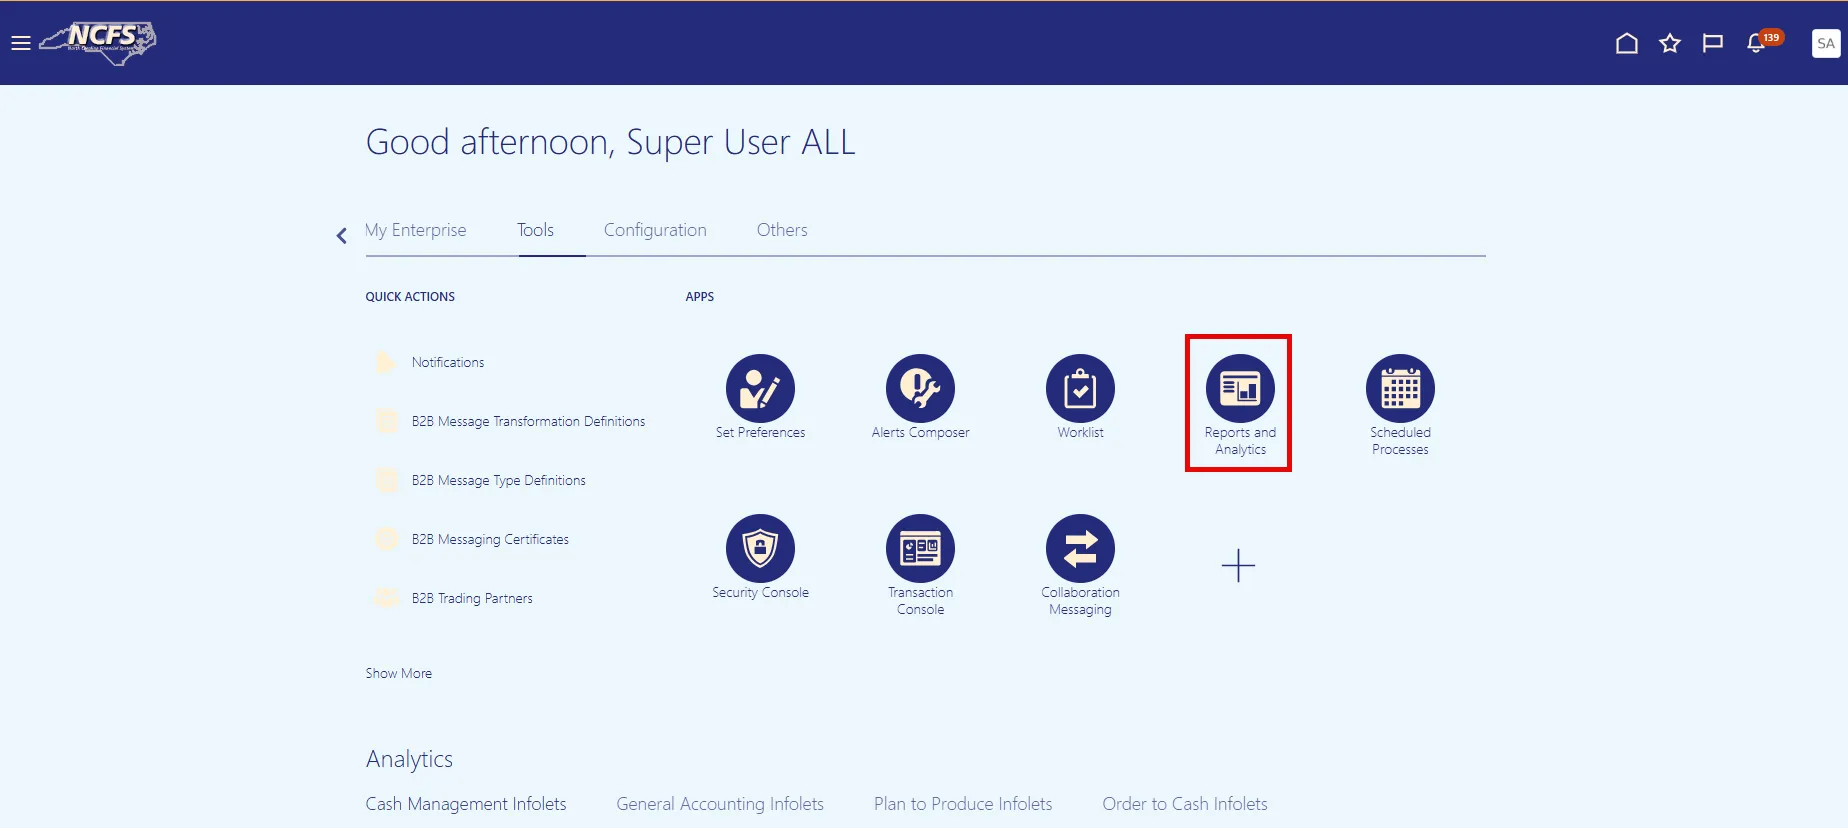
Step 2. Choose the Reports and Analytics app.
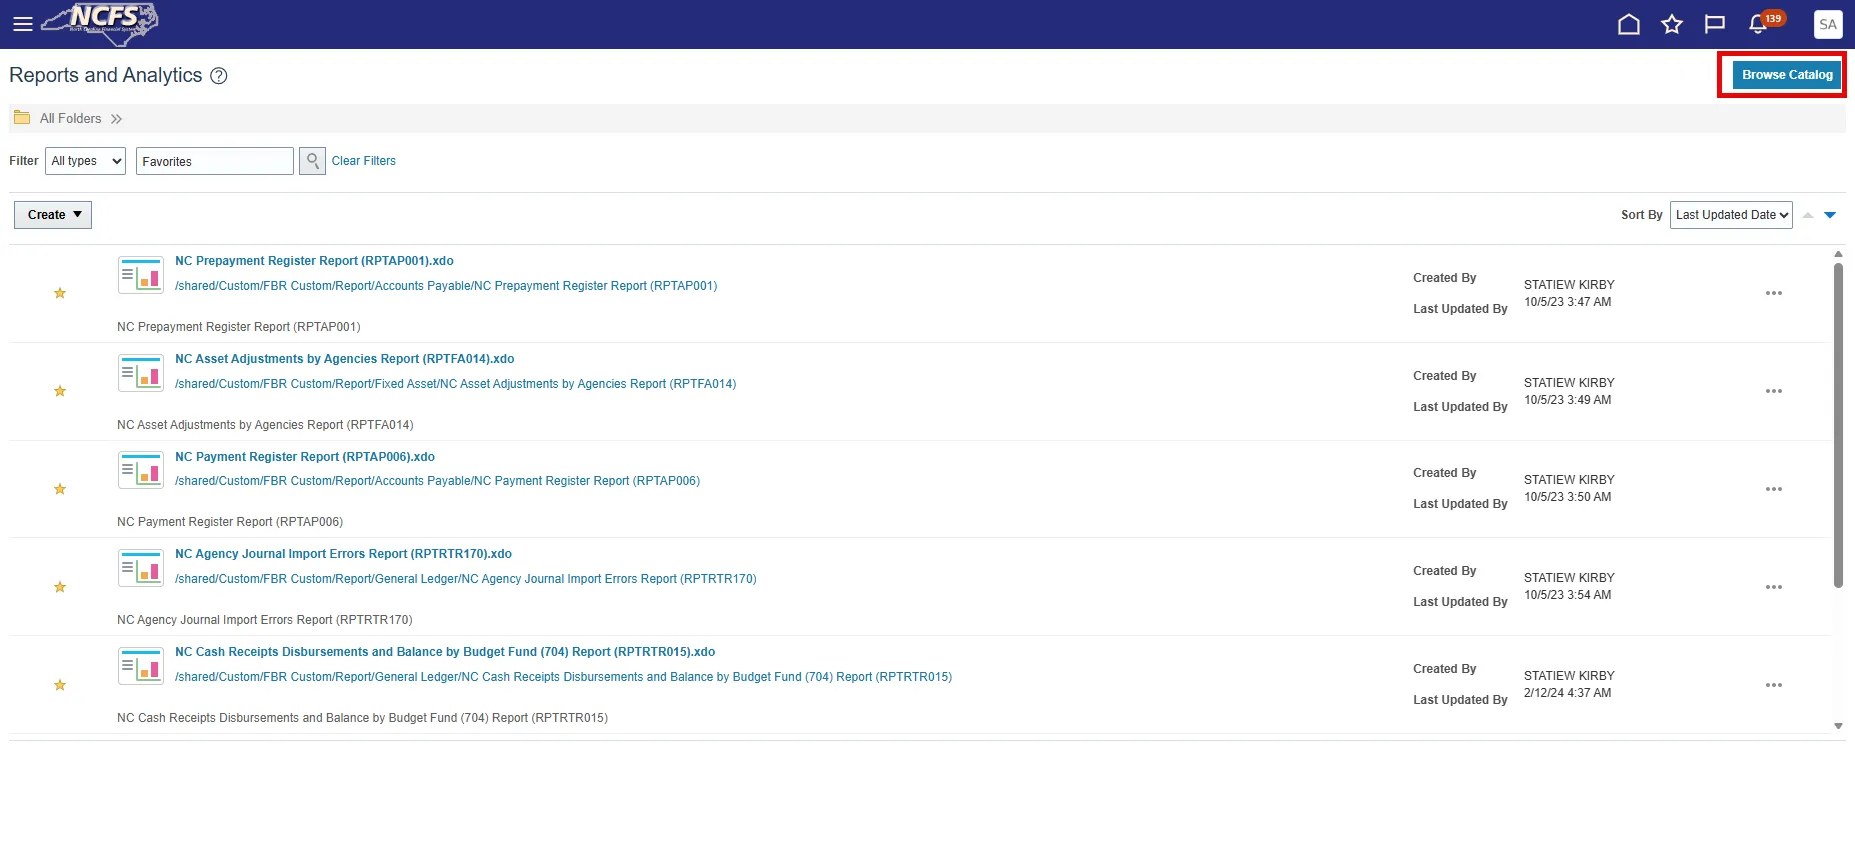
Step 3. On the Reports and Analytics screen, choose the Browse Catalog button.
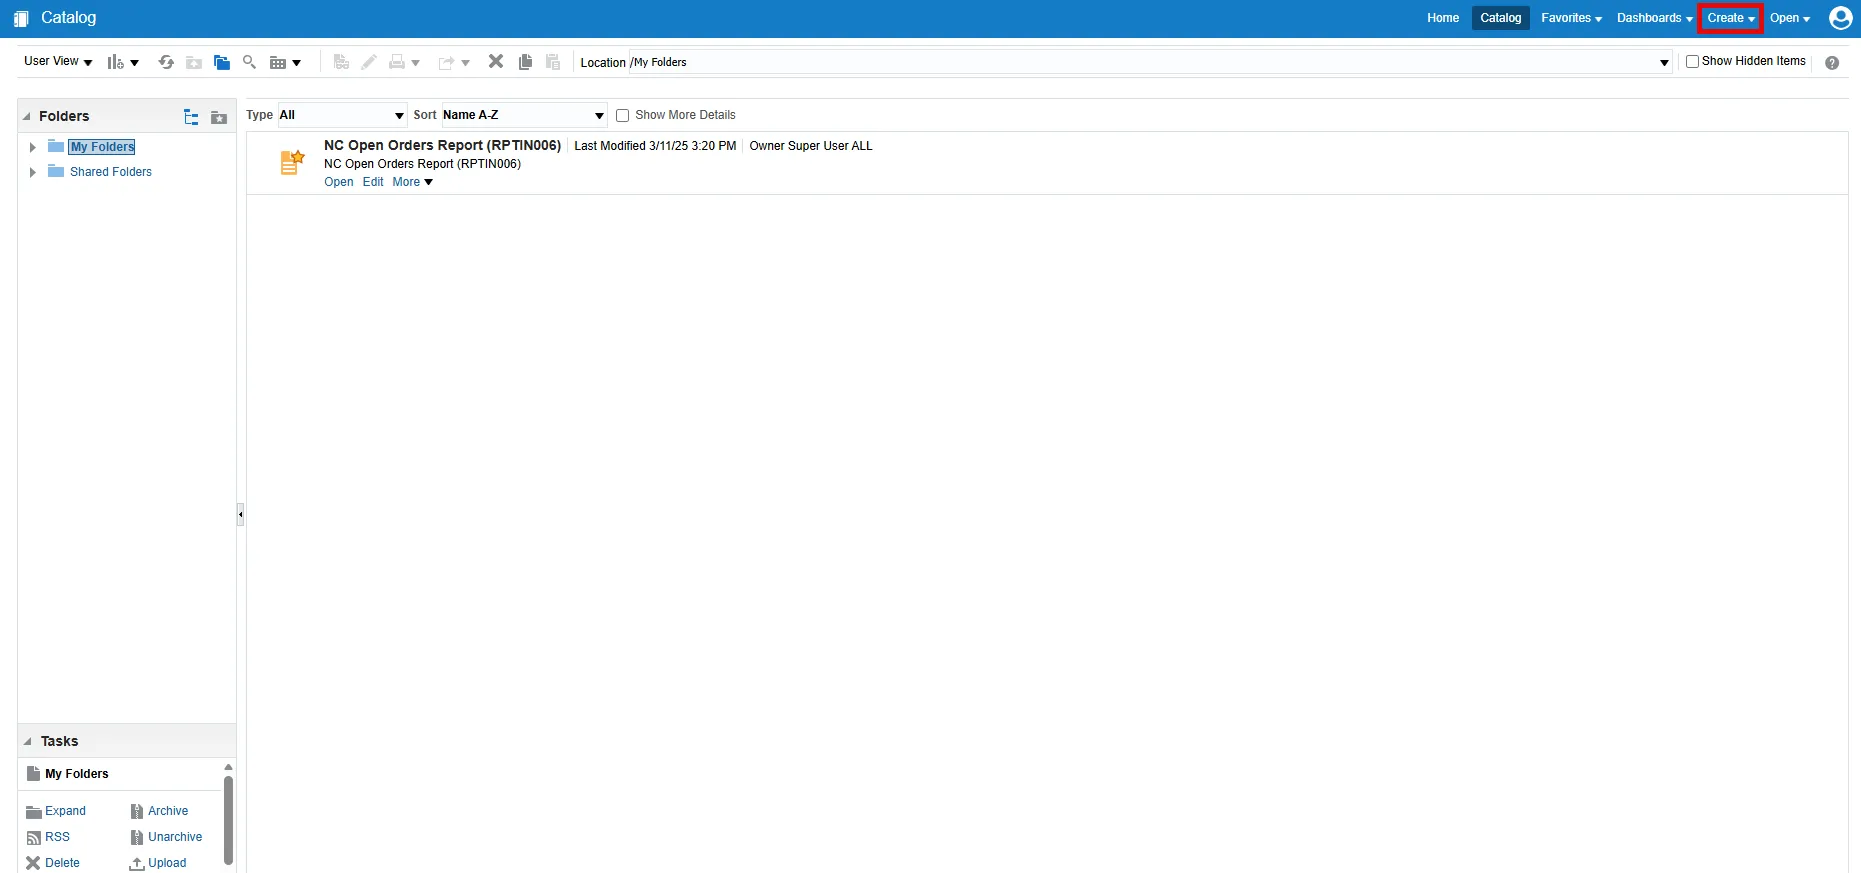
Step 4. On the Catalog page, choose Create in the upper right corner.
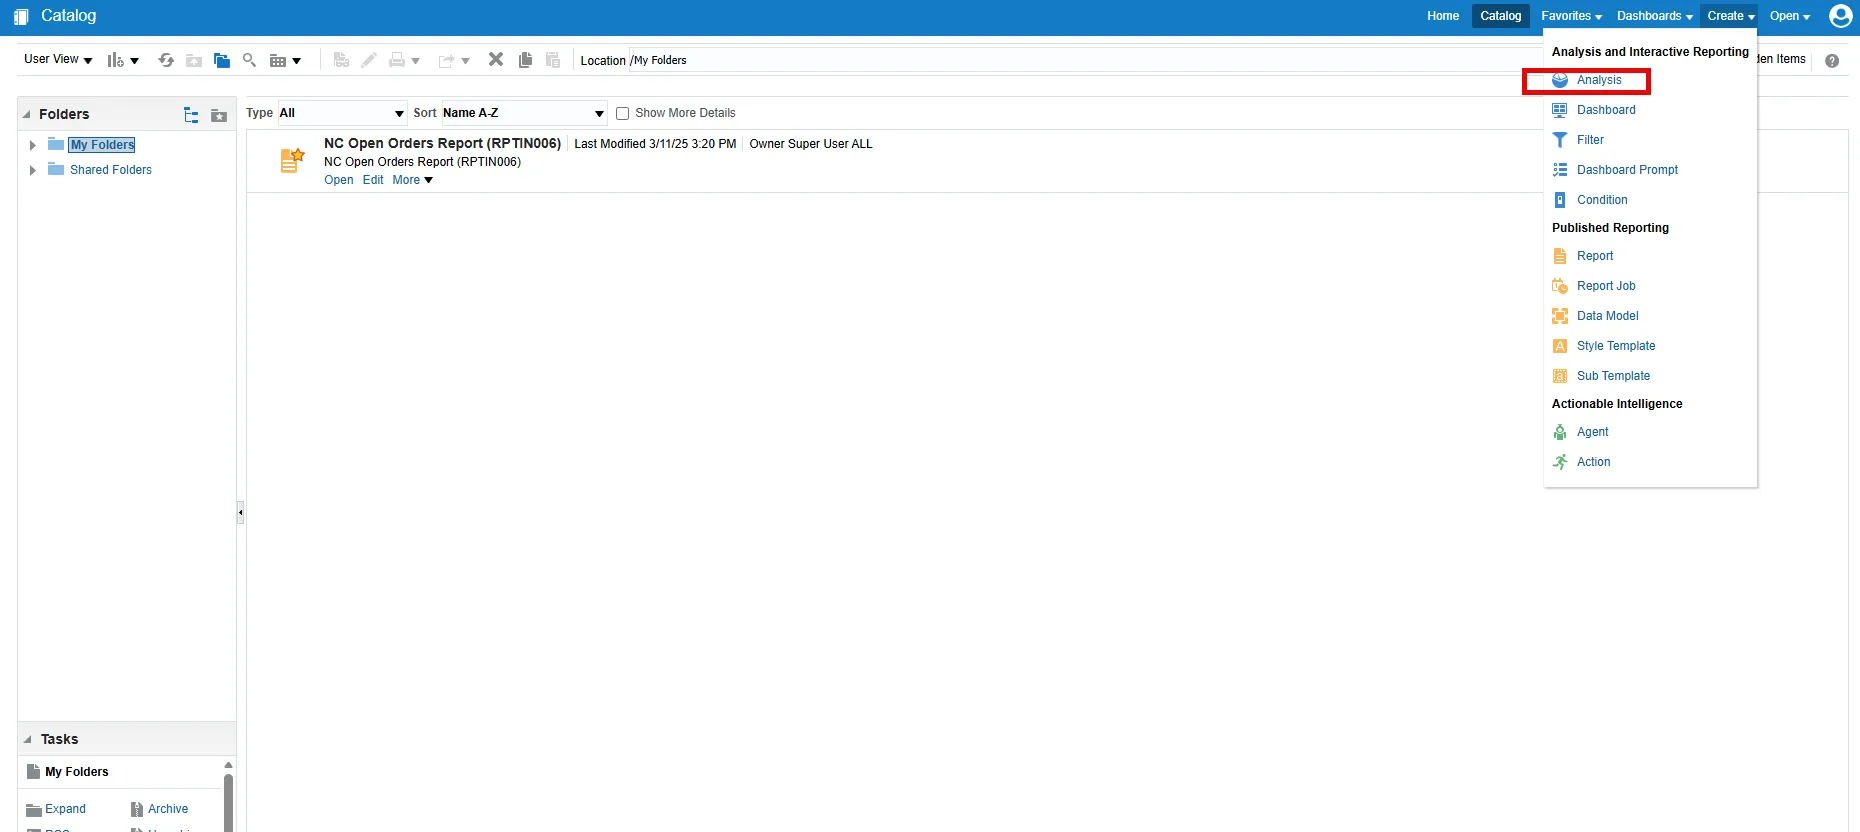
Step 5. Select Analysis from the drop-down menu.
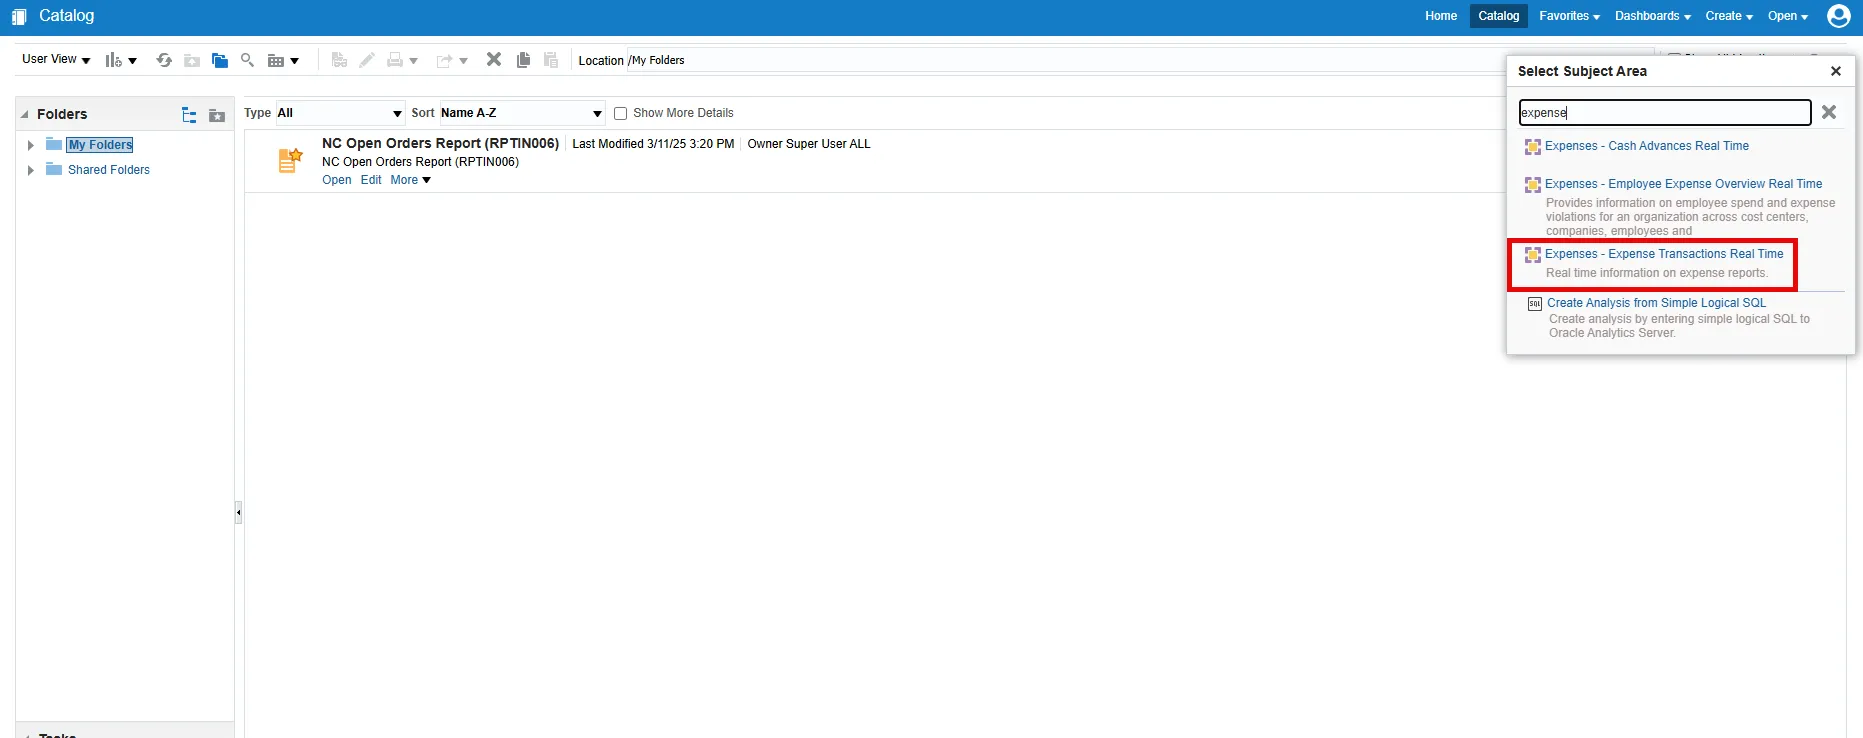
Step 6. Select a subject area for the report from the Select Subject Area pop-up.
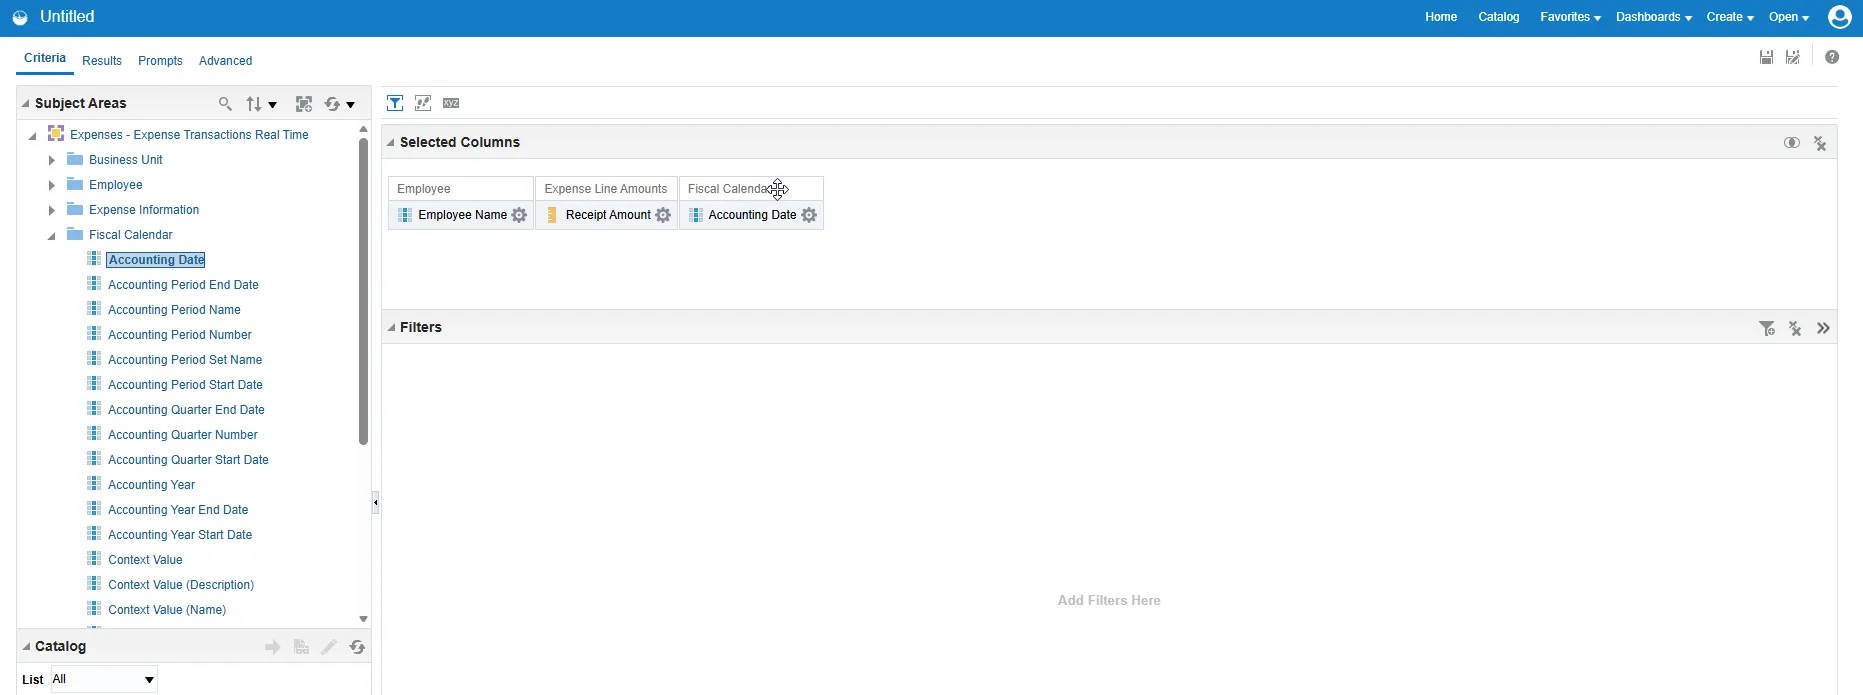
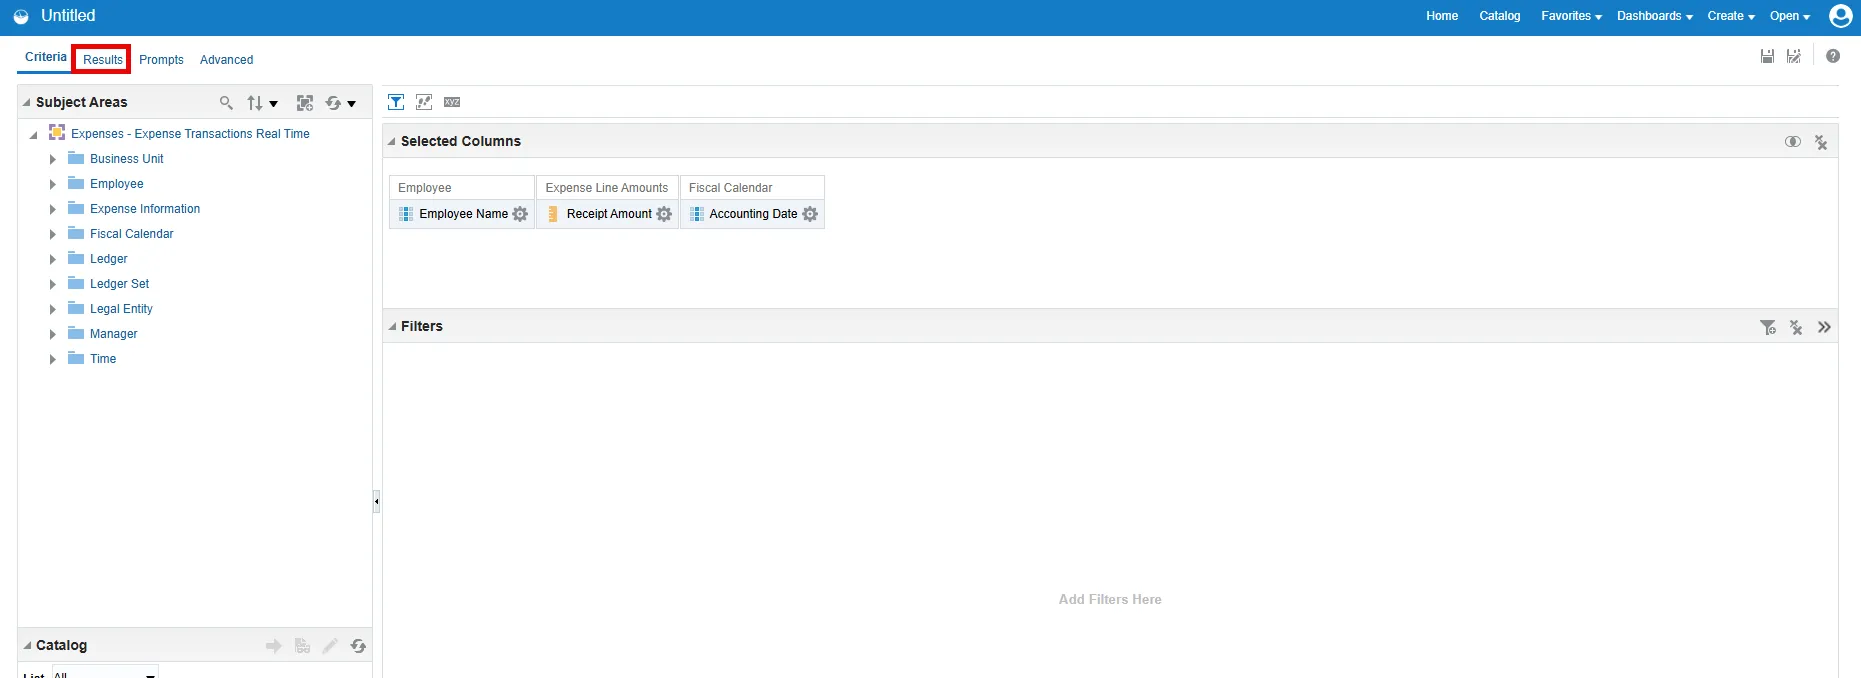
Step 7. Next, you must decide which data you want to appear in the report.
Along the left panel, you’ll see folders containing all available data elements for that subject area.
Using the expand node next to each folder, you can see the data elements housed there.
Double click any data elements you want to include in the report and those elements will be moved to the Selected Columns area.
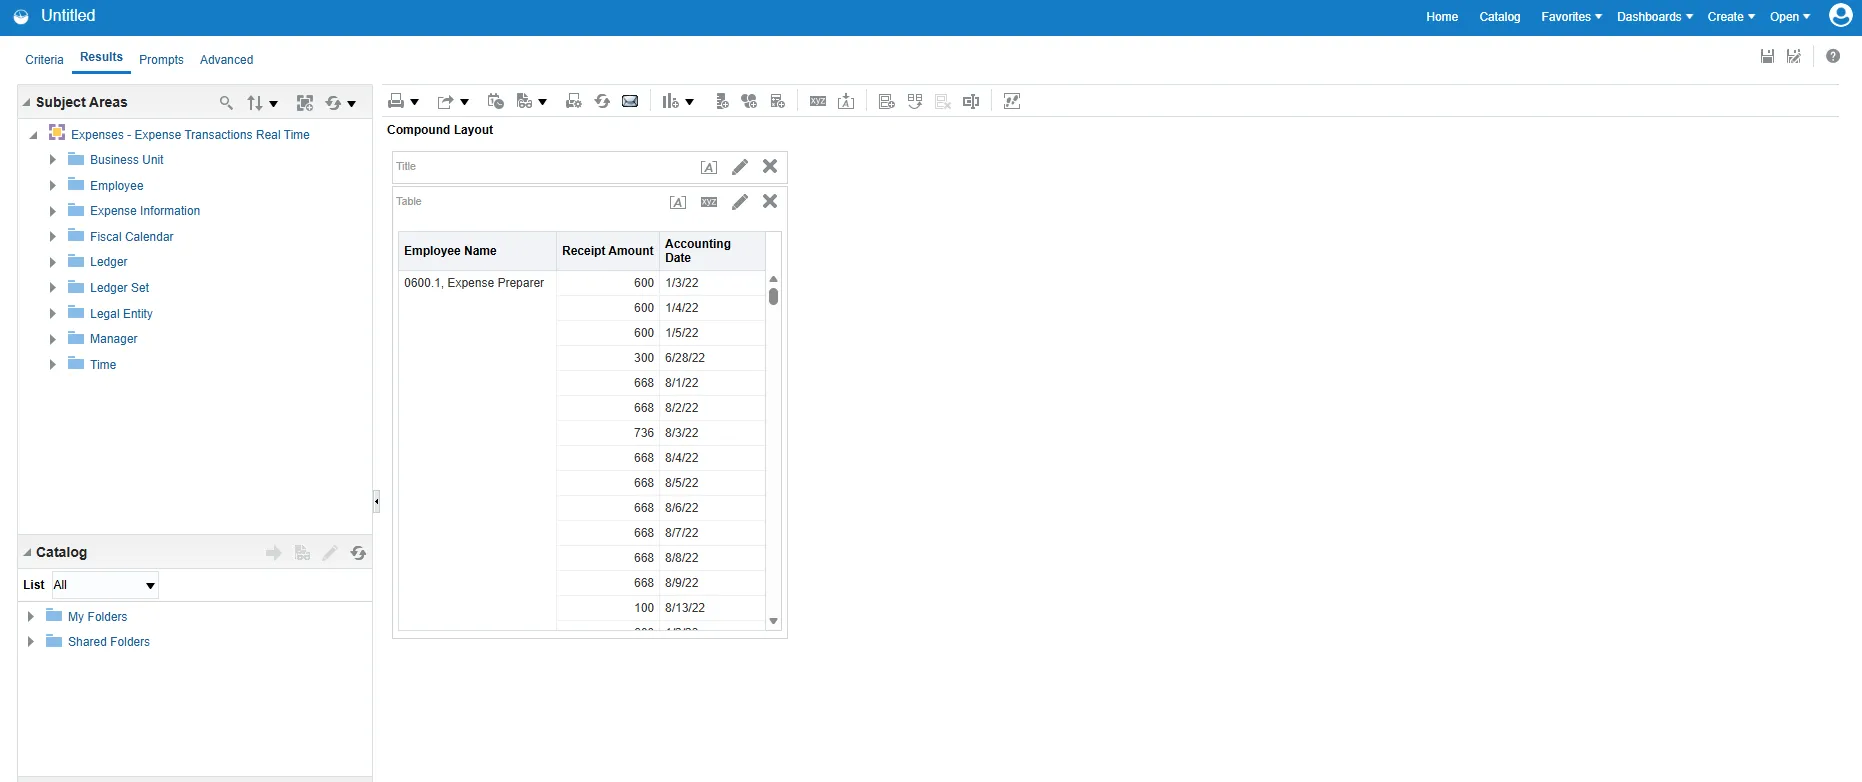
Step 8. When you have added all the desired data elements, choose the Results tab to generate the data.
Step 9. Data will appear in the report.
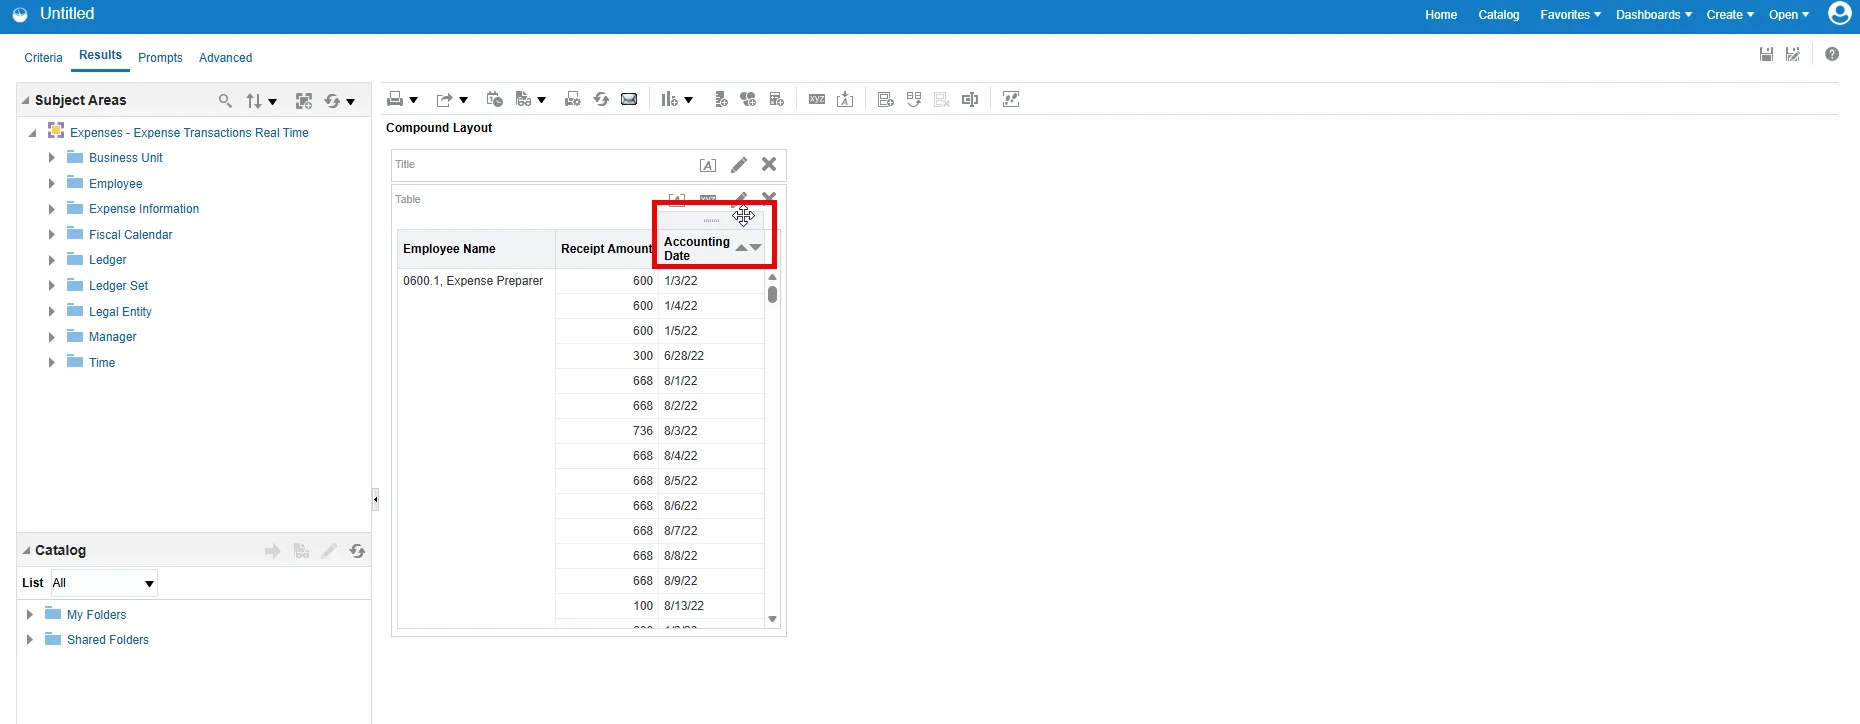
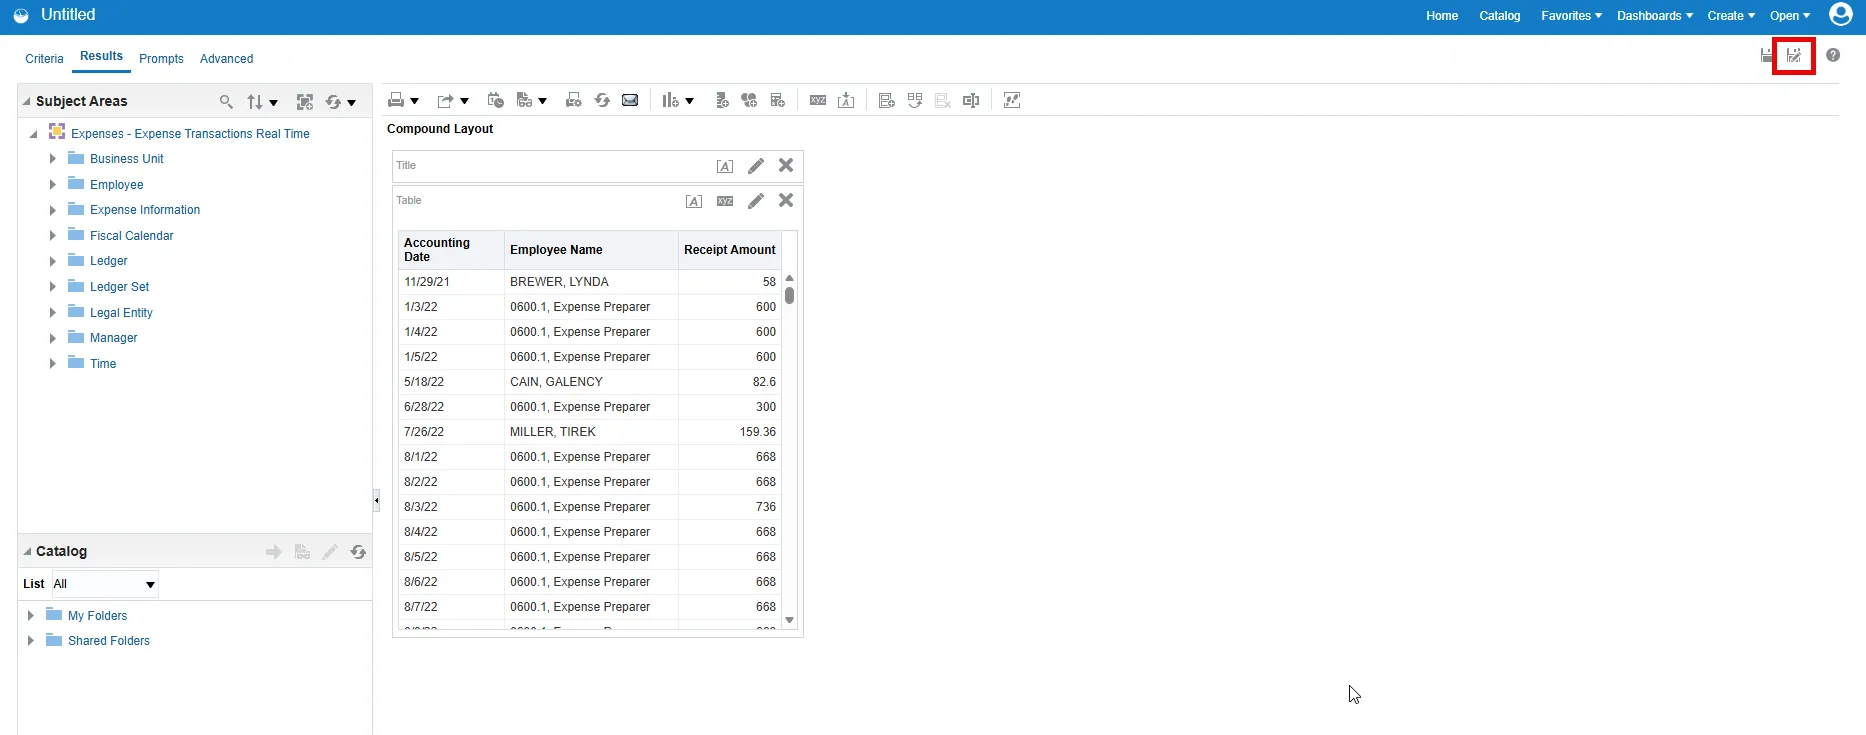
Step 10. You can change the order of the columns by dragging a column header to the desired position.
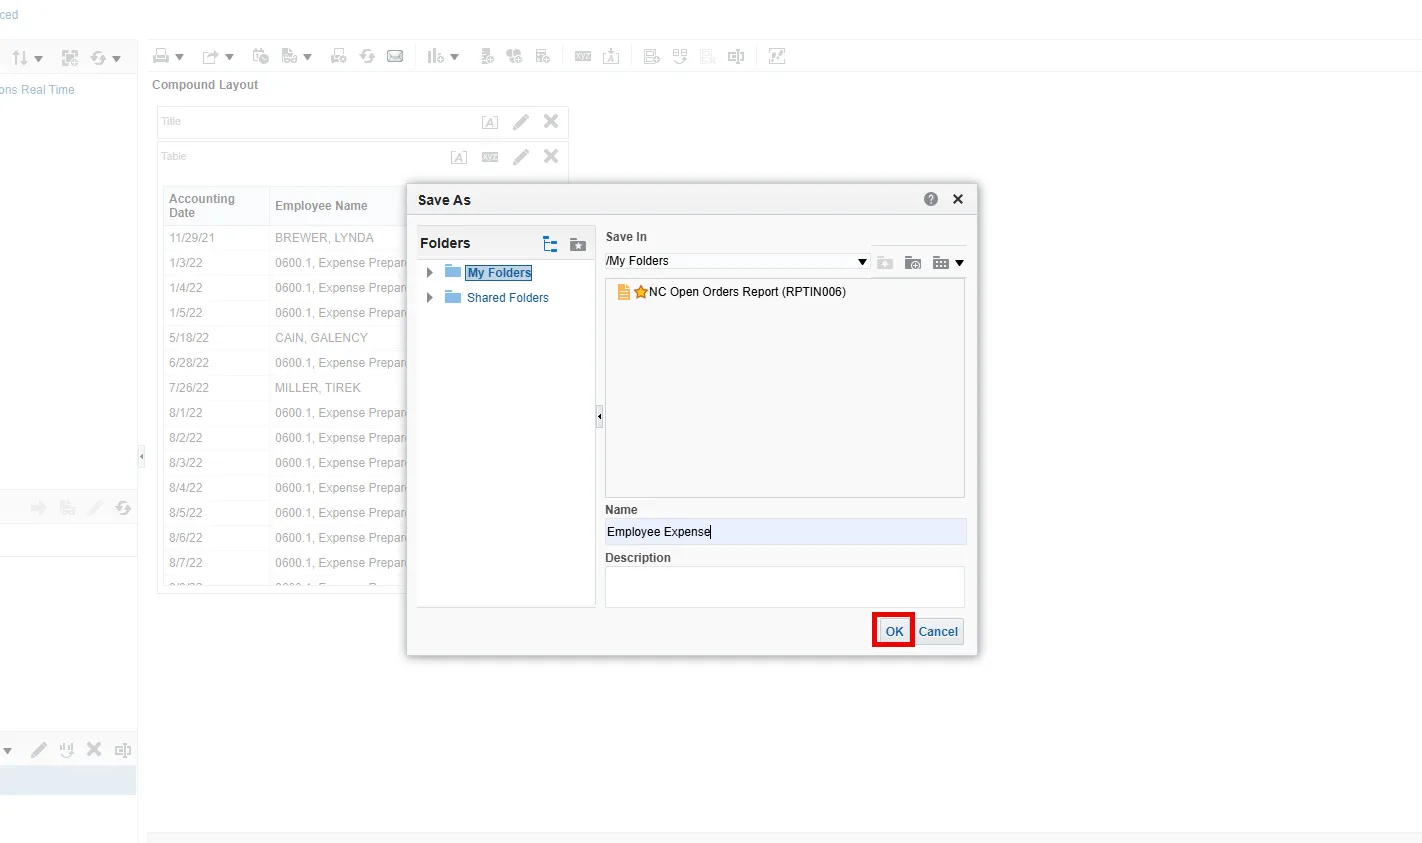
Step 11. Choose the Save As button in the upper right to save the analysis.
Step 12. Give the report and name make sure to select My Folders from the left pane of the Save As pop-up. Select OK.
Step 13. The report has been saved. Choose the print button to see the report in a different format.
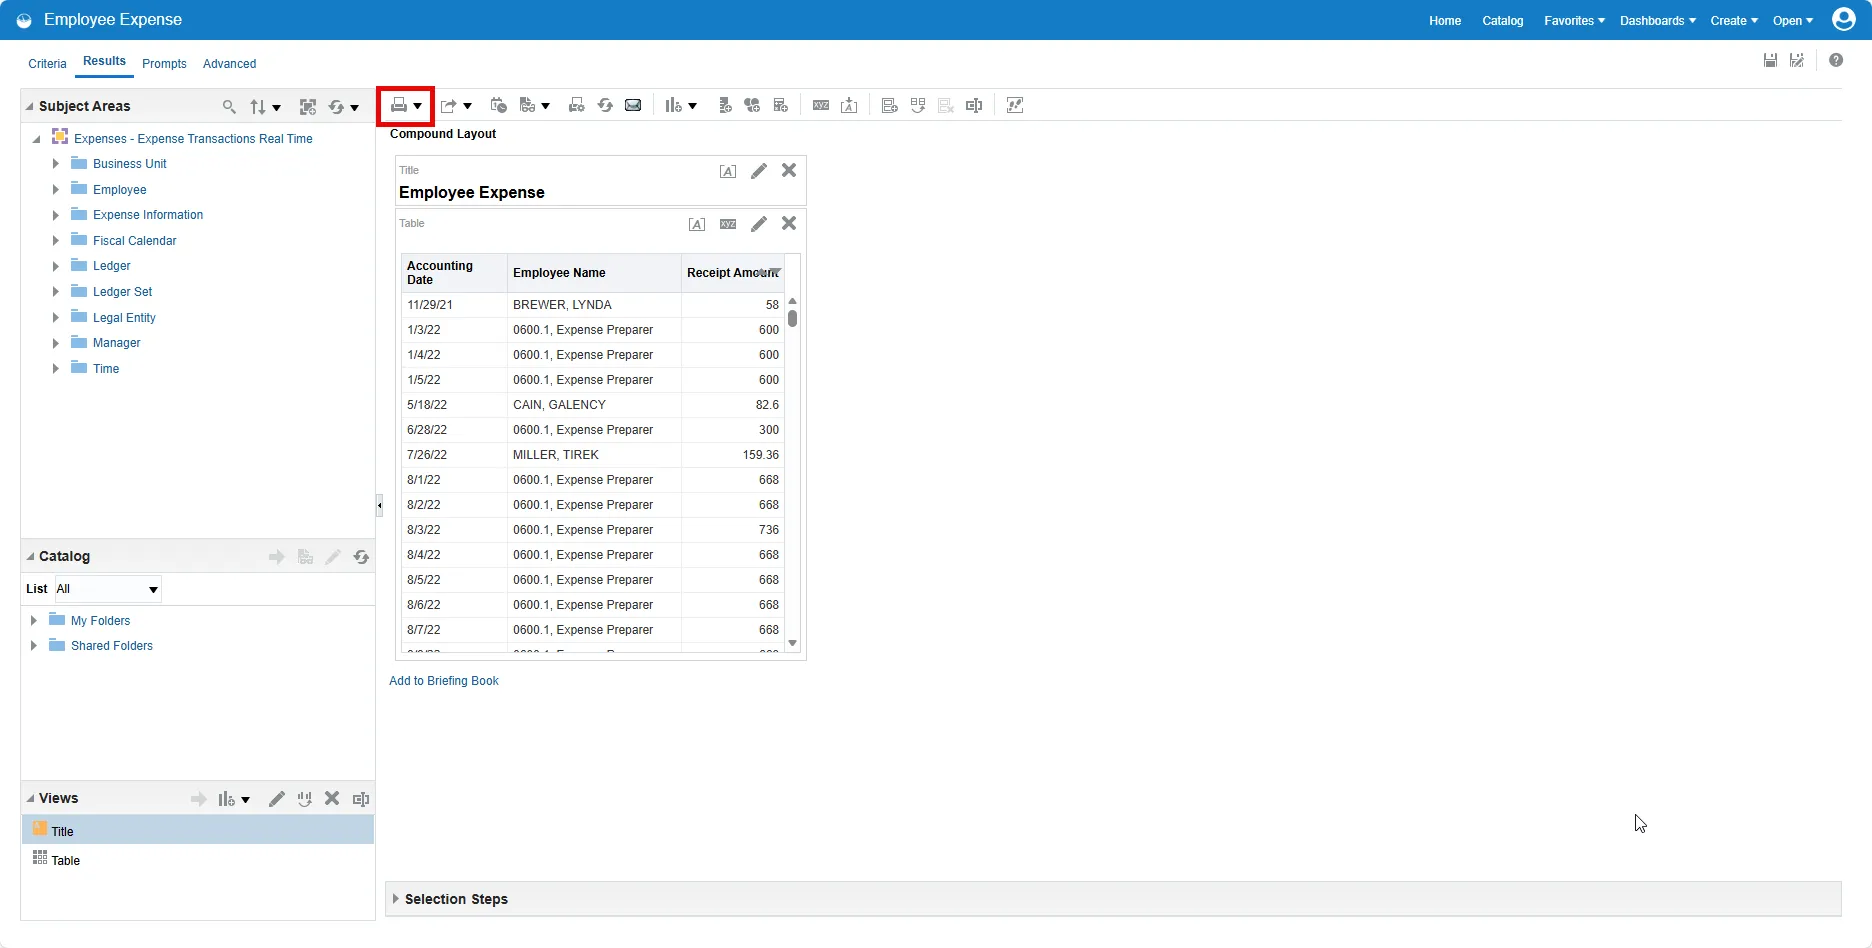
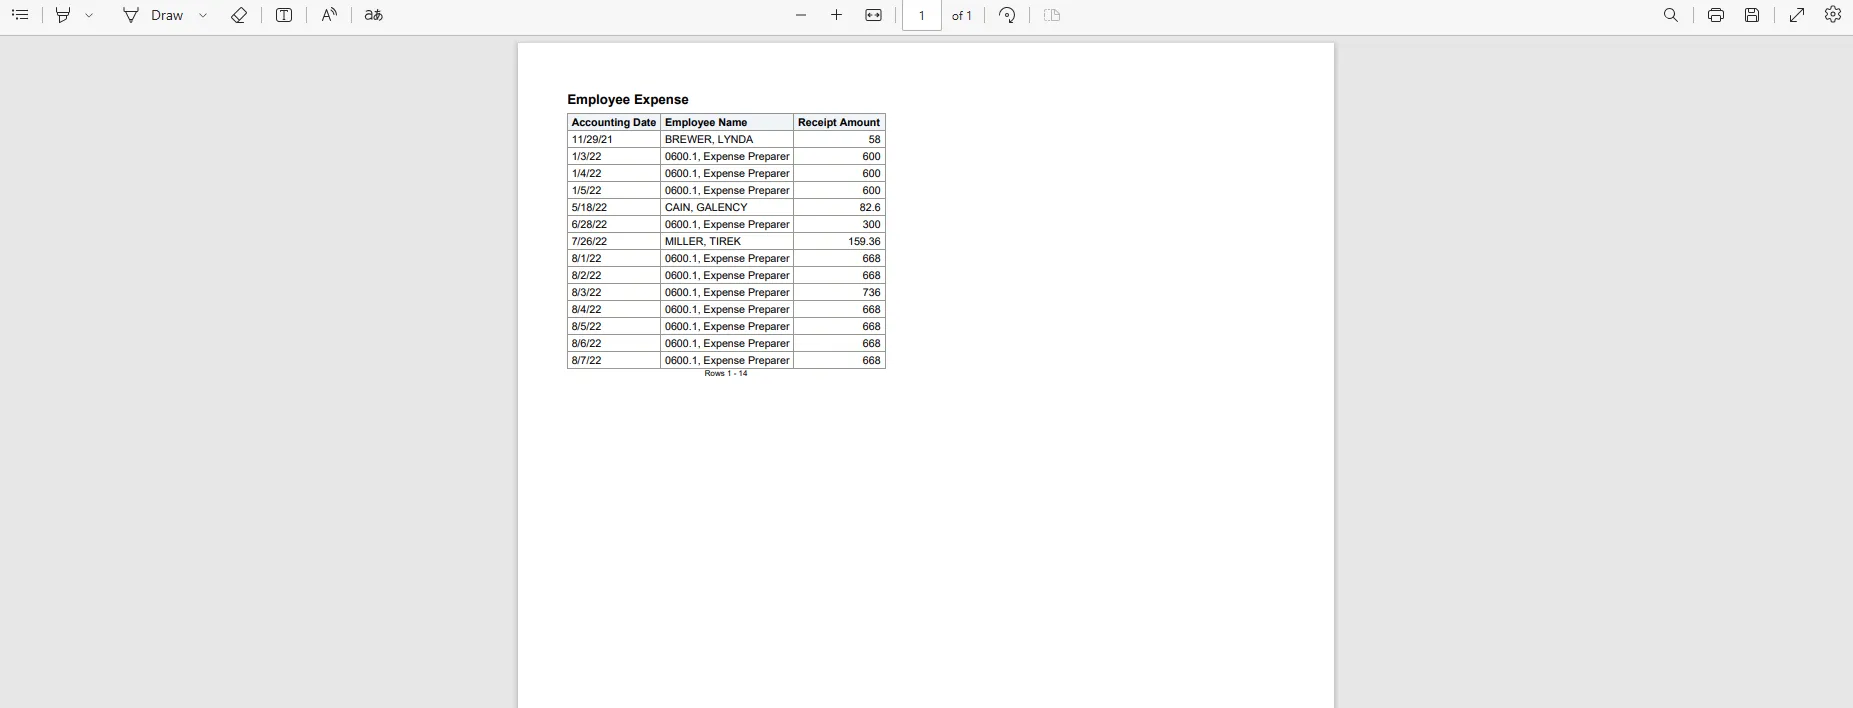
Step 14. Select Printable PDF from the drop-down menu.

Step 15. Now the report can be printed and/or saved as a PDF.