Purpose
The purpose of this Quick Reference Guide (QRG) is to provide a step-by-step guide of how to run a workbook and apply filters in the Oracle Analytics Cloud (OAC) Data Visualization (DV).
Introduction and Overview
This QRG outlines the two main processes for running workbooks and applying filters or parameters in OAC DV. Users can: 1) Run a Workbook in DV, or 2) Apply Filters to the Workbook in DV. Running a report in DV provides an overview of how to navigate to OAC DV and open the desired report. Applying filters and parameters enables users to customize the workbook output to meet specific reporting needs, ensuring more targeted and meaningful insights.
Run a Workbook
Follow the below steps to run a workbook. There are 10 steps to complete this process.
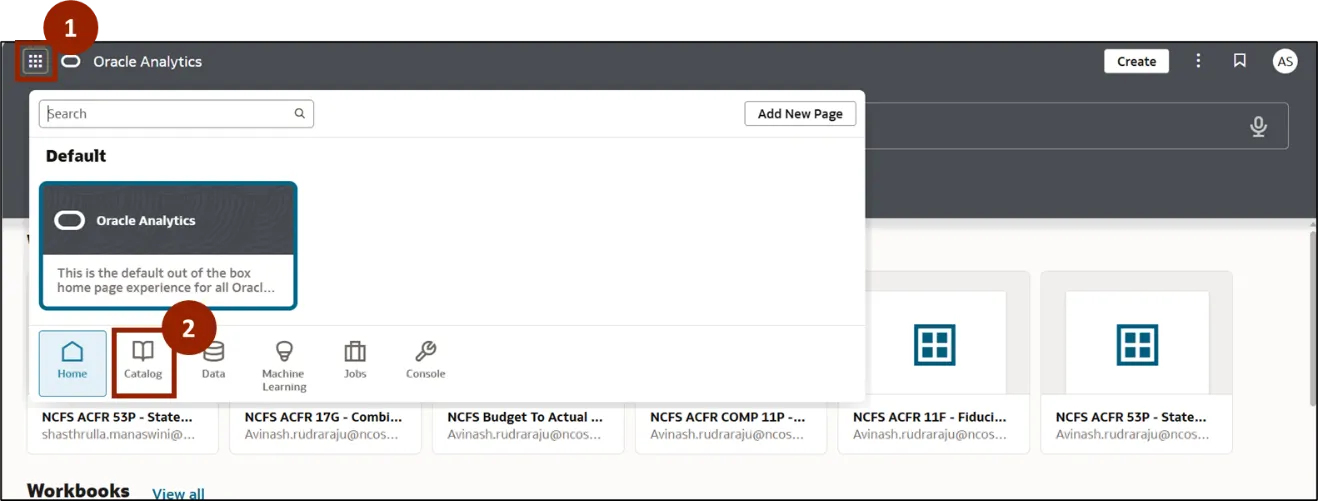
Step 1. On the Home page click the Navigator icon.
Step 2. Select the Catalog tab.
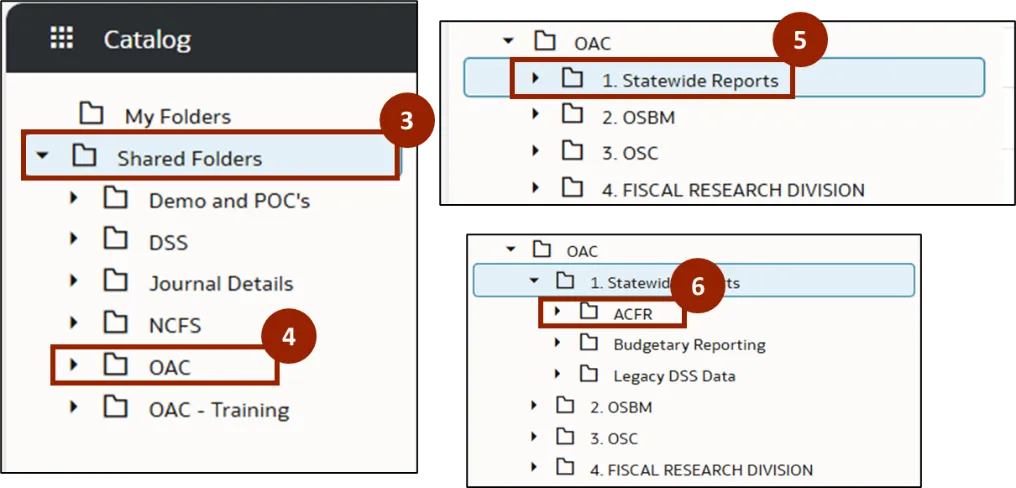
Step 3. The Catalog page is displayed. Click Shared Folders.
Step 4. A list of folders is displayed. Click OAC folder.
Step 5. In the OAC folder, click your Statewide Reports.
Step 6. In Statewide Reports, click ACFR.
Step 7. In ACFR, click Statements.
Step 8. From Statements folder, click Self Service Reports.
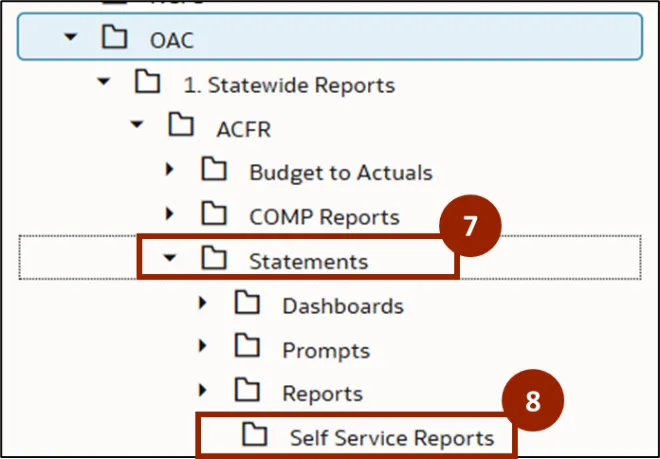
Note: The user can find the desired DV templates under Self Service Reports folder within each report type.
Step 9. A list of DV templates is displayed within the selected report type. Double-click the desired workbook to open it. In this example, click NCFS 11G Balance Sheet Reporting Template (RPTOAC038).
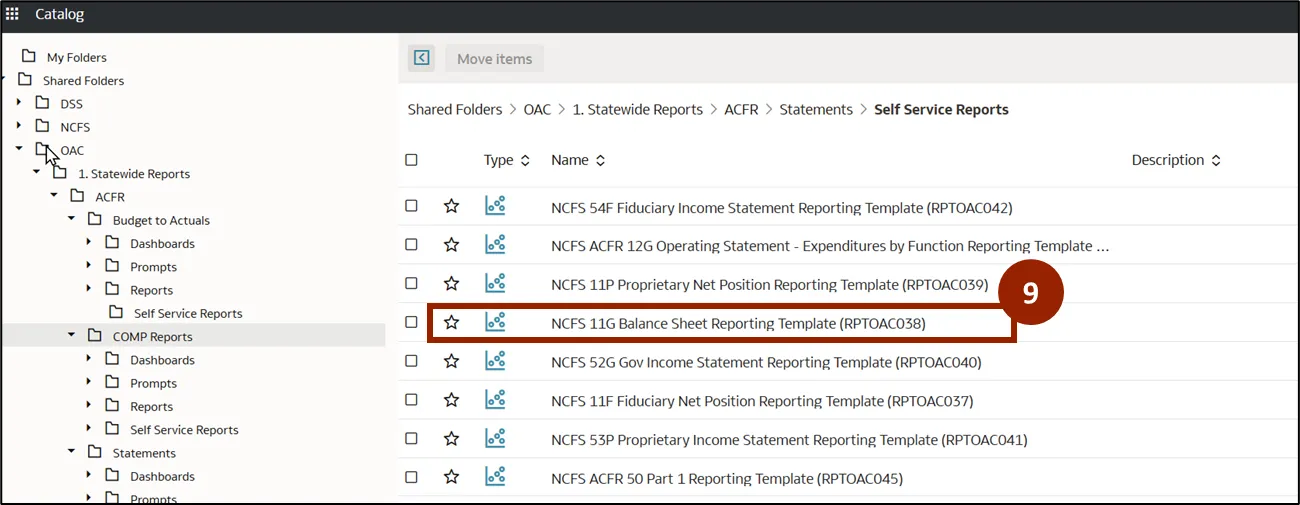
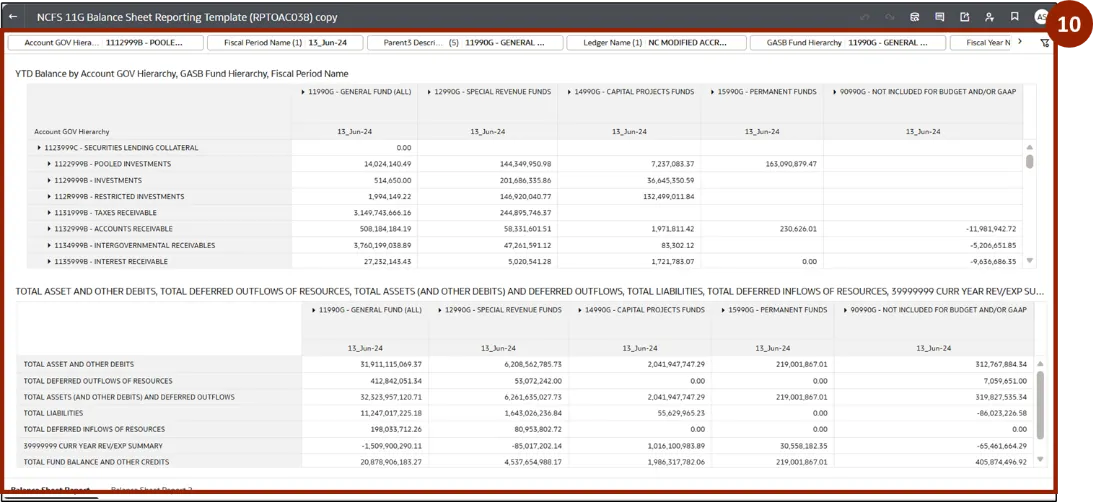
Step 10. The required workbook is displayed.
Apply Filters to the Workbook
Follow the below steps to apply filters to the workbook. There are 4 steps to complete this process.
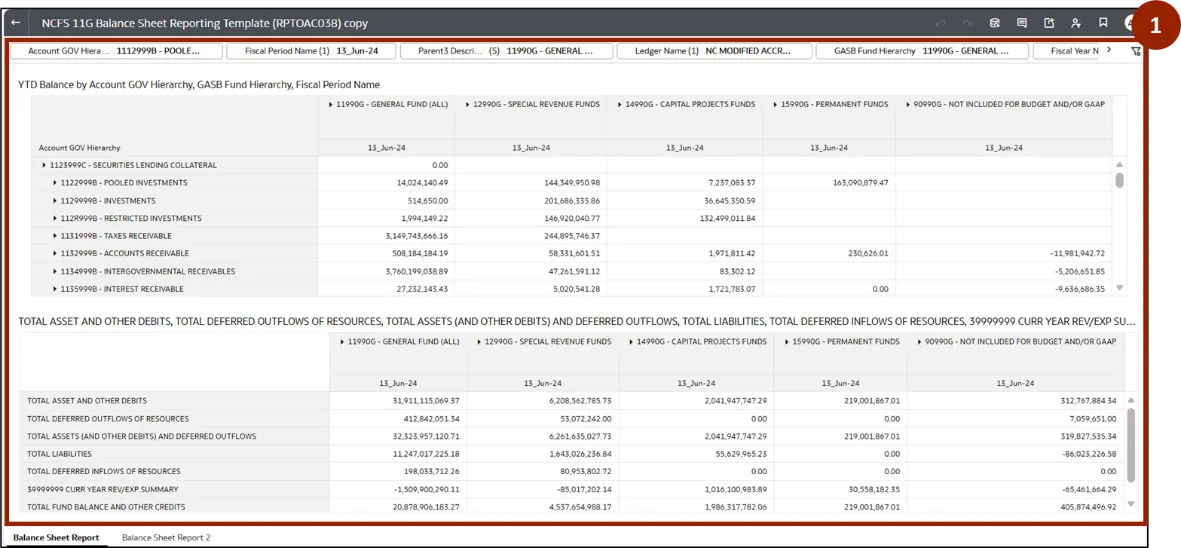
Step 1. To apply a filter, navigate to the desired workbook from the OAC folder.
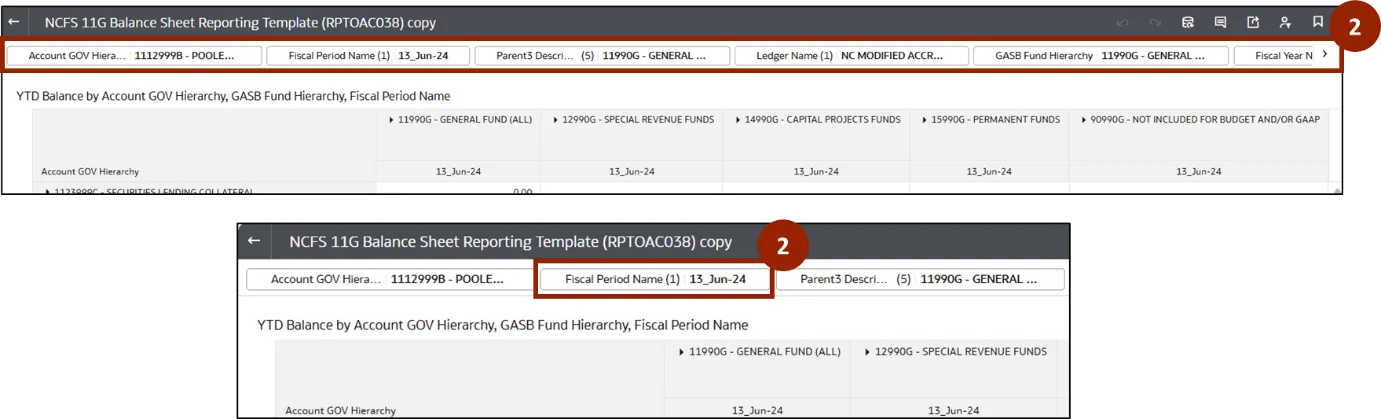
Step 2. At the top of the workbook, all filters are displayed. The user can select the required filter and make changes based on the selected option. In this example, click Fiscal Period Name.
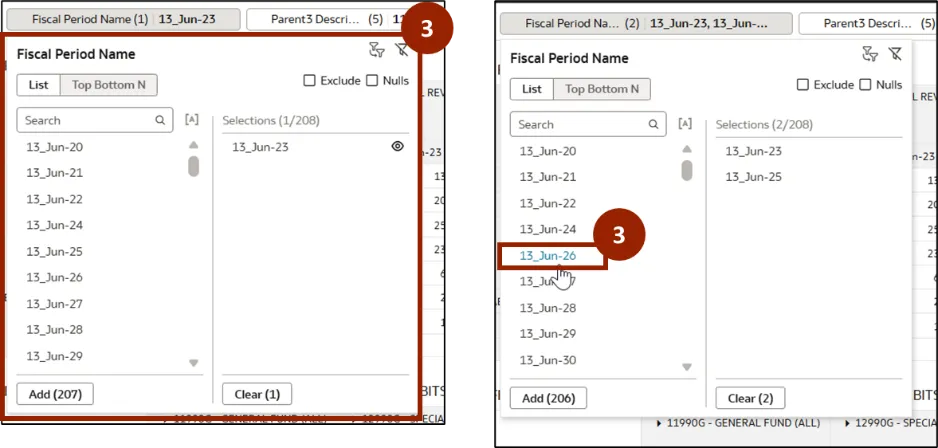
Step 3. The Fiscal Period Name pop-up is displayed. Select the required date from the list.
Step 4. The report is automatically updated based on the applied filter.
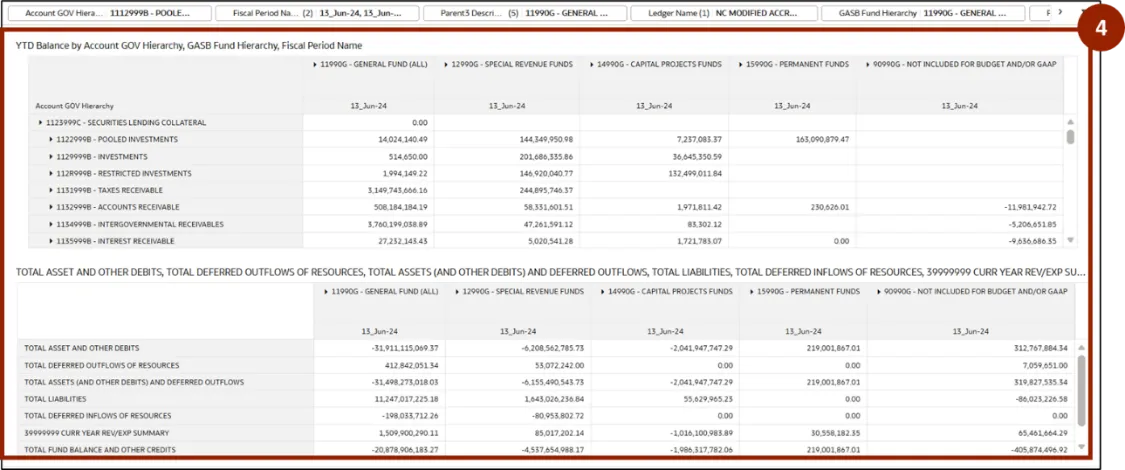
Note: The filters at the top apply to both windows.
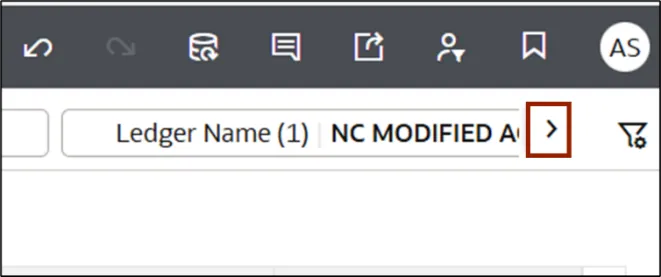
Note: The Next icon allows you to navigate through additional filter options.
Wrap-Up
OAC users can run a workbook and apply filters to it using the steps above, allowing them to easily access reports and tailor them to their needs for more focused and actionable insights.
Additional Resources
- Virtual Instructor Led Training (vILT)