Purpose
The purpose of this job aid is to give step-by-step instructions for running the report, PC00_M02_LINFO.
There is often the need to have an overview of all the data that has been captured for an employee. Usually end users will use PA10 (Personnel File) or PA20 (Display Master Data) to meet this requirement. The report PC00_M02_LINFO displays all this information in one screen.
Standard security applies to this report. For example, if you do not have access to IT 0009 – Bank details, you will not see it in this report either.
The following roles will have access:
- HR Data Maintainer
- HR Director Display
- HR Data Approver
- Payroll Admin
The transaction code (PC00_M02_LINFO) for this report is not on the standard SAP menu. The best way to use this transaction code is to create a folder in your Favorites folder for reporting and insert the T-Code.
Step-by-Step Instructions for Running This Report
There are 6 steps to complete this process.
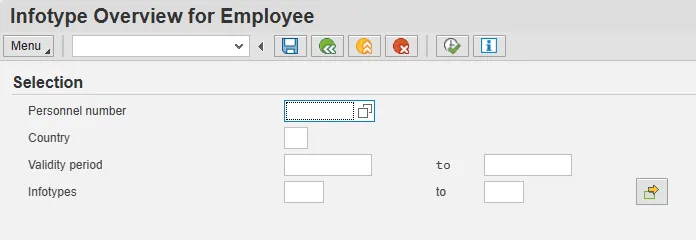
Step 1: Enter the Transaction Code PC00_M02_LINFO in the Command field and press or click Enter. The selection screen will display.
NOTE:
- The report can be run for only one employee at a time.
- Other parameters include country (USA), validity period (if left open it will select the widest period as default – see screen above), and Infotypes (a selection can be made or leave open to select all).
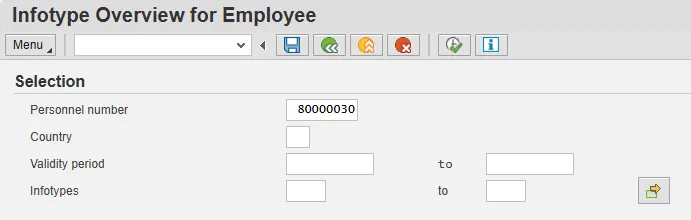
Step 2: Make the necessary selections. Usually the report will be run for one employee for all Infotypes as in the example below.
Step 3: Click Execute. The Infotype Overview screen is displayed.
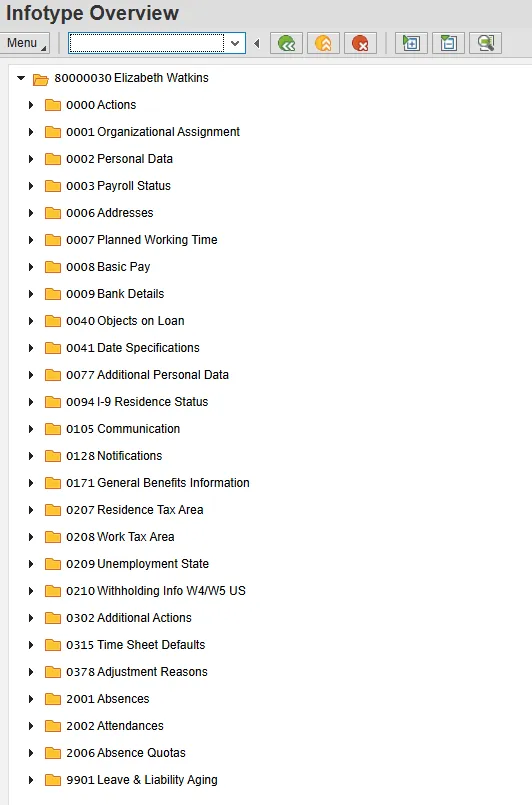
A complete list of Infotypes maintained for the employee is displayed, each presented in its own folder.
Step 4: To look at individual Infotypes, expand the folder by clicking on the expand node next to folder for the infotype.
Note:
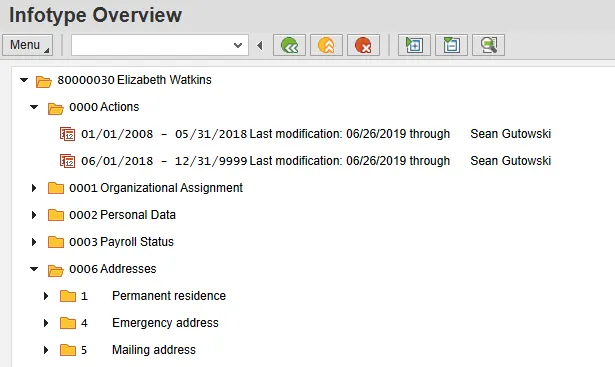
- The individual records for this employee (Elizabeth Watkins), their validity dates, and who changed them (see IT 0000 Actions as example above) will show.
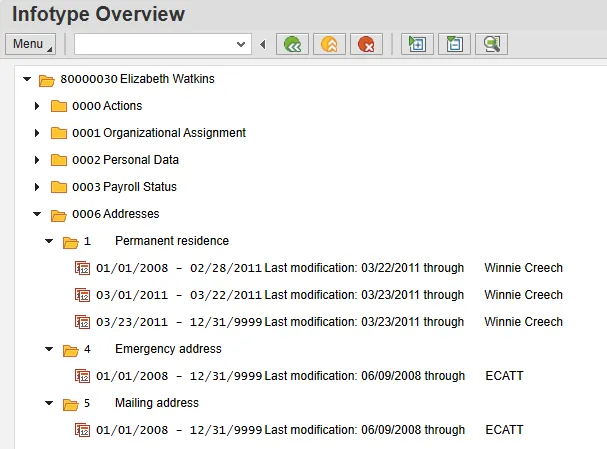
- When an infotype has subtypes, each subtype is displayed in its own folder (see IT 0006 above - three subtypes maintained, 1,4, and 5). Expand them further to see the actual records – see below.
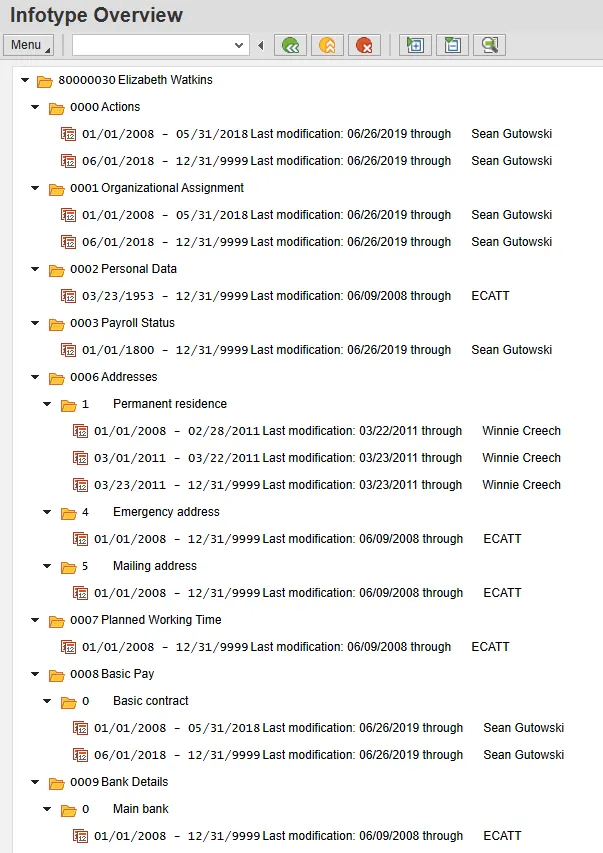
Step 5: To look at the detail of each infotype, expand all by clicking on the “expand all” button at the top of the screen or press Ctrl+Shift+F12) – as in example below. Use “collapse all” (Ctrl+Shift+F12) to do the opposite action.
Note: A user who does not have access to the employee selected will receive the following message when trying to open the line:
No read authorization for Actions at Personnel number 80000030
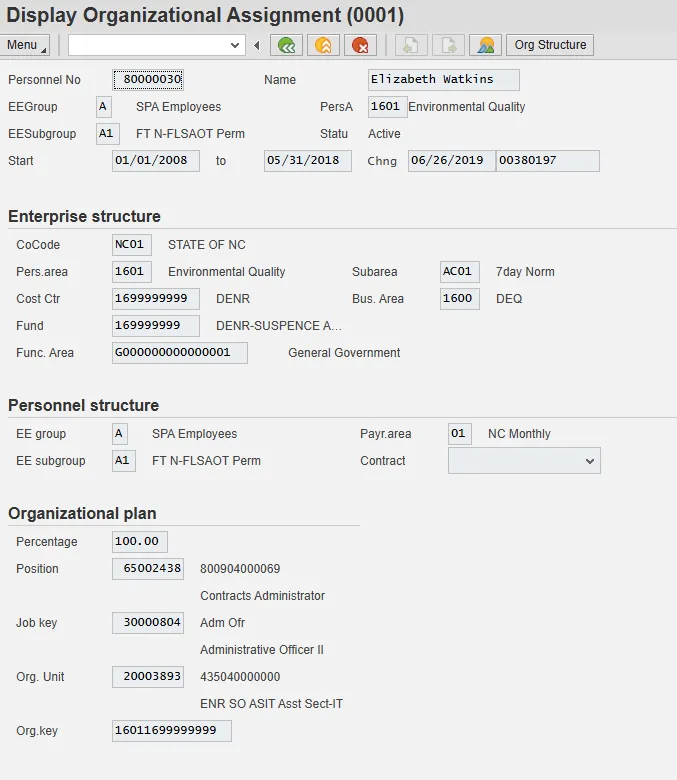
Step 6: To see the detail of a specific infotype (e.g. IT0001), double-click the infotype or select it and click Choose (F2) at the top of the screen. The system will display the detail screen (same as PA20 – Display Master Data). See below.