Purpose
The purpose of this Quick Reference Guide (QRG) is to provide step-by-step instructions on how to access and install the North Carolina Financial System (NCFS) Microsoft (MS) Excel Smart View plug-in.
Introduction and Overview
Smart View is an Excel plug-in with the capability to utilize additional functionality in an Excel spreadsheet to manage the NCFS Financial Reporting Studio (FRS) reports for the annual reporting process. Smart View has a variety of capabilities available to users to assist in making the analysis as efficient as possible. Users can zoom in to see specific details of statements as well as customize the view of the Excel spreadsheet.
Key Terms
| Key Terms and Acronyms | Description |
|---|---|
| Smart View | Microsoft Excel plug-in that allows users to view, import and manipulate data from FRS reports. |
Information to Complete This Process
- Smart View plug-in file
Outputs of This Process
- Smart View installed in Excel
Accessing the Smart View Plug-In
To download the Smart View plug-in, please follow the steps below. There are 3 steps to complete this process.
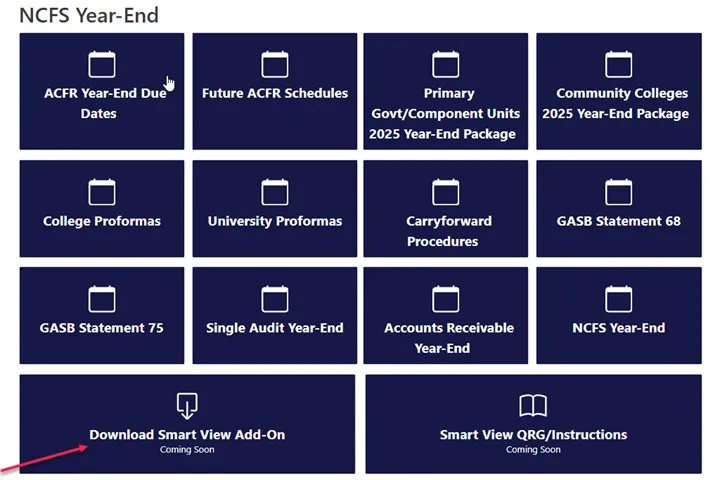
Step 1. Access the NCFS Year-End page on the OSC website.
Step 2. Click the Download Smart View Add-On tile.
Step 3. Download the file.
User Tip
Close all Microsoft Office applications before installing Smart View.
Installing the Smart View Plug-In
To install the Smart View plug-in, please follow the steps below. There are 10 steps to complete this process.
Step 1. Close all Microsoft Office applications. This includes: Excel, Word, Outlook, and PowerPoint.
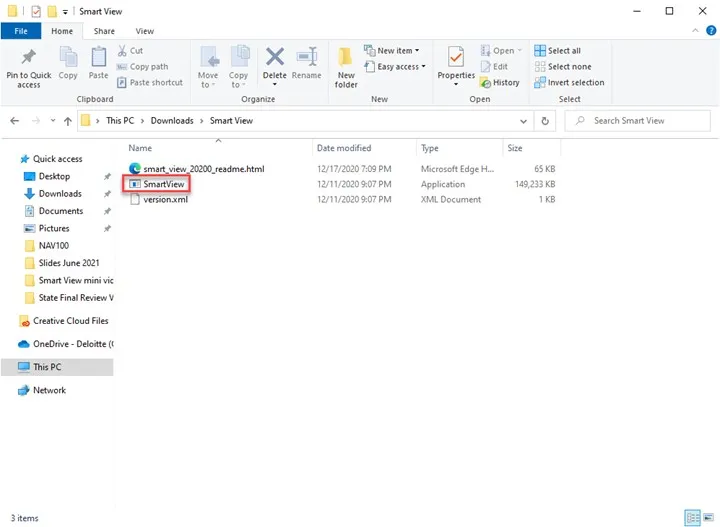
Step 2. Download the files.
Step 3. After downloading the files, click the Smart View file.
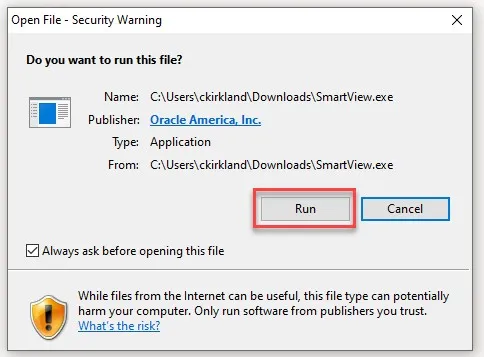
Step 4. Click Run at the Open File – Security Warning pop-up.
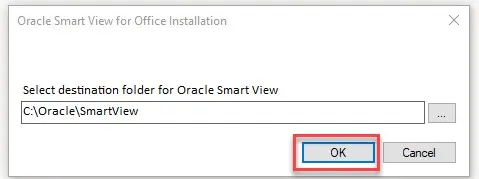
Step 5. Click OK to continue the installation.
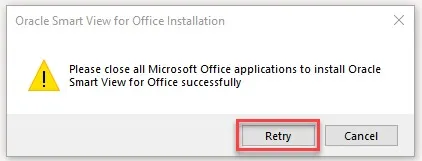
Step 6. If all Microsoft Office applications have not been closed, the pop-up below will appear. Close all Microsoft Office applications and click Retry.
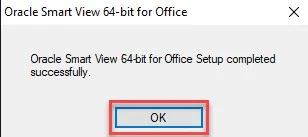
Step 7. After Smart View finishes installing, click OK.
Step 8. Open Microsoft Excel and see the Smart View tab in the ribbon to verify the installation was successful.

Step 9. Click Options on the Smart View tab to make a connection to NCFS.

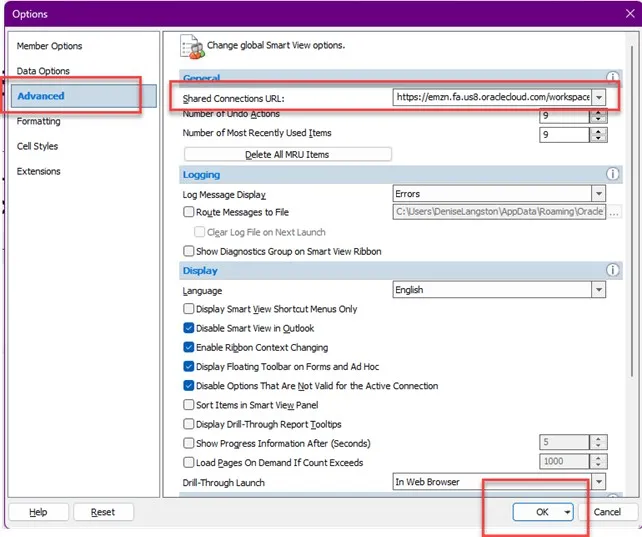
Step 10. Click on Advanced to update the Shared Connections URL: to https://emzn.fa.us8.oraclecloud.com/workspace/SmartViewProviders. Then click OK.
Wrap Up
Users can download Smart View from the NC OSC’s website. After downloading, users must close out of all Microsoft Office applications and then install Smart View to their computer. After it has been installed, access Microsoft Excel to view the Smart View tab. Determine If the Smart View tab is available and installed successfully. Make a connection to NCFS.
Additional Resources
- Web Based Training (WBT)
- SV100: Overview of Smart View
- SV200: NCFS Smart View Capabilities – Options Feature
- SV201: NCFS Smart View Capabilities – Ad Hoc Analysis Feature
- SV202: NCFS Smart View Capabilities – Keep Only & Remove Only Feature
- SV203: NCFS Smart View Capabilities – Zoom In & Out Feature
- SV204: NCFS Smart View Capabilities – Dimension Members Feature
- SV205: NCFS Smart View Capabilities – Mathematical Calculations Feature
- Quick Reference Guides (QRGs)