View My Leave Requests Tutorial Video
Purpose
The purpose of this Business Process Procedure is to explain how to create and view a Leave Request within the Fiori My Leave Request application.
How to Create My Leave request
There are 27 steps to complete this process.
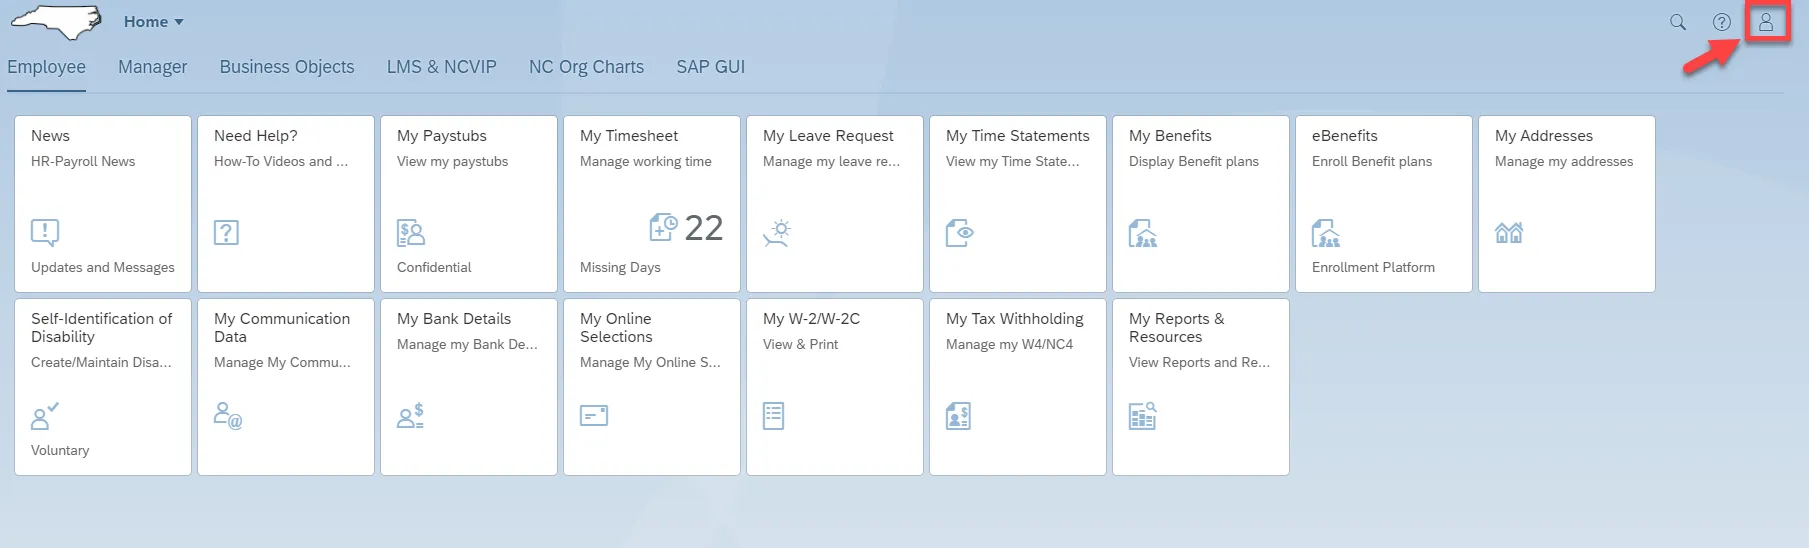
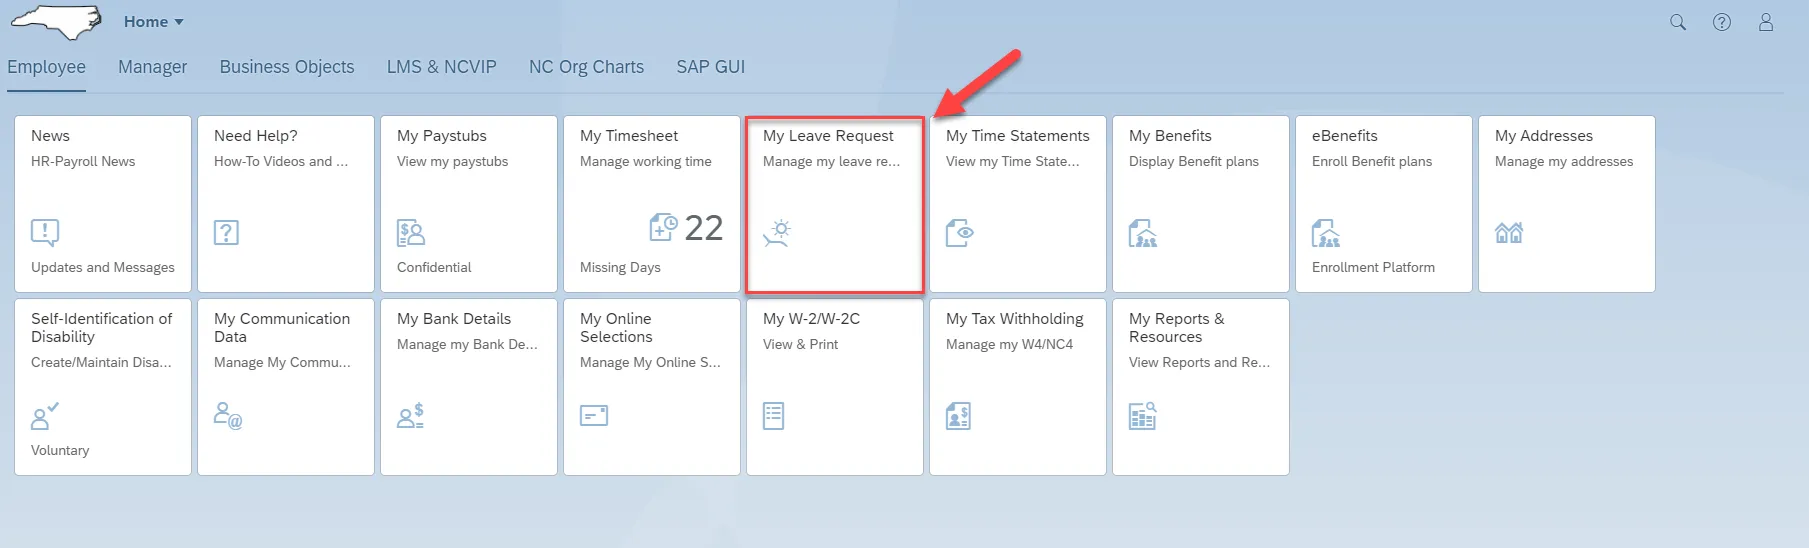
Step 1. Click on the My Leave Request tile to access the Leave Request app.
Step 2. Today’s date is the default date shown.
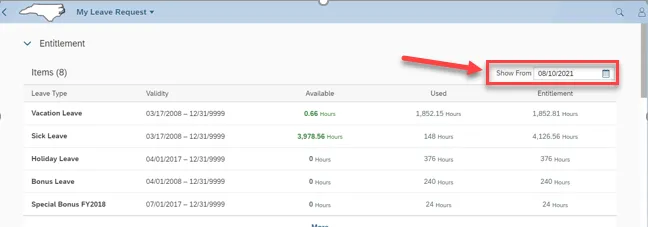
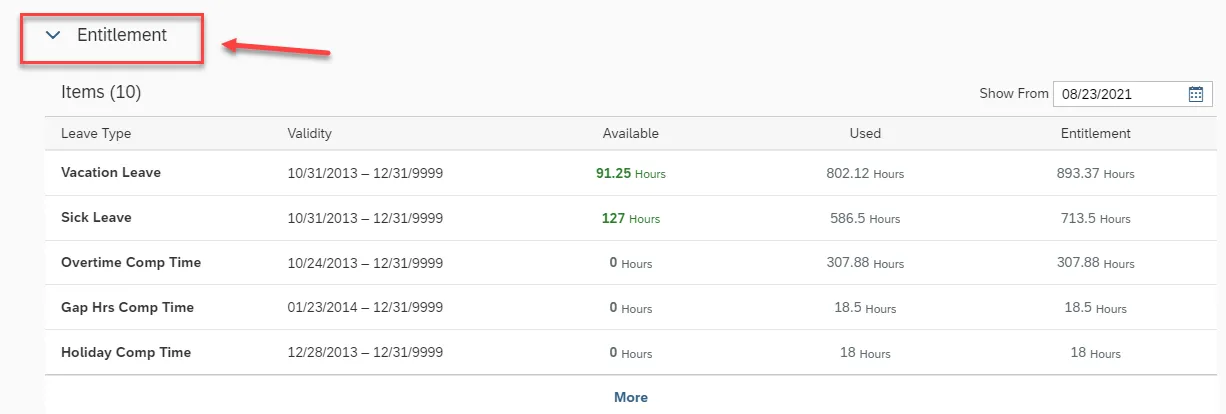
Step 3. Various leave balances for an employee show up under Entitlement.
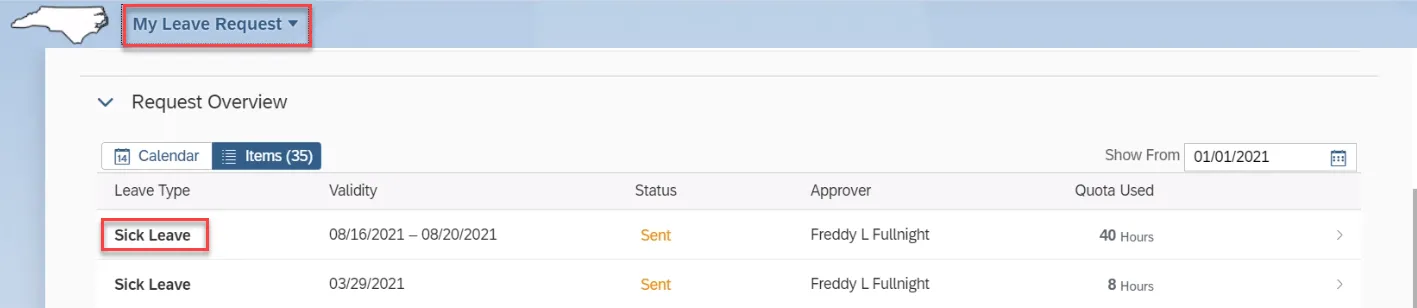
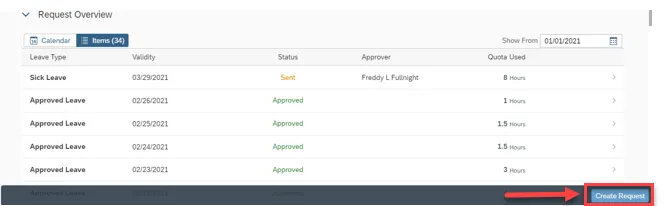
Step 4. Request Overview is a list of an employee’s requests for leave and the Status of those requests.

Step 5. Click Calendar to view requests on a calendar. The legend below the calendar lists the different leave options and their color code.
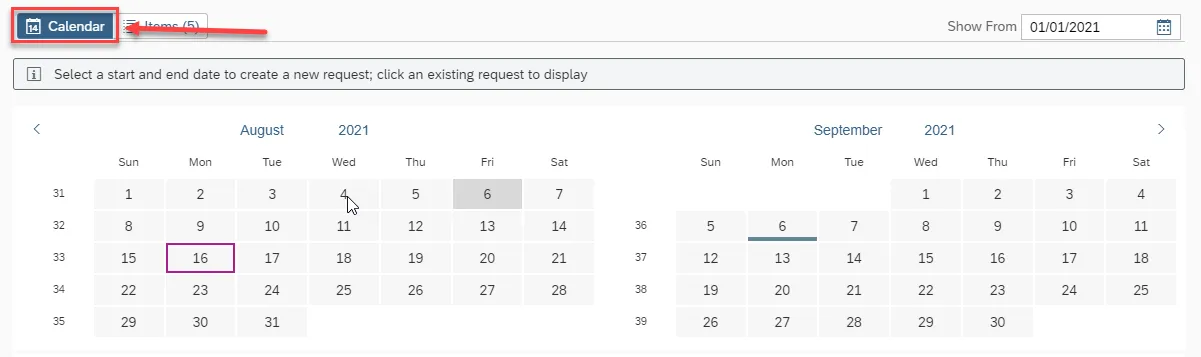

Step 6. Click Items to view the requests in a list format.

Step 7. Click the arrow to see additional details for a leave request. Only leave requests for future dates can be edited or deleted.
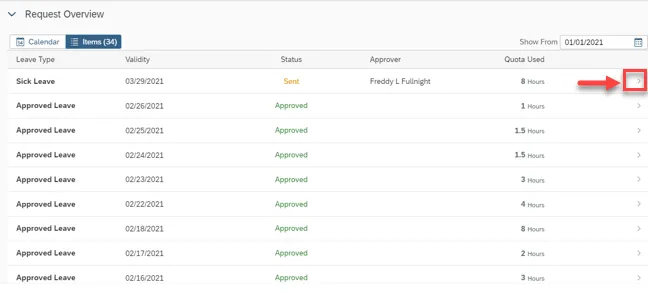
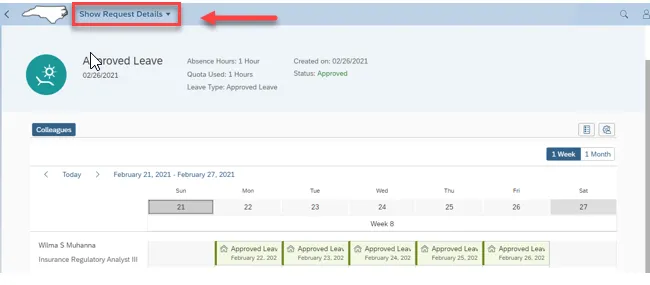
Step 8. Current leave requests and statuses can be viewed here.

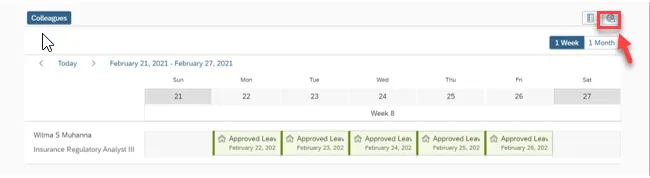
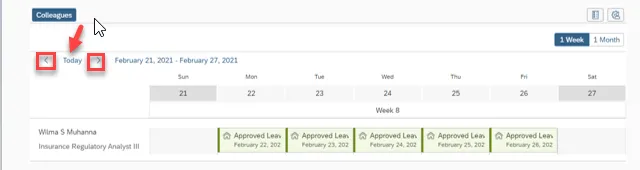
Step 9. The Colleagues feature is not activated. You can use the 1 Week/1 Month toggle to navigate with this screen.

Step 10. Click the Legend icon to view the color codes.

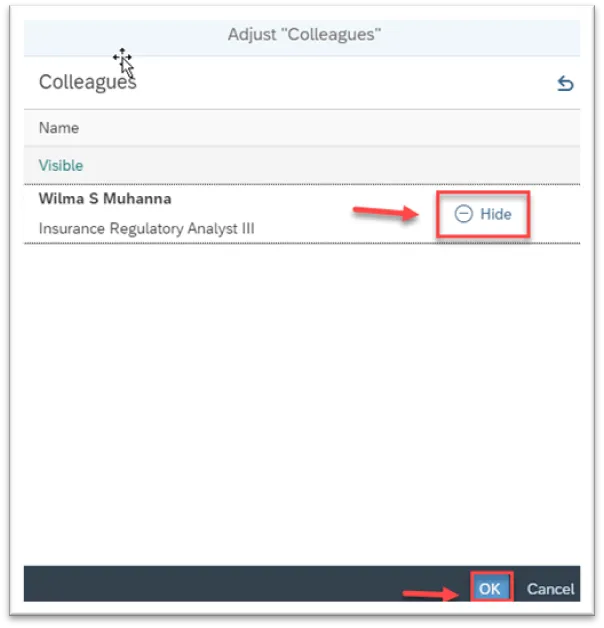
Step 11. Click the Personalization icon to show the employee’s name and job title.
Step 12. You can toggle to show or hide. It is not recommended to hide this information. Click OK when finished.
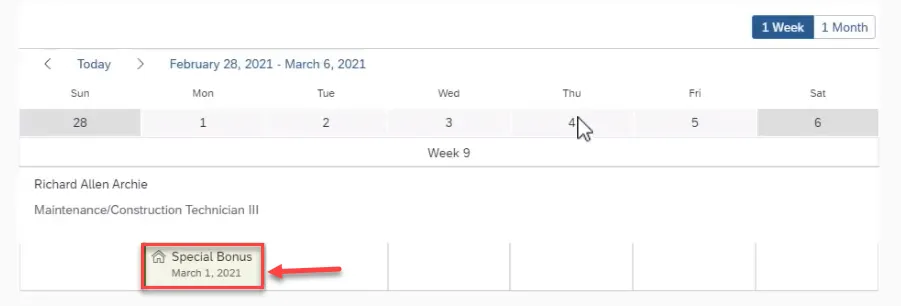
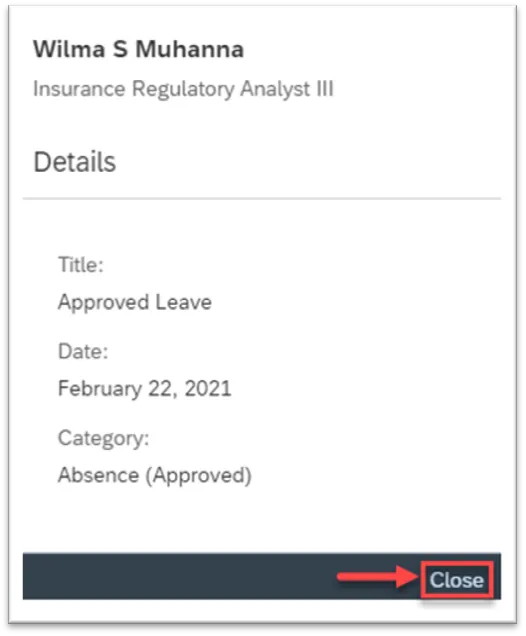
Step 13. Click the leave request to view additional details.
Step 14. After viewing the details, click Close at the bottom of the window.
Step 15. To view additional time periods, click the right and left arrows near the date.
Step 16. To navigate back to the previous screen, click Show Request Details. Then click My Leave Request from the drop-down.
Step 17. Back on the main My Leave Request page, click Create Request to create a leave request.
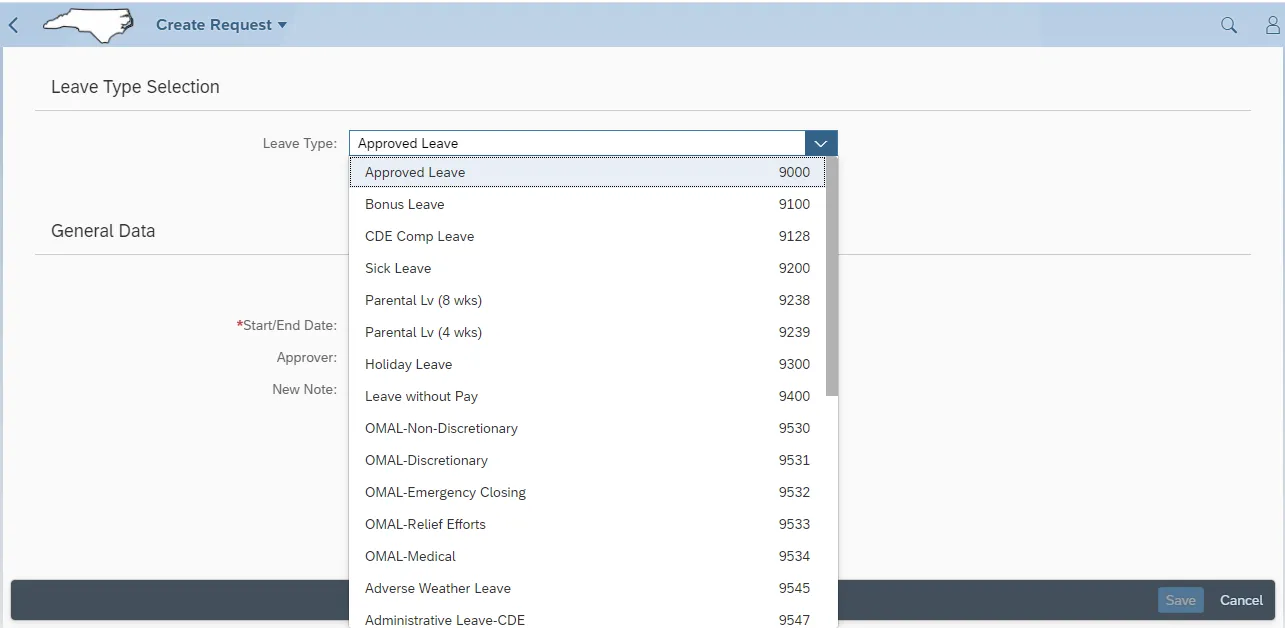
Step 18. From the create screen, select the Leave Type from the drop-down. Please note: The Leave Type, as shown on the initial Leave Request dashboard, details leave types independently. In this example, Approved Leave consolidates all approved leave quotas, or leave types, such as OT Comp, Holiday Comp, and Vacation. The total number of available hours reflects the consolidated total for all approved leave quotas or leave types.
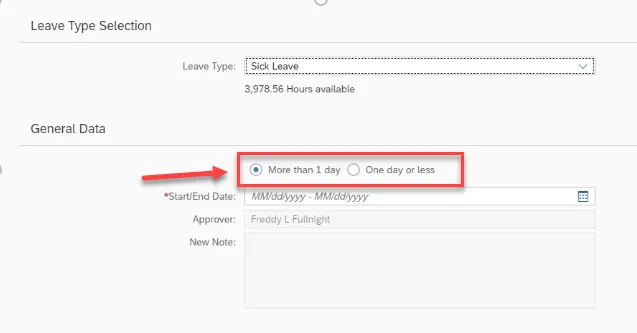
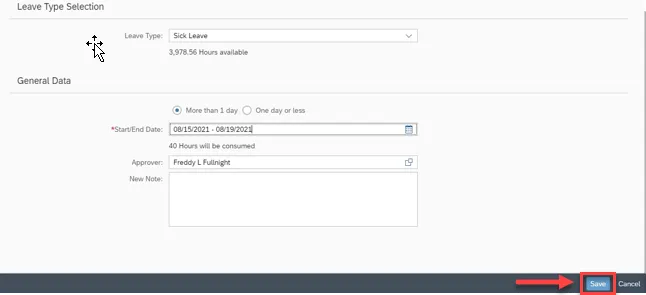
Step 19. For this example, we have selected Sick Leave for the Leave Type. Under Leave Type, note the available hours listed, which are pulled from the Entitlement balance.
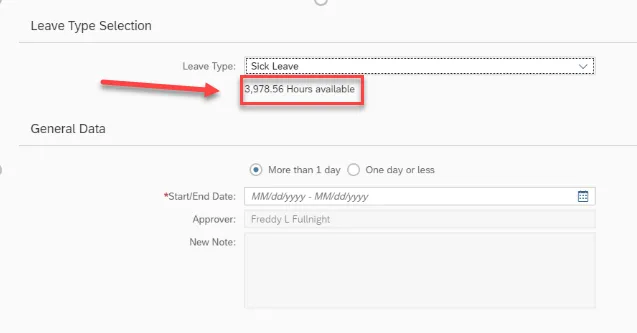
Step 20. Select More than 1 day if your request is for multiple days.
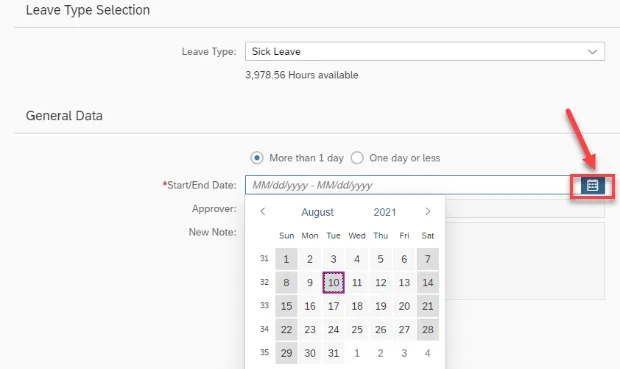
Step 21. Click the Open Picker icon to select the Start and End Dates for the leave.
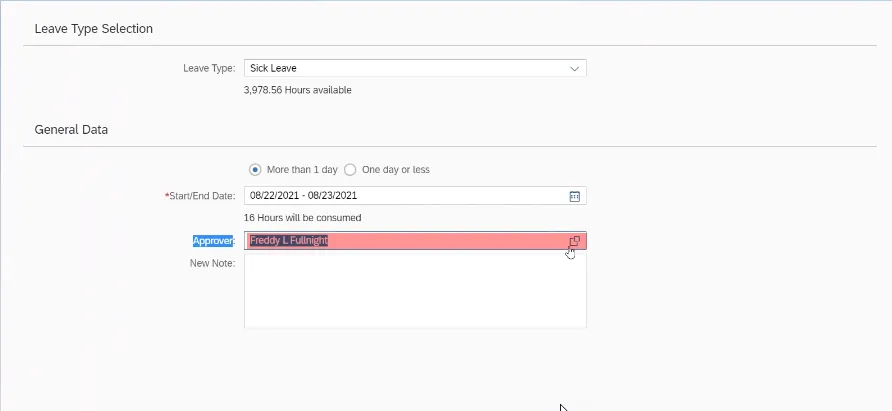
Step 22. The employee’s direct supervisor defaults as the Leave Request Approver.
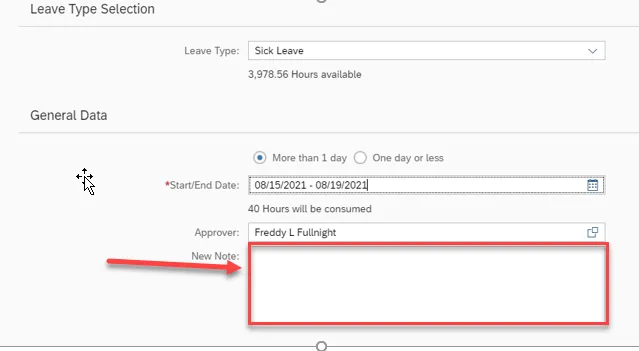
Step 23. Under New Note, you can add an optional note about the leave request.
Step 24. When all the sections are filled out, click Save in the bottom right corner.
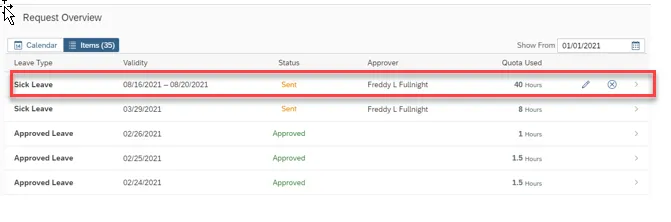
Step 25. When the leave request is saved, it appears as a new entry under Request Overview. It is a leave request for a future date, and it can be edited or deleted. The edit and delete options are to the right.
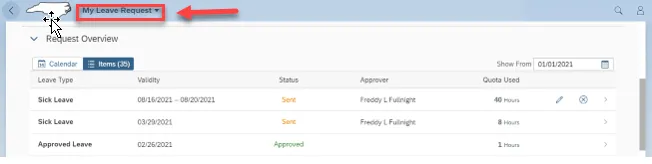
Step 26. Click My Leave Request to go to a previous screen.
Step 27. Click Profile to sign out and click OK when the “Are you sure you want to sign out?” dialogue box appears.