Purpose
The purpose of this Quick Reference Guide (QRG) is to provide a step-by-step explanation of how to Create a Transfer Manually in the North Carolina Financial System (NCFS).
Introduction and Overview
This QRG covers the process of manually creating an Intercompany transfer. Intercompany Transactions are transfers of funds between two different agencies or within the same agency. Intercompany Transfer allows agencies to record daily cash transfers using manual, spreadsheet, and interface methods.
Creating a Transfer (Manually)
To create a transfer manually, please follow the steps below. There are 18 steps to complete this process.
Step 1. Log in to the NCFS portal with your credentials to access the system.
Step 2. On the Home page, click the Intercompany Accounting tab and select the Transactions app.

Step 3. Click the Tasks icon and select Create Transaction from the Tasks pane.
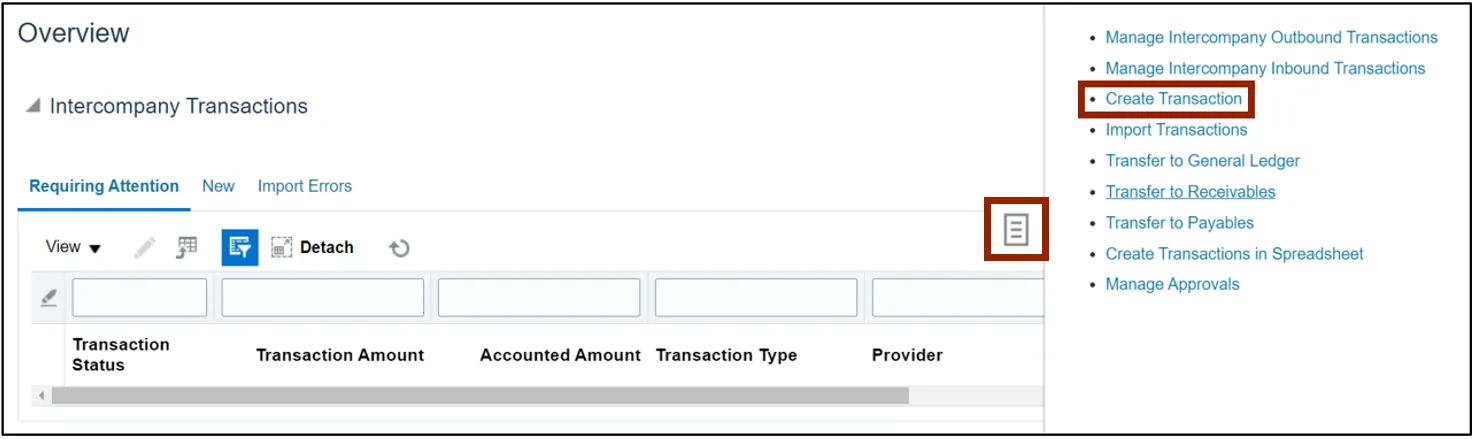
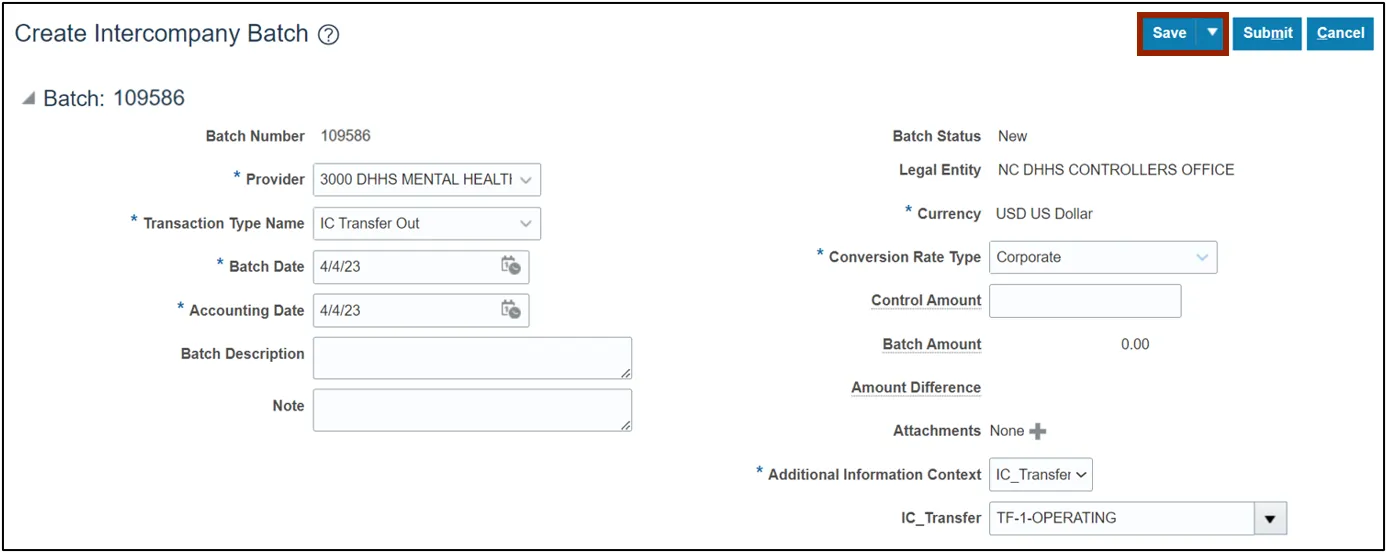
Step 4. On the Create Intercompany Batch page, the Batch Number is pre-populated.
Note: This Batch Number will assist with searching for the transfer in the future.
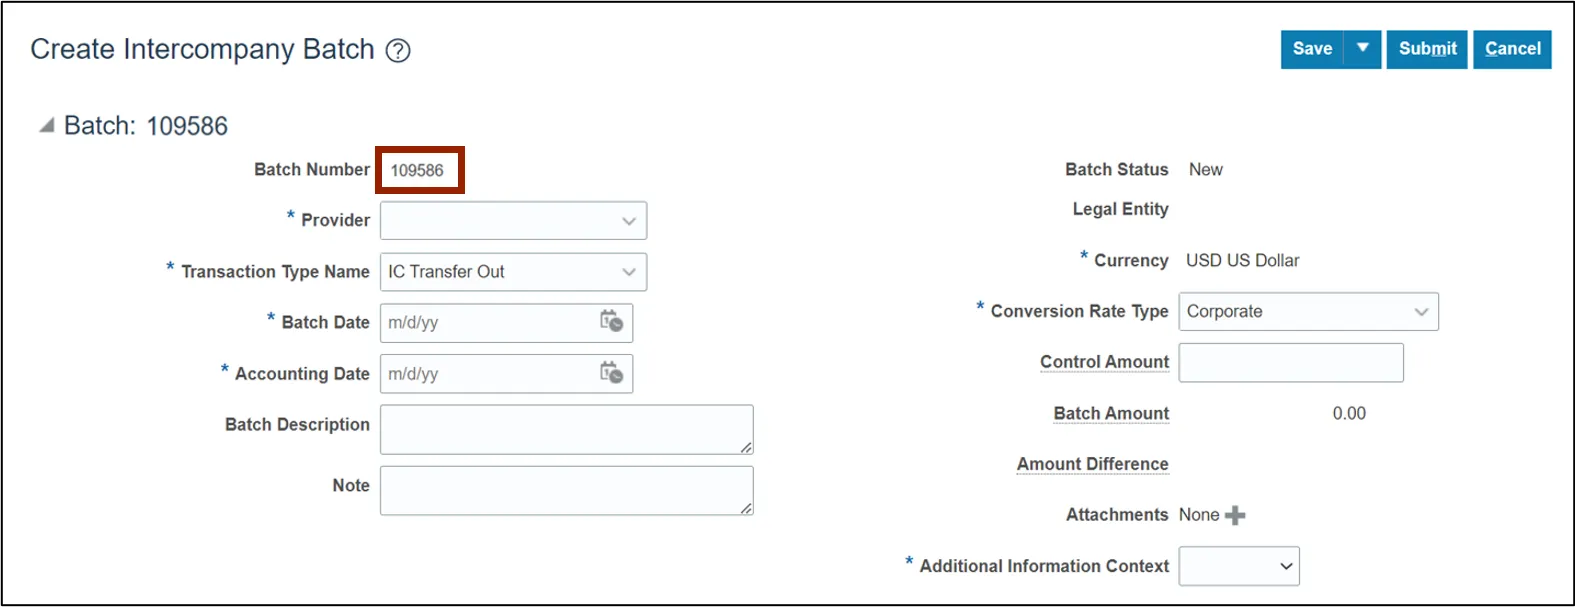
Step 5. Select the Provider and the Transaction Type from the respective drop-down choice list.
In this example, we choose the Provider as 3000 DHHS MENTAL HEALTH and Transaction Type Name as IC Transfer Out.

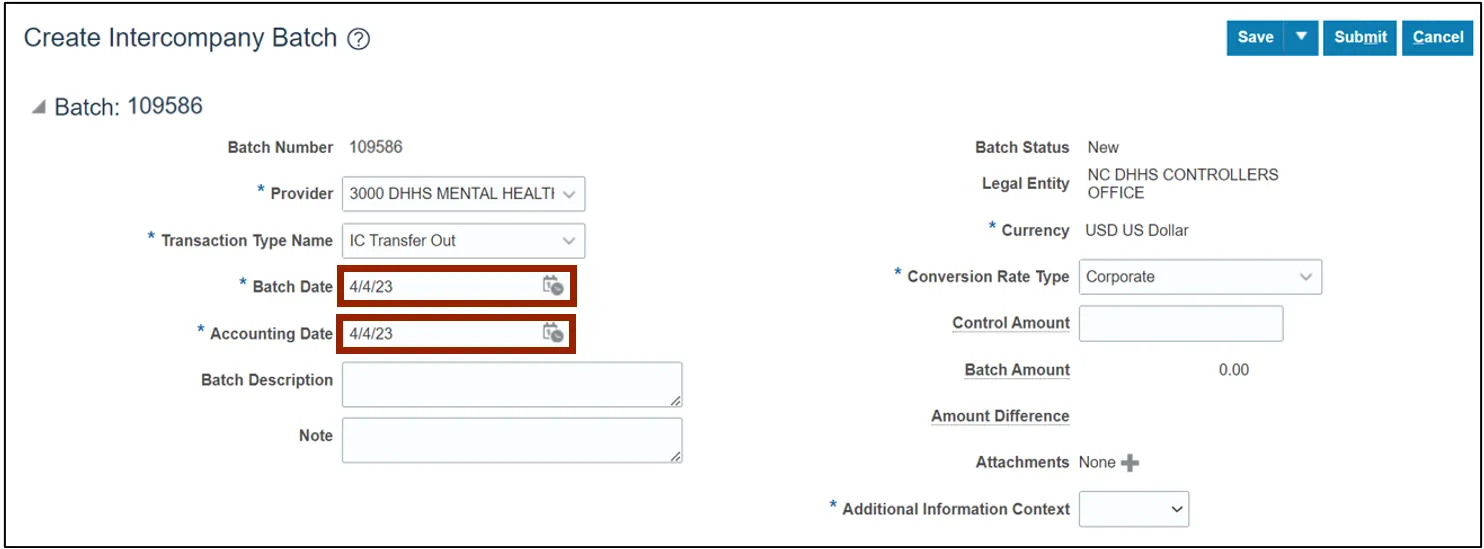
Step 6. Select the Batch Date and Accounting Date by clicking the respective Calendar icons.
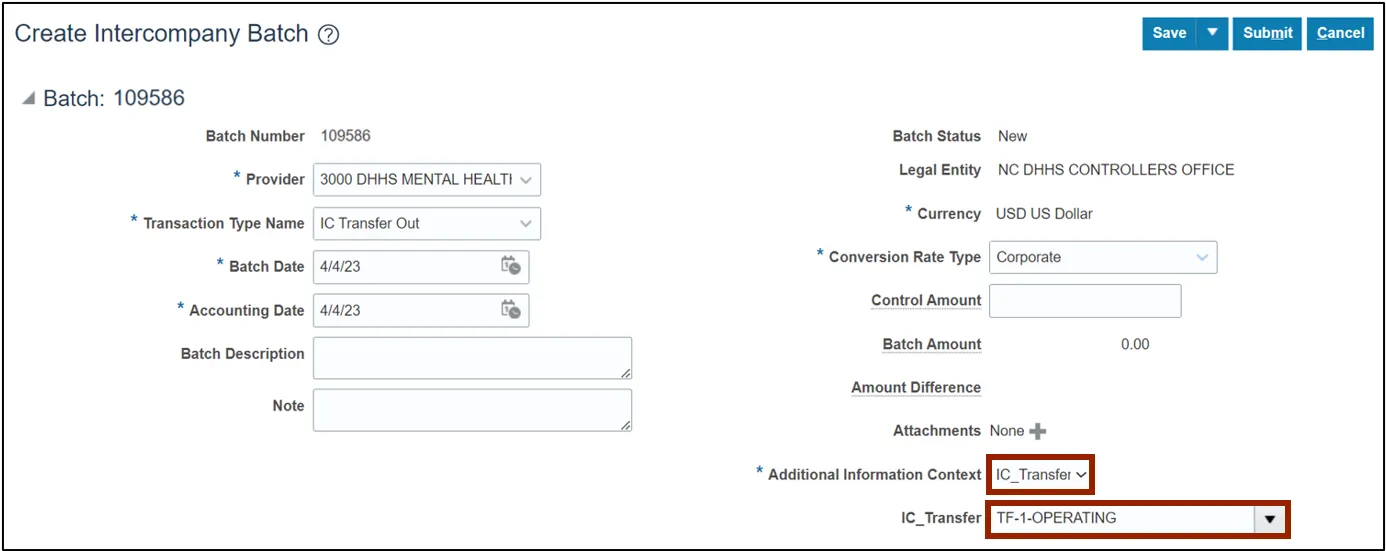
Step 7. On the Additional Information Context field, select IC_Transfer (Descriptive Flexfield - DFF) from the drop-down choice list. In the subsequent IC_Transfer field that shows up, search and select the appropriate option.
Step 8. Scroll down to find the Transactions section and click the Add Row icon.

Step 9. Select the Receiver from the drop-down choice list

Step 10. Enter the Credit Amount in the Credit field. Next, enter the Transaction Description in the Transaction Description field.
In this example, we choose IC Transfer.
Note: The Transaction Description is optional.

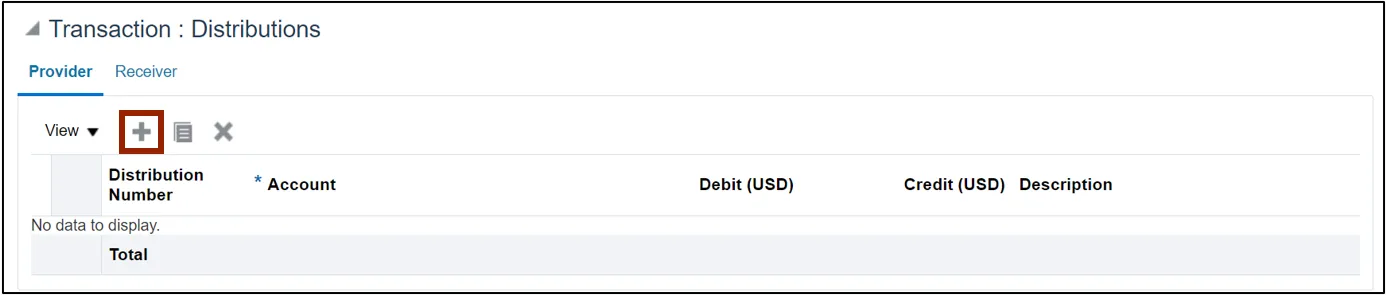
Step 11. Scroll down to find the Transactions: Distributions section and click the Add Row icon.
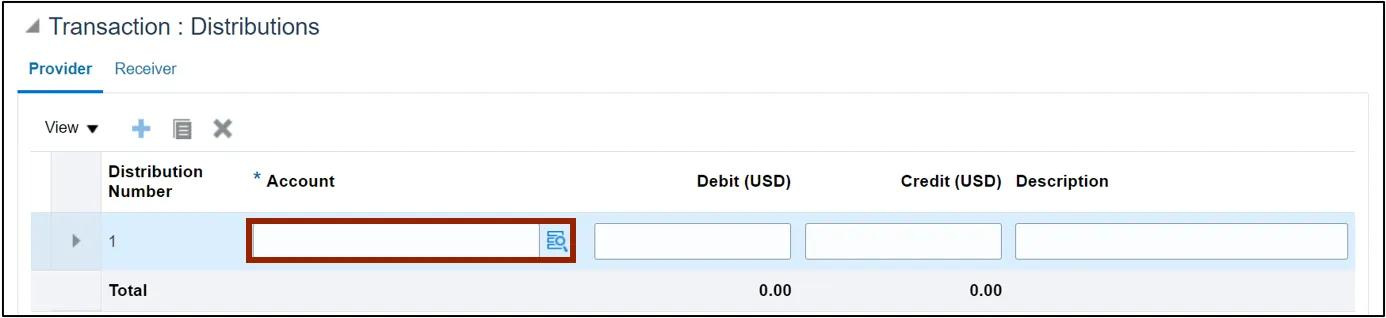
Step 12. Enter the distribution account details within the Account field. Click the Account icon to select individual account segment values from the Account pop-up.
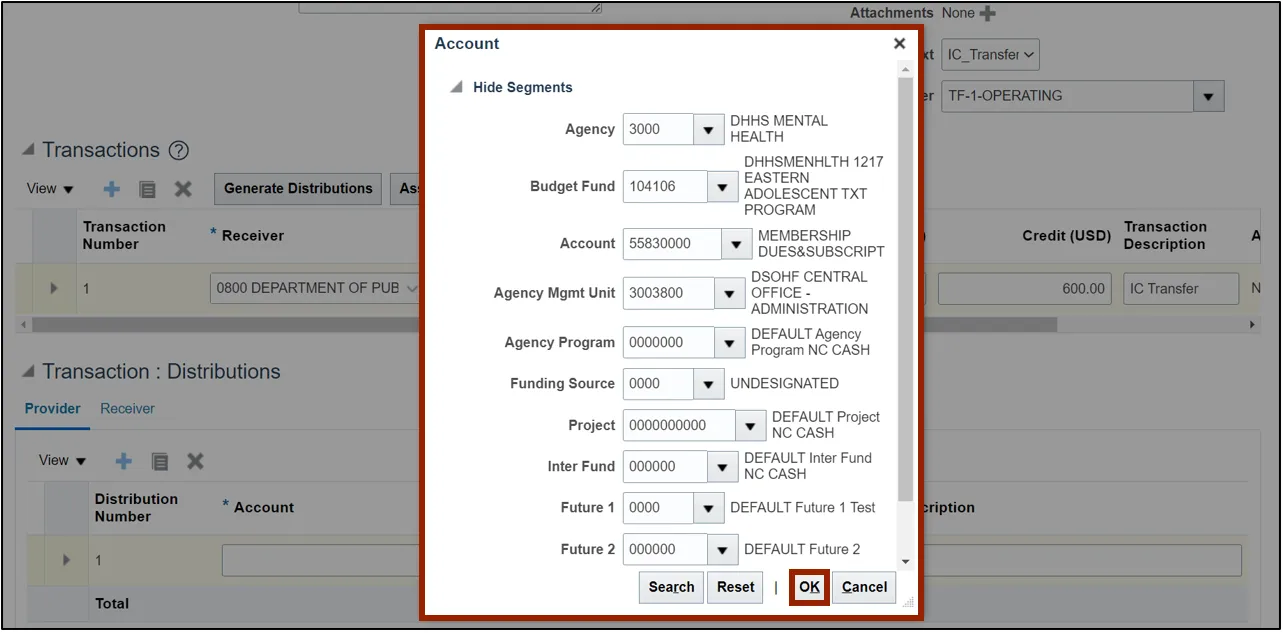
Step 13. On the Account pop-up, search and enter the relevant Account information from the respective drop-down choice lists and click the OK button.
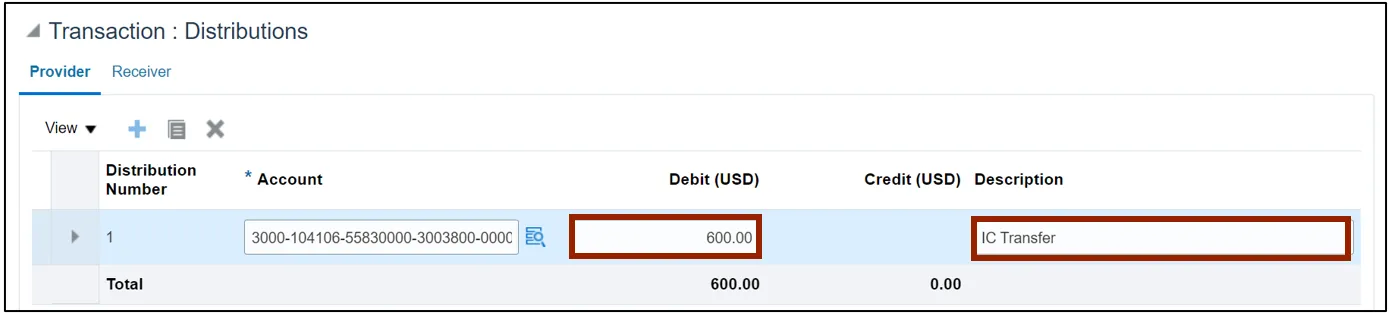
Step 14. Enter the Debit Amount in the Debit field. Next, enter the Transaction Description in the Transaction Description field.
In this example, we choose IC Transfer as the description.
Note: The Description field is optional.
Step 15. Scroll up and click the Save button.
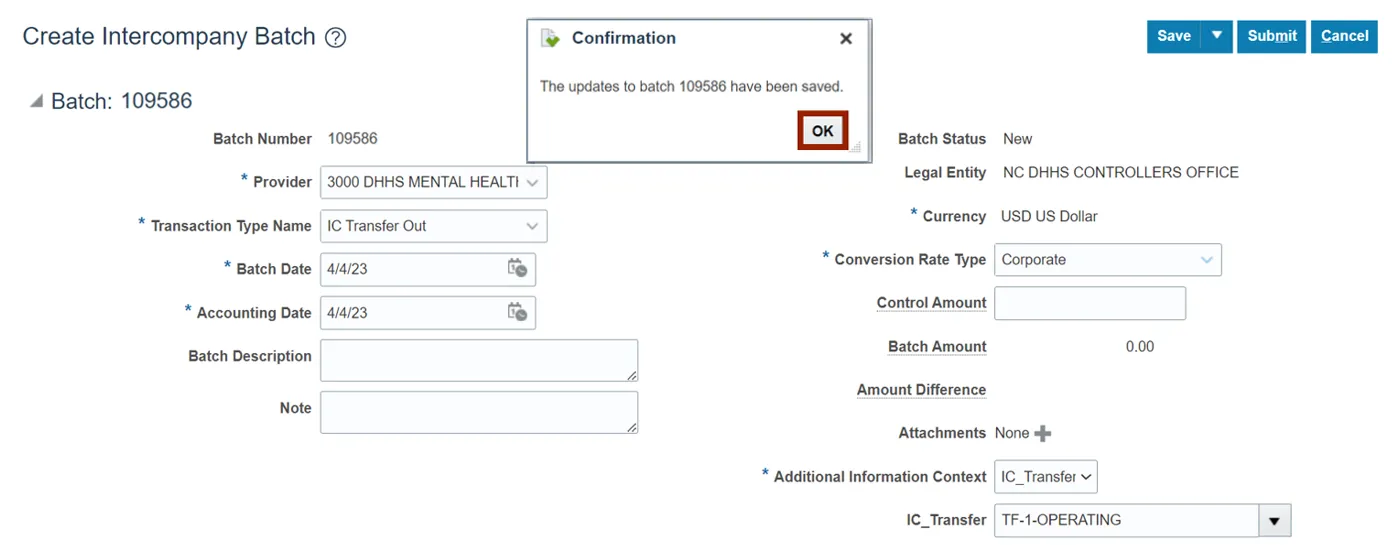
Step 16. The Confirmation pop-up appears. Click the OK button.
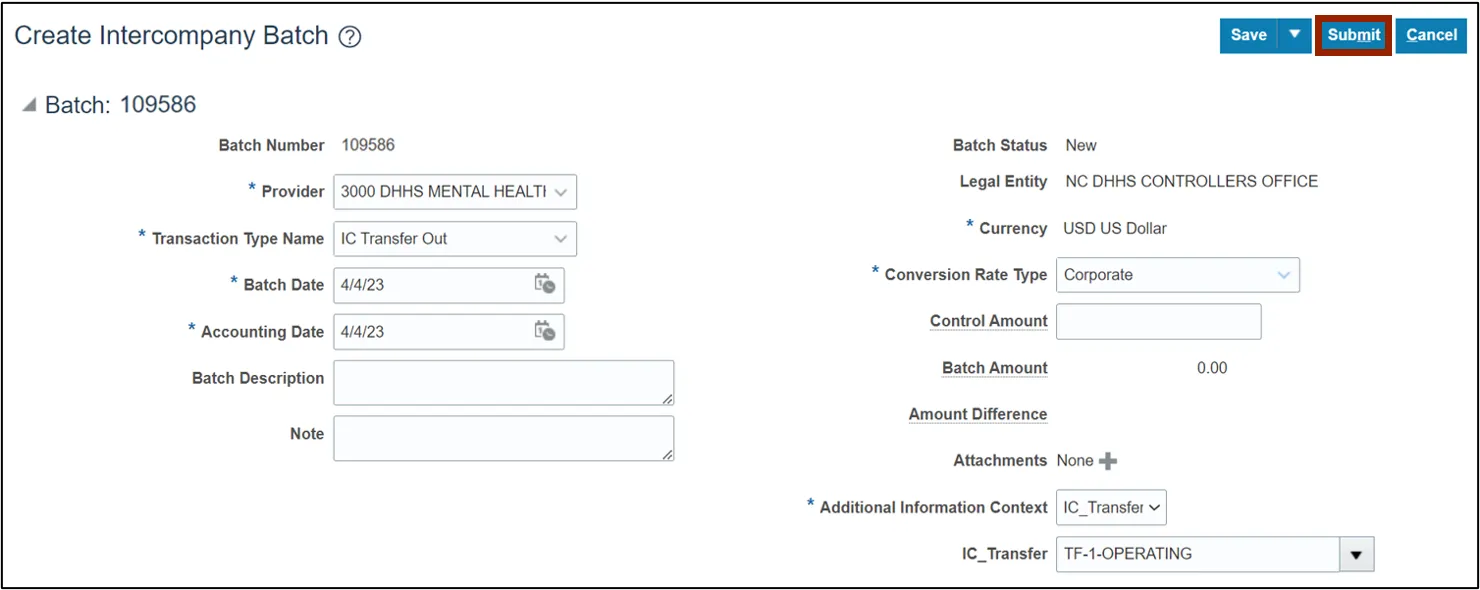
Step 17. Click the Submit button.
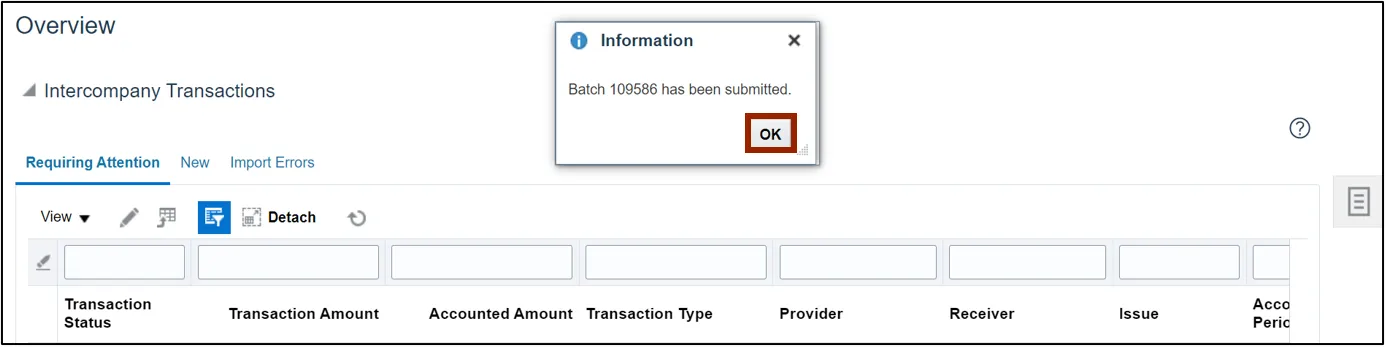
Step 18. You are now redirected to the Transactions Overview page. The Confirmation pop-up appears. Click the OK button.
Wrap-Up
Create an Intercompany Transfer manually using the steps above to transfer funds between two different agencies or within the same agency.
Additional Resources
- Virtual Instructor-Led Training (vILT)