Purpose
The purpose of this Quick Reference Guide (QRG) is to provide a step-by-step explanation of how to perform File Based Date Import (FBDI) Uploads in the North Carolina Financial System (NCFS).
Introduction and Overview
This QRG covers the process of performing FBDI uploads in NCFS.
User Tip
The following are prerequisites to upload using FBDI:
-
Download the Journals Import Interface FBDI from Oracle Docs.
FBDI Uploads
To upload journal entries via FBDI, please follow the steps below. There are 29 steps to complete this process.
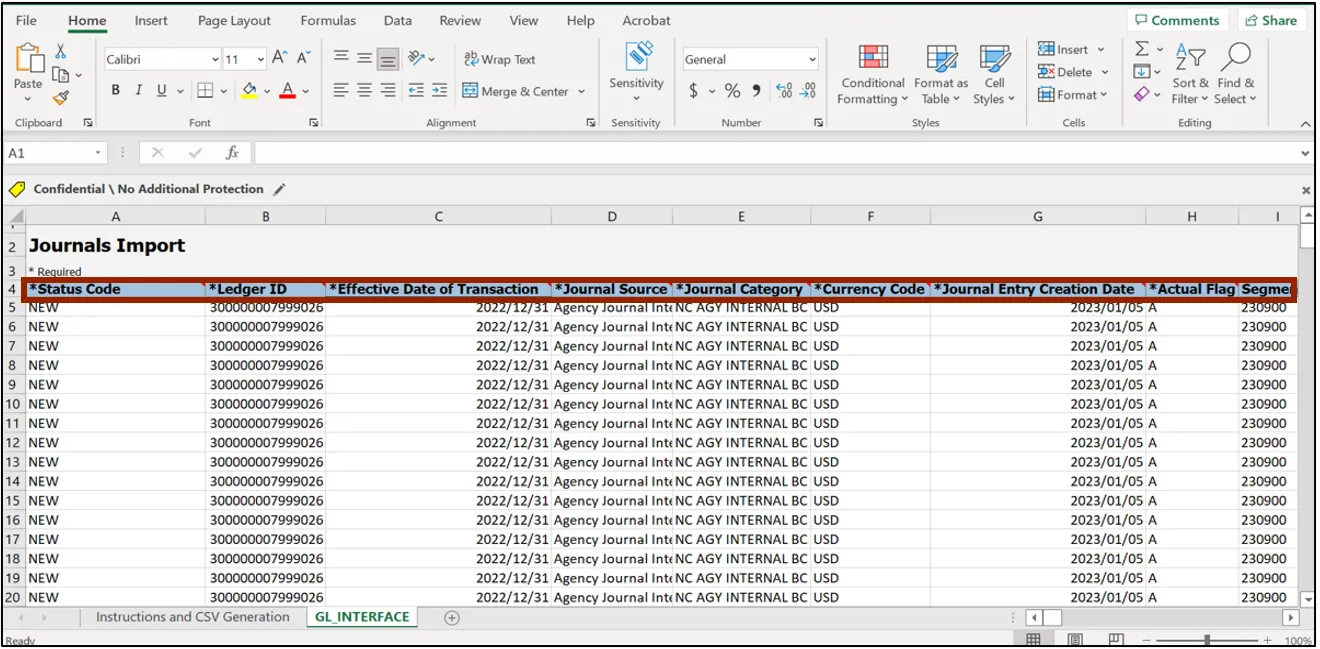
Step 1. Prepare the data for each interface table. To prepare the data, set up data merge and search internal identifiers. Refer to the colored indicator on the top right corner of each column header to:
- View detailed instructions on preparing the data in that column.
- View a description of the data and data type that the column requires.
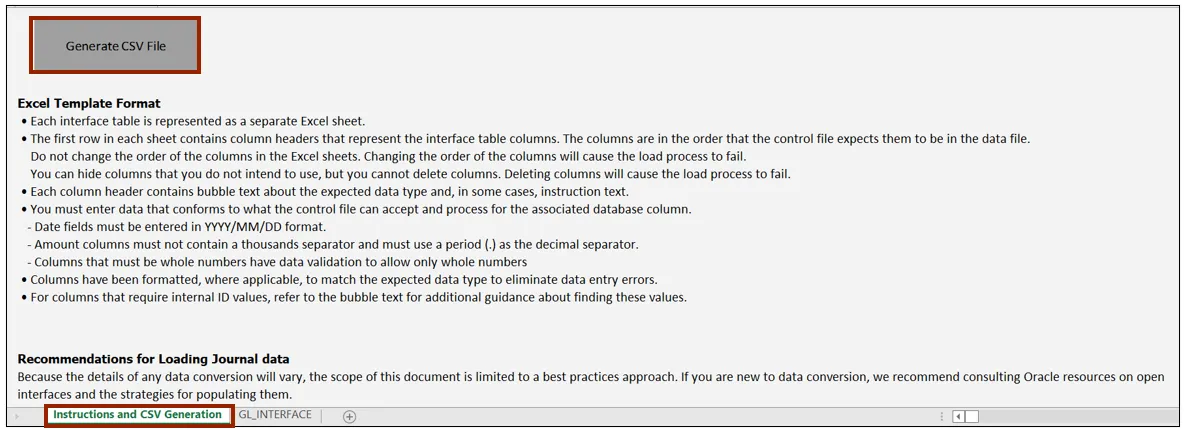
Step 2. Once the data is prepared, click the Instructions and CSV Generation sheet tab, and then click the Generate the CSV File button to generate a ZIP file that contains one or more CSV file.
Note: To download the Oracle FBDI template and view a sample/example file, visit the OSC website.
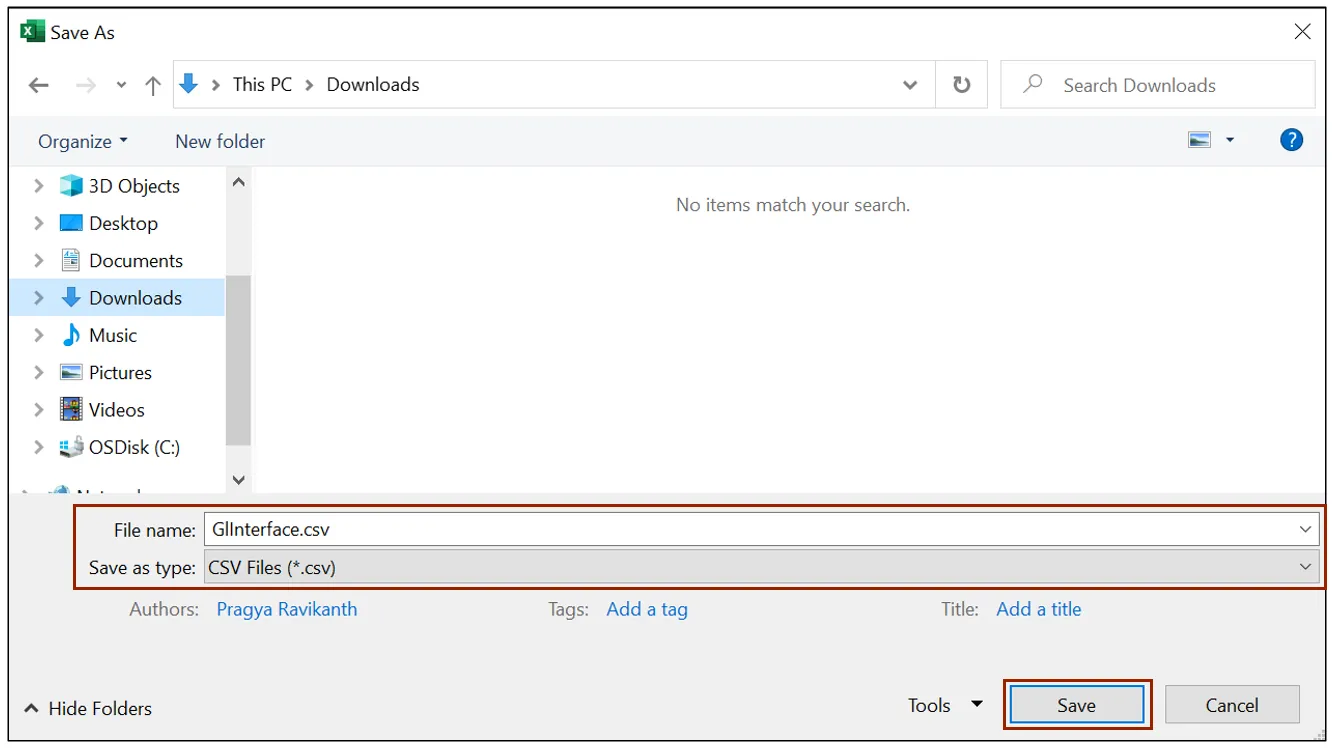
Step 3. The Save As pop-up appears. Enter the file name in the File Name field. In this example, choose GLInterface. From the Save as type drop-down choice list, select CSV Files (*.csv). Click the Save button.
Step 4. The Please select a location for ZIP file pop-up appears. Select the required Folder Name. you want to download the zip file into. In this example, choose Downloads. Click the OK button.
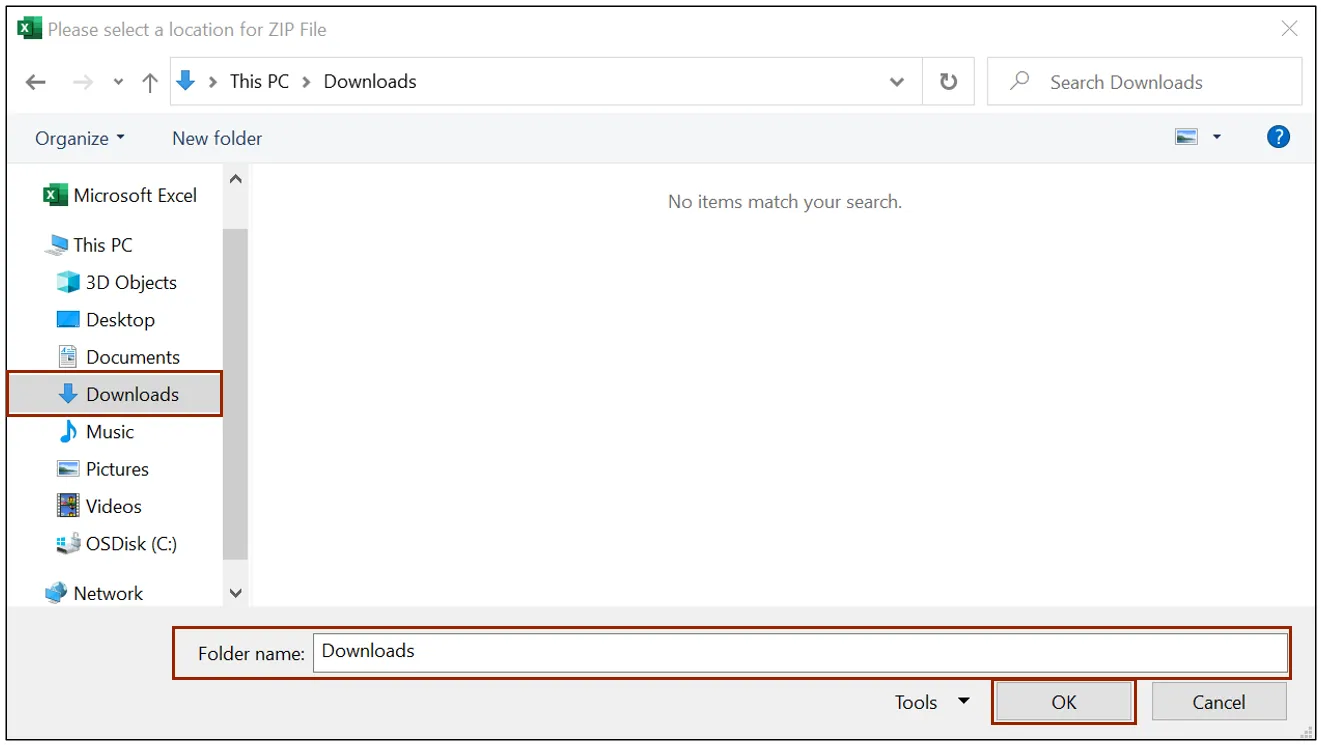
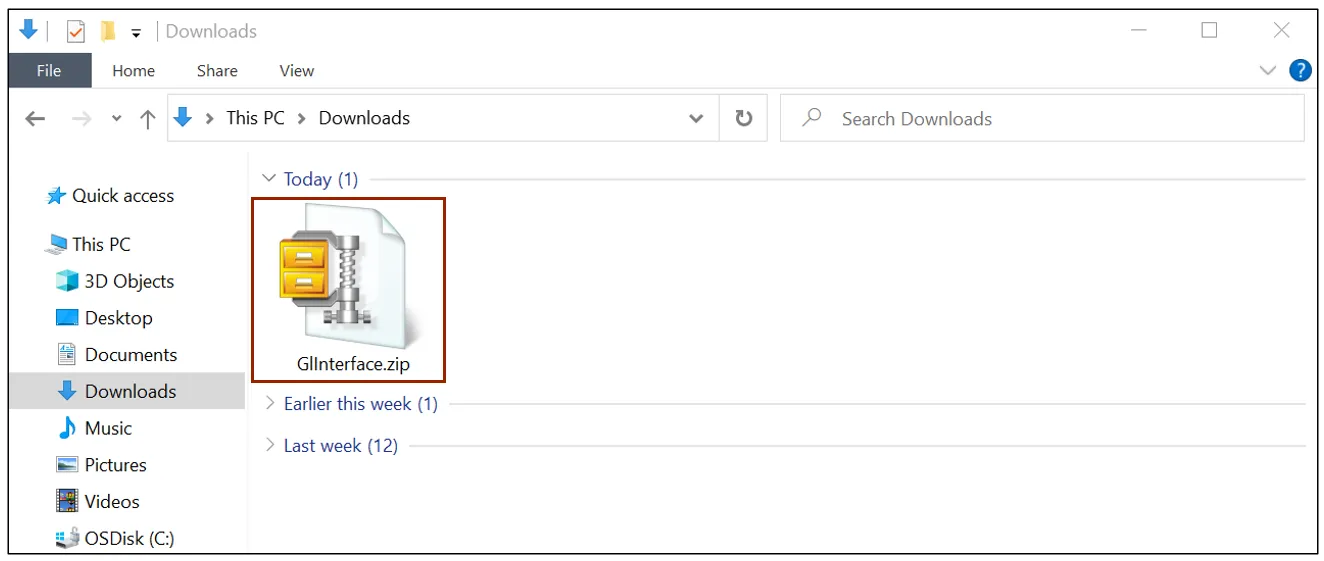
Step 5. The downloaded zip file can be viewed in the Downloads folder of the local device.
Step 6. Log into the NCFS portal with your credentials to access the system.
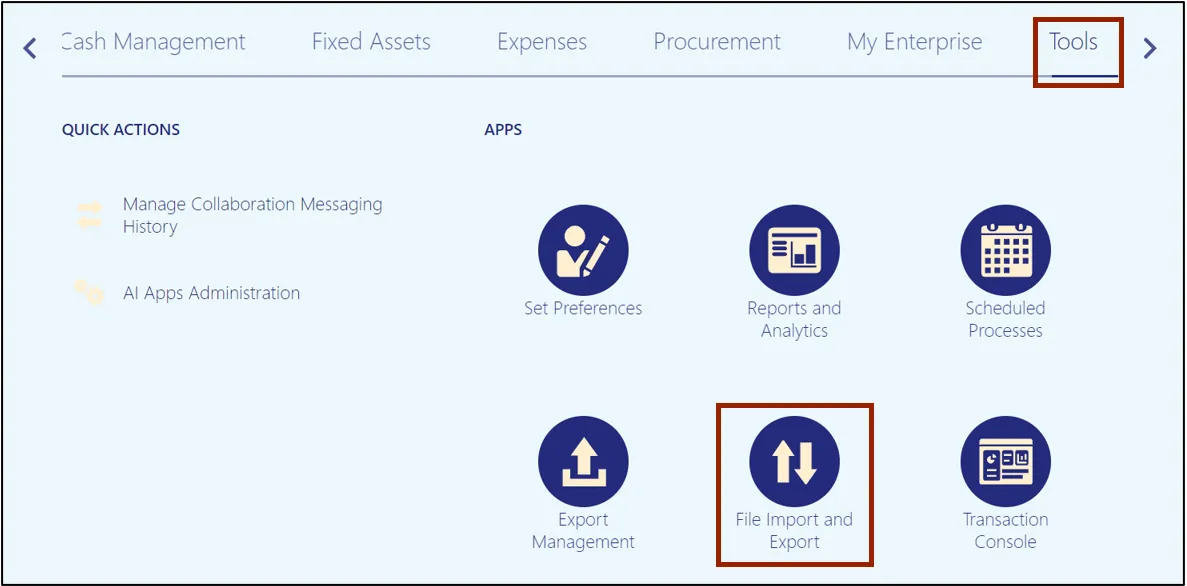
Step 7. On the Home page, click the Tools tab and select the File Import and Export app.
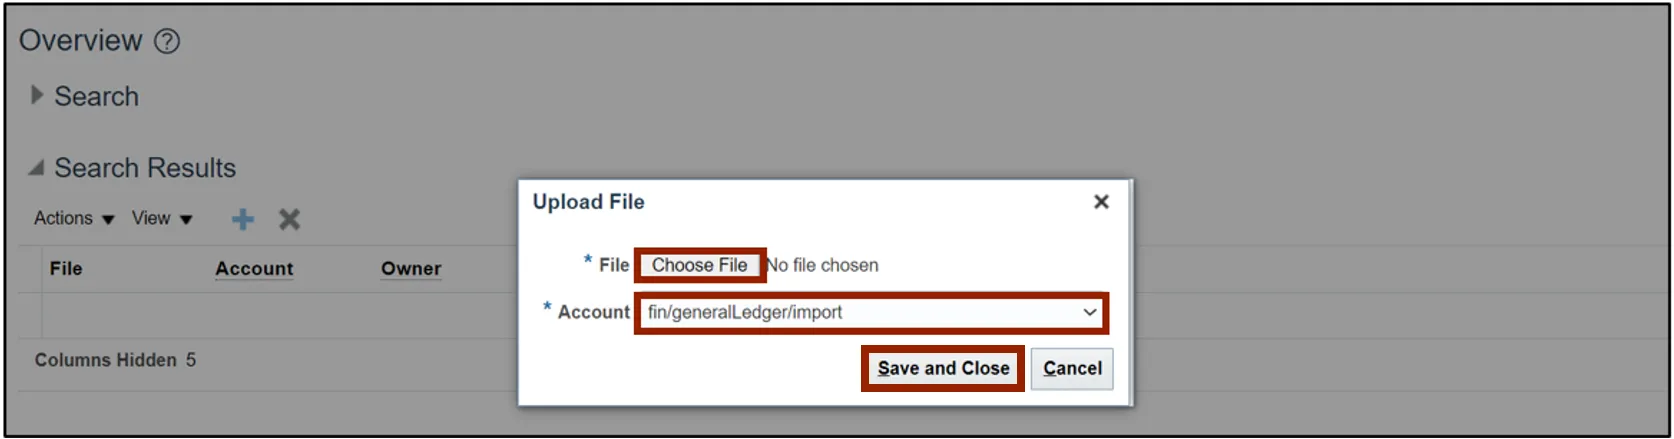
Step 8. Under the Search Results section, click the Upload icon.

Step 9. The Upload File pop-up appears. Click the Choose File button to attach and select the zip file, the macro generated. On the Account field, select fin/generalLedger/import from the drop-down choice list. Then, click the Save and Close button.
Step 10. Click the Home icon.

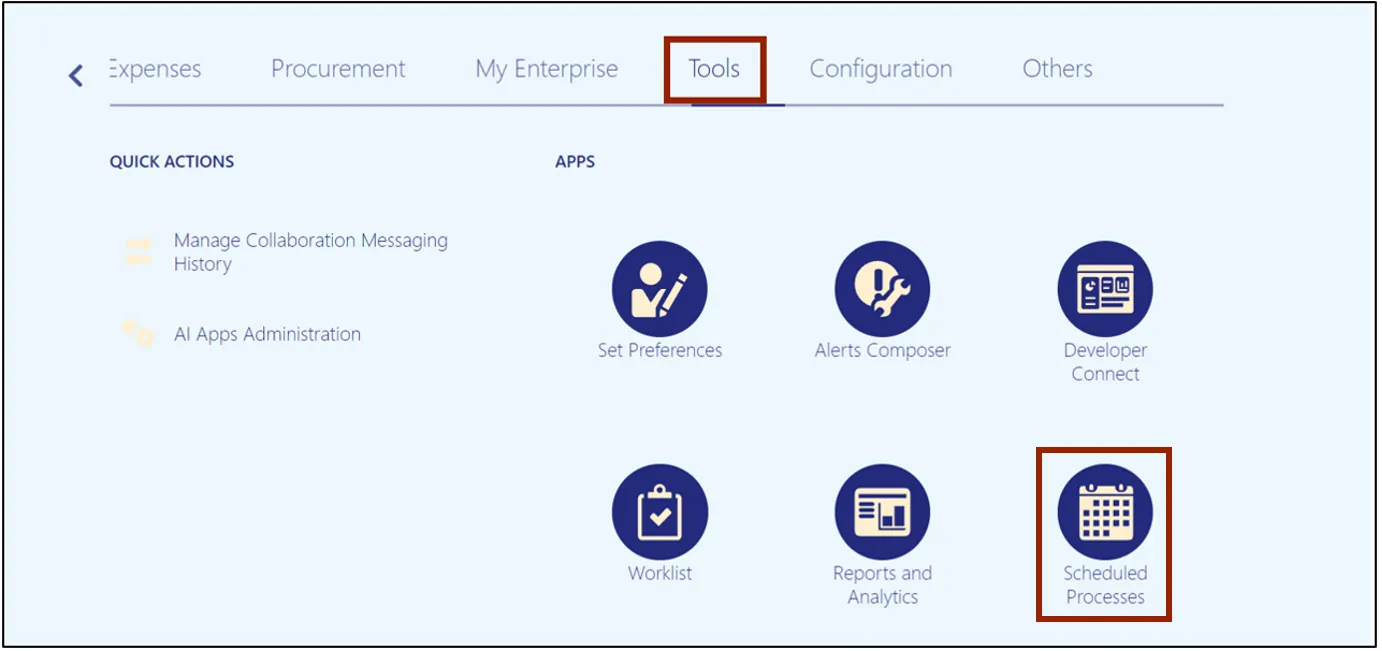
Step 11. On the Home page, click the Tools tab and select the Scheduled Processes app.
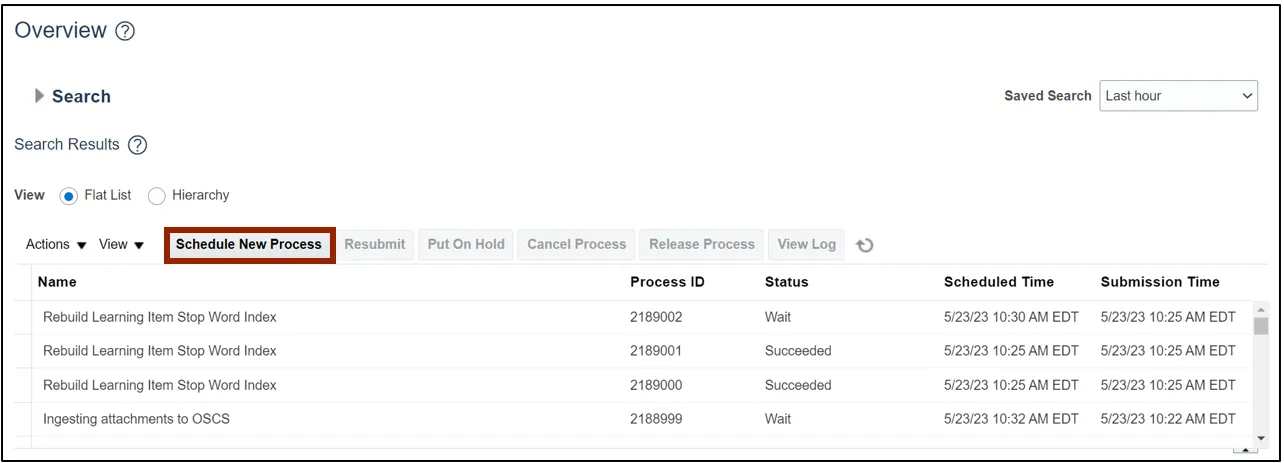
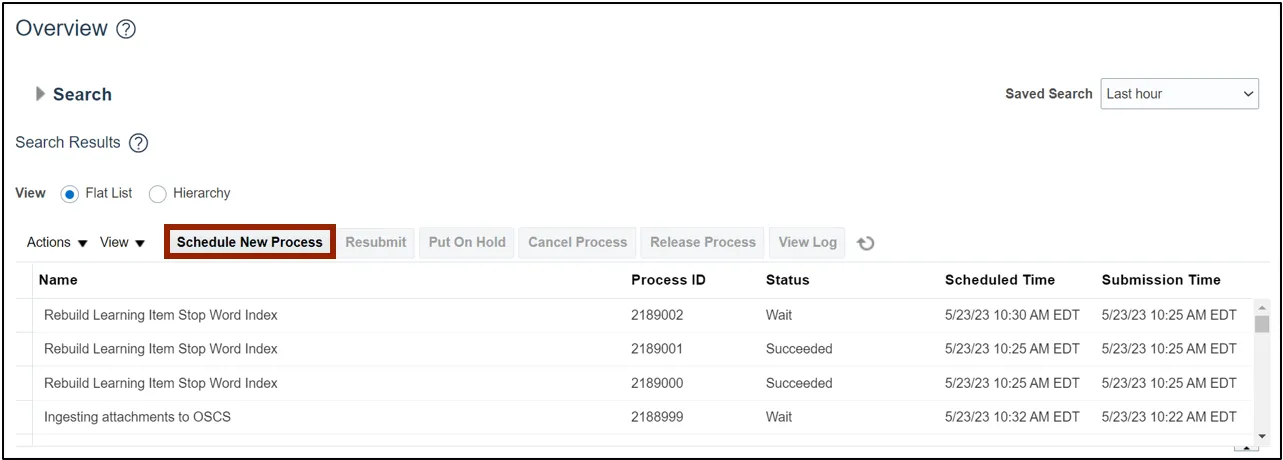
Step 12. On the Overview page, click the Schedule New Process button.
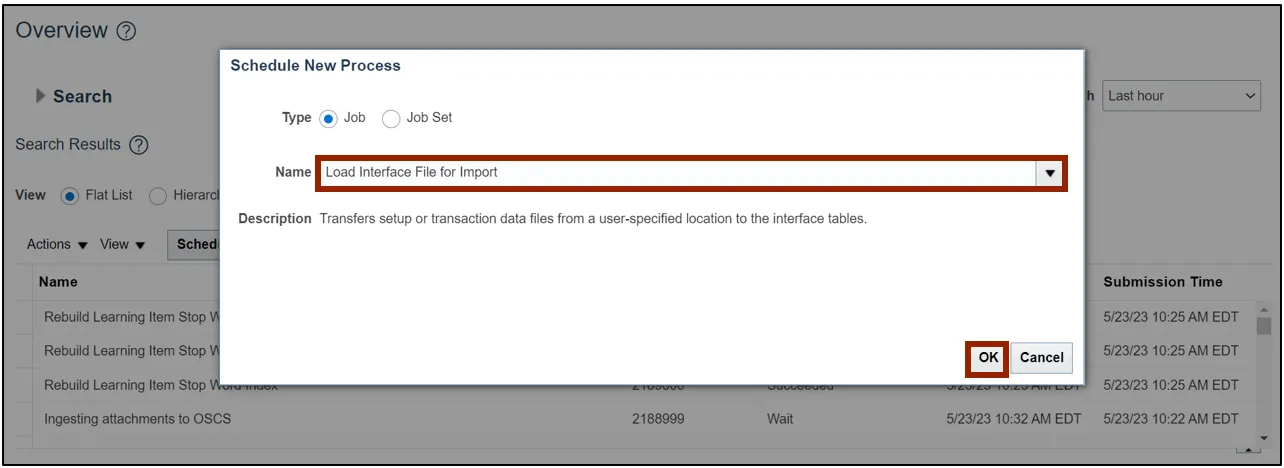
Step 13. The Schedule New Process pop-up appears. On the Name field, select Load Interface File for Import from the drop-down choice list. Then, click the OK button.
Step 14. The Process Details pop-up appears. On the Import Process field, select Import Journals from the drop-down choice list.
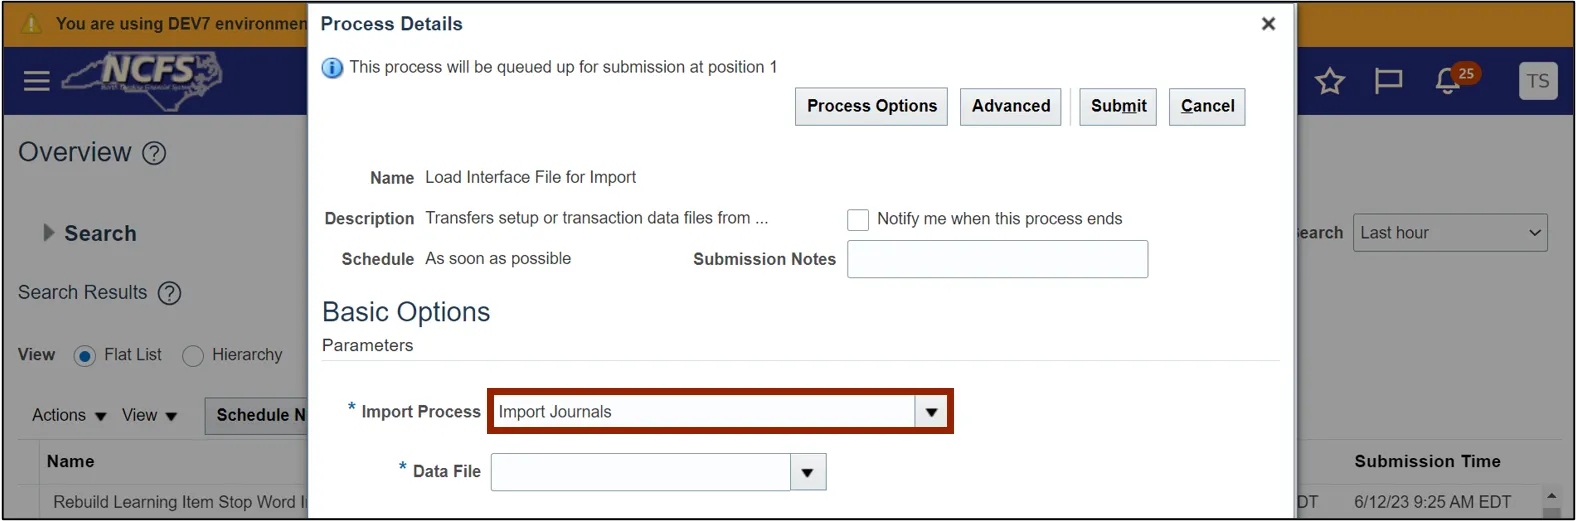
Step 15. Select the imported file from the Data File drop-down choice list.
Note: The file can only be selected if steps 4-6 are followed, and the file is uploaded into the system.

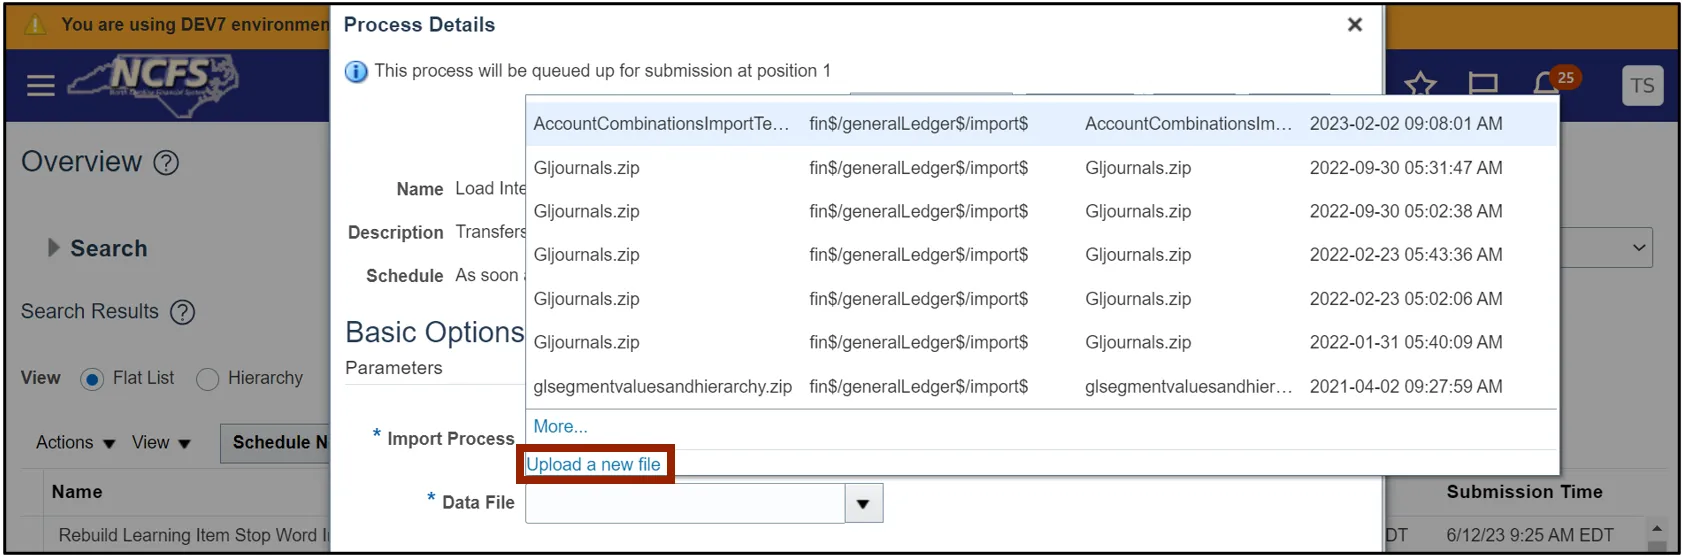
Step 16. To open a file that wasn’t uploaded into the system, click the Data File drop-down choice list and select the Upload a new file link to upload the created zip file from the local device.
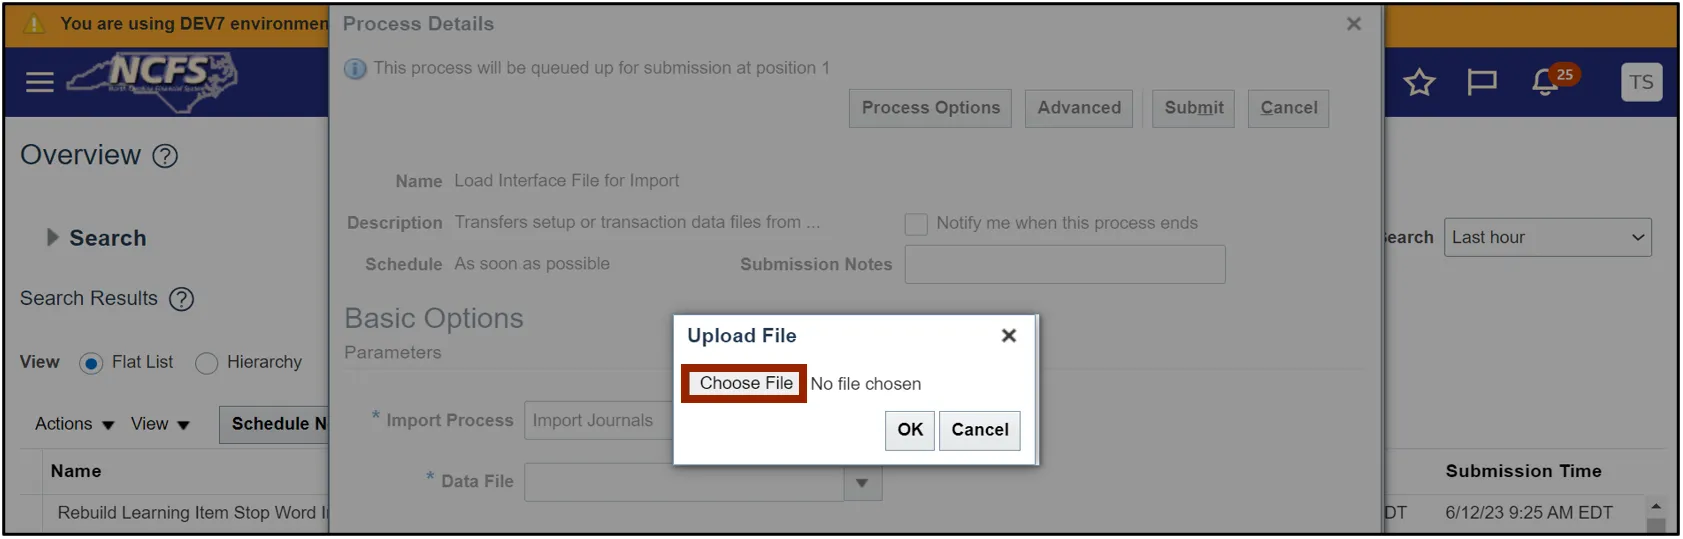
Step 17. Click the Choose File button.
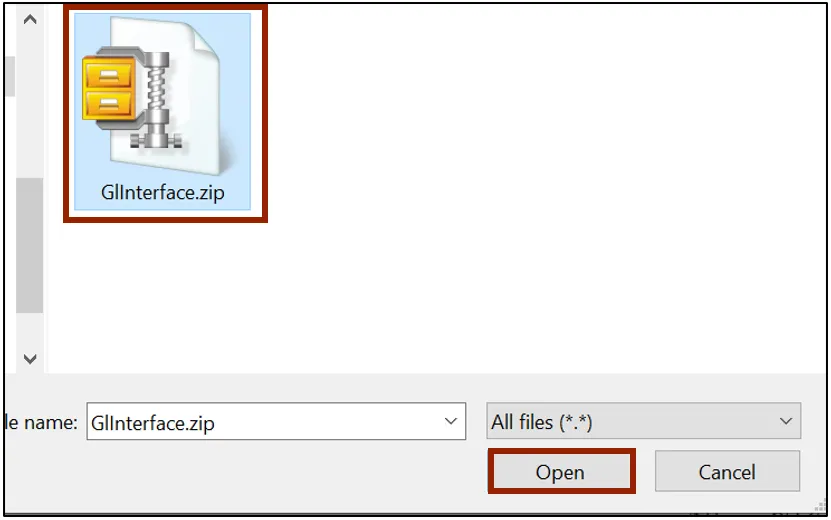
Step 18. Select the zip file from your local device and click the Open button.
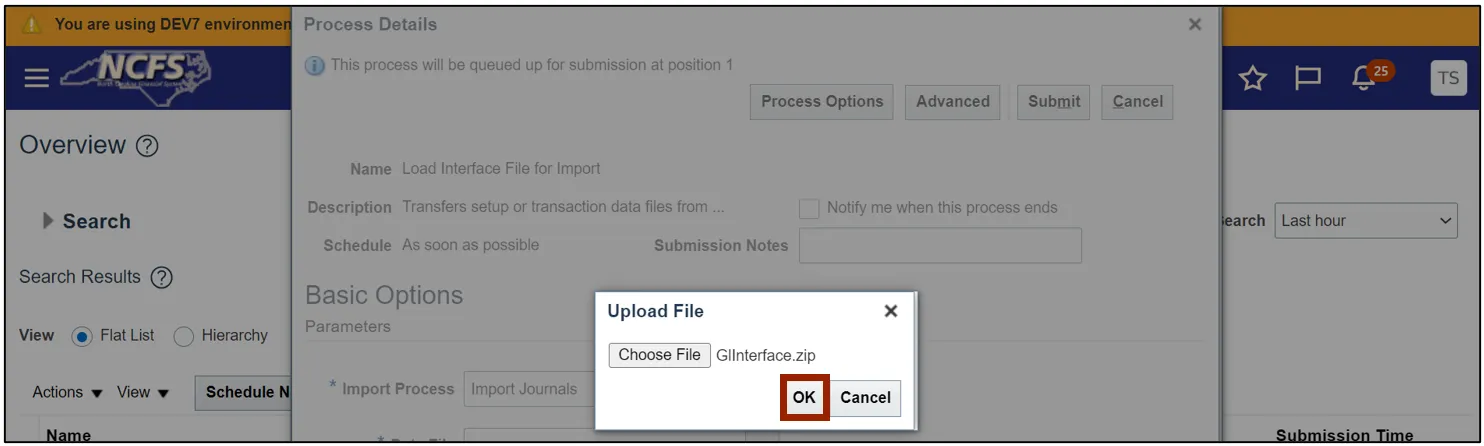
Step 19. Click the OK button.
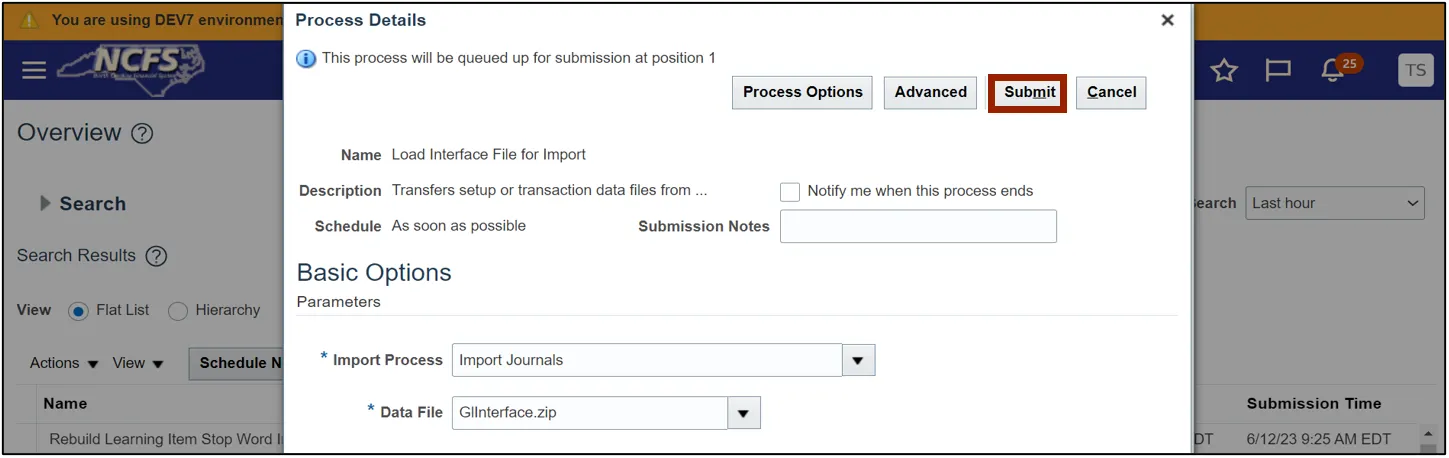
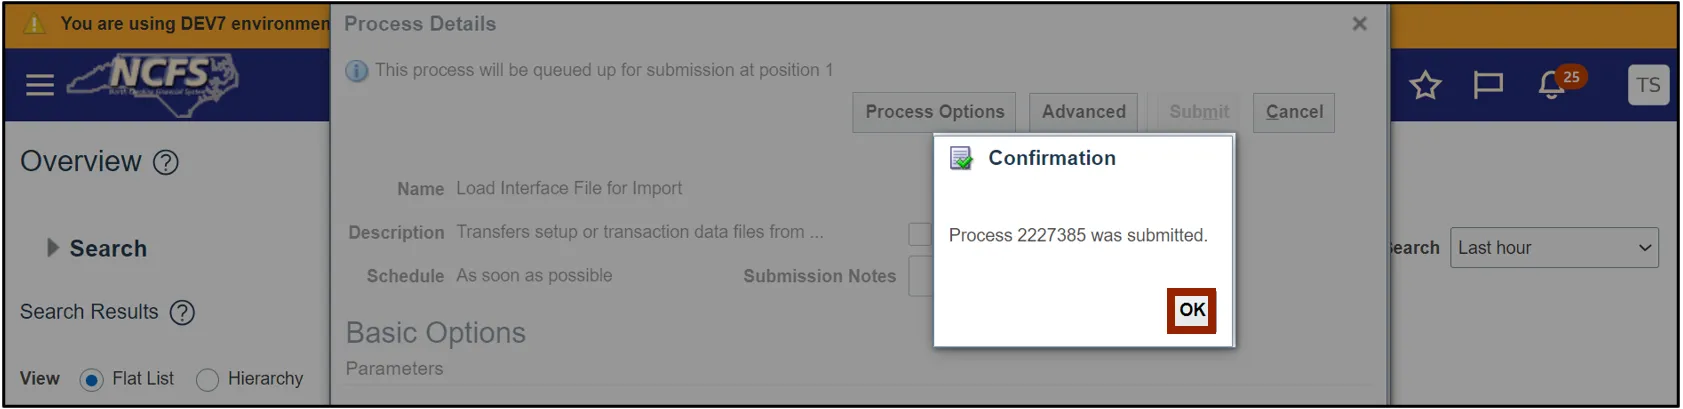
Step 20. Click the Submit button.
Step 21. A Confirmation pop-up appears. Click the OK button.
Step 22. On the Overview page, ensure that the process is completed successfully by verifying that the Status says Succeeded.

Step 23. On the Overview page, click the Schedule New Process button.
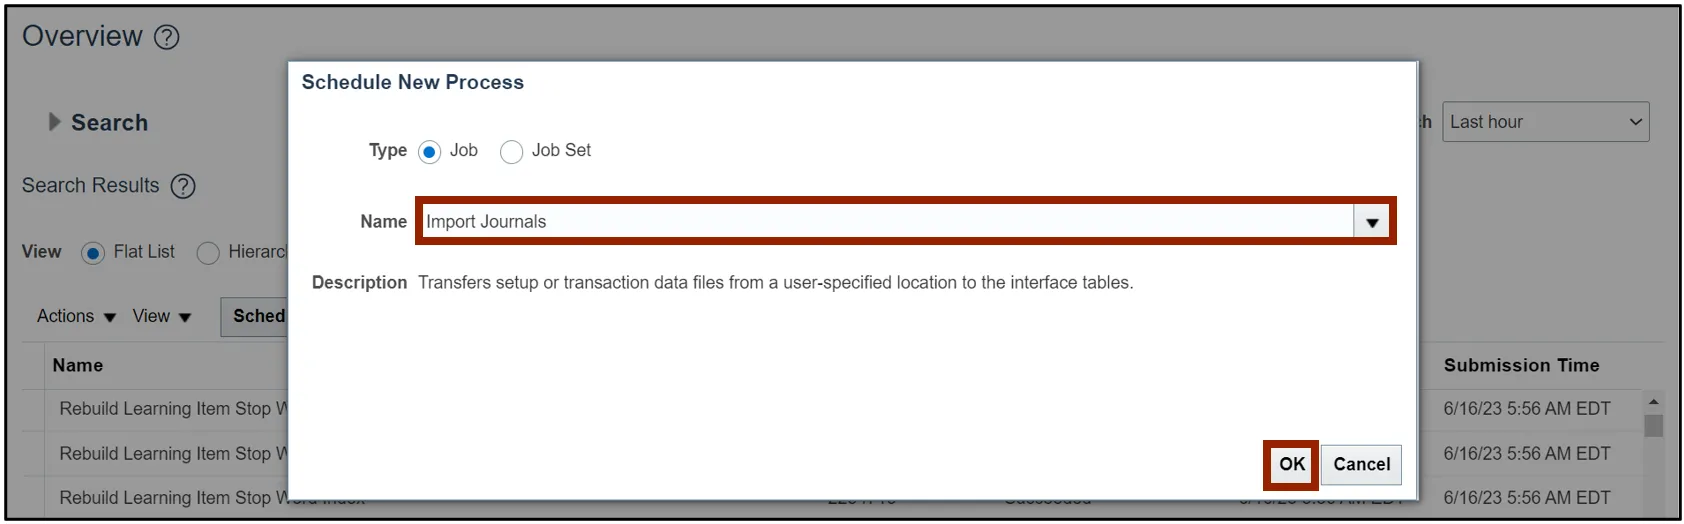
Step 24. The Schedule New Process pop-up appears. On the Name field, select Import Journals from the drop-down choice list. Then, click the OK button.
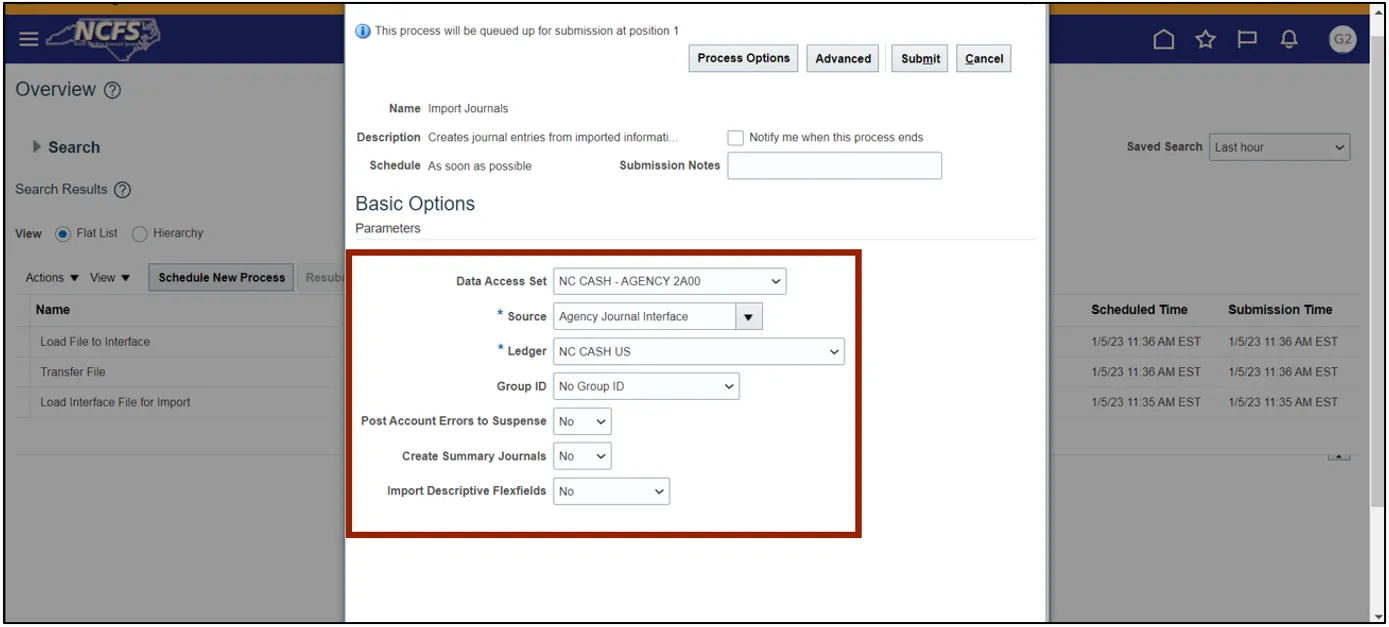
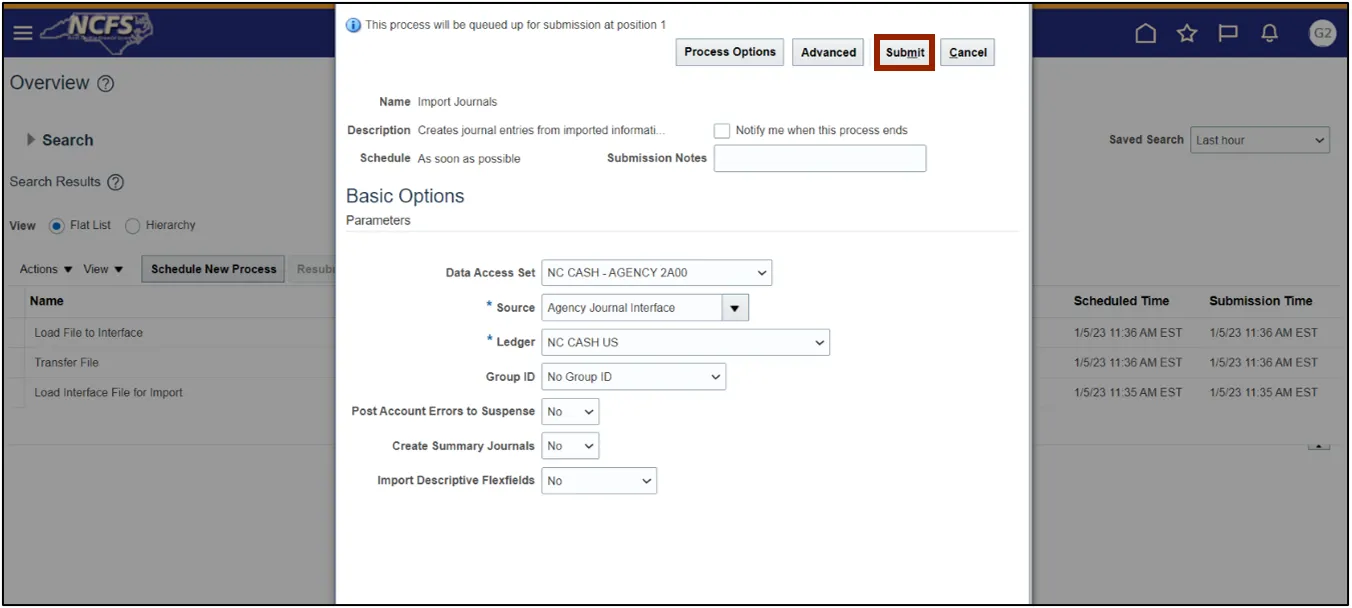
Step 25. The Process Details pop-up appears. Enter the values in the parameters mentioned.
In this example, choose:
- Data Access Set: NC CASH- AGENCY 2A00
- *Source: Agency Journal Interface
- *Ledger: NC CASH US
- Group ID: No Group ID
- Post Account Errors to Suspense: No
- Create Summary Journals: No
- Import Descriptive Flexfields: No
Step 26. Click the Submit button.
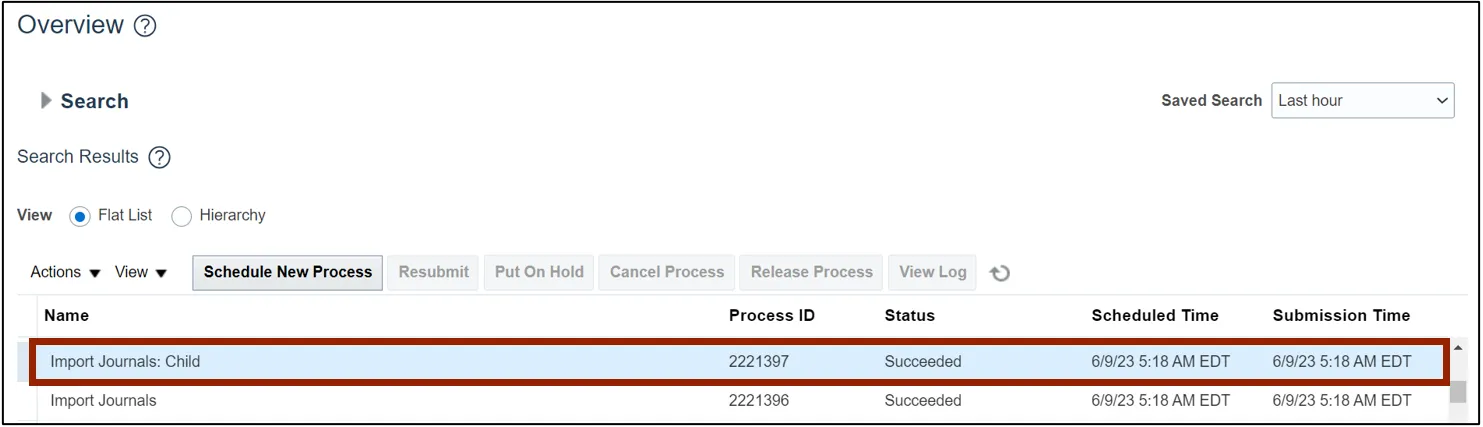
Step 27. The imported journal’s details can be viewed here by clicking the schedule process Import Journals: Child.
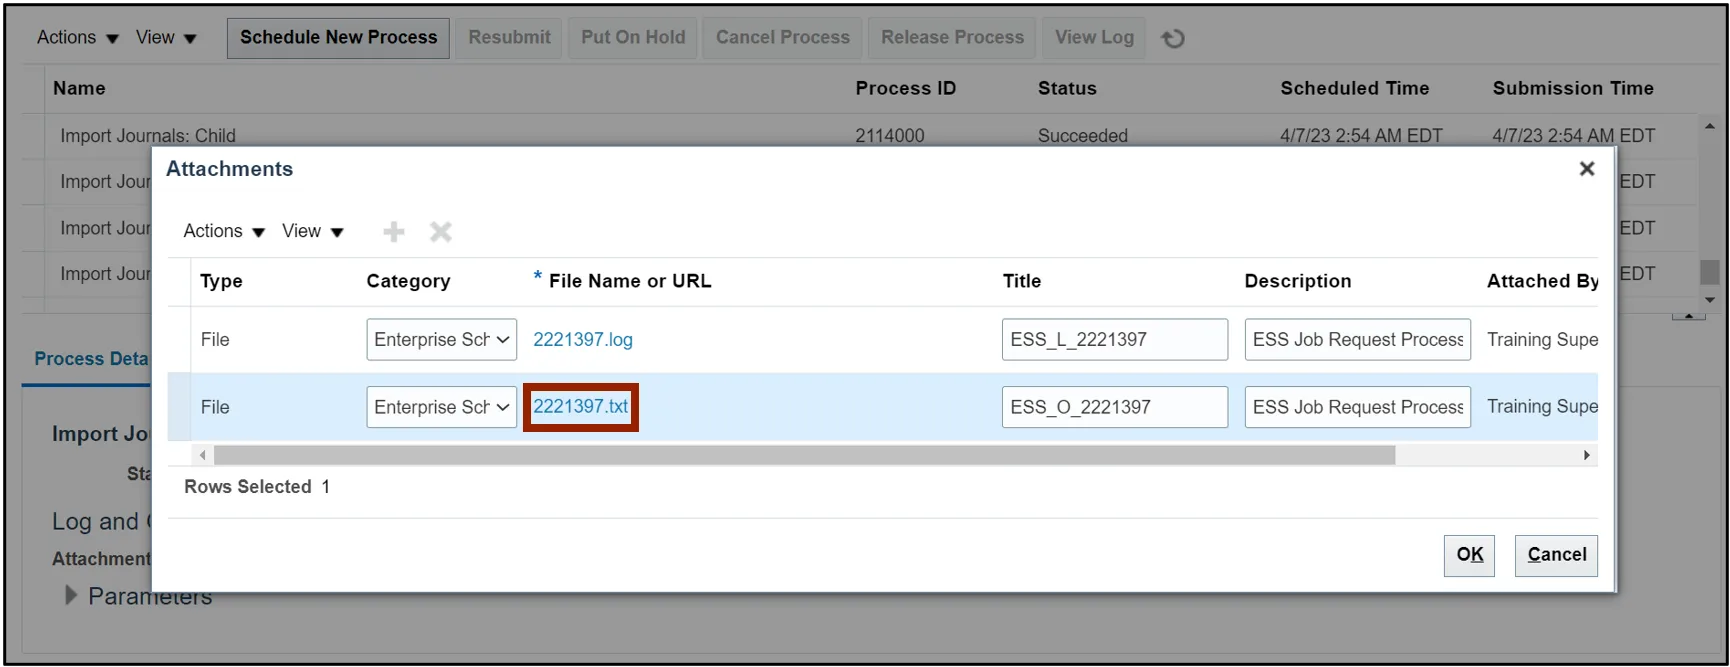
Step 28. Under the Process Details tab, click the 1 more… link to view all the attachments.

Step 29. Click the .txt link to view further details about the imported journal.
Wrap-Up
Users can Import Journals to load feeder system journal entries and upload the journals via FBDI by following the steps above.
Additional Resources
- Virtual Instructor-Led Training (vILT)