Purpose
The purpose of this Quick Reference Guide (QRG) is to provide a step-by-step explanation on how to Create Journals in the North Carolina Financial System (NCFS).
Introduction and Overview
This QRG covers how to Create a Journal in NCFS by populating the information in journals and journal lines and requesting an approval for it.
Create a Journal
To create a journal in the primary ledger using category "NC AGY INTERNAL BC ENTRY" for a primary agency and send it for approval, please follow the steps below. There are 13 steps to complete this process.
Step 1. Log in to the NCFS portal with your credentials to access the system.
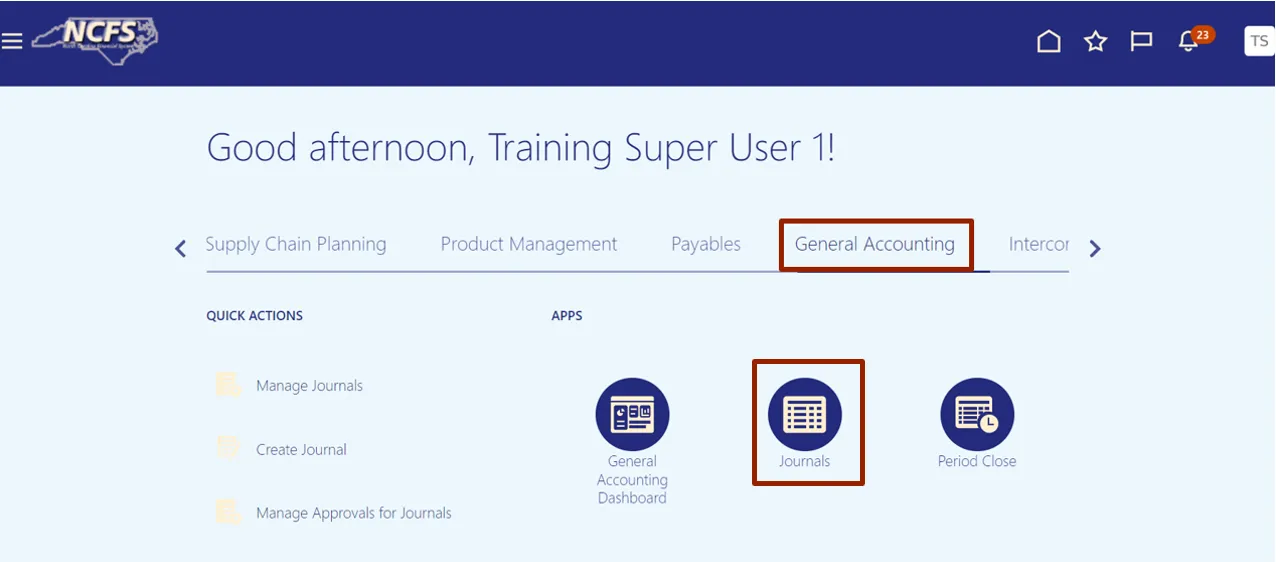
Step 2. On the Home page, click the General Accounting tab and select Journals app.
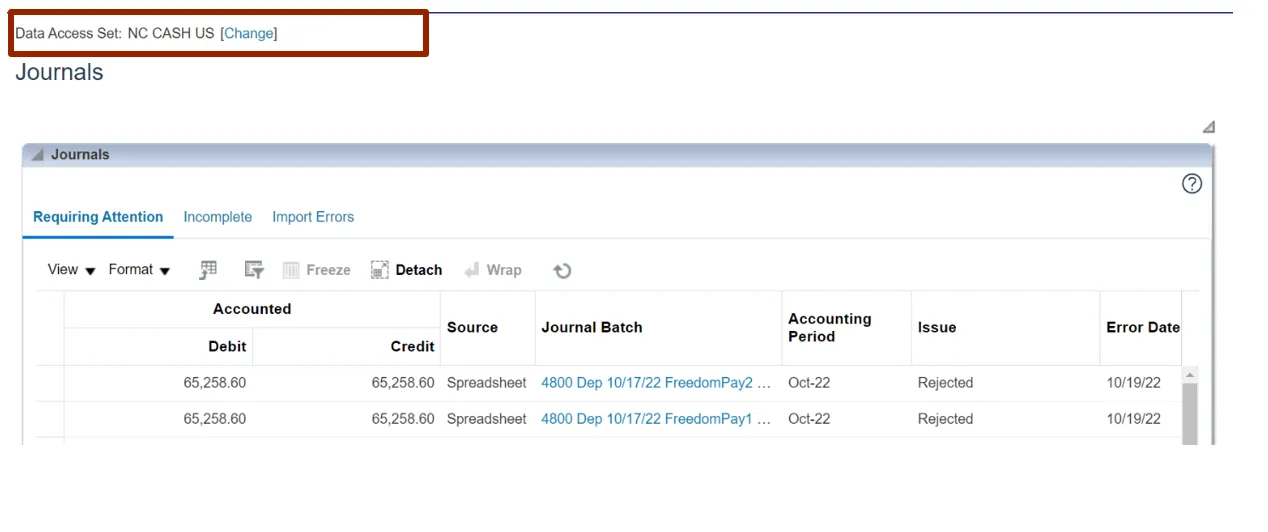
Step 3. Validate the Data Access Set. If data access set is not already selected, click the Change link and select the appropriate Data Access Set.
For this example, choose NC CASH US.
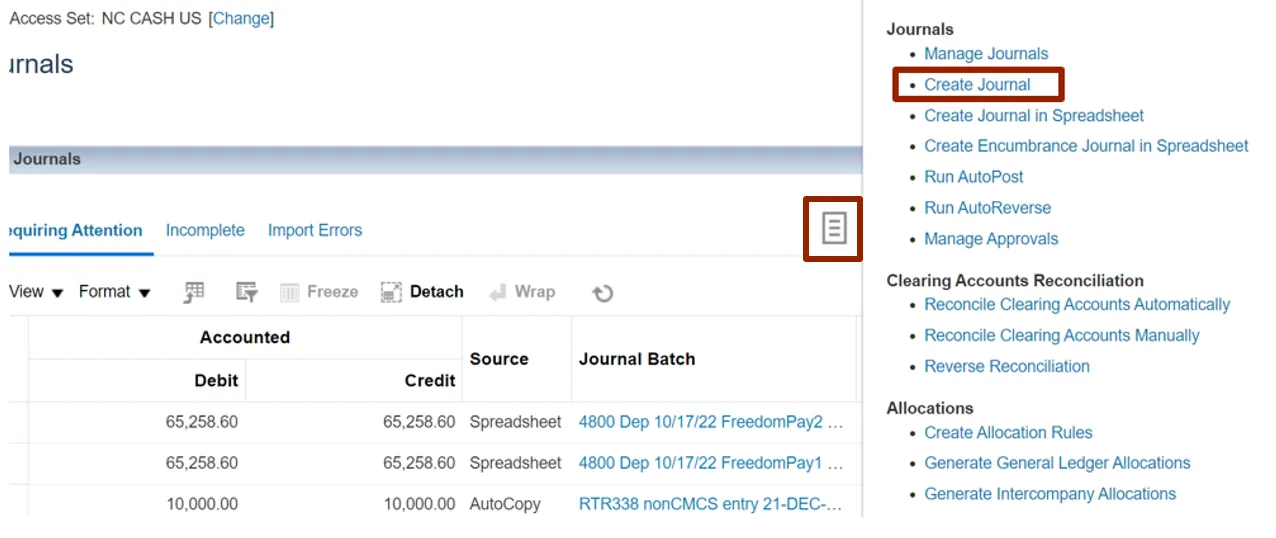
Step 4. Click the Tasks icon. Under Journals, click Create Journal.
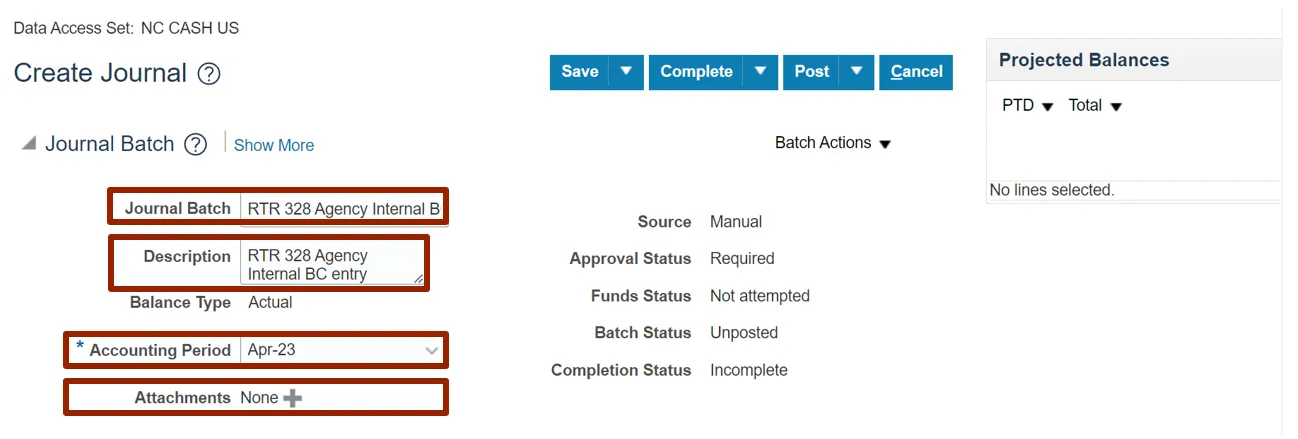
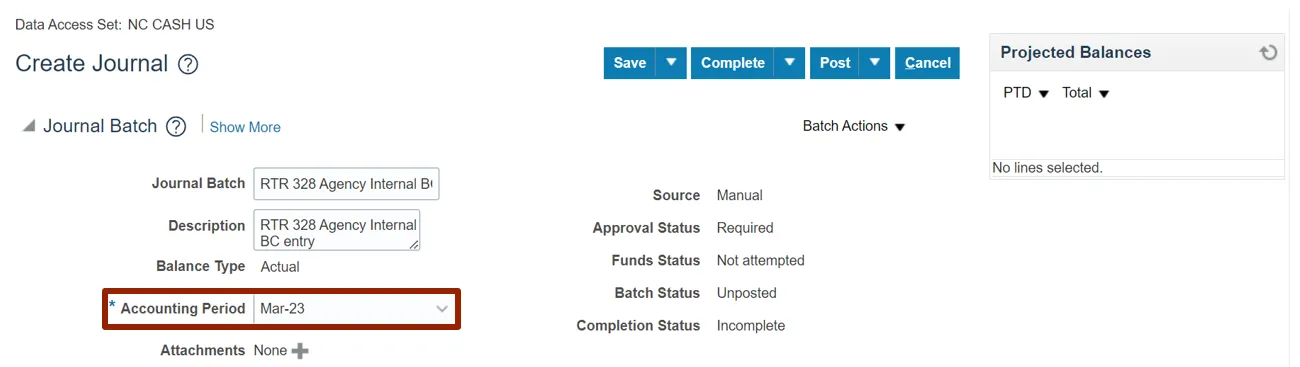
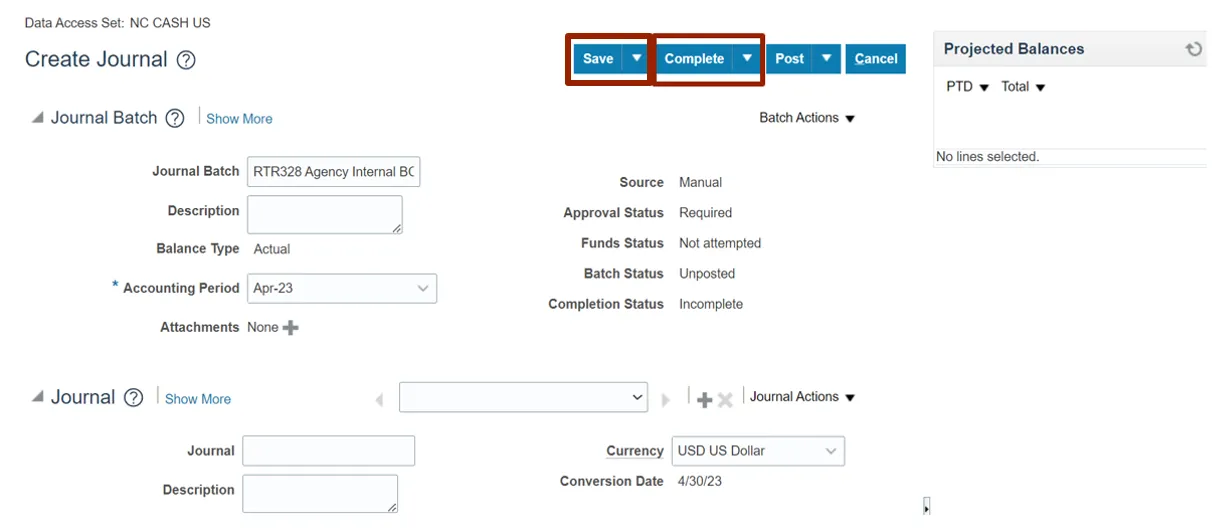
Step 5. The Create Journal page opens. Enter relevant information in the fields.
For this example, choose RTR 328 Agency Internal BC entry for Journal Batch field and Description field, Apr-23 for *Accounting Period field.
Notes: Accounting Period may need to be changed to the period applicable to the journal. The addition of Attachments is optional. Journal Batch name should follow the state’s naming conventions.
Step 6. On the Create Journal page, user can create the journals in current or previous Accounting Period.
For this example, choose Mar-23 for *Accounting Period.
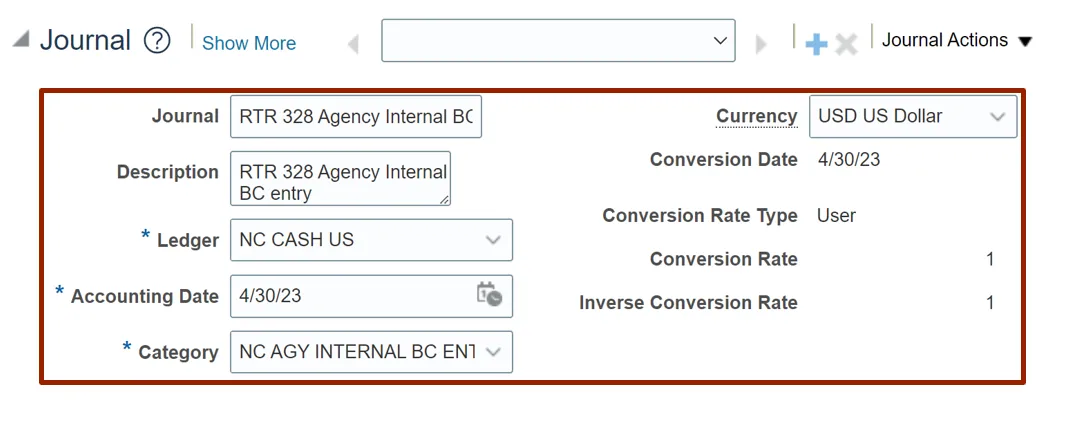
Step 7. Scroll down to the Journals section, enter the relevant details.
For this example, choose:
Journal Batch and Description – RTR 328 Agency Internal BC entry
*Ledger – NC CASH US
*Accounting Date – 4/30/23
*Category – NC AGY INTERNAL BC ENTRY
Step 8. Scroll down to the Journal Lines section and click the LOV picker icon.
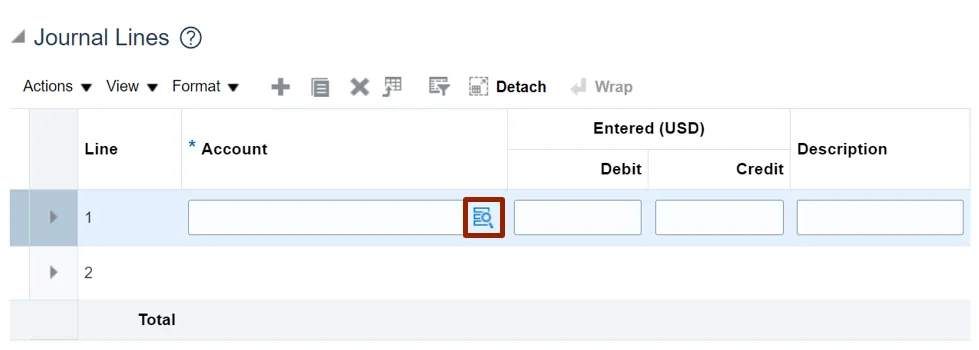
Step 9. The Account segments appear. Populate the account details using the LOV picker and click the OK button.

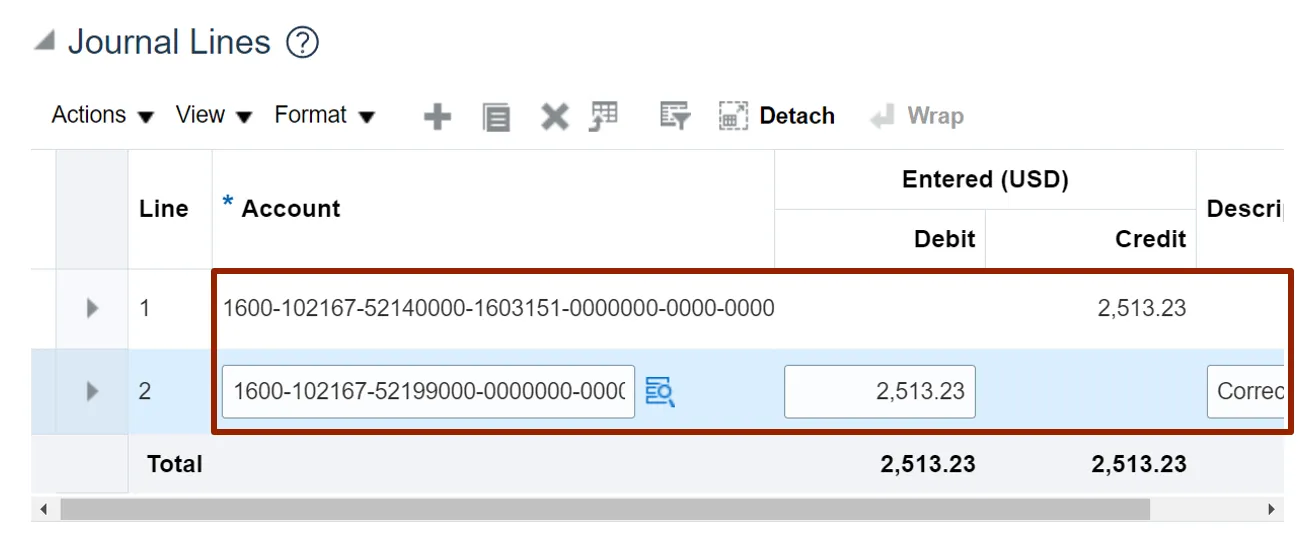
Step 10. Select segment value details in Journal Lines.
For this example, choose:
Line #: 1
Account #: 1600-102167-52140000-1603151-0000000-0000-0000000000-000000-0000-000000-00000
Credit: 2513.23
Line #: 2
Account #: 1600-102167-52199000-0000000-0000000-0000-0000000000-000000-0000-000000-00000
Debit: 2513.23
Line Description: Correct expenditure coding
Step 11. After entering all relevant journal lines, ensuring your Budget Funds are in balance, click the Save button, and then the Complete button.
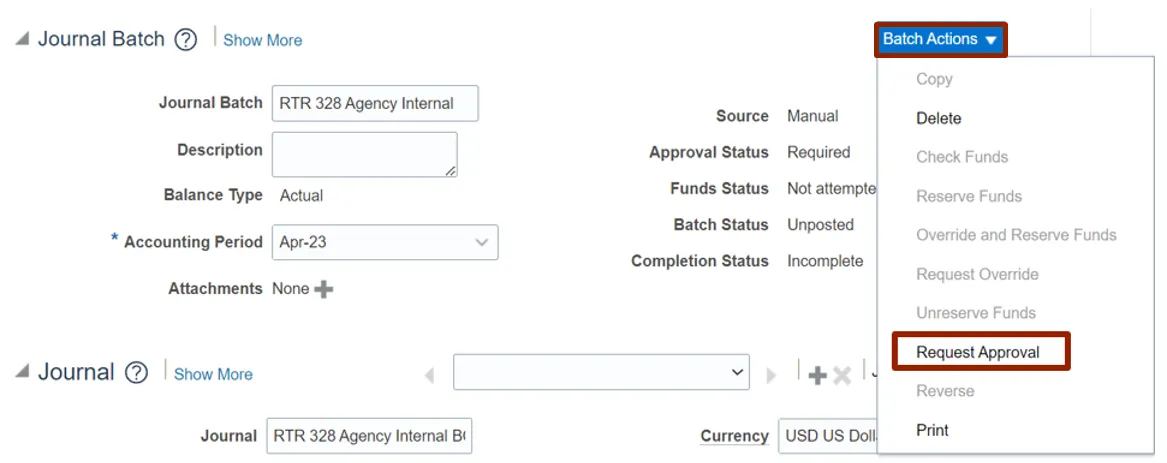
Step 12. Click the Batch Action drop-down choice list and select the Request Approval option.
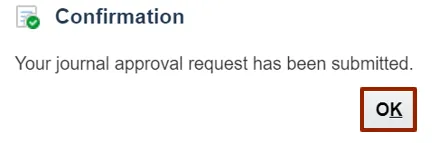
Step 13. The Confirmation pop-up appears. Click the OK button.
Wrap-Up
Users can Create a Journal and submit it for approval by following the steps explained above in NCFS.
Additional Resources
- Virtual Instructor-Led Training (vILT)