Purpose
The purpose of this Quick Reference Guide (QRG) is to provide a step-by-step explanation of how to Add Attachments to Approved Items in the North Carolina Financial System (NCFS).
Introduction and Overview
This QRG covers how to Add Attachments to Approved Items in NCFS.
Add Attachments to Approved Items
To Add Attachments to Approved Items in NCFS, please follow the steps below. There are 11 steps to complete this process.
Step 1. Log in to the NCFS portal with your credentials to access the system.
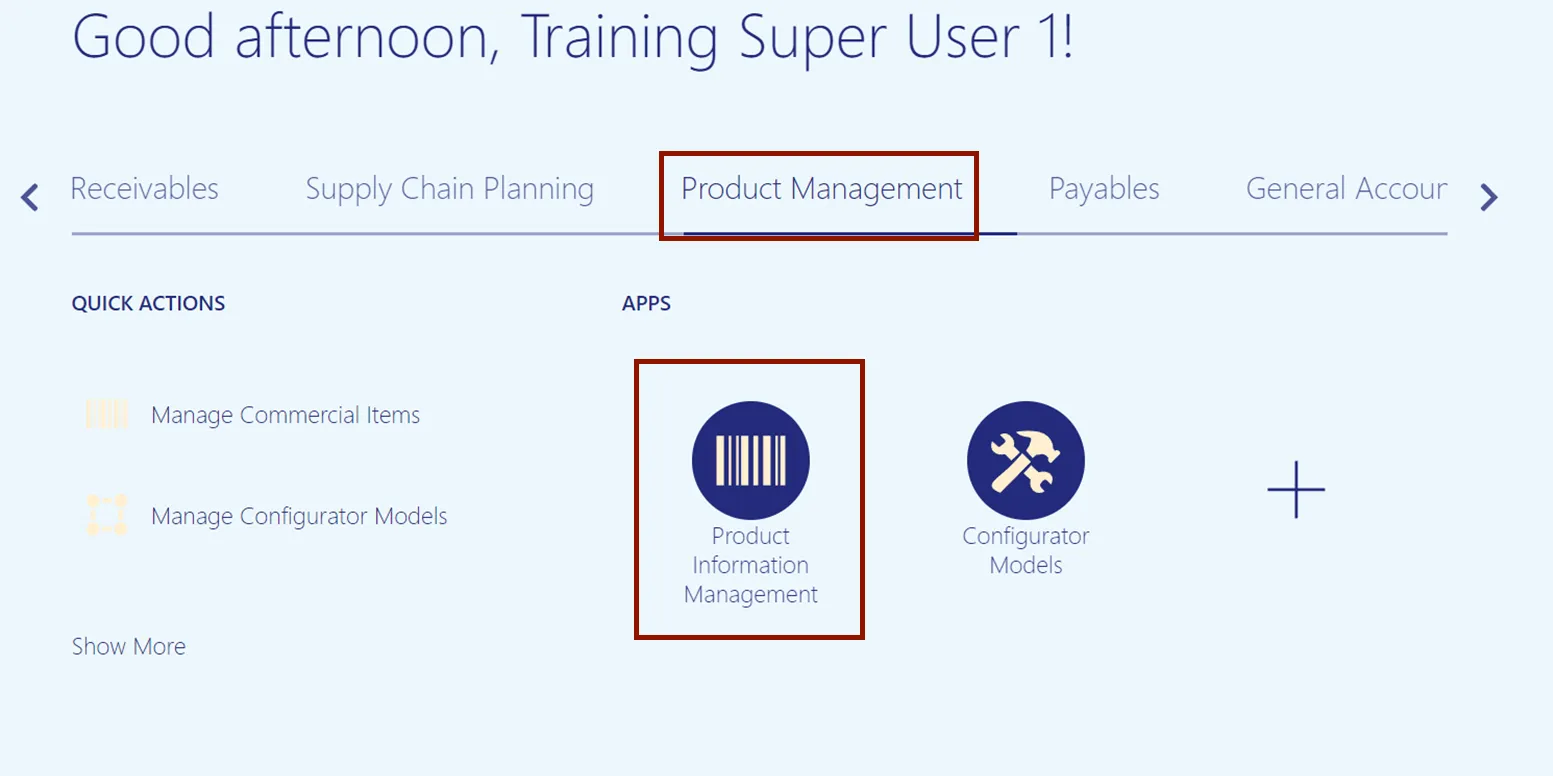
Step 2. On the Home page, click on the Product Management tab and click Product Information Management app.
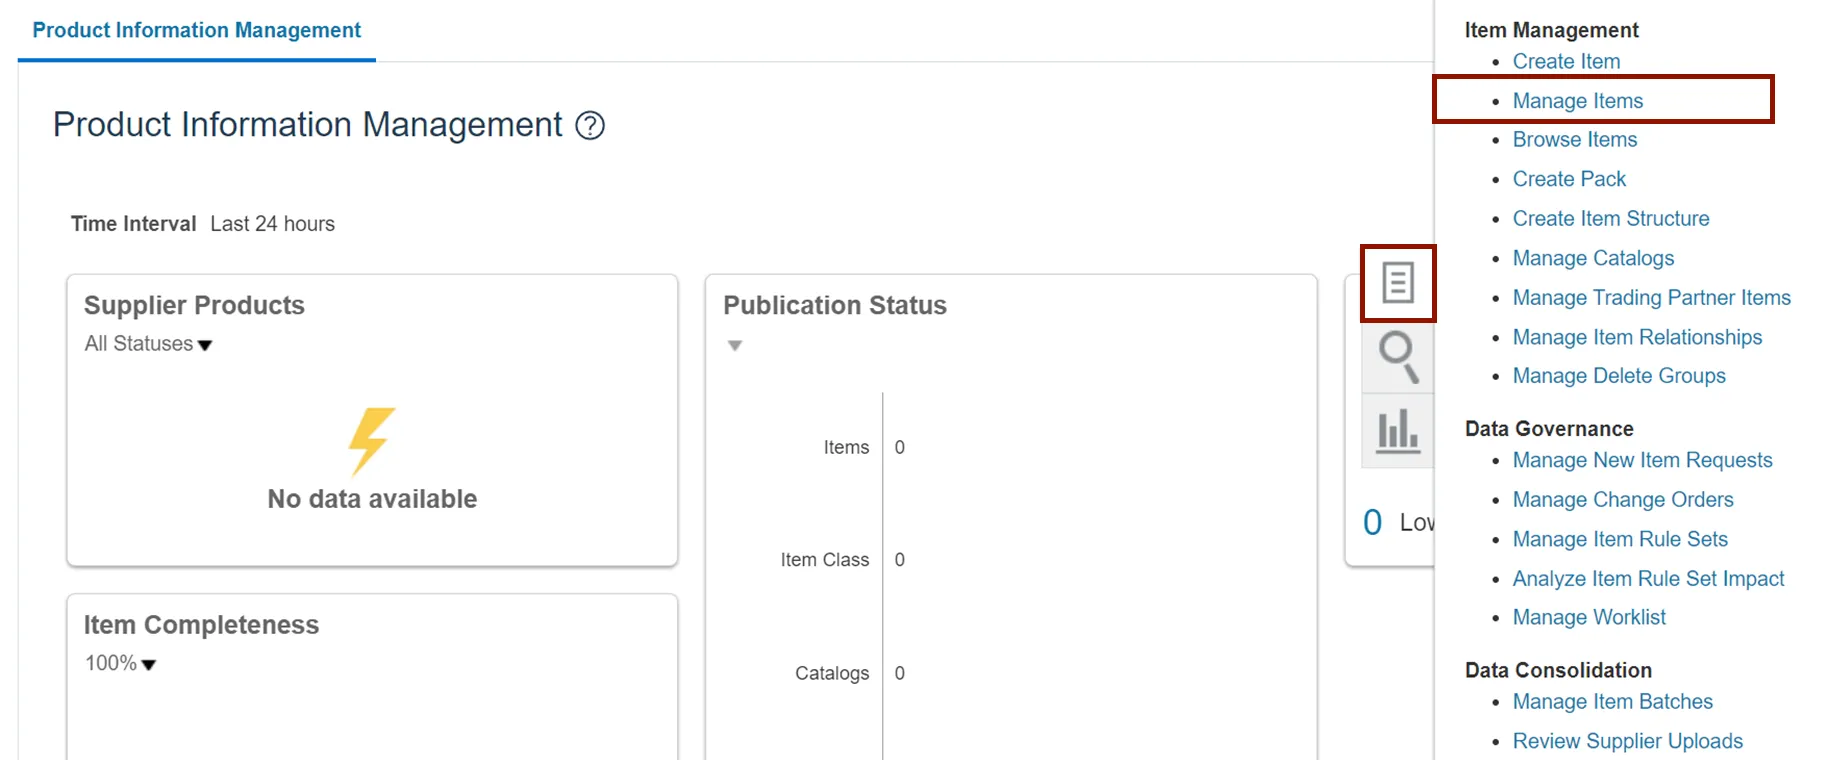
Step 3. On the Product Information Management page, click on Tasks icon and click Manage Items.
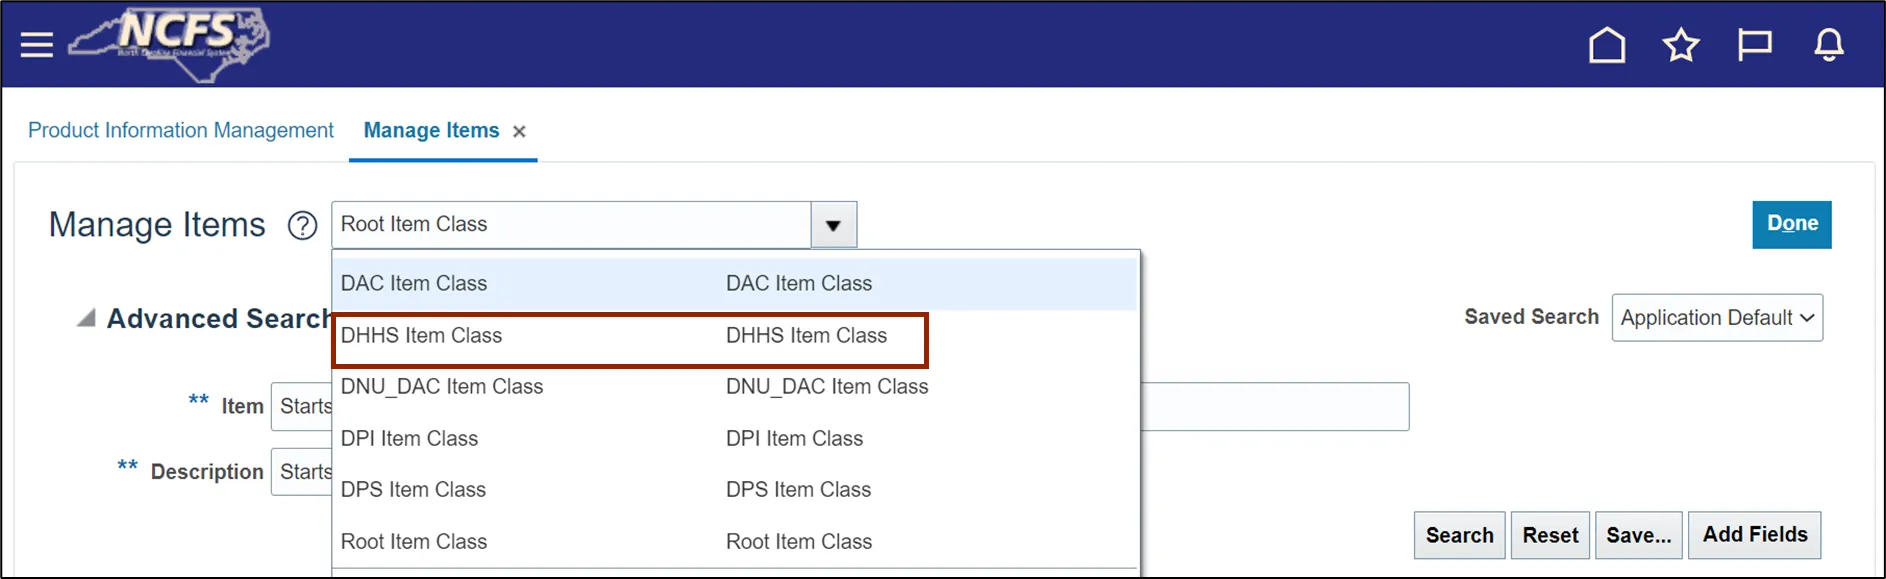
Step 4. Select the required Root Item Class. In this example, we choose DHSS Item Class.
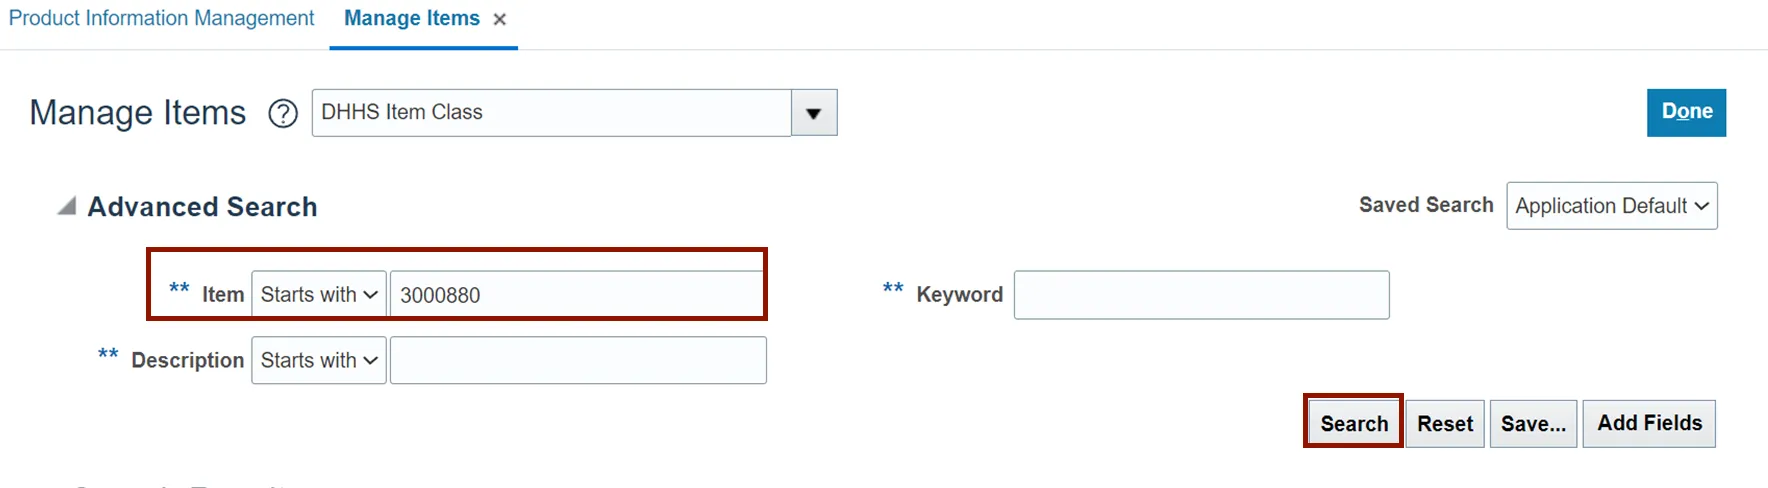
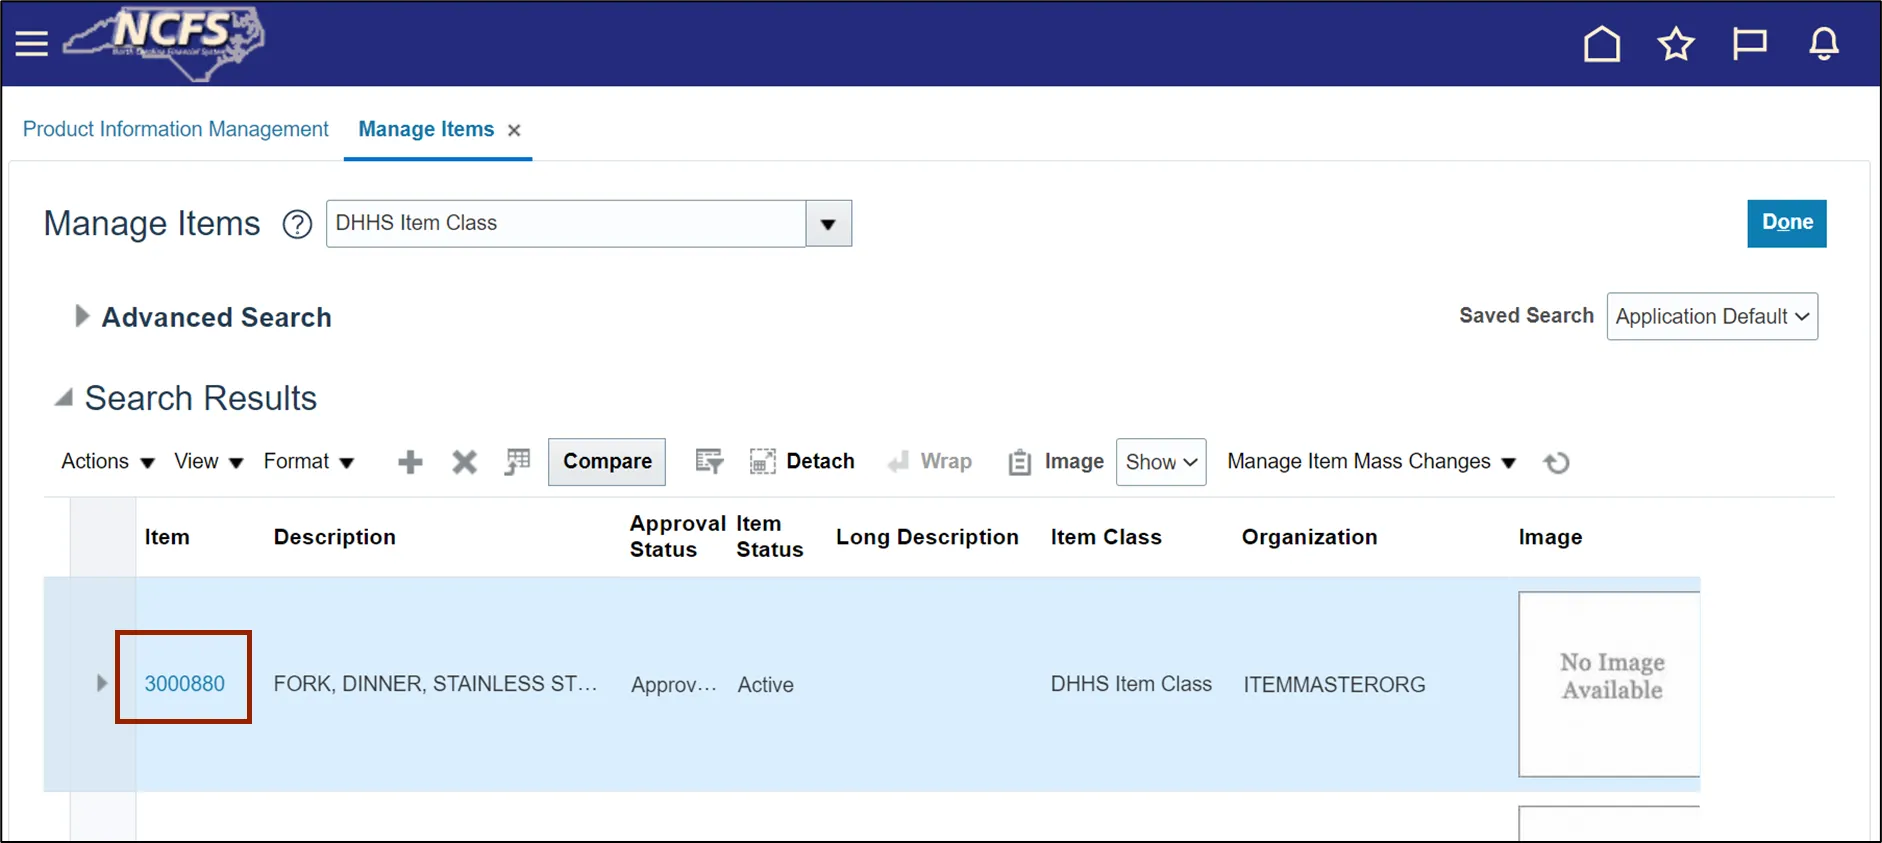
Step 5. On the Advanced Search section, enter the Item number and click the Search button.
In this example, we choose 3000880.
Step 6. Click the Item Number link in the Item column with Organization field as ITEMMASTERORG.
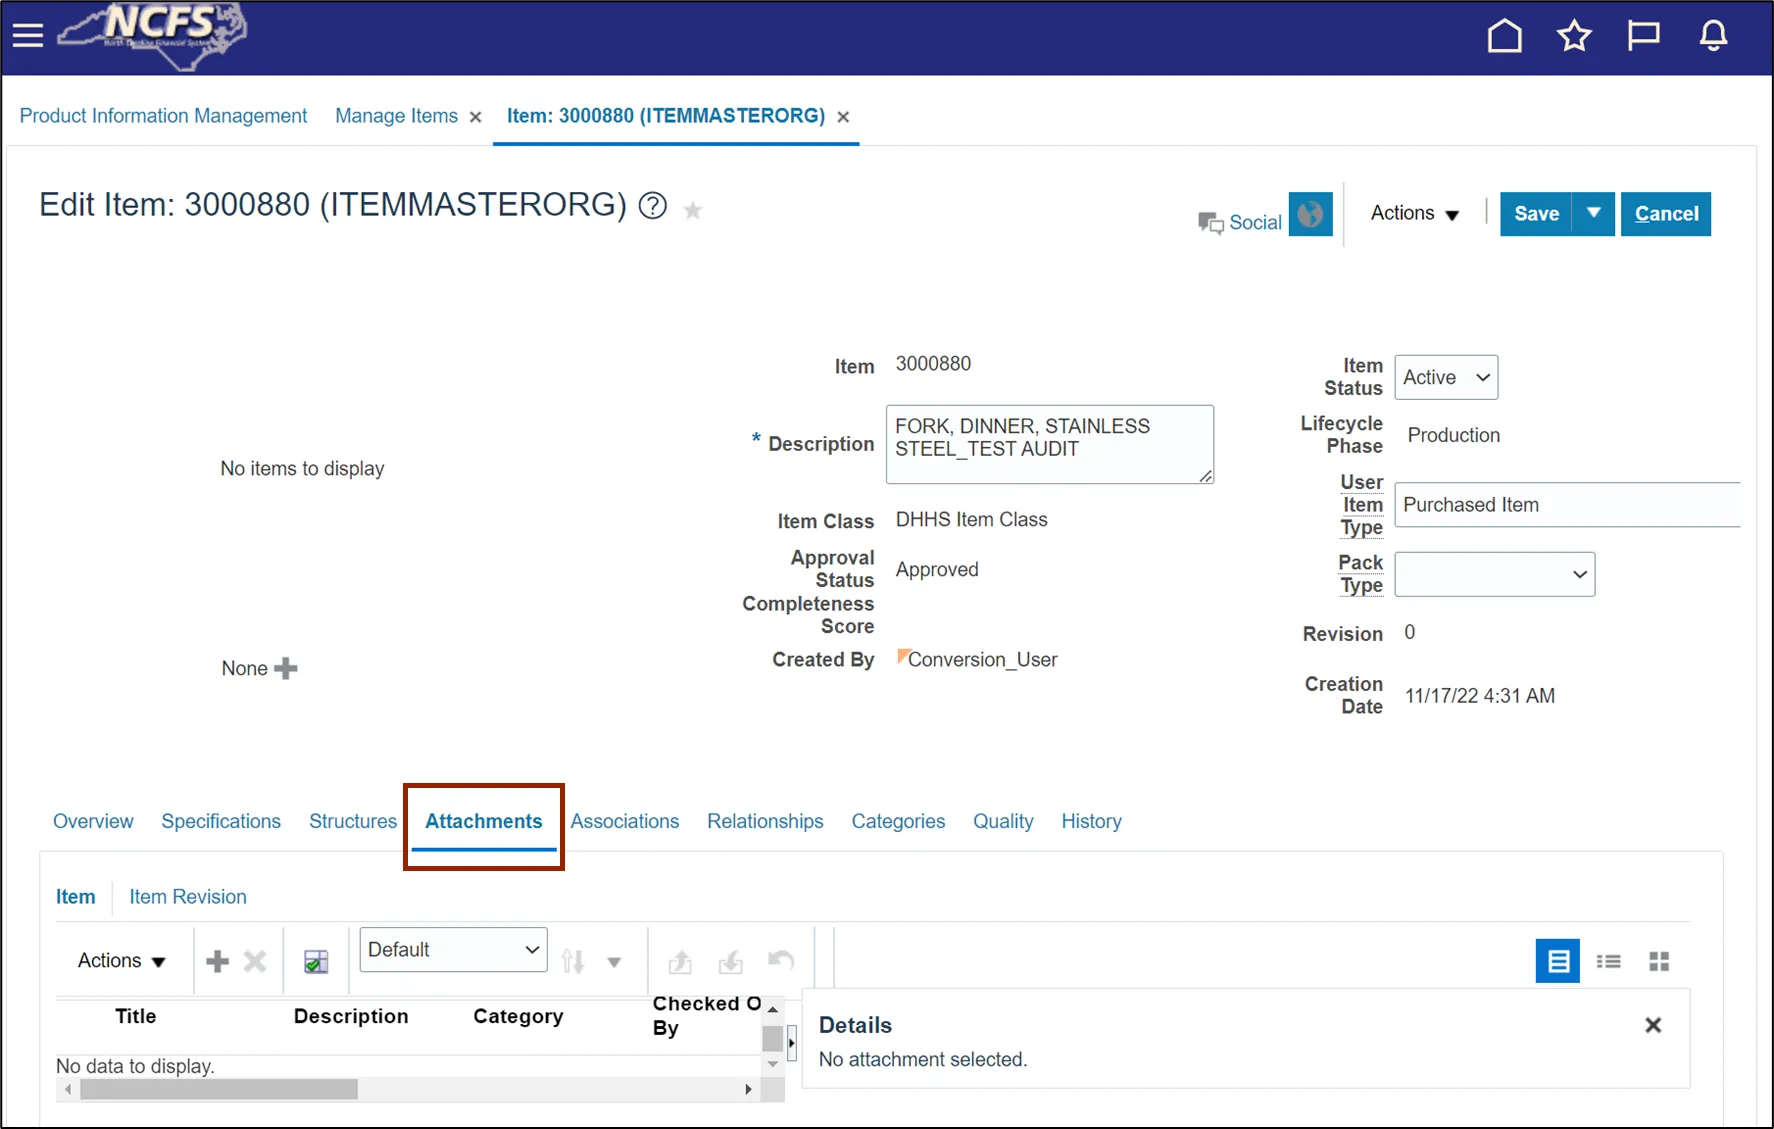
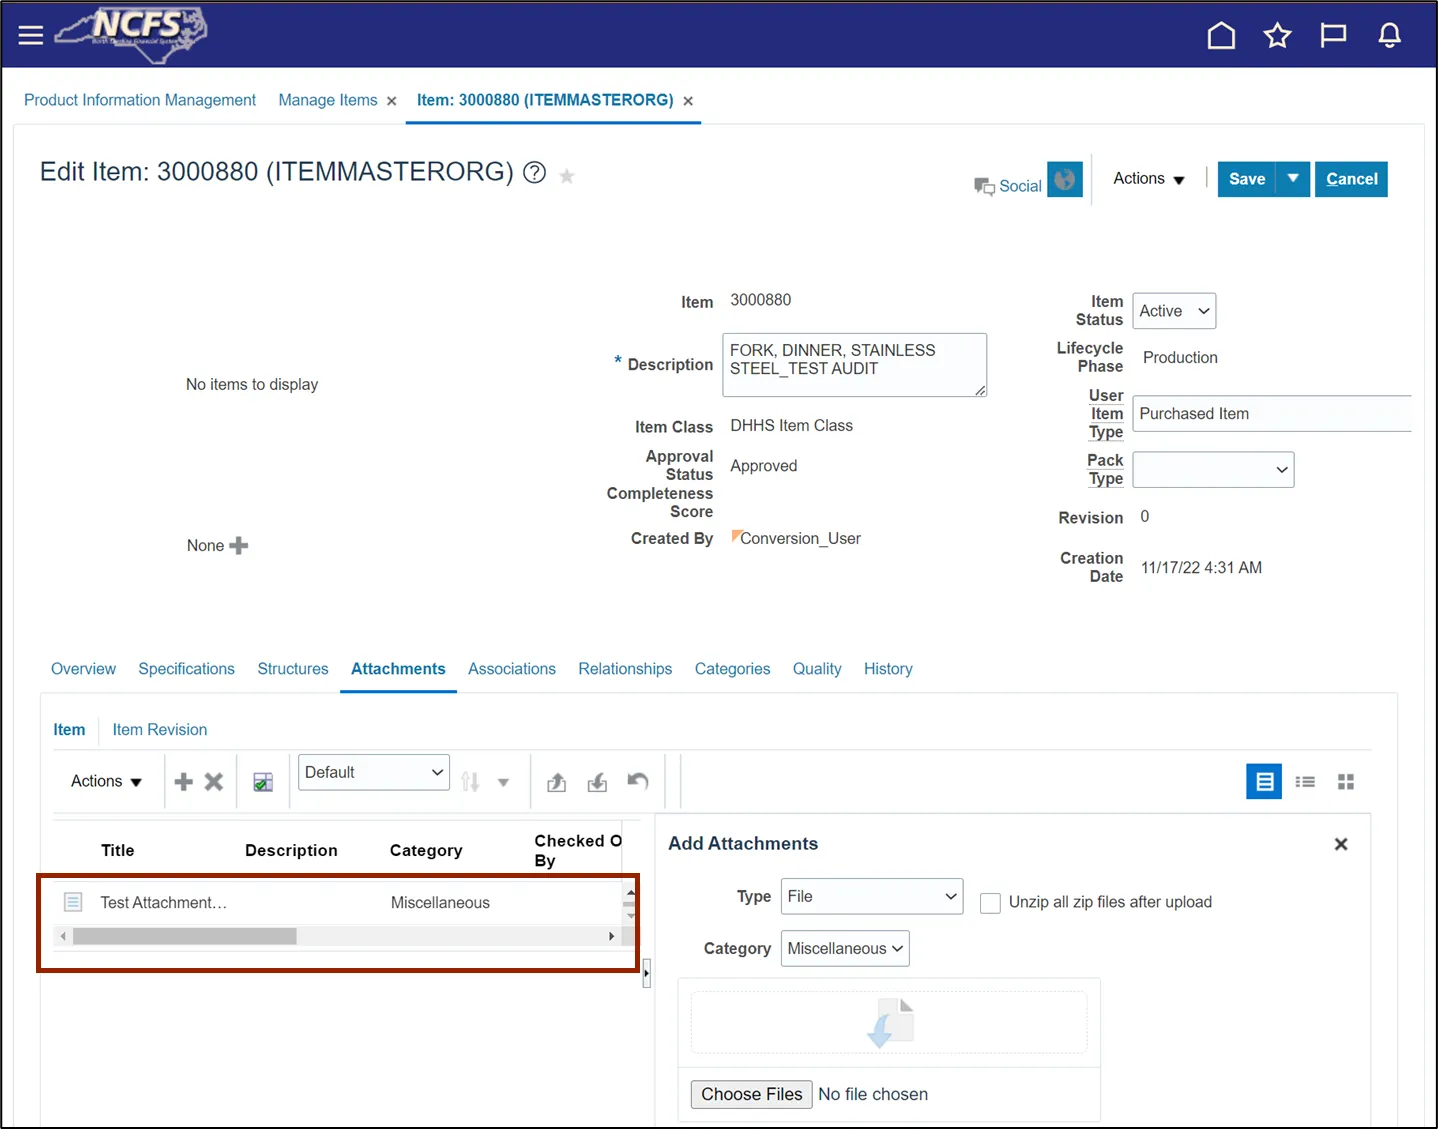
Step 7. On the Edit Item page, navigate to Attachments tab.
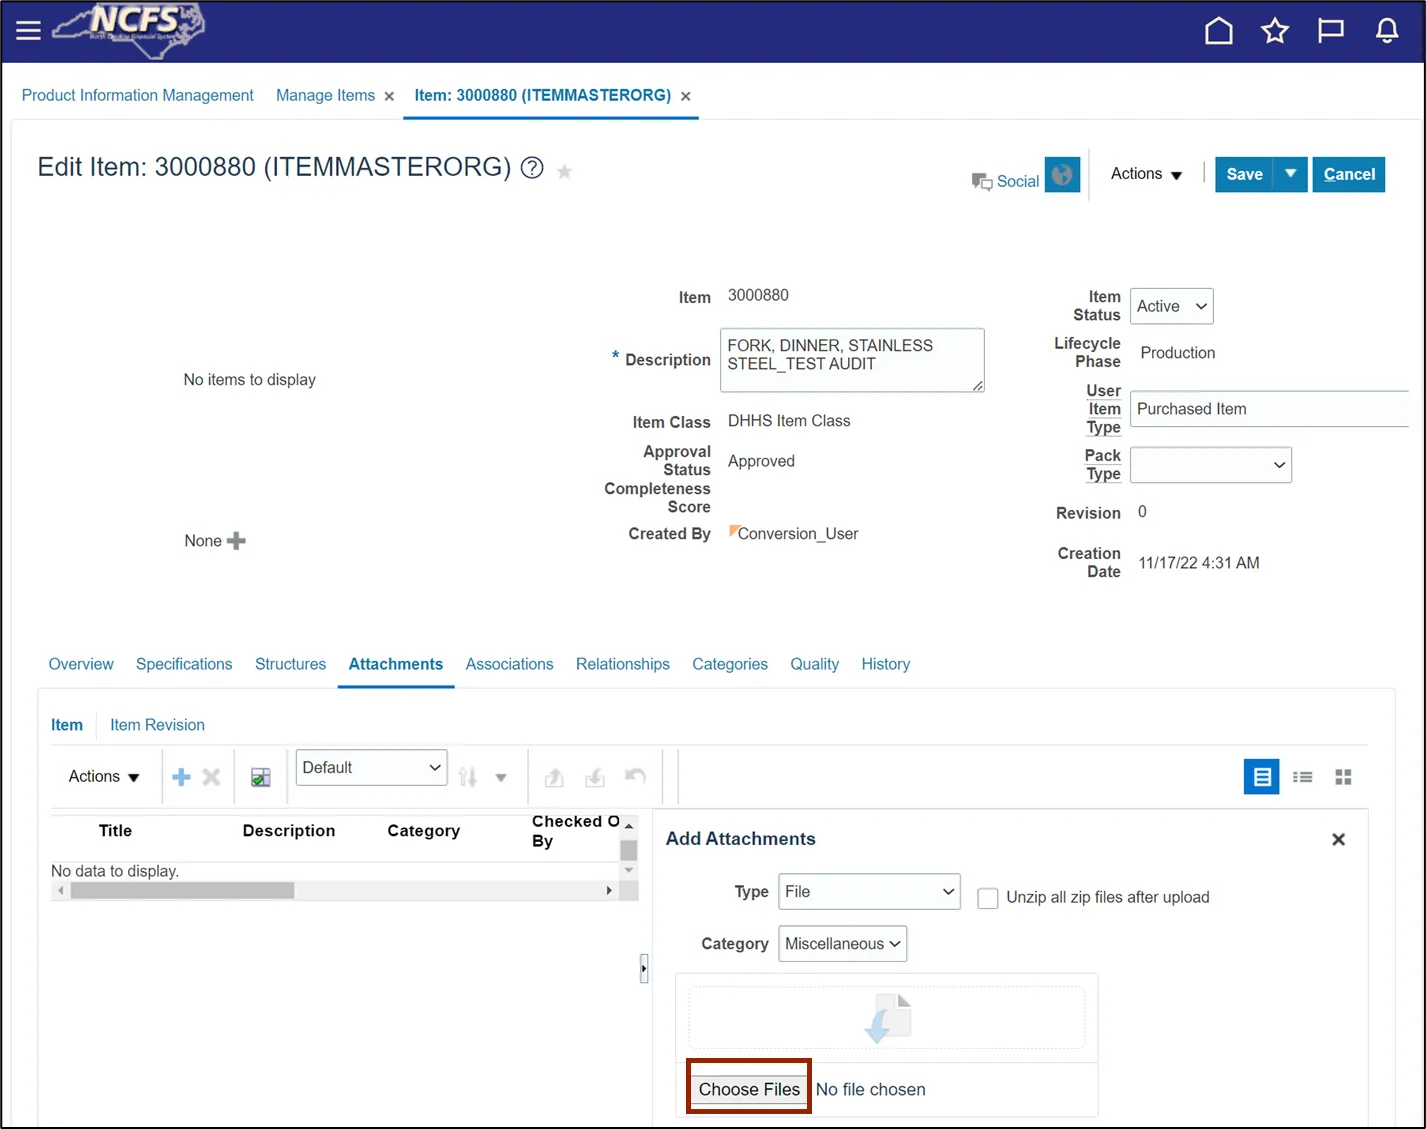
Step 8. Click the Add icon and click the Choose Files option in the Add Attachments area.
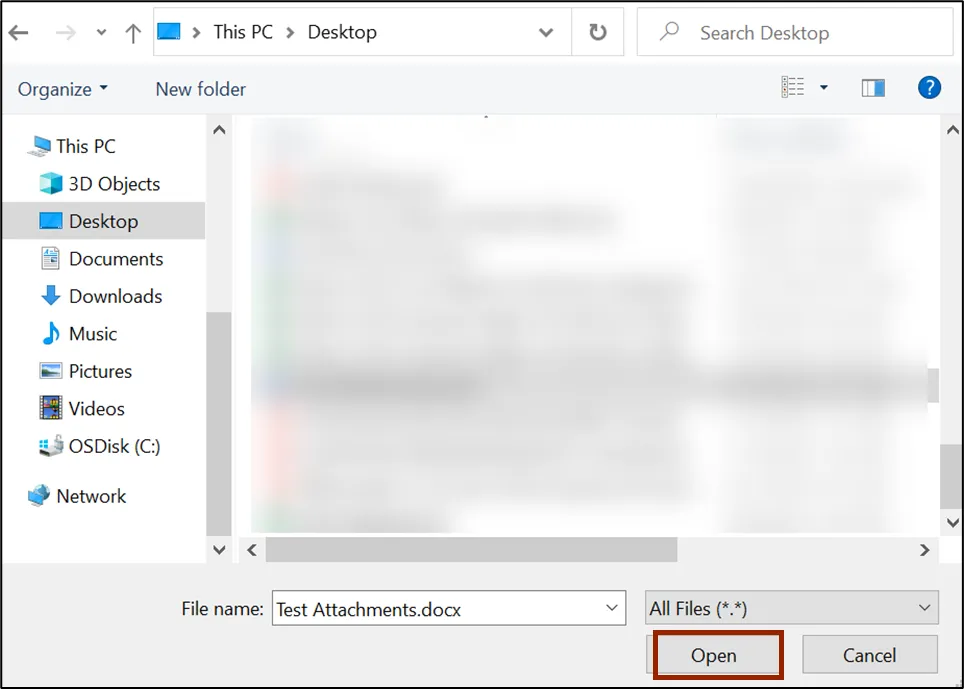
Step 9. Select one or multiple files from the local desktop or folder and click the Open button.
Step 10. Review the uploaded files.
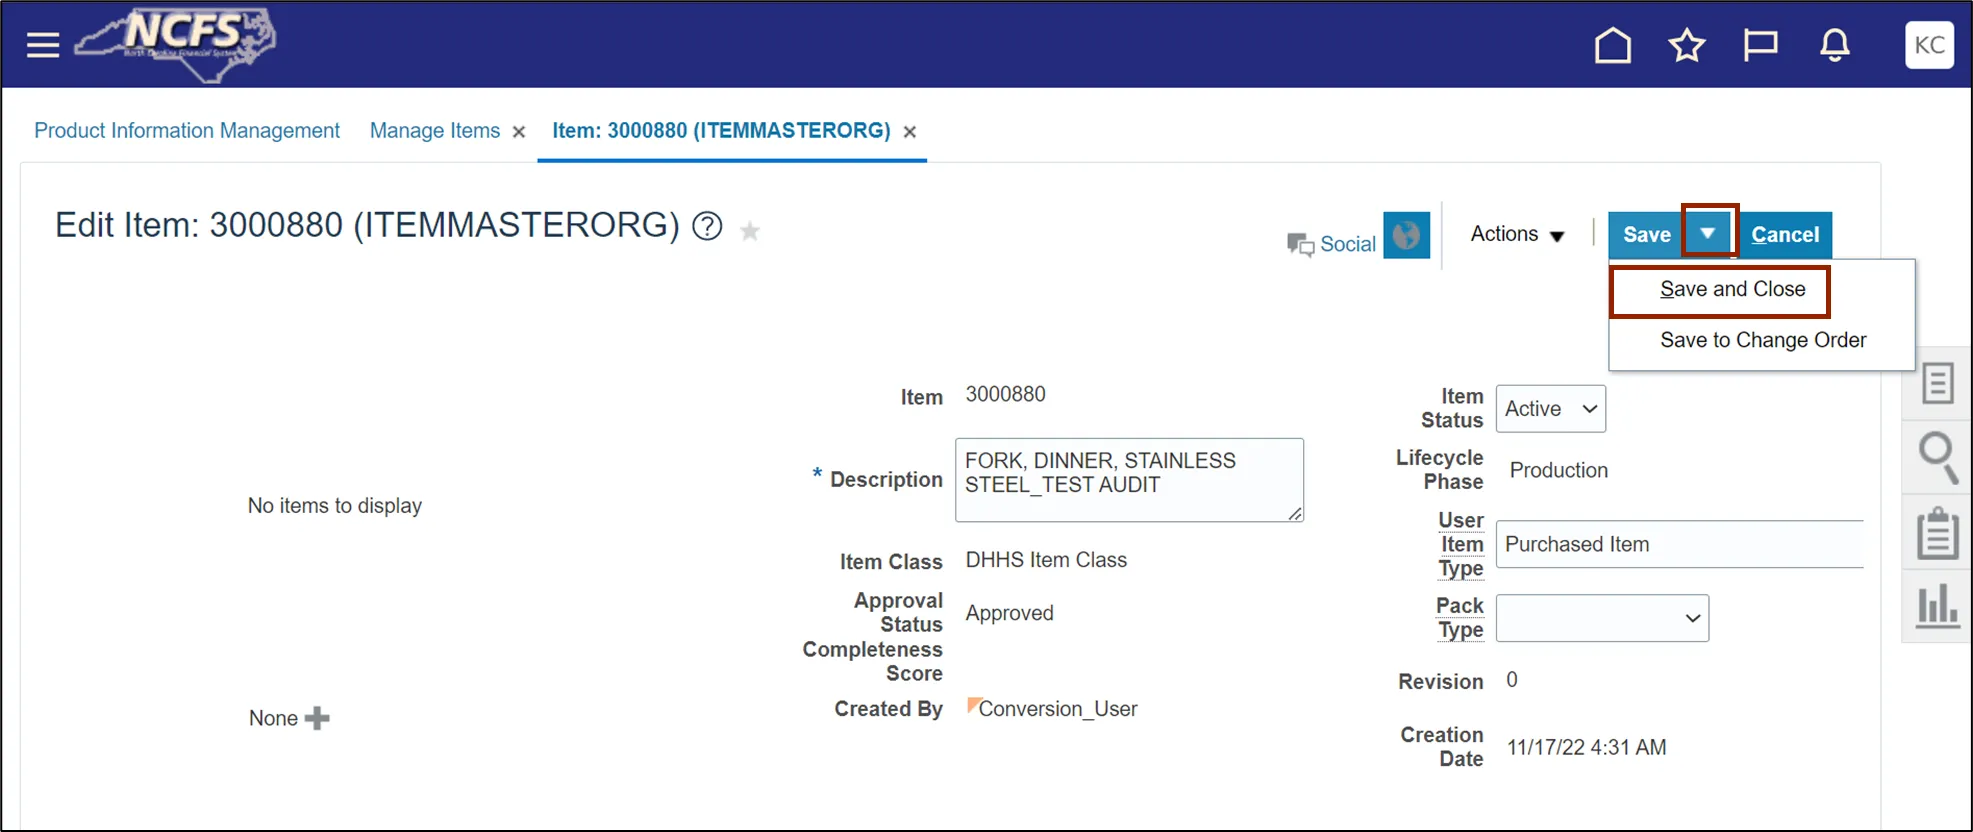
Step 11. Click the Save drop-down choice list and select Save and Close.
Wrap-Up
Add Attachments to Approved Items using the steps above.
Additional Resources
- Virtual Instructor-Led Training (vILT)
• INV101: Inventory Agency Manager
• INV105: Warehouse Management
• INV109: Inventory Item Maintenance