Purpose
The purpose of this Quick Reference Guide (QRG) is to provide a step-by-step explanation of how to Manage Intercompany Period Status for the Office of the State Controller (OSC) in the North Carolina Financial System (NCFS).
Introduction and Overview
This QRG covers the Intercompany Period Status management.
User Tip
The following are prerequisites to manage Intercompany Period Status - OSC:
-
Submit Intercompany transactions for approval and follow up with receivers/OSC to approve transactions.
-
Transfer Intercompany transactions to General Ledger.
-
Intercompany periods can't be closed if there are transactions for that period that are in one of these statuses:
-
Approved (Batches need to be transferred to General Ledger)
-
Error (Providers need to update the Batch/resubmit/Complete process flow/Transfer to General Ledger)
-
Received (Batch is pending approval from Receiver or OSC)
-
Manage Intercompany Period Status - OSC
To Manage Intercompany Period Status in NCFS, please follow the steps below. There are 28 steps to complete this process.
Step 1. Log in to the NCFS portal with your credentials to access the system.
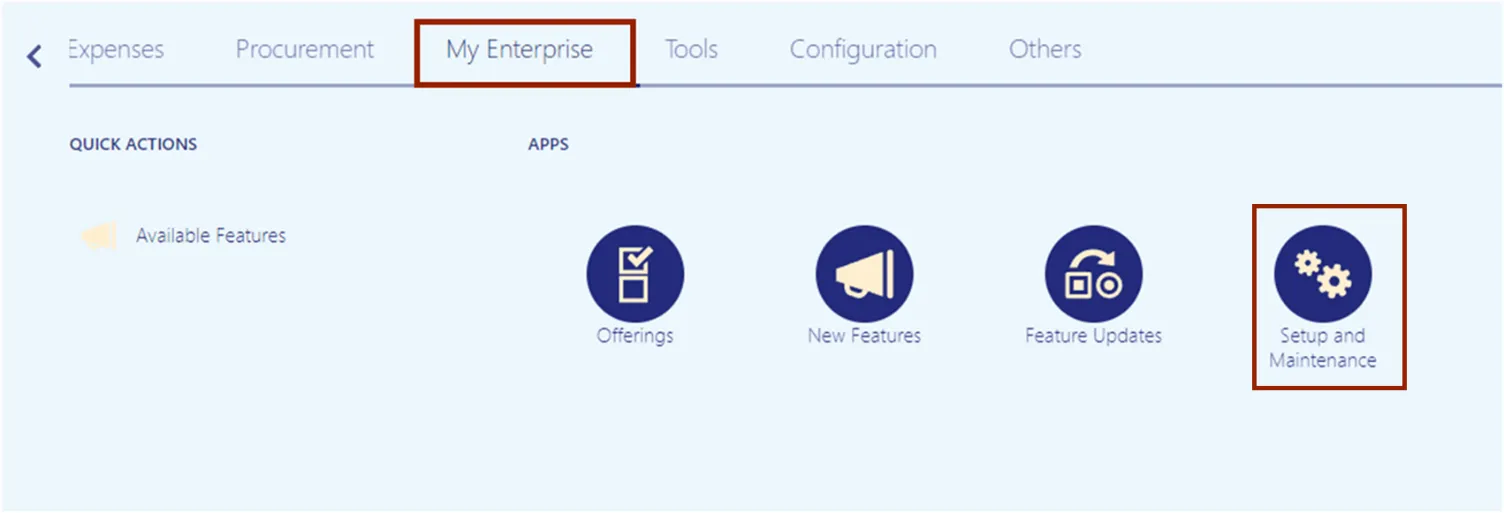
Step 2. On the Homepage, click the My Enterprise tab. Click the Setup and Maintenance app.
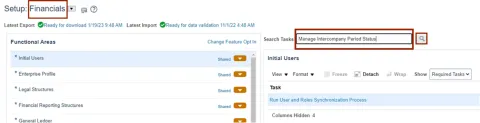
Step 3. On the left-hand side, select Financials from the Setup drop-down choice list. On the Search Tasks field, enter Manage Intercompany Period Status. Click the Search icon.
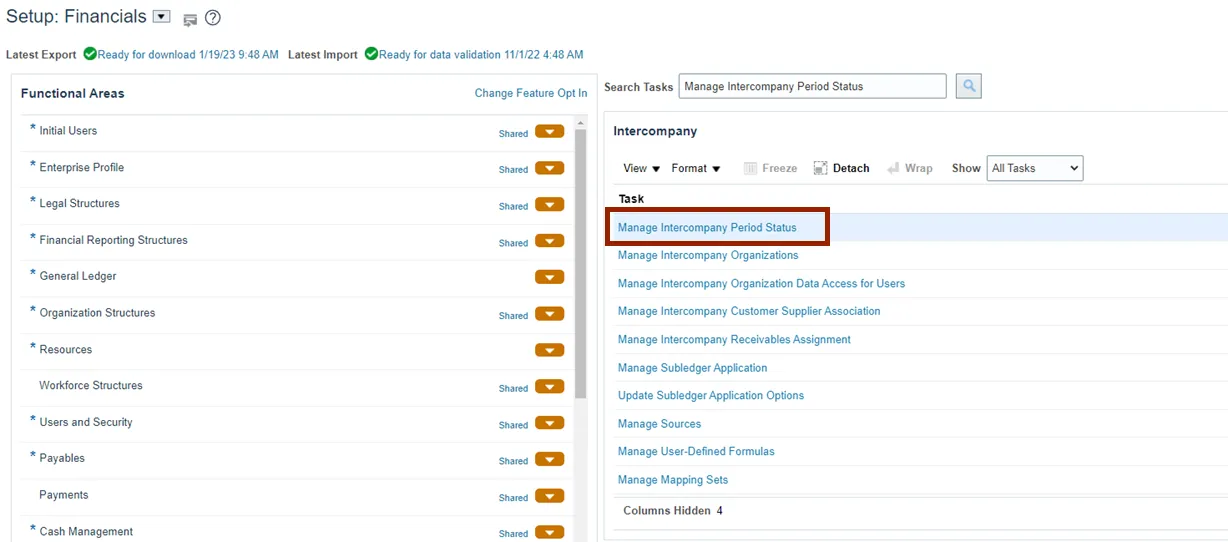
Step 4. On the Intercompany section, click the Manage Intercompany Period Status link.
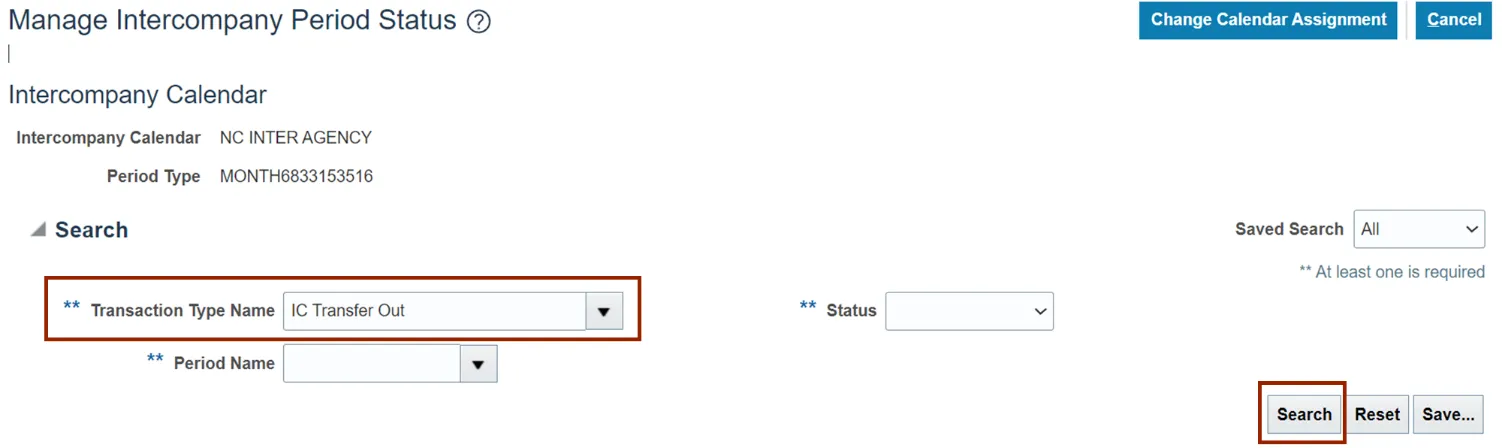
Step 5. The Manage Intercompany Period Status page opens. To close the Intercompany period, on the Search section, click the drop-down icon and enter the **Transaction Type Name.
In this example, we choose IC Transfer Out. Click the Search button.
Note: Best practice is to search by Transaction Type Name to view period status for all accounting periods.
Step 6. Click the Period Name.
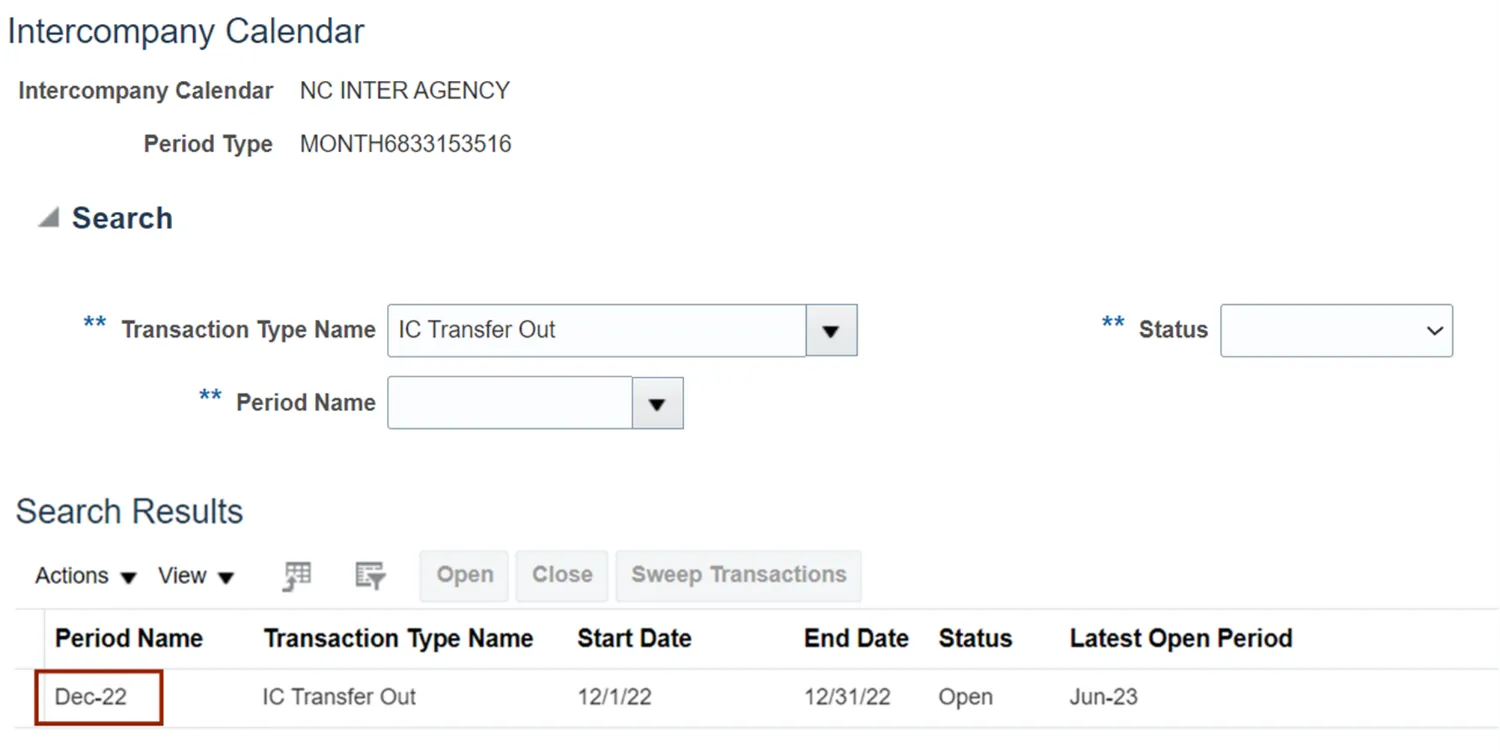
Step 7. Verify the Open Transaction is 0, then click the Close button to close the Intercompany period. The Close button will be grayed out if the number of Open Transactions is more than zero.

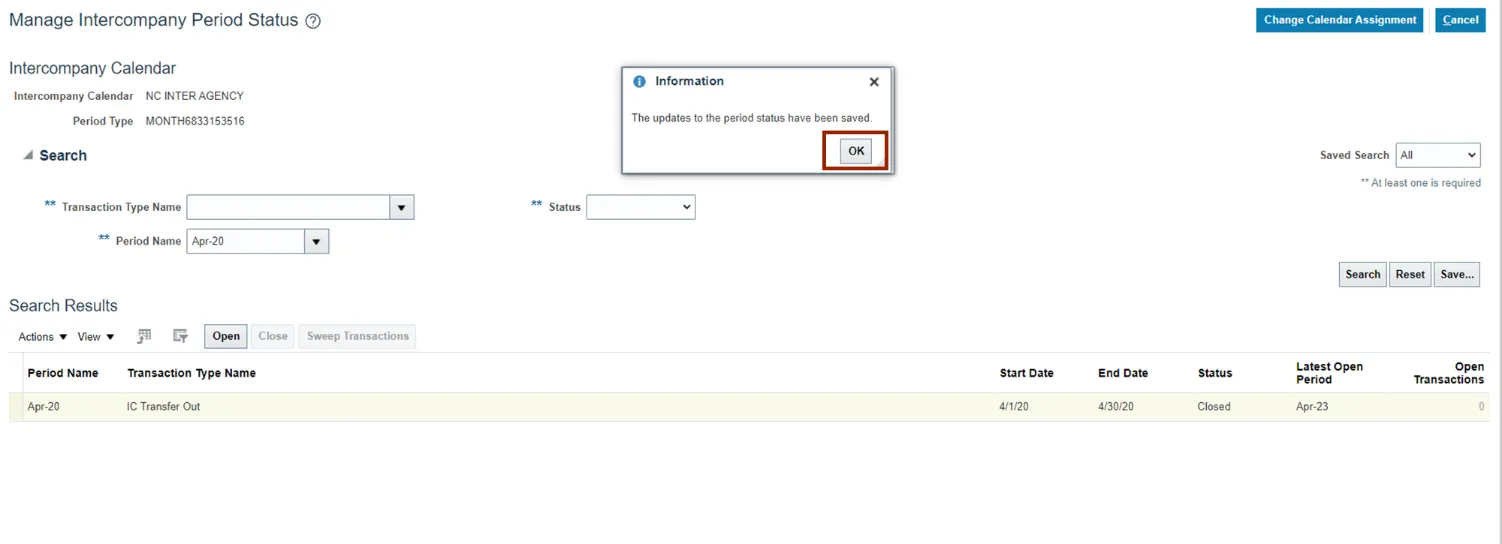
Step 8. The Information pop-up appears. Click the OK button.
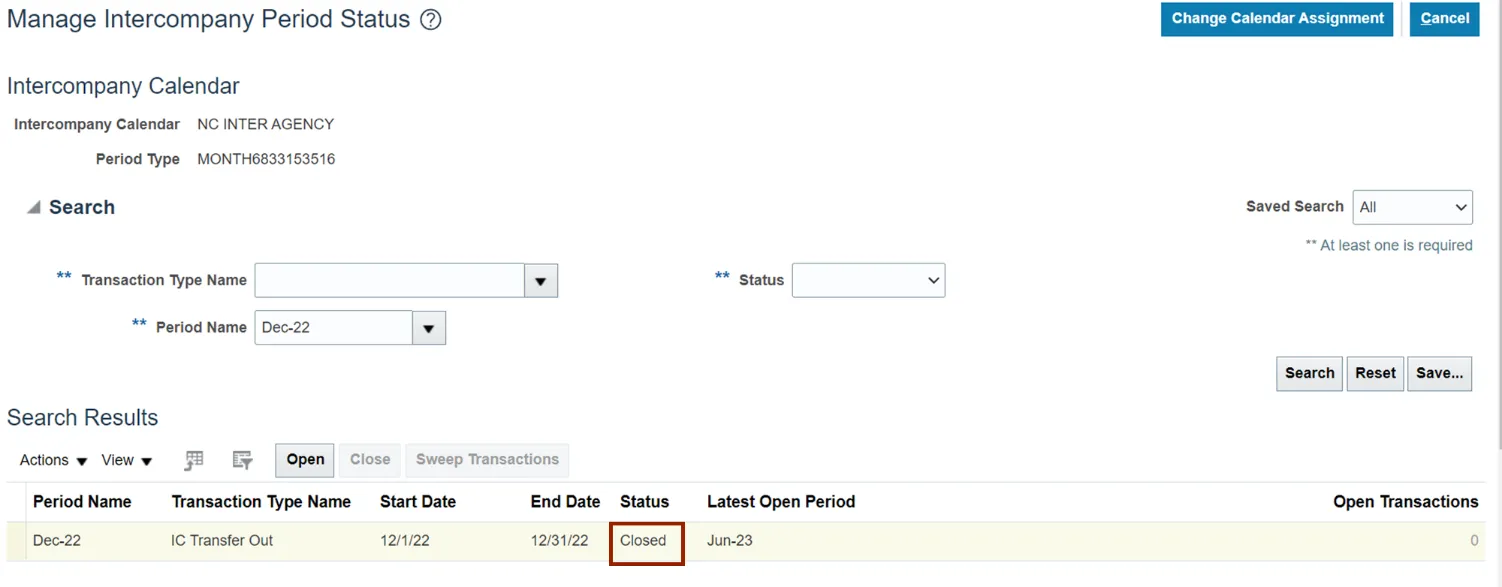
Step 9. Validate the Status for the Period selected is Closed.
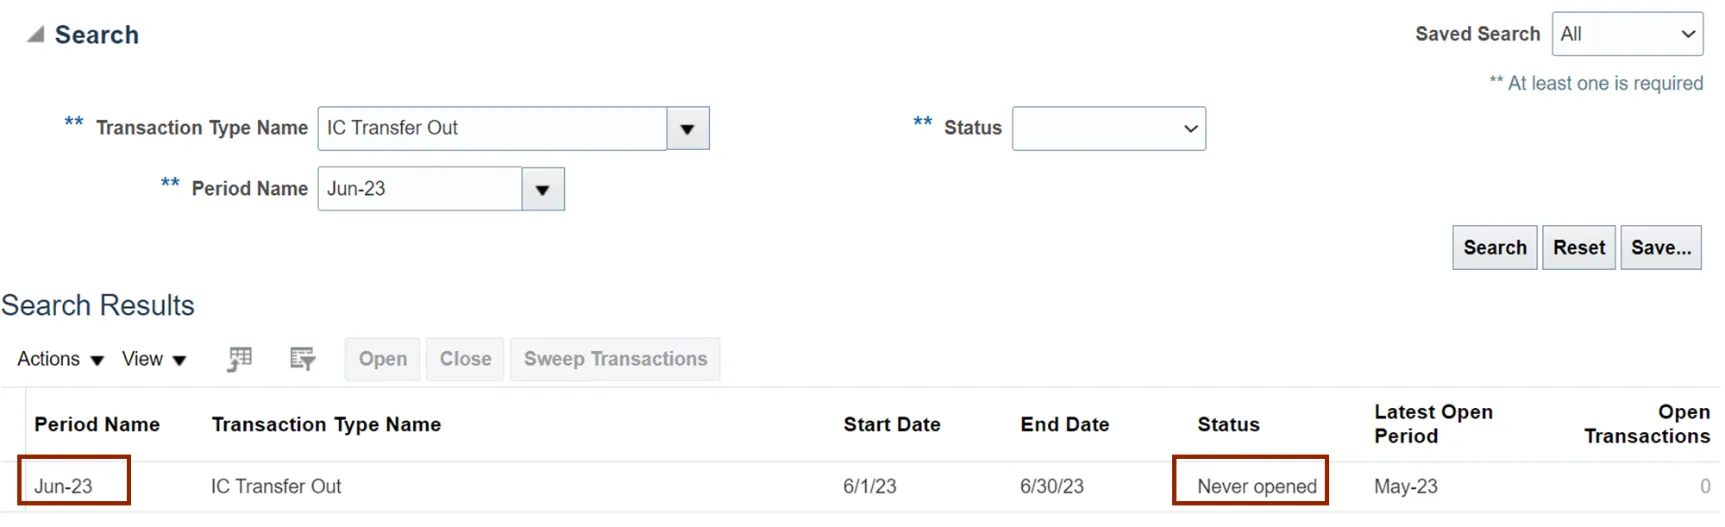
Step 10. To open another Intercompany Period, on the Manage Intercompany Period Status page, on the Search section, click the drop-down choice list icon and enter the *Transaction Type Name and *Period Name.
In this example, we choose IC Transfer Out and Jun-23. Click the Search button.
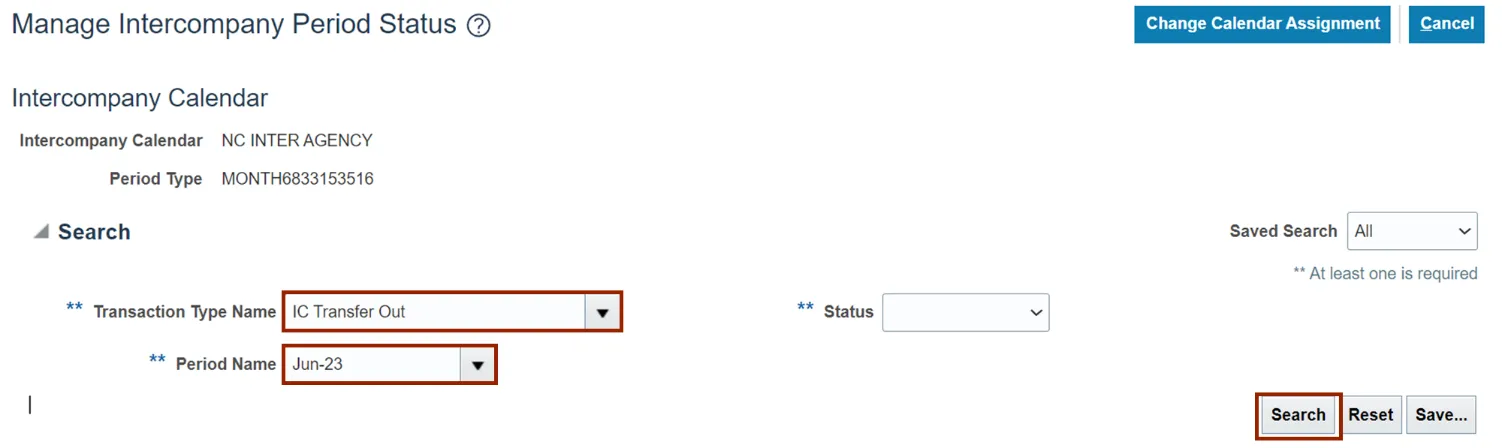
Step 11. Verify the existing Period Status. Here it is Never Opened. Then, highlight the row for the Period Name to be opened.
Step 12. Click the Open button.

Step 13. The Information pop-up appears. Click the OK button.
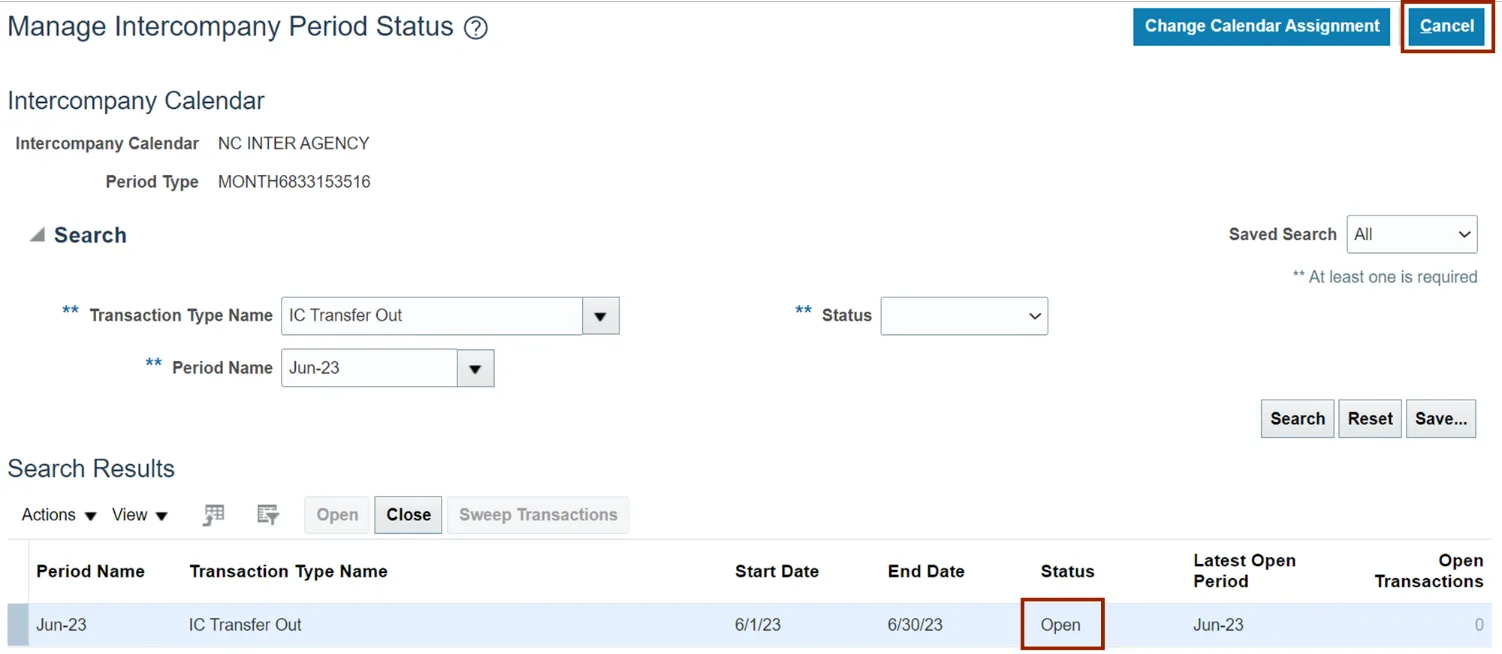
Step 14. The Status now changed to Open. Click the Cancel button.
Note: The next four steps cover how to close a period in cases where we have one or more open transactions.
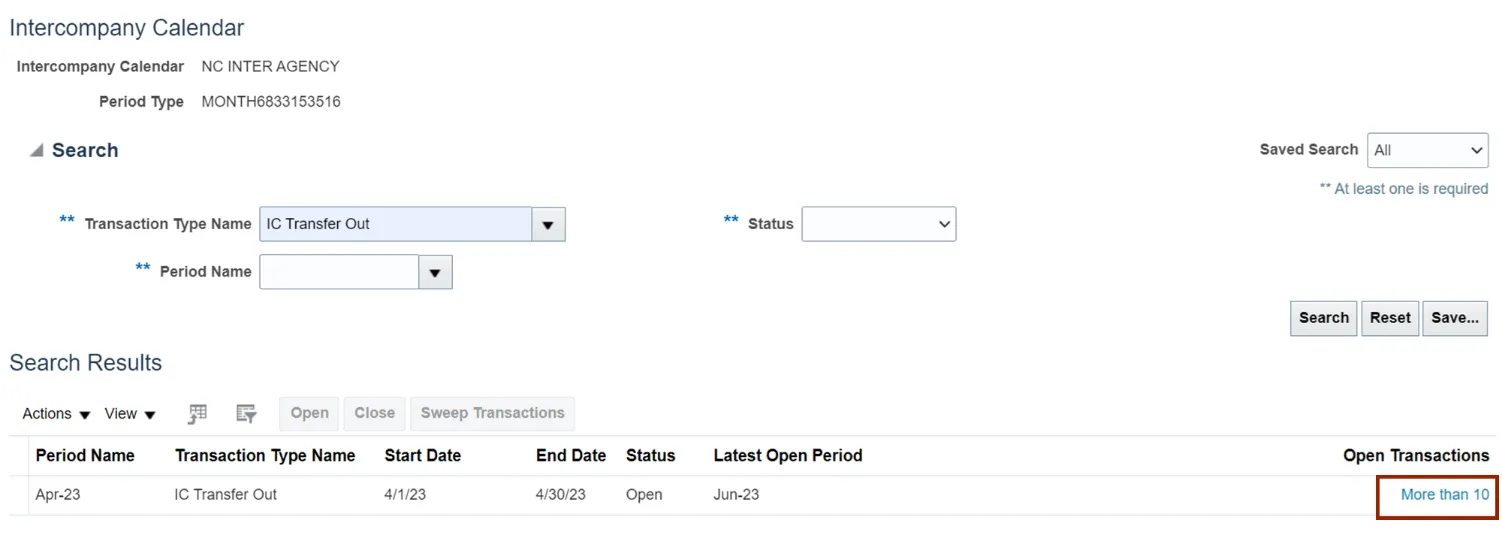
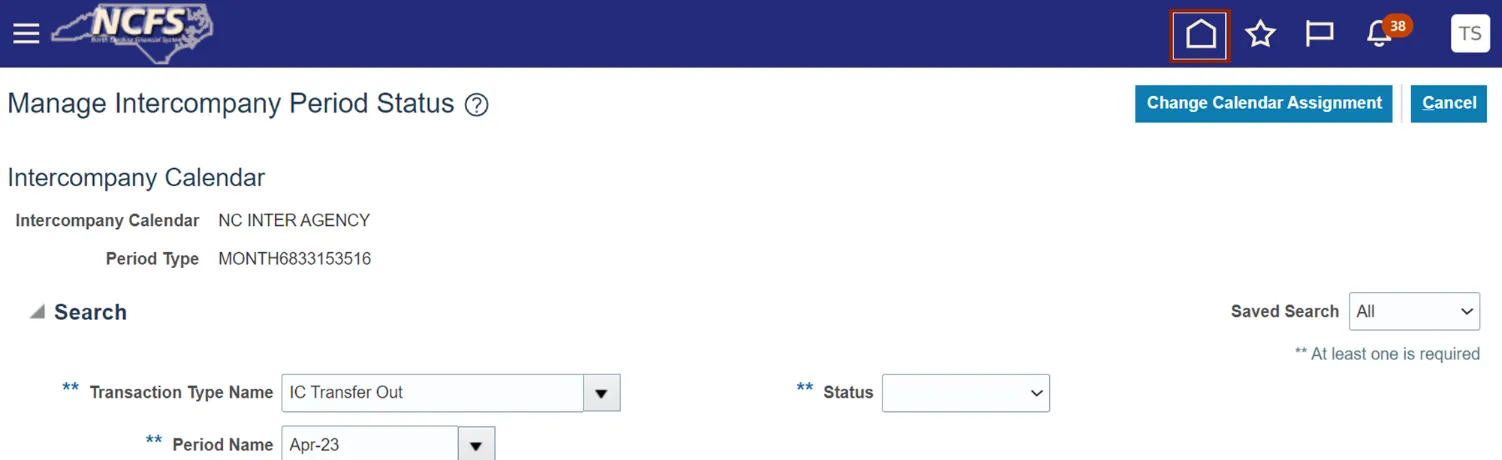
Step 15. On the Manage Intercompany Period Status page, in the Search section, click the drop-down choice list icon and enter the **Transaction Type Name.
In this example, we choose IC Transfer Out. Click the Search button.

Step 16. Action must be taken on any Open Transactions before a Period can be closed. Hyperlink under Open Transactions will navigate to the open IC batches where they can be completed or deleted. Click the link under Open Transactions to identify the open IC batches.
Note: Transactions can also be swept to the next open period by using the 'Sweep Transactions' button. Using this feature will automatically close the period.
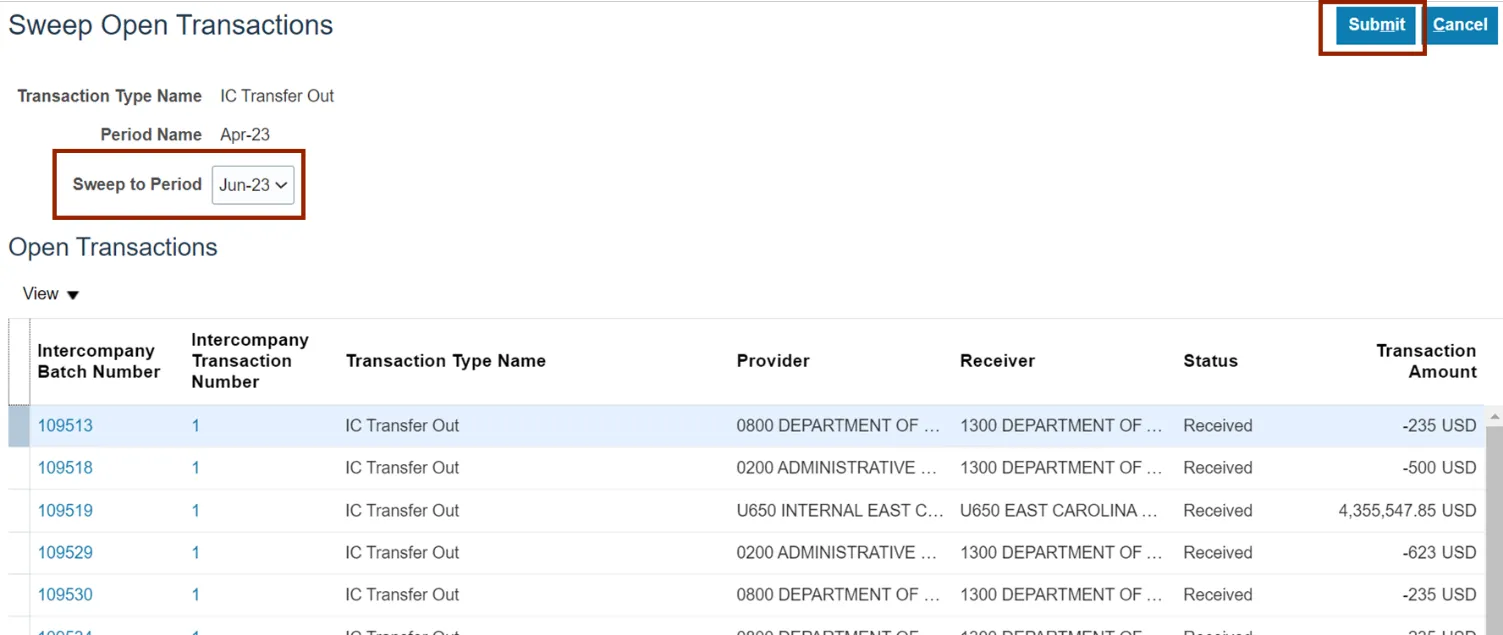
Step 17. The Sweep Open Transaction page opens. Select Sweep to Period to sweep, then click the Submit button.
Note: OSC contact the agencies regarding any open transactions, for their resolution.
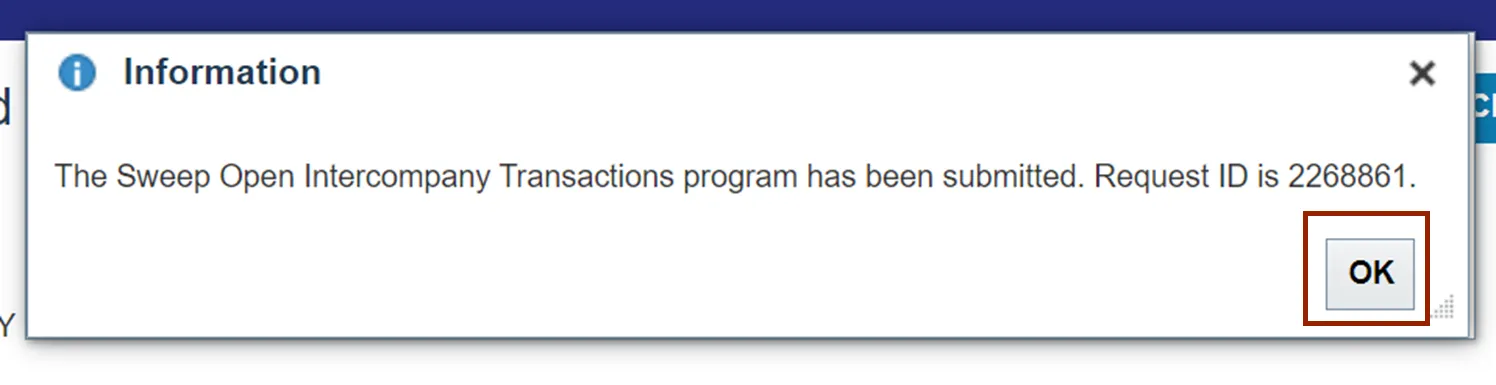
Step 18. The Information pop-up appears. Click the OK button.
Step 19. Click the Home icon, to reach to the FBR Daily Transfer Report.
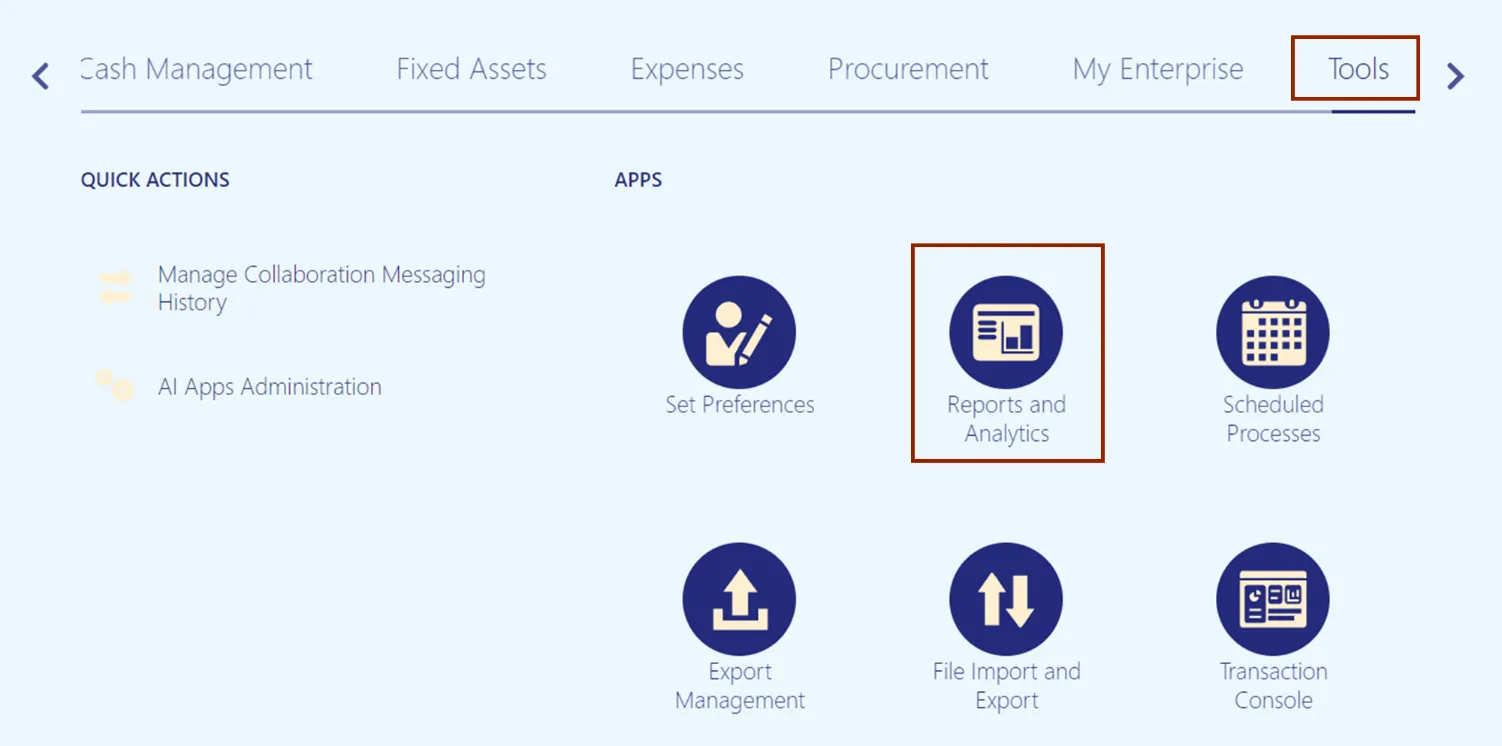
Step 20. On the Homepage, click the Tools tab and then click the Reports and Analytics app.
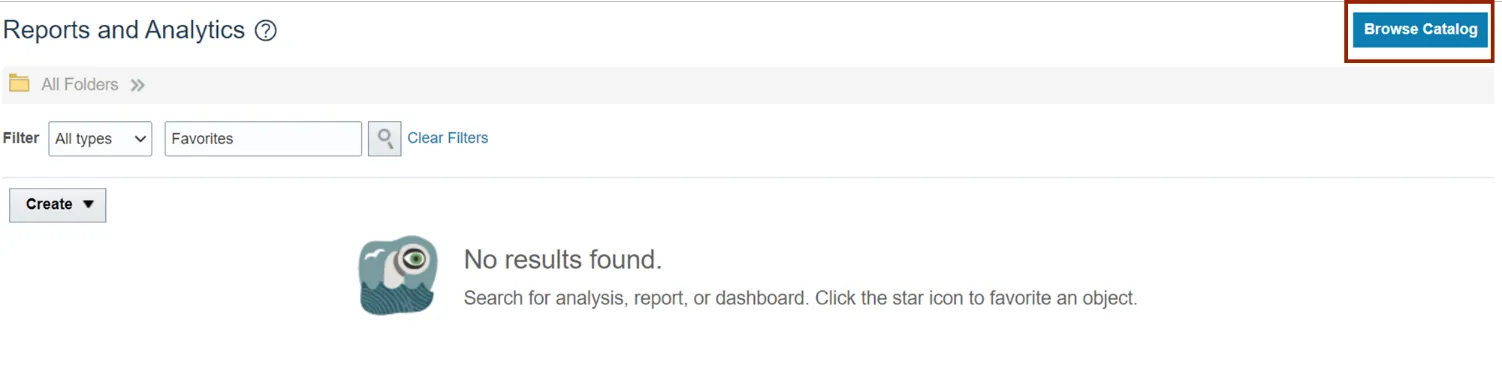
Step 21. Click the Browse Catalog button.
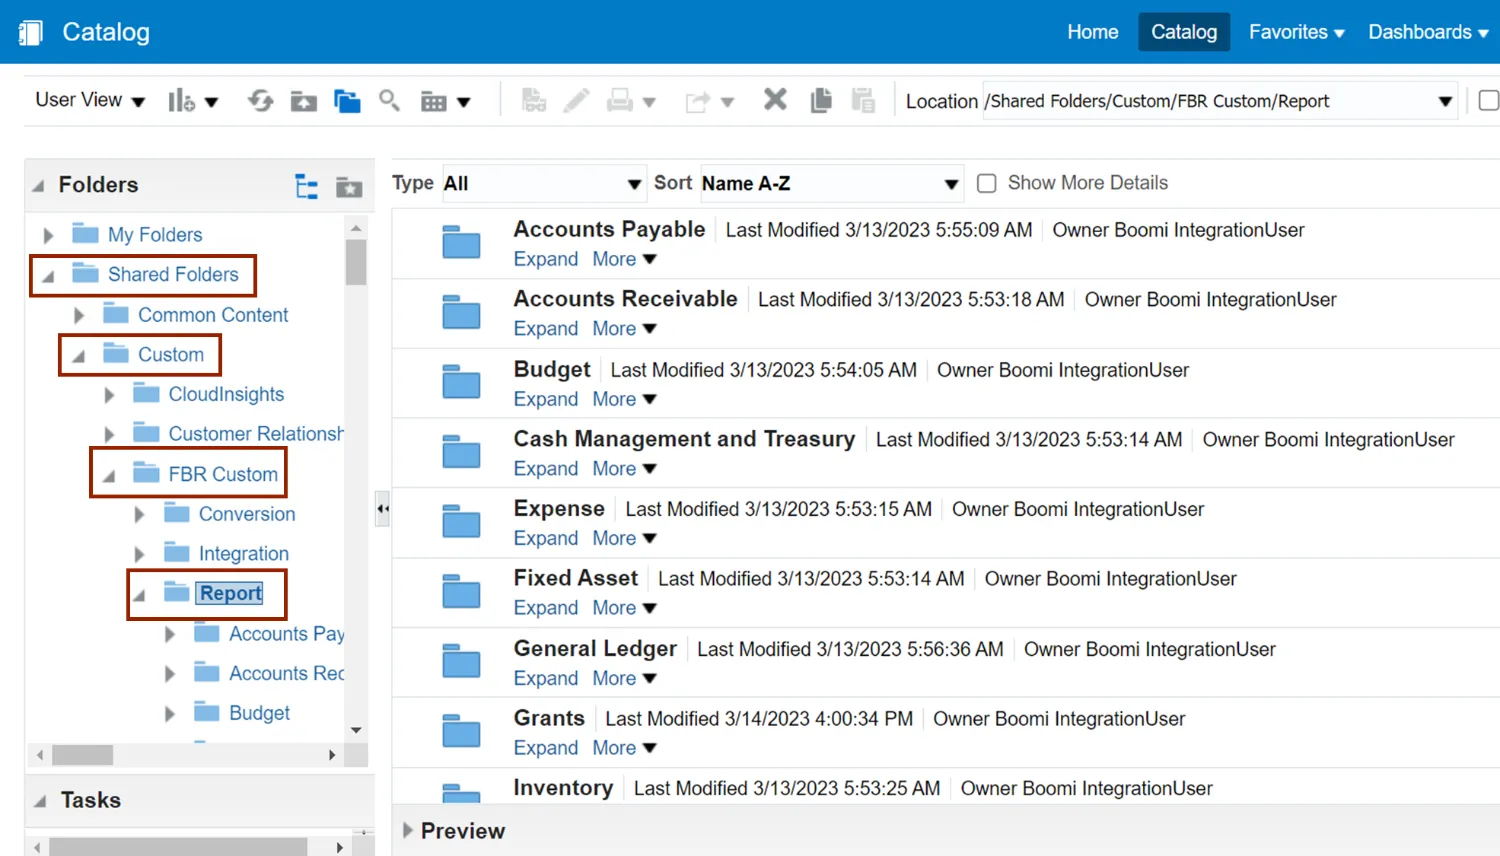
Step 22. The Catalog page opens. Under the Folders pane, click the Shared Folders and then click the Custom folder. Furthermore, click the FBR Custom folder and then click the Report folder.
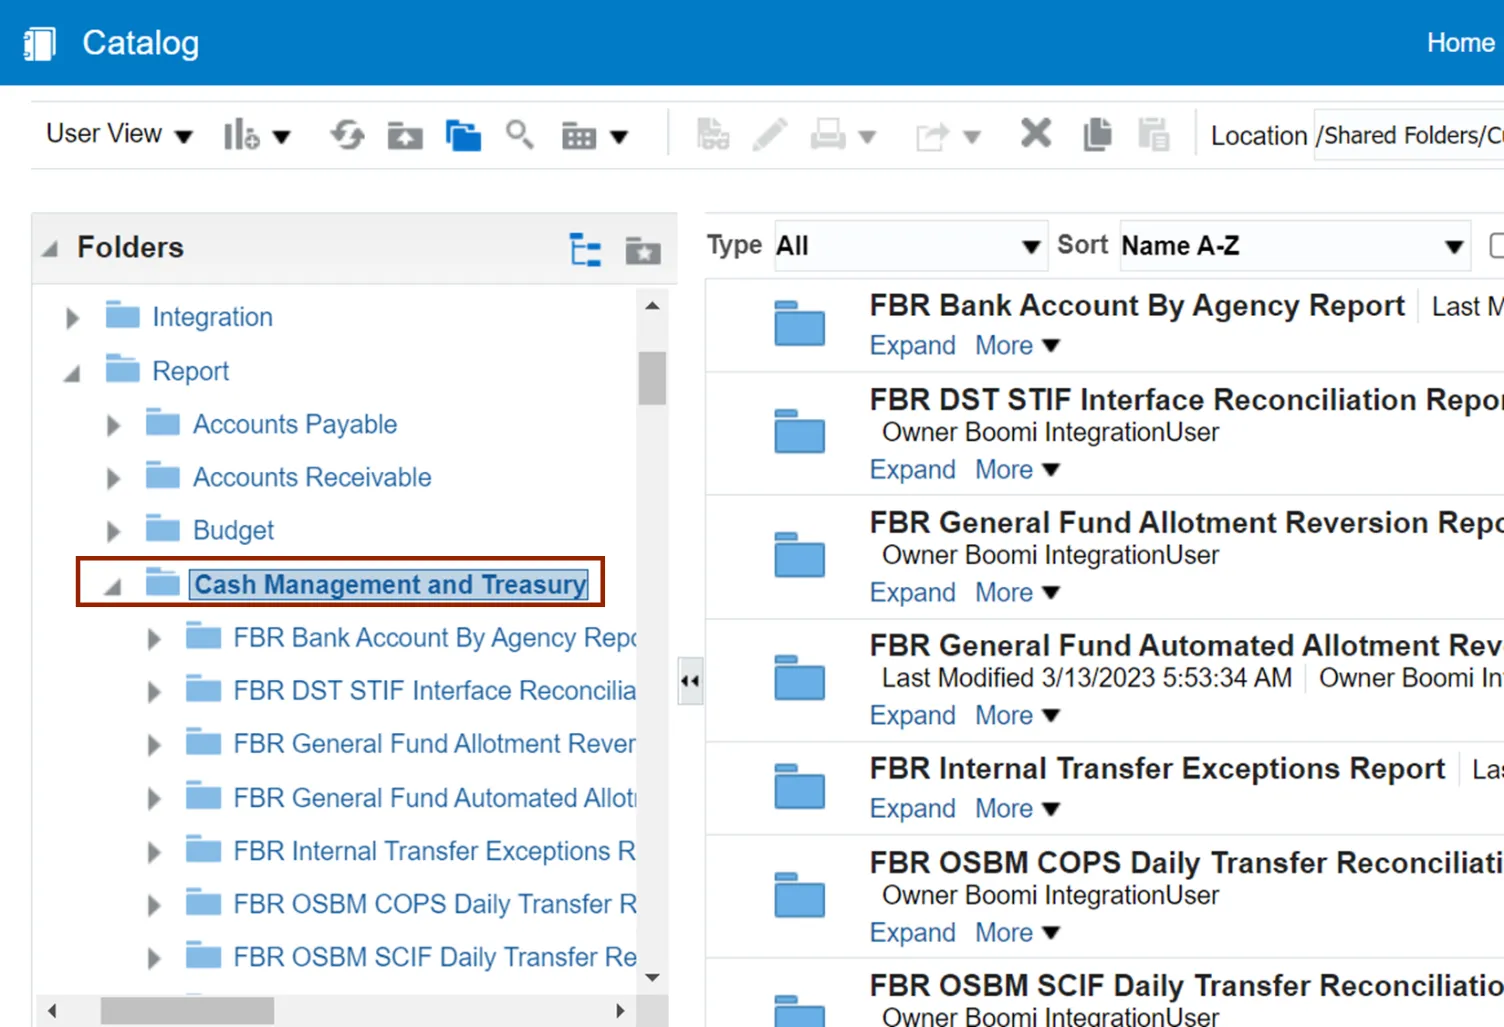
Step 23. Click the Cash Management and Treasury folder.
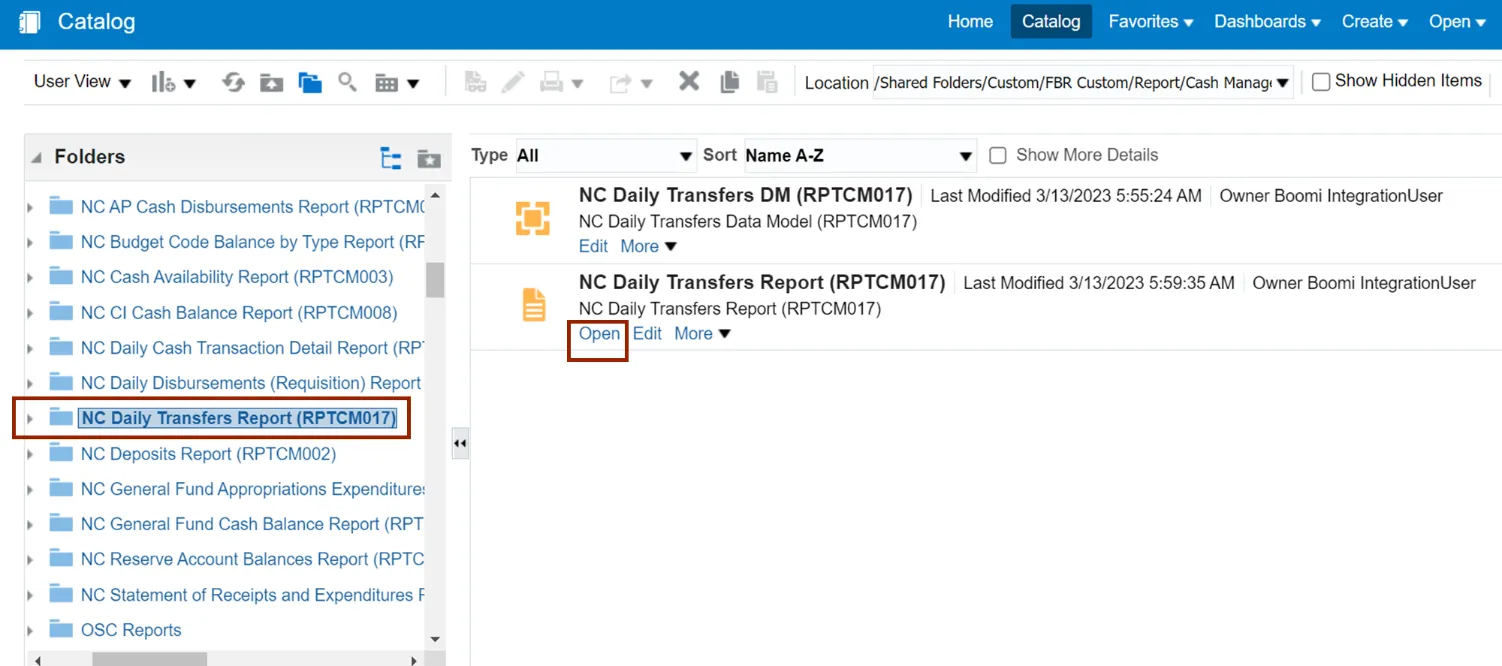
Step 24. Click the NC Daily Transfers Report (RPTCM017) folder. Then, on the right, click the Open link on the NC Daily Trasnfers Report (RPTCM017).
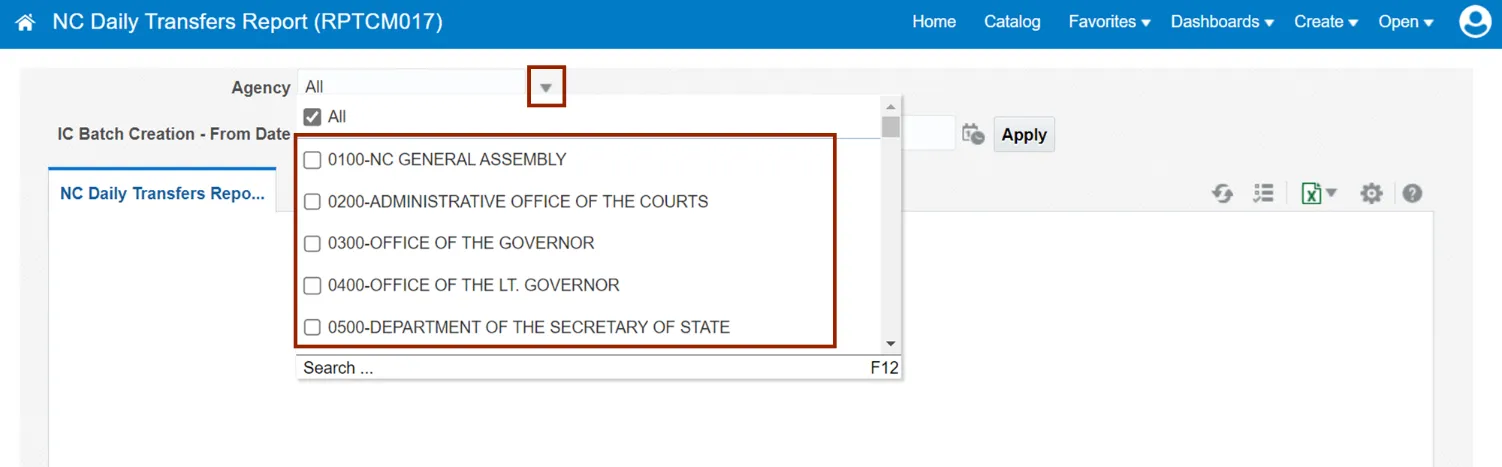
Step 25. Click the Agency dropdown arrow and select the Agency from the dropdown choice list.
In this example, we choose All for Agency.
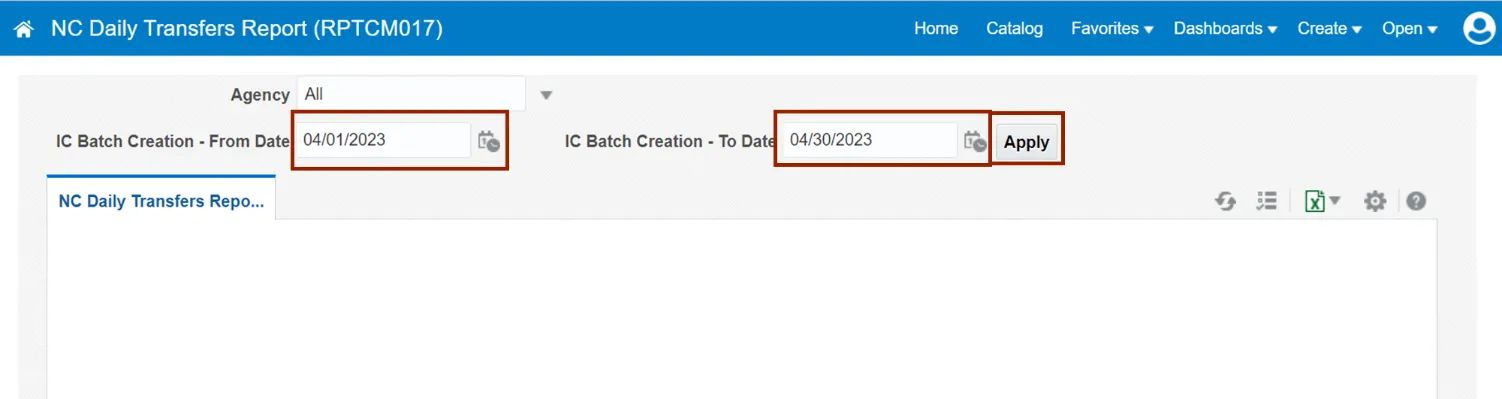
Step 26. The IC Batch Creation – From Date and the IC Batch Creation – To Date is set.
In this example, we choose 04/01/2023 for IC Batch Creation – From Date and 04/30/2023 for IC Batch Creation – To Date. Then, click the Apply button to submit the report.
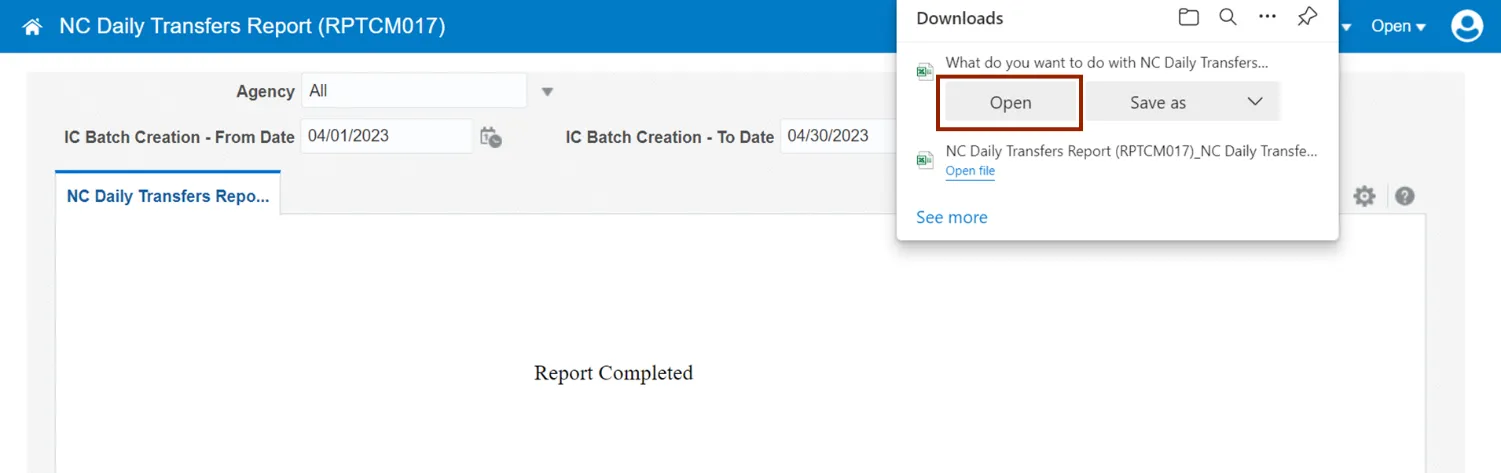
Step 27. The Report gets downloaded. Click the Open button to view the downloaded report.
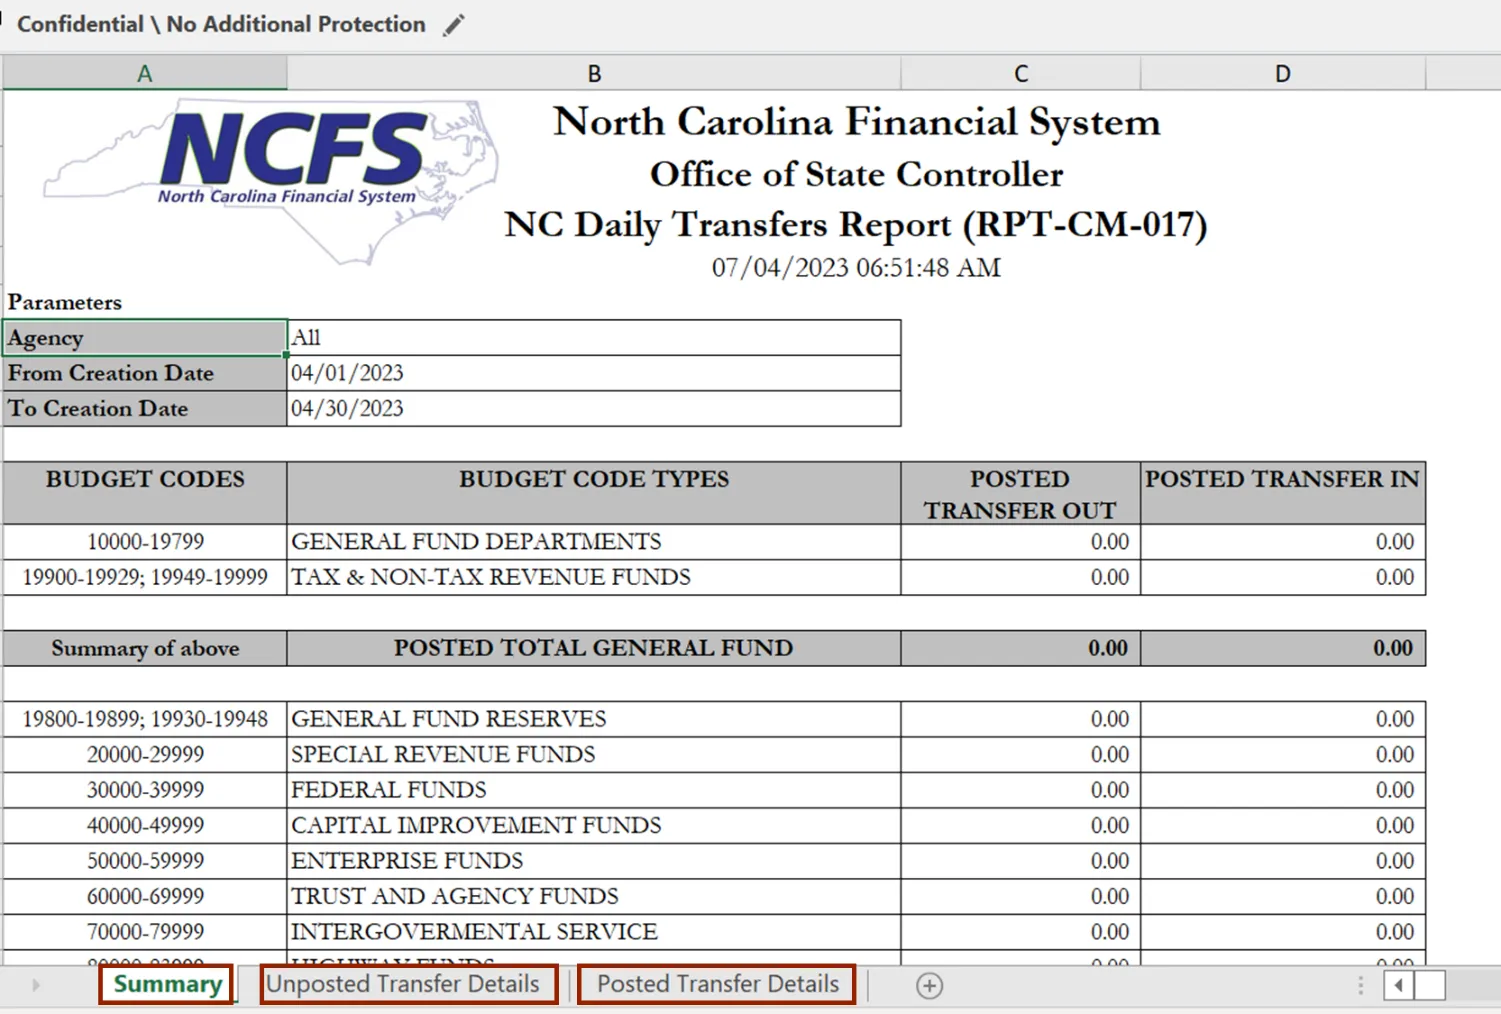
Step 28. The NC Daily Transfers Report opens. It has three tabs: Summary, Unposted Transfer Details, and Posted Transfer Details.
Wrap-Up
Manage Intercompany Period Status using the steps above.
Additional Resources
- Virtual Instructor-Led Training (ILT)