Purpose
The purpose of this Quick Reference Guide (QRG) is to provide a step-by-step explanation of how to Run Auto Post process in the North Carolina Financial System (NCFS).
Introduction and Overview
This QRG covers the two methods of running Auto Post process in NCFS that enable users to post journal batches in bulk based on a pre-defined Auto Post criteria set. The methods are as follows:
- Run Auto Post through Journals app.
- Run Auto Post through Scheduled Processes app.
User Tip
The following are prerequisites to creating and uploading a journal from spreadsheet:
-
User must download desktop integration installer for using ADFDI spreadsheet (Navigation: Tools >> Download Desktop Integration Installer).
Run Auto Post through Journals Page
To Run Auto Post in NCFS, please follow the steps below. There are 14 steps to complete this process.
Step 1. Log in to the NCFS portal with your credentials to access the system.
Step 2. On the Home page, click the General Accounting tab. Click the Journals app.

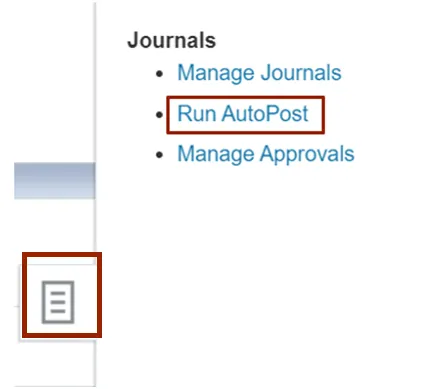
Step 3. Click on the Tasks icon. On the Tasks Pane, click on Run AutoPost.
Step 4. The Basic Options page opens, select the applicable *AutoPost Criteria Set from the drop-down choice list.
In this example, we choose NC Agy Fin Interface Criteria for *AutoPost Criteria Set. Then, click the Submit button.

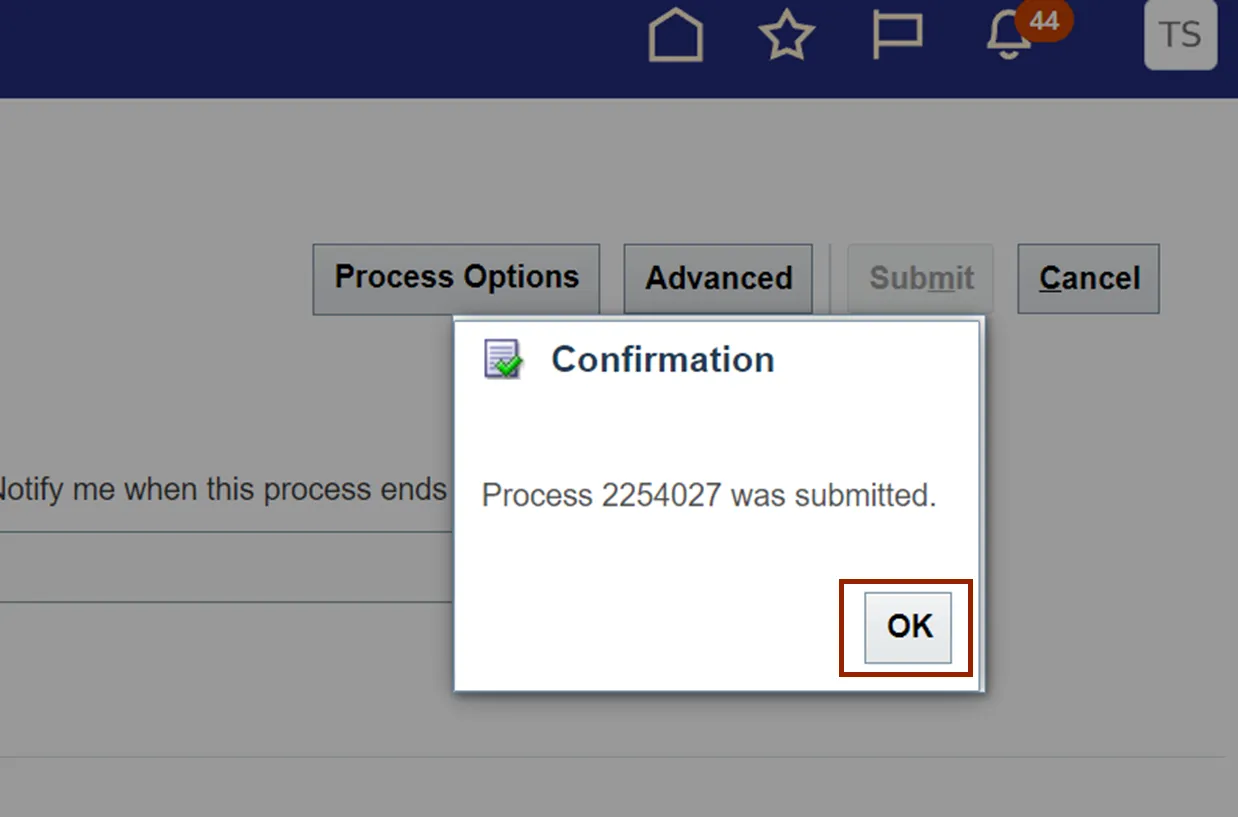
Step 5. The Confirmation pop-up appears with the Process ID number. Click the OK button.
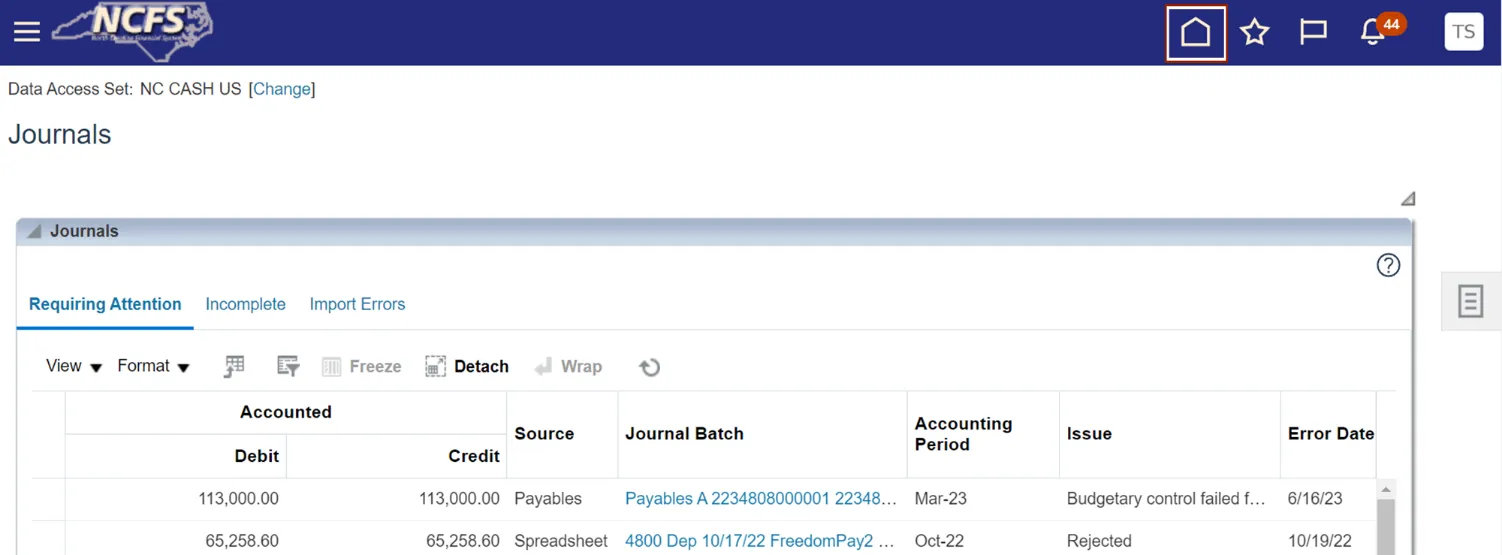
Step 6. Click the Home icon on the Global Header.
Note: Steps 6 through 11 are required to monitor the status of the process submitted and to download the output file of the AutoPost process.
Step 7. On the Home page, click the Tools tab. Click the Scheduled Processes app.

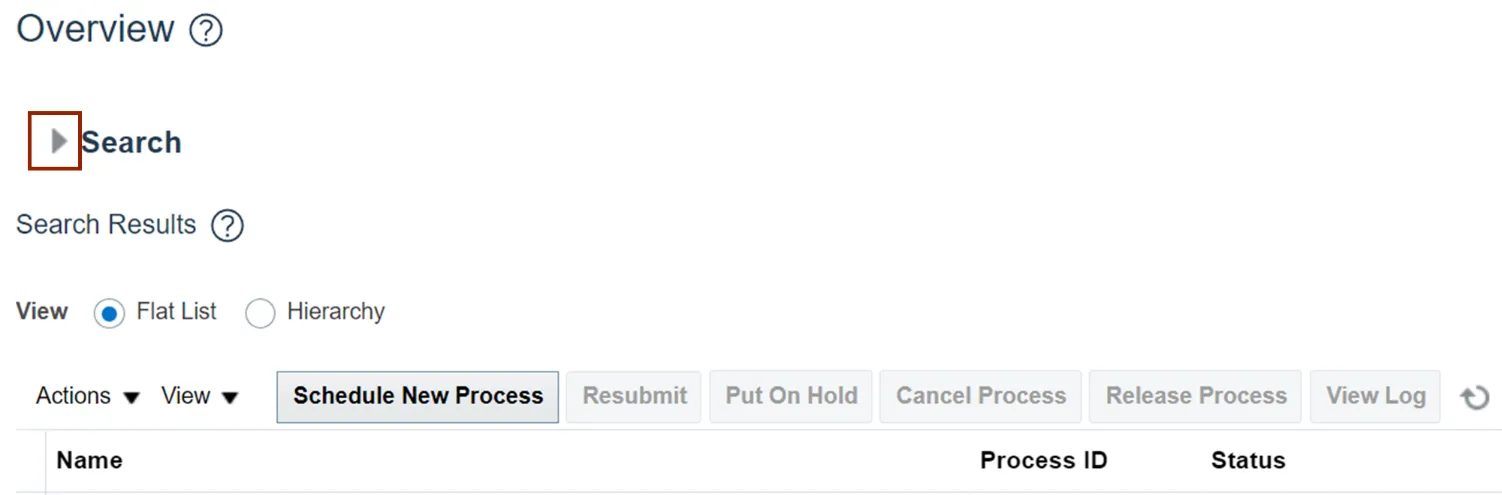
Step 8. On the Overview page, expand the Search section by clicking on the right arrow.
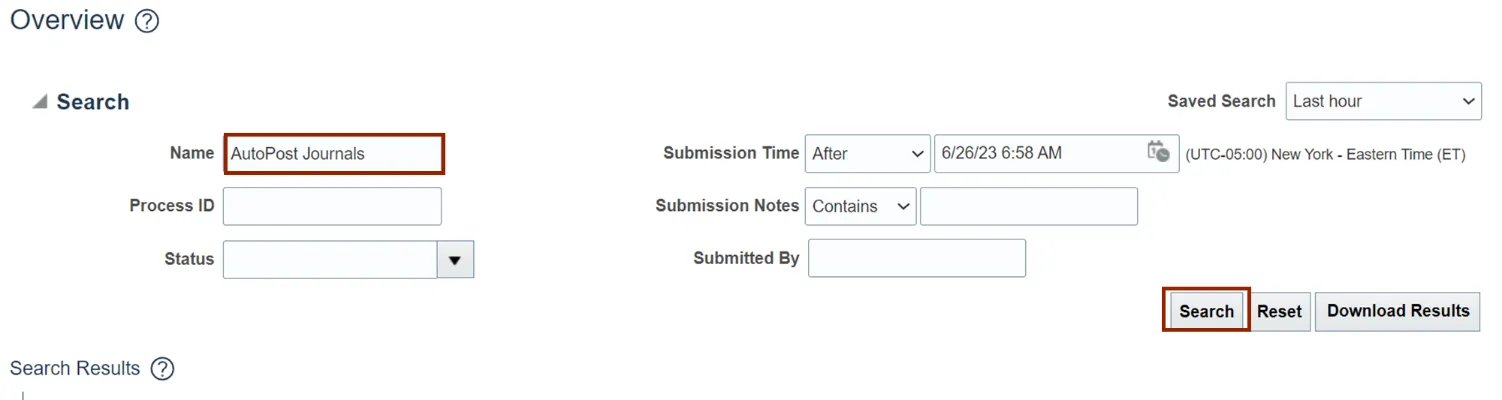
Step 9. Fill the required details in the fields.
In this example, we choose to fill AutoPost Journals in the Name field. Then, click the Search button.
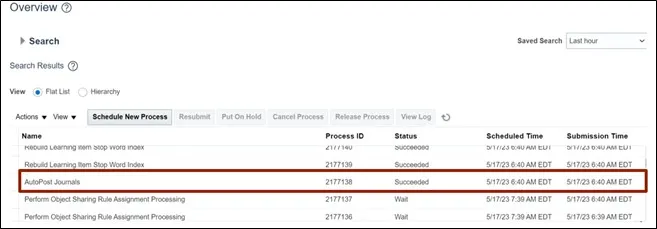
Step 10. Select AutoPost Journals under the Name section.
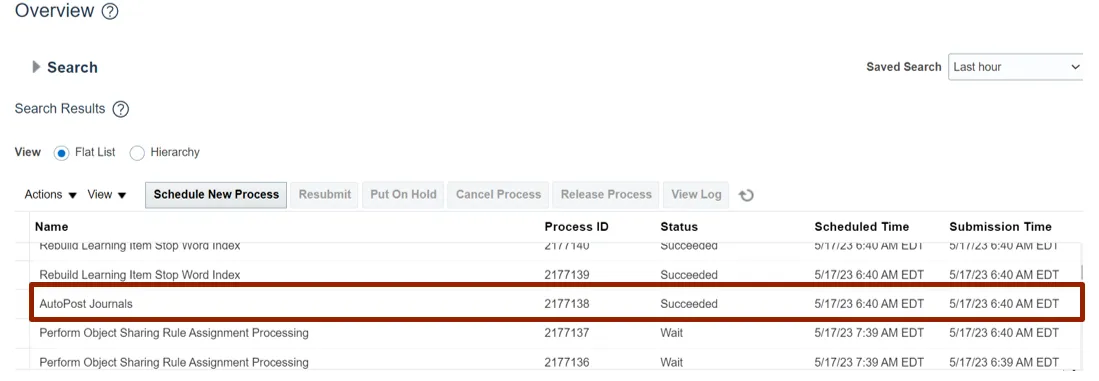
Step 11. The Overview page is displayed. Click the Refresh icon until the Status field displays Succeeded.

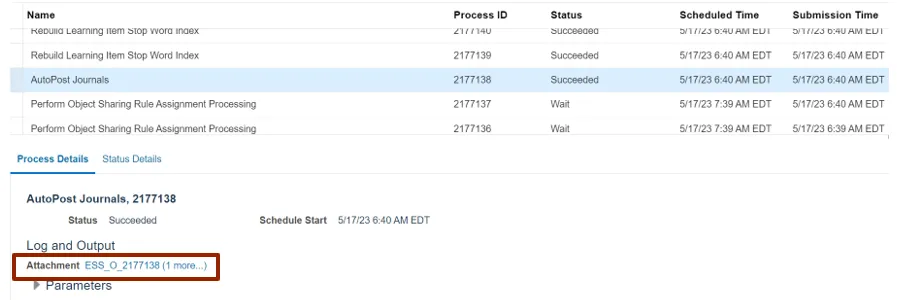
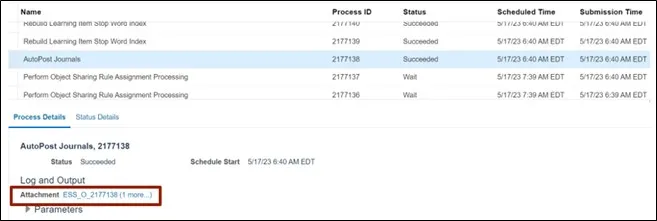
Step 12. At the bottom of the Overview page, navigate to the Process Details section and click the Attachment link.
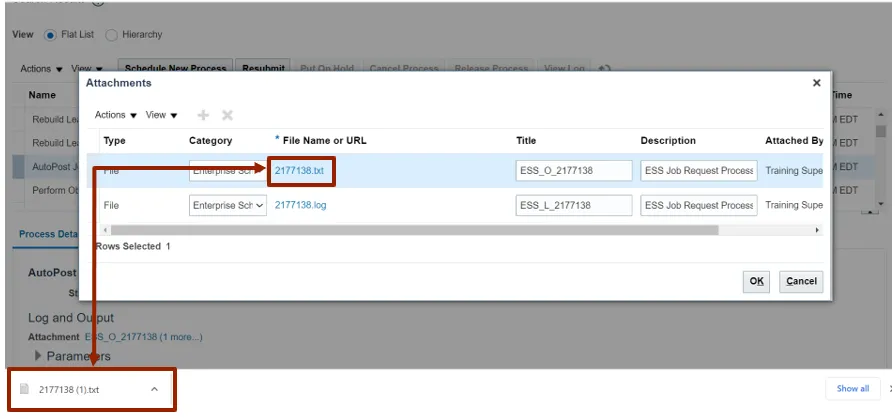
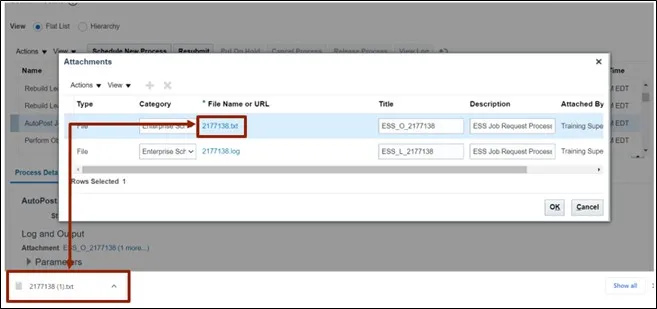
Step 13. On the Attachments pop-up page two outputs will be displayed. Click on the .txt *File Name or URL to download the output.
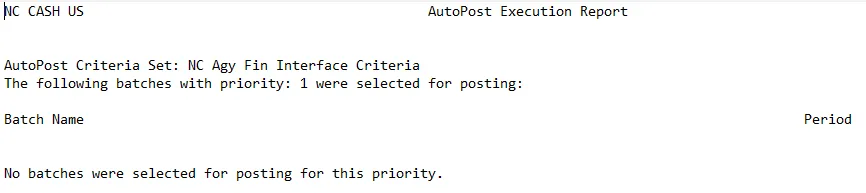
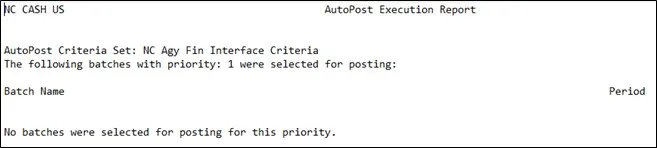
Step 14. Output of the txt file will look like what is shown below.
Run Auto Post through Scheduled Processes
To Run Auto Post through Scheduled Processes app in NCFS, please follow the steps below. There are 11 steps to complete this process.
Step 1. Log in to the NCFS portal with your credentials to access the system.
Step 2. On the Home page, click the Tools tab. Click the Scheduled Processes app.

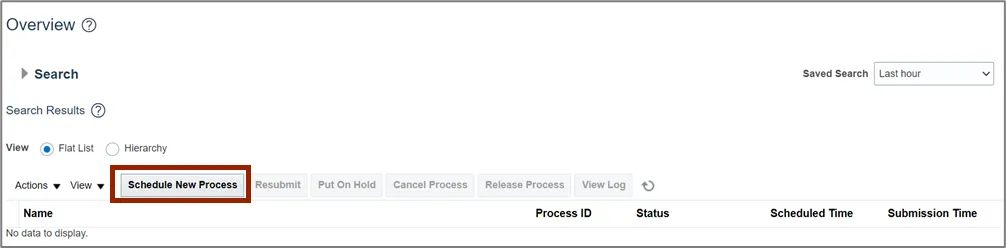
Step 3. On the Schedule Processes Overview page, click the Schedule New Process button.
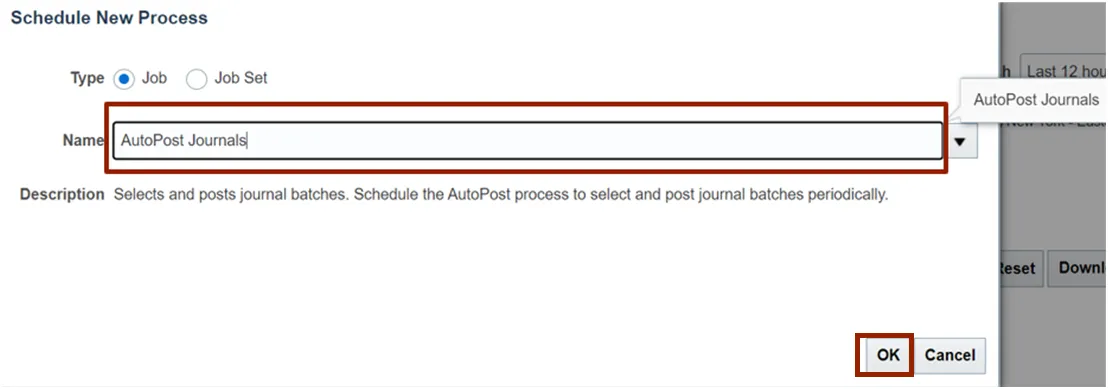
Step 4. On the Schedule New Process pop-up page, enter AutoPost Journals in the Name field. Alternatively, you can search from the Name drop-down choice list. Click the OK button.
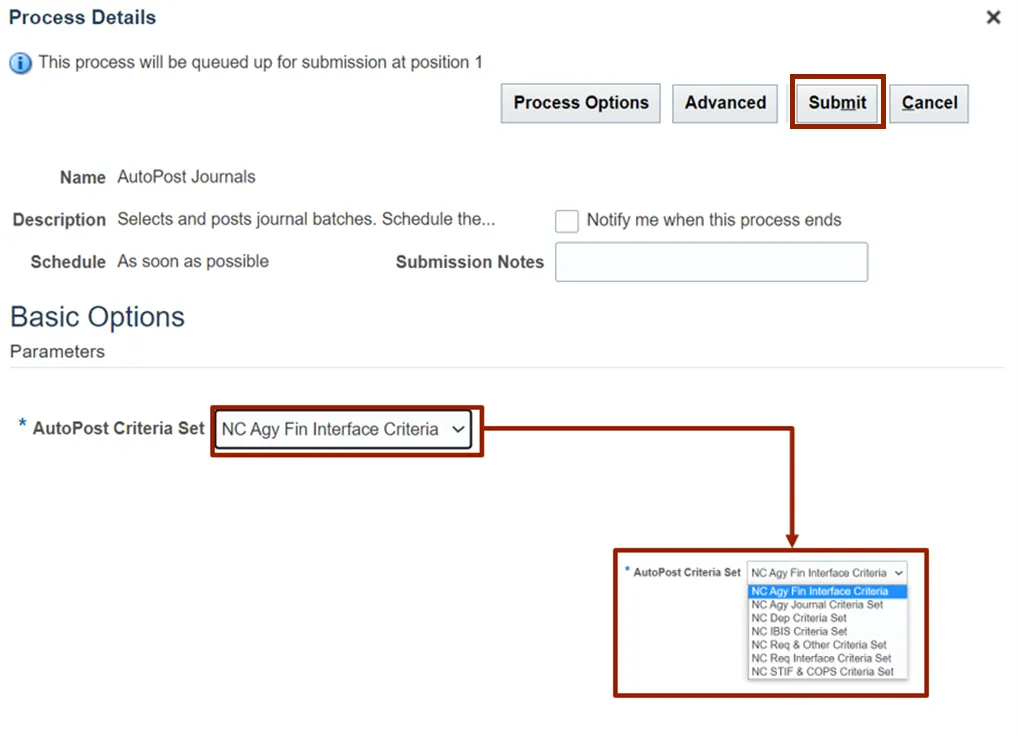
Step 5. On the Process Details pop-up page, select the applicable *AutoPost Criteria Set name from the respective drop-down choice list. Click the Submit button.
Step 6. The Confirmation pop-up page is displayed with the Process ID number. Click the OK button.

Step 7. The Overview screen is displayed. Click the Refresh icon until the Status field displays Succeeded.

Step 8. Select AutoPost Journals under the Name section.
Step 9. At the bottom of the Overview page, navigate to the Process Details section and click the Attachment link.
Step 10. On the Attachments pop-up page two outputs will be displayed. Click on the .txt *File Name or URL to download the output.
Step 11. Output of the txt file will look like what is shown below.
Wrap-Up
The Auto Post Journal process can be run through the above shown two ways, which enables users to post journal batches in bulk based on a pre-defined Auto Post criteria set.
Additional Resources
- Virtual Instructor-Led Training (vILT)
• GL 102: Journals Posting