Purpose
The purpose of this Quick Reference Guide (QRG) is to provide a step-by-step explanation on how to Resolve Rejected Intercompany Transfers in the North Carolina Financial System (NCFS).
Introduction and Overview
This QRG covers how to Resolve Rejected Intercompany Transfers in the NCFS. A transfer can be resolved only when it is rejected due to an error, after it has been submitted for approval.
Resolve Rejected Intercompany Transfer
To resolve a rejected intercompany transfer, please follow the steps below. There are 9 steps to complete this process.
Step 1. Log in to the NCFS portal with your credentials to access the system.
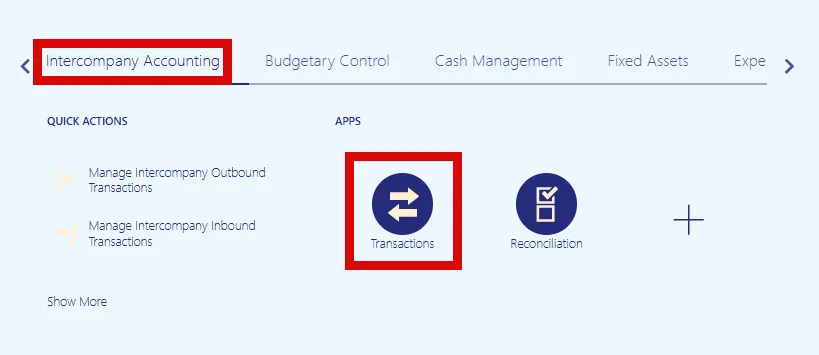
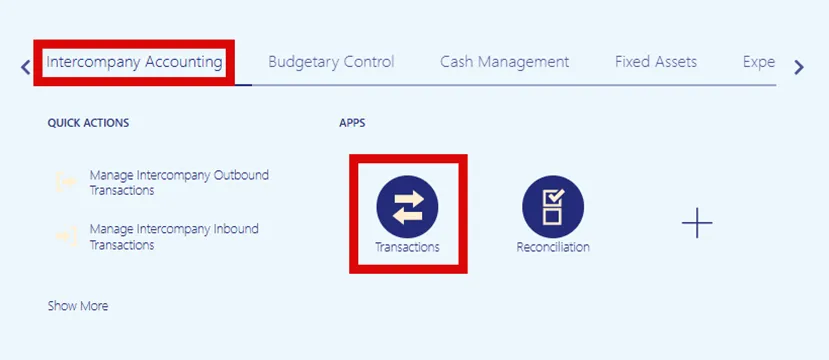
Step 2. On the Home page, select the Intercompany Accounting tab. Then select the Transactions app.
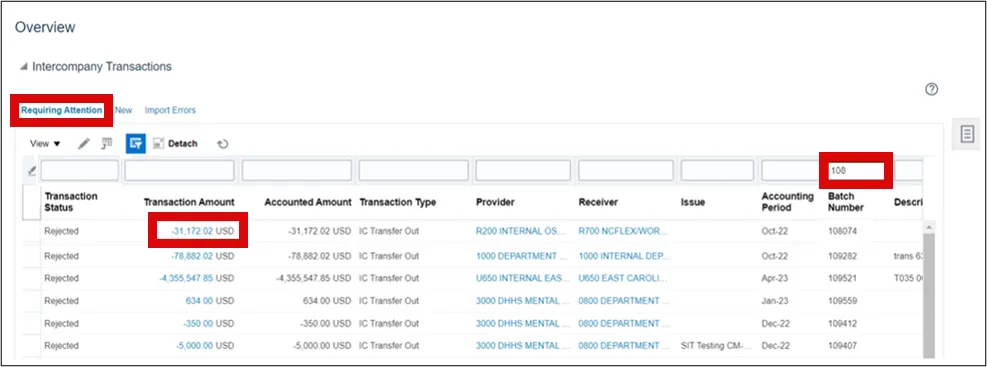
Step 3. On the Intercompany Transactions Overview page, under the Requiring Attention tab, identify the rejected Batch Number. After typing in the batch number, hit the Enter key on your keyboard. This will isolate all other results, only showing the desired transaction. Now open the transaction by clicking the Transaction Amount link.
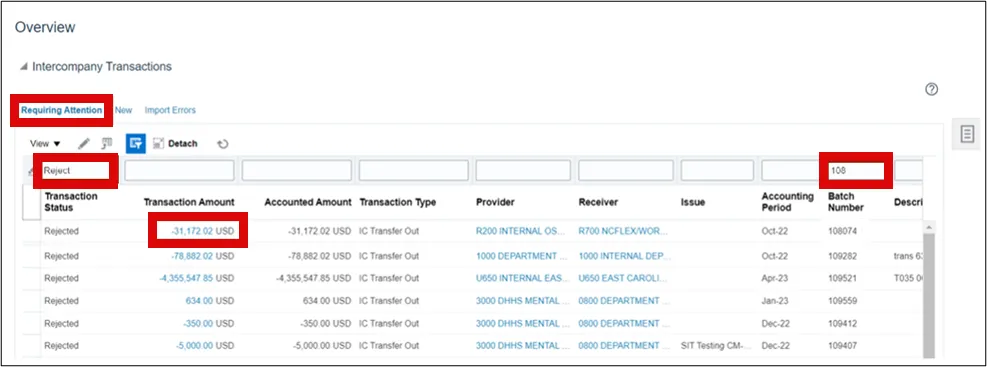
Note: Optionally, enter your QBE filter criteria and press the Enter, to filter your search results.
Step 4. On the View Intercompany Batch page, click the Action drop-down choice list option and select the Rejection Reviewed option.
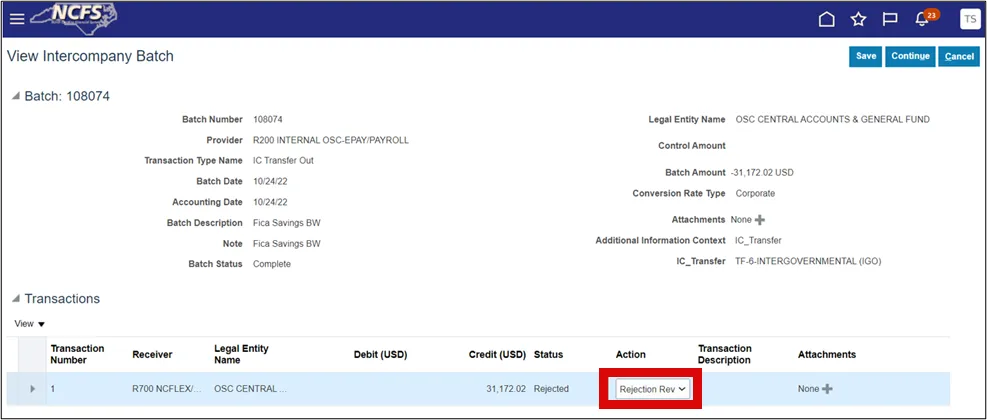
Note: Rejection Reviewed is selected when the provider wants to accept the rejection.
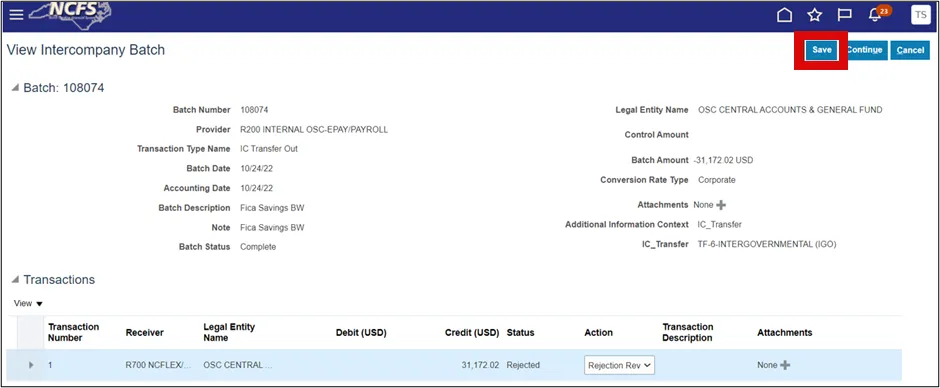
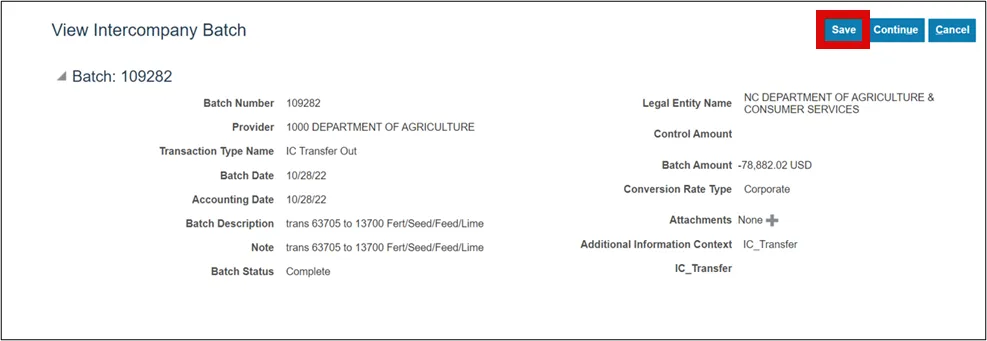
Step 5. Select the Save button on the top right and you will receive a confirmation message
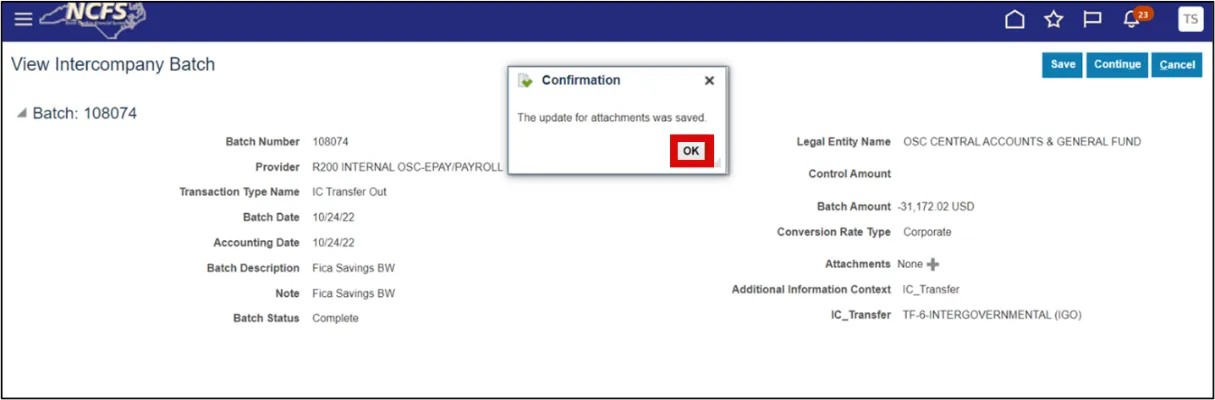
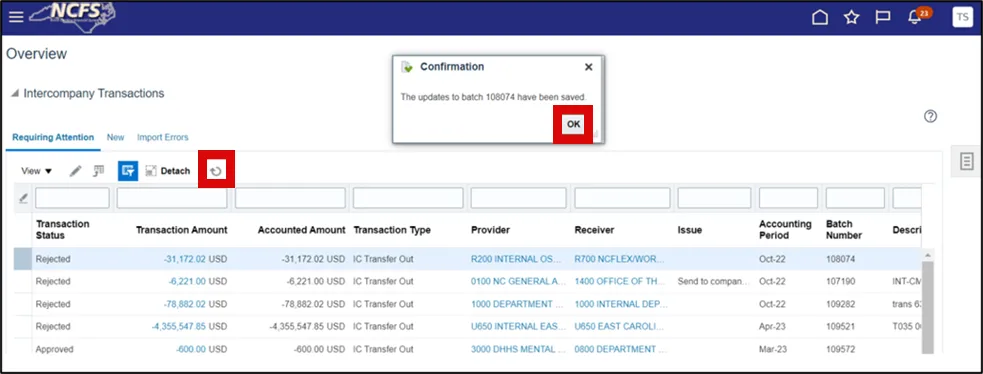
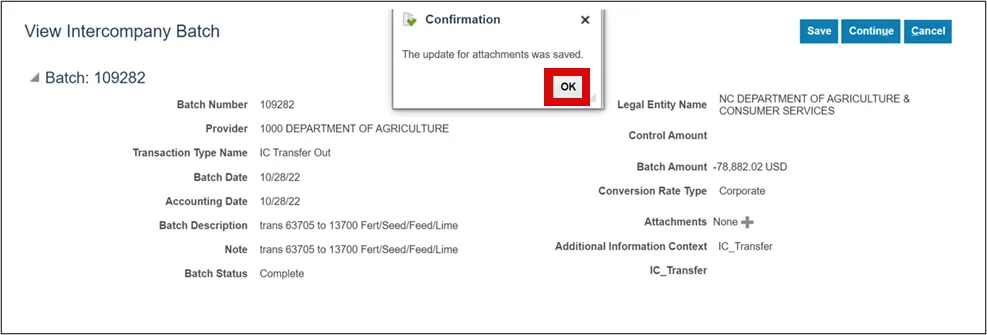
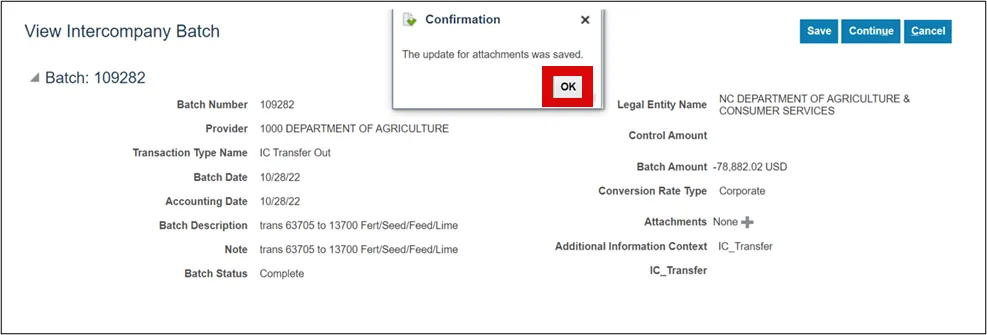
Step 6. The Confirmation pop-up message appears, then select the OK button.
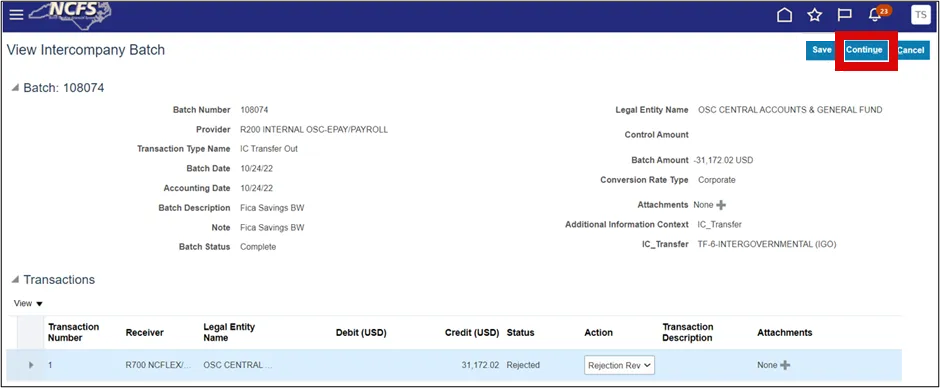
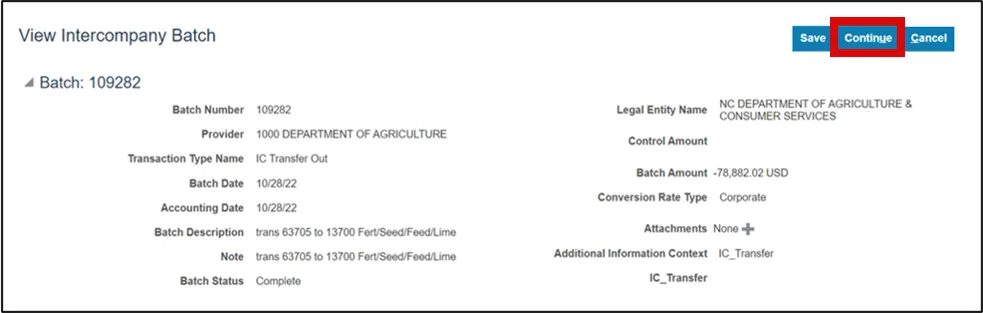
Step 7. Now select the Continue button. (No message will appear but the Continue button will change to the Submit button.)
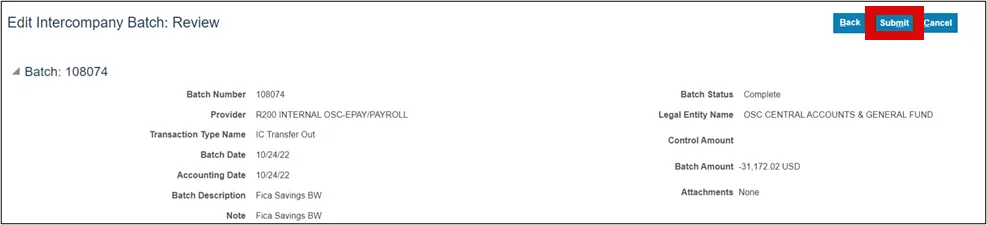
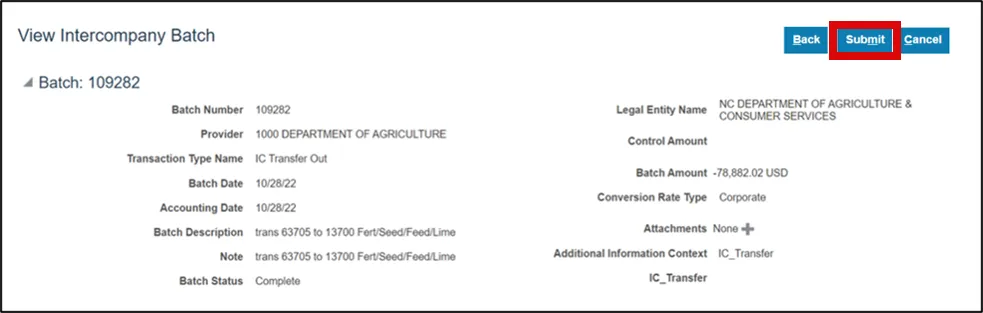
Step 8. Select the Submit button.
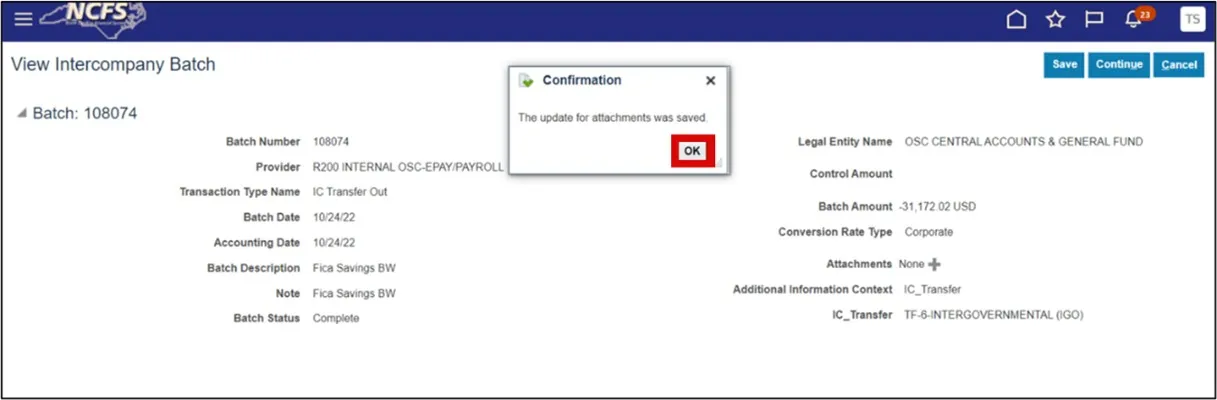
Step 9. You will receive a message that the batch has been updated and saved. Select the OK button and this will end the process and return you to the Intercompany Transactions Overview page.
Note: Click the Refresh icon under your search results and the batch disappears from the Requiring Attention tab.
Note: If the rejected batch is for an AP invoice that interfaced from AP, then notify the OSC Central Compliance Team to void the AP IGO payments that have been rejected. Enter a ticket at NCFS@oscnc.gov to have the AP payment voided in the AP module. OSC’s Central Compliance Team will void the payment and place the associated invoices on Hold in the AP module of NCFS.
Re-Submit Intercompany Transfer Batch
To re-submit a rejected intercompany transfer batch, please follow the steps below. There are 13 steps to complete this process.
Step 1. Navigate back to the Intercompany Transactions Overview page, from the NCFS Home page, select the Intercompany Accounting tab. Then select the Transactions app.
Step 2. On the Intercompany Transactions Overview page, under the Requiring Attention tab, identify the rejected Batch Number. After typing in the batch number, hit the Enter key on your keyboard. This will isolate all other results only showing the desired transaction. Now open the transfer transaction by clicking the Transaction Amount link.
Step 3. On the View Intercompany Batch page, click the Action drop-down choice list option and select the Re-Submit option.
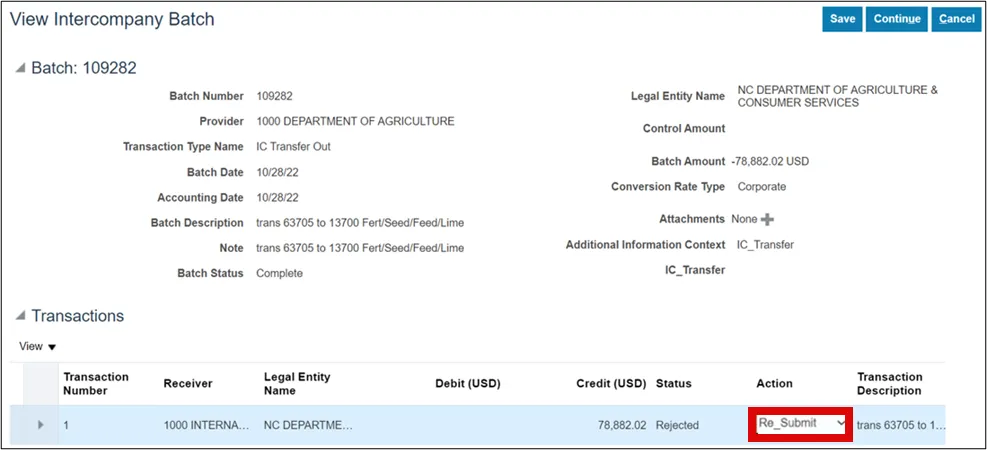
Note: Re-Submit is selected when the Provider wants to correct the transaction and submit it again to the Receiver.
Step 4. Select the Save button on the top right and you will receive a confirmation message.
Step 5. The Confirmation pop-up message appears, then select the OK button.
Step 6. Now select the Continue button. (No message will appear but the Continue button will change to the Submit button.)
Step 7. Select the Submit button.
Step 8. You will receive a message that the old batch has been saved, and it has been copied to a new batch.

Note: Write down the new Batch Number and select the OK button.
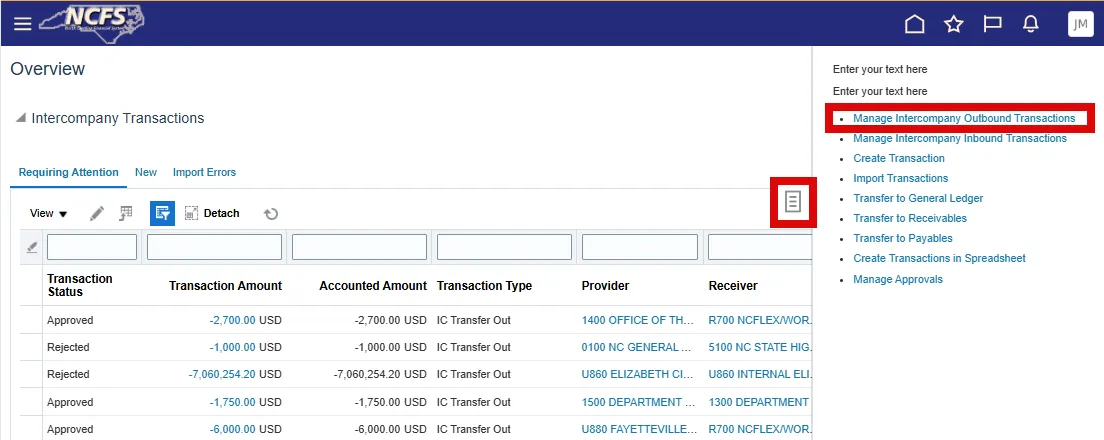
Step 9. Navigate to the Manage Intercompany Outbound Transactions page by selecting the Tasks icon at the right-side of the Intercompany Transactions Overview page, and then select the Manage Intercompany Outbound Transactions link.
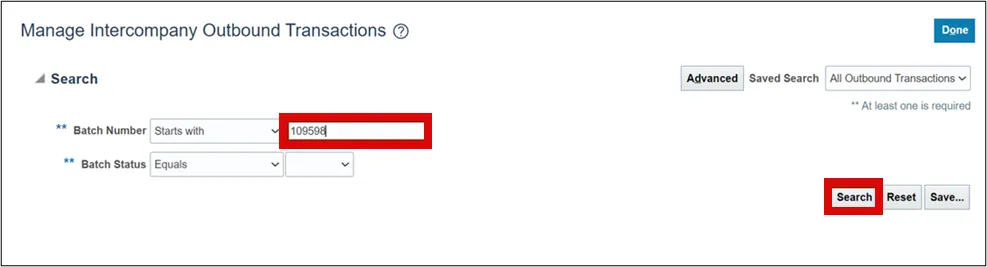
Step 10. On the Manage Intercompany Outbound Transactions page enter the new Batch Number in the search criteria field and select the Search button.
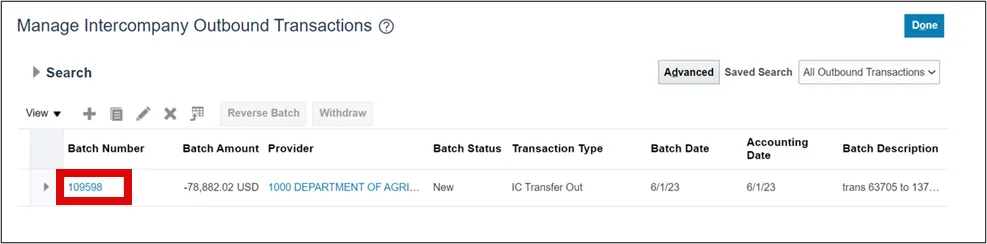
Step 11. Select the Batch Number link to open the transaction.
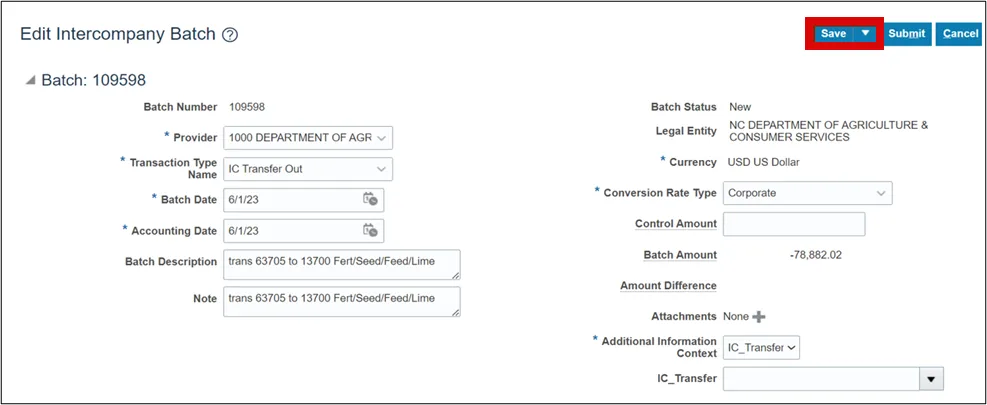
Step 12. Once on the Edit Intercompany Batch page, you can make the necessary changes and select the Save button to save your transaction.
Step 13. The Confirmation pop-up message appears, then select the OK button.
Wrap-Up
- Rejected IC transfers in NCFS can be resolved by editing and Re-Submitting it, or by selecting Rejection Reviewed to accept the rejection and finalize the transaction.
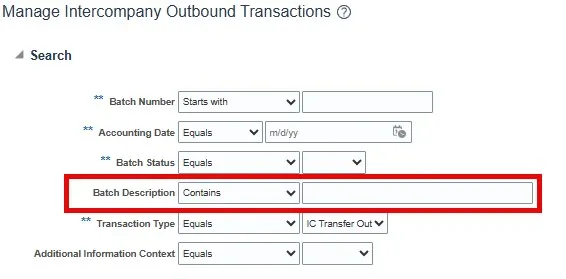
- For all intercompany rejected batches for which the Rejection Reviewed option is selected if the payment source came from an AP invoice, then AP IGO payments must be voided by the OSC Central Compliance Team. Please enter a ticket at NCFS@ncosc.gov once it’s been confirmed that the AP payment needs to be voided in the AP module. OSC’s Central Compliance Team will void the payment and place the associated invoices on Hold in the AP module of NCFS. To determine the specific invoice(s) associated with the Rejection Reviewed IC batch, the provider must use the advanced search and add the Batch Description field then type in the AP payment number, as shown below:
Additional Resources
- Instructor Led-Trainings (vILT)