Purpose
The purpose of this Quick Reference Guide (QRG) is to provide a step-by-step explanation of how to Create and Manage Receipts in the North Carolina Financial System (NCFS).
Introduction and Overview
This QRG covers how to create and manage receipts in NCFS, which will enable you to create receipts manually and via spreadsheet. You can also create unidentified receipt applications for the receipts which were created.
User Tip
The following are prerequisites to creating and managing receipts:
-
User must download desktop integration installer for using ADFDI spreadsheet (Navigation: Tools >> Download Desktop Integration Installer).
Create Unidentified Receipts
To create unidentified receipts in NCFS, please follow the steps below. There are 10 steps to complete this process.
Step 1. Log in to the NCFS portal with your credentials to access the system.
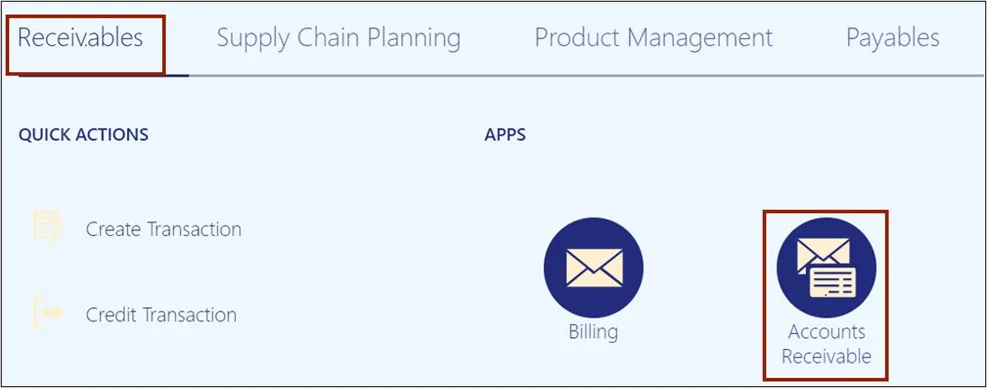
Step 2. On the Home page, click the Receivables tab and click the Accounts Receivable app.

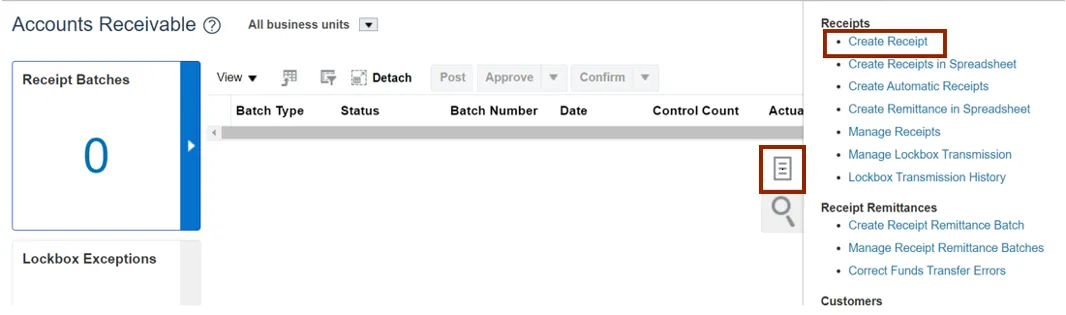
Step 3. On the Accounts Receivable dashboard, click the Tasks icon and click Create Receipt.
Step 4. On the Create Receipt page, click the Business Unit drop-down choice list, then select the appropriate business unit.
In this example, we choose 2500 DHHS HEALTH BENEFITS. Click the Receipt Method drop-down choice list, then select the appropriate receipt method. In this example, we choose NC Manual Receipts.
Note: Receipt Type is set by default.
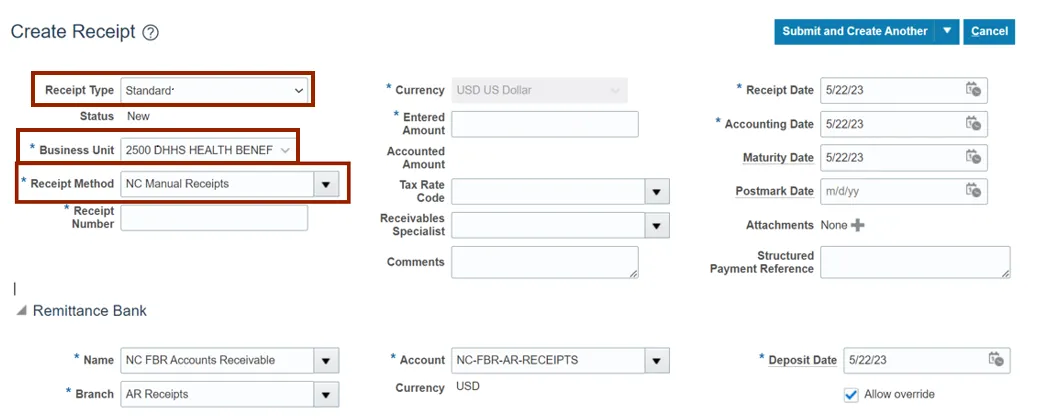
Step 5. Enter the Receipt Number in the Receipt Number field.
In this example, we enter DHHS_O2C017_1. Enter the amount in the Entered Amount field. In this example, we enter 500. Click the Submit and Create Another drop-down choice list, then select Submit.

Step 6. The Information pop-up appears, click the OK button.

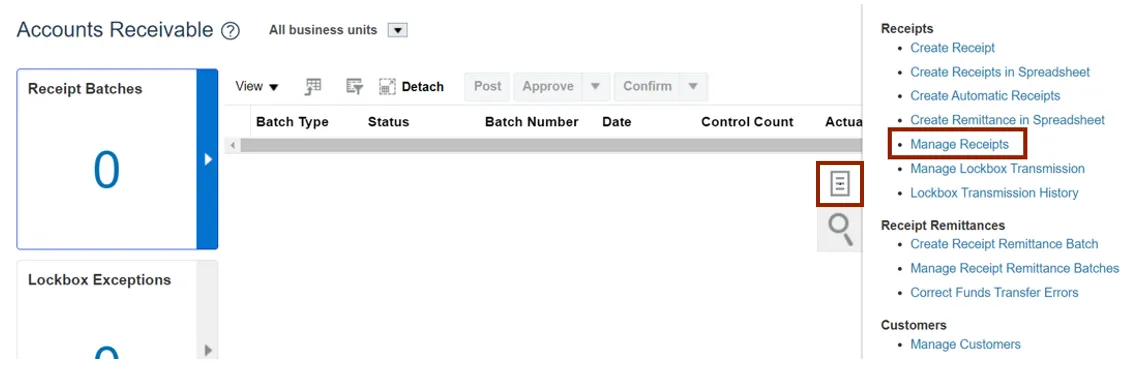
Step 7. Navigate back to the Accounts Receivable dashboard, click the Tasks icon and click Manage Receipts.
Step 8. Enter any one of the required fields (i.e., Receipt Method as NC Manual Receipts) and click the State drop-down choice list, then select Unidentified and click the Search button.

Step 9. The Receipts with Unidentified state are displayed in the Search section. Click the Receipt Number link.
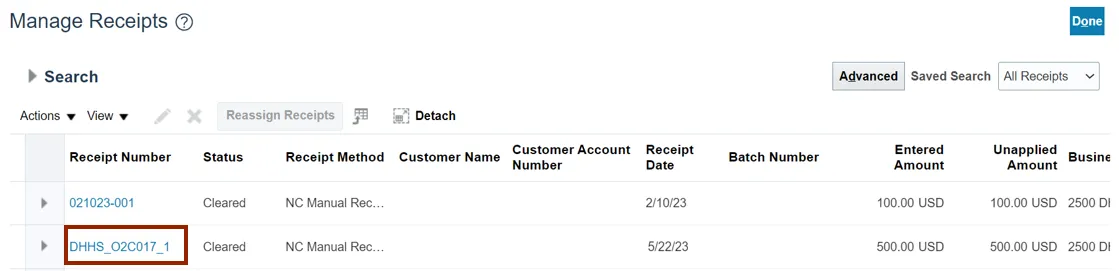
Step 10. Review the Unidentified Amount applied to completed receipt and click the Save and Close button.

Create Receipts by Spreadsheet
To create receipts by spreadsheet in NCFS, please follow the steps below. There are 12 steps to complete this process.
Step 1. Log in to the NCFS portal with your credentials to access the system.
Step 2. On the Home page, click the Receivables tab and click the Accounts Receivable app.
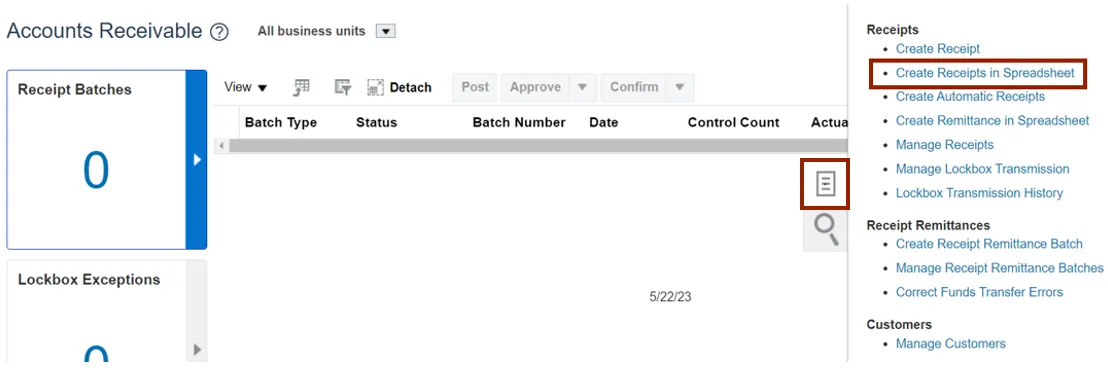
Step 3. On the Accounts Receivable dashboard, click the Tasks icon. Click Create Receipts in Spreadsheet. This will direct you to download the Create Receipt Batch excel.
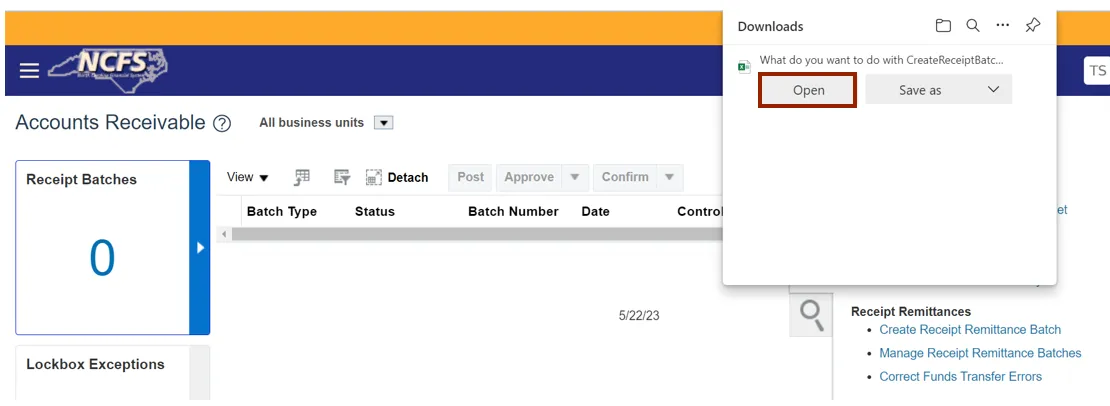
Step 4. Click the Open button.
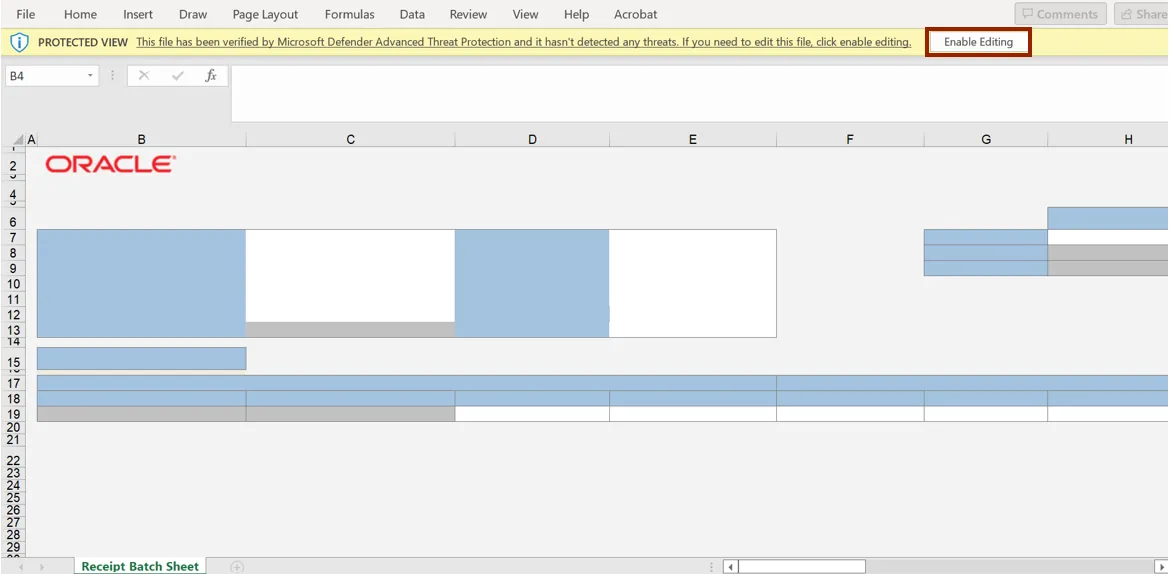
Step 5. Click the Enable Editing button.
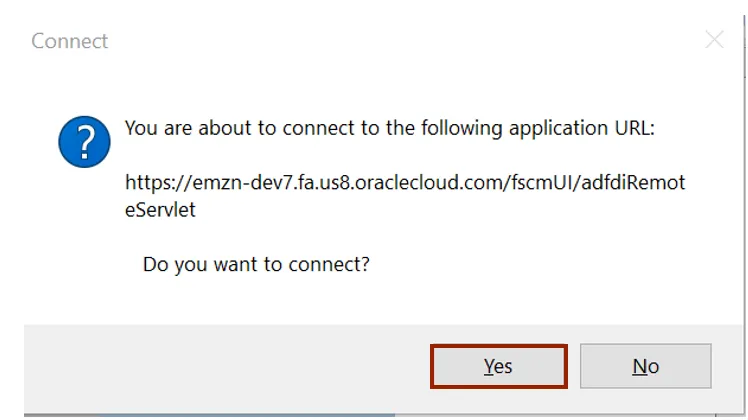
Step 6. The Connect pop-up appears, asking you to login to the NCFS System. Click the Yes button.
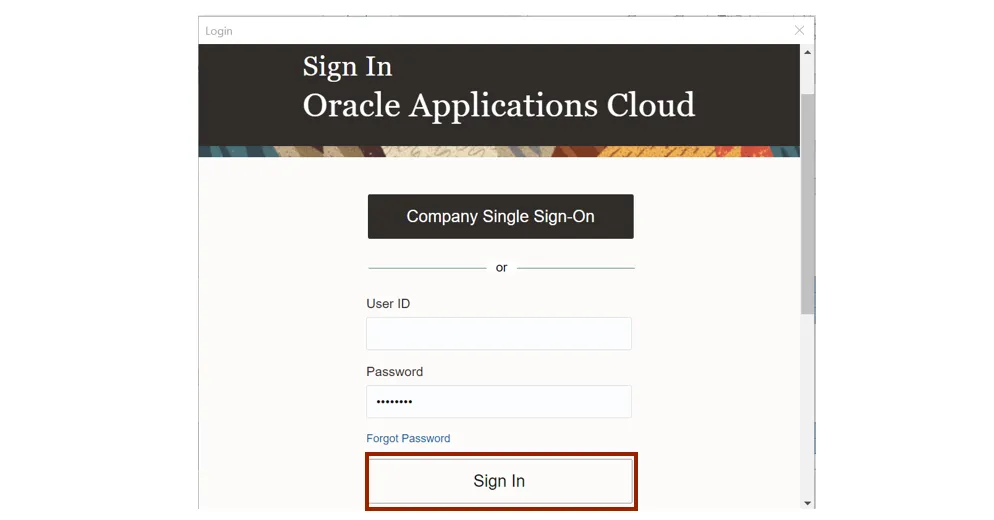
Step 7. Sign Into the Oracle Applications Cloud using the assigned credentials.
Step 8. Enter the template with the appropriate data.

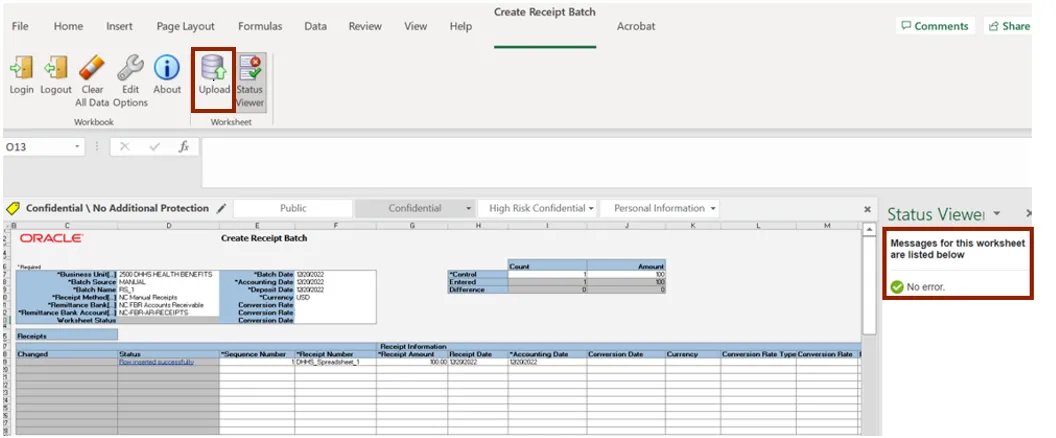
Step 9. On the Create Receipt Batch tab, click Upload icon. You can view the receipt is uploaded successfully with no error in the Status Viewer section.
Step 10. Once the receipt is uploaded successfully, Navigate to Accounts Receivable dashboard. The receipt created is populated on the Accounts Receivable dashboard under Receipt Batches infotile. Click the Batch Number link.

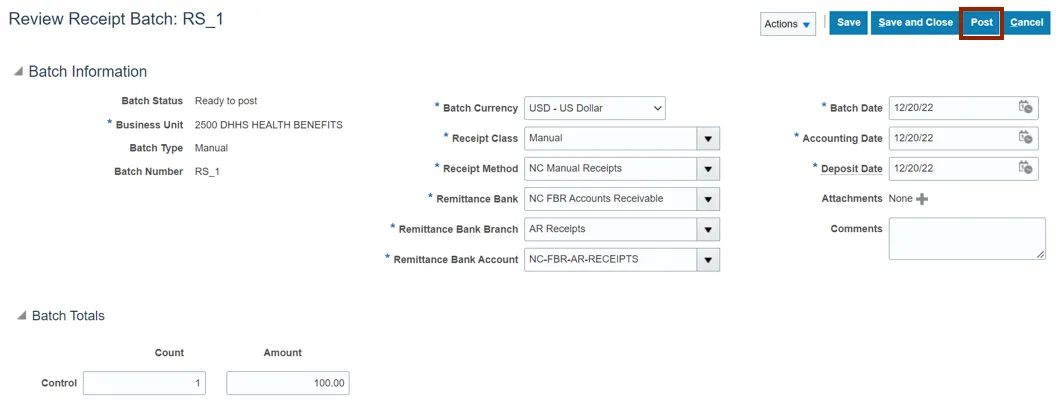
Step 11. Validate the Batch Information section.

Step 12. Scroll up and click the Post button.
Wrap-Up
Create and manage receipts using the steps above for any receipt which needs to be created manually, via spreadsheet, or unidentified receipt applications.
Additional Resources
- Virtual Instructor-Led Training (vILT)