Purpose
The purpose of this Quick Reference Guide (QRG) is to provide a step-by-step explanation of how to Correct Errors from Invoice Upload (Spreadsheet) in the North Carolina Financial System (NCFS).
Introduction and Overview
This QRG This will enable you to view and correct the errors that occurred while creating invoices via spreadsheet and importing payment requests (party payments).
Correct Invoice and Party Payment Errors
To correct errors from invoice upload (spreadsheet) in NCFS, please follow the steps below. There are 16 steps to complete this process.
Step 1. Log in to the NCFS portal with your credentials to access the system.
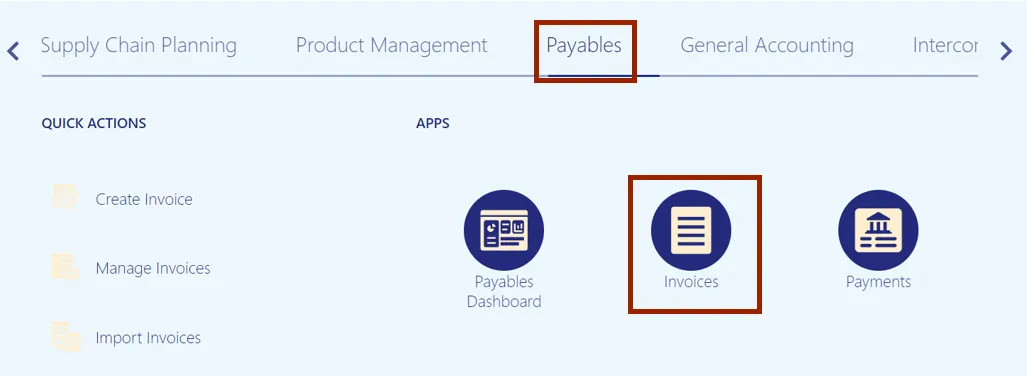
Step 2. On the Home page, click the Payables tab and click the Invoices app.
Step 3. The Invoices dashboard is displayed. Click the Tasks icon and click Correct Import Errors.
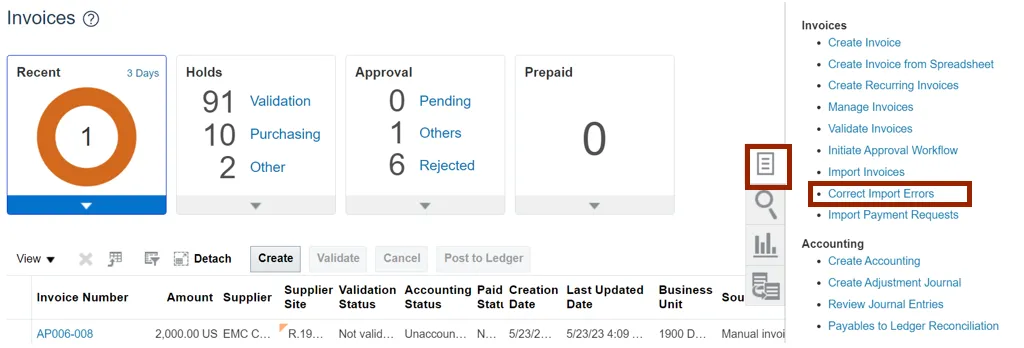
Note: CorrectImportErrors.xlsx file is downloaded. Open the excel file.
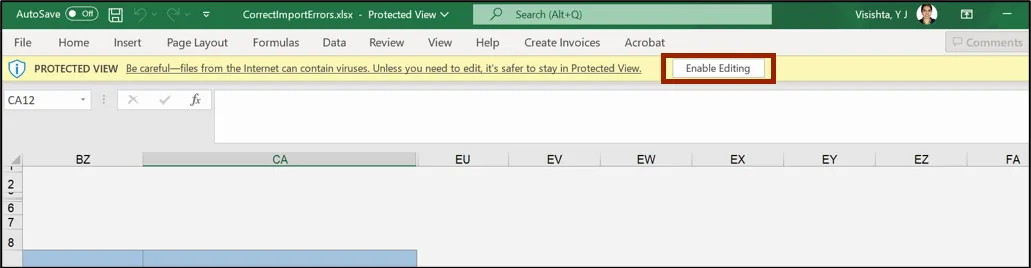
Step 4. On the CorrectImportErrors.xlsx file, click the Enable Editing button.
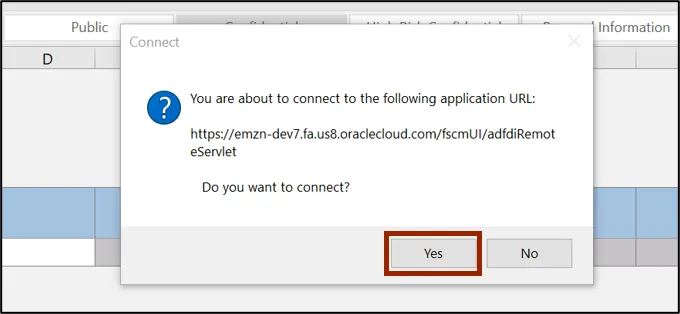
Step 5. The Connect pop-up appears. Click the Yes button.
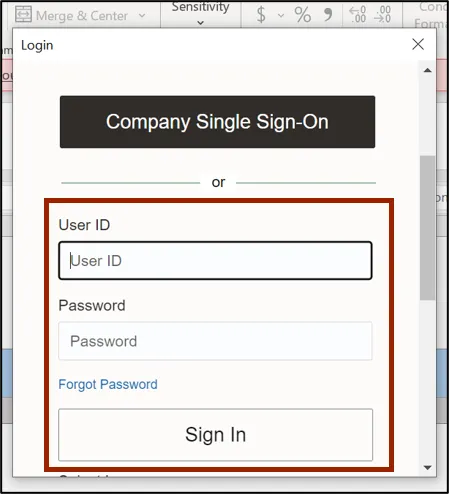
Step 6. The NCFS Login pop-up appears. Enter your credentials and click the Sign In button.
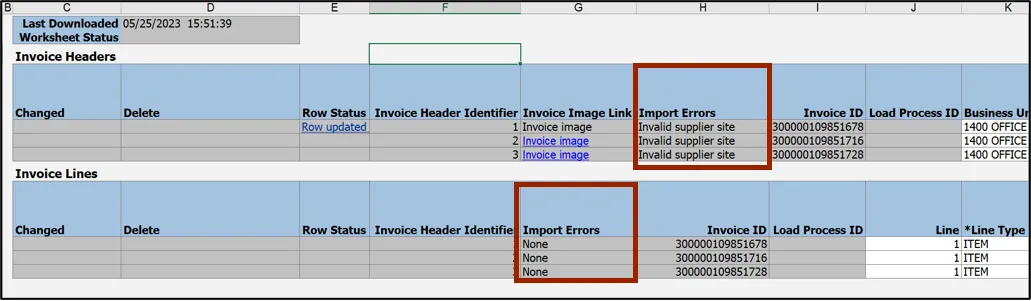
Step 7. The CorrectImportErrors.xlsx file displays all the invoices details along with the errors encountered during the import process. Review the Import Errors fields on Invoice Headers and Invoice Lines sections.
In this example, the error is Invalid supplier site and None on Invoice Headers and Invoice Lines sections respectively.
Note: Use Invoice ID as reference to map the Import Errors in Invoice Headers and Invoice Lines sections, also you can delete the row by clicking on the Delete (column D) and start over.
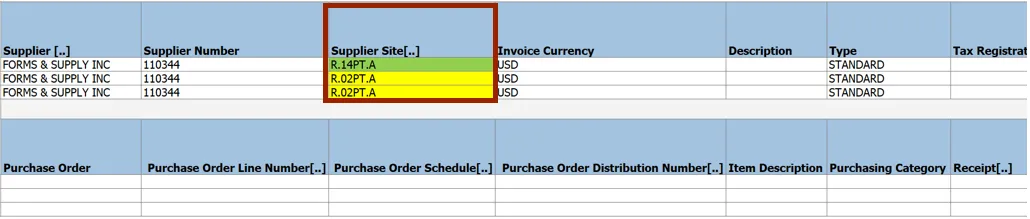
Step 8. Scroll to right and fix the import errors in Supplier Site field.
In this example, we updated R.02PT.A to R.14PT.A.
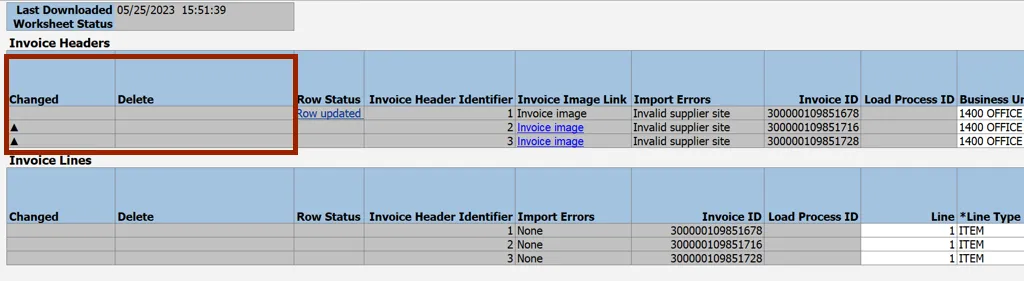
Step 9. Scroll left to double-click the cells in the Changed field to reprocess the corresponding row, and double-click the cells in the Delete field to delete the corresponding row.
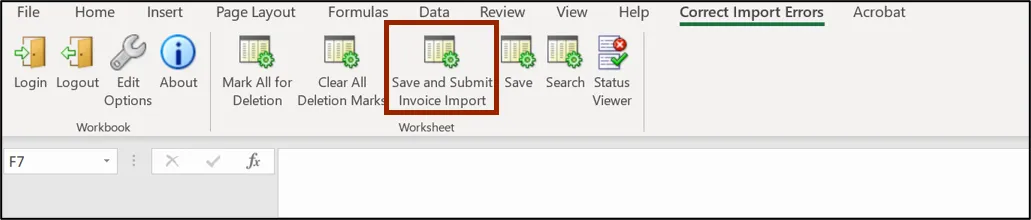
Step 10. On the Correct Import Errors tab, click the Save and Submit Invoice Import button.
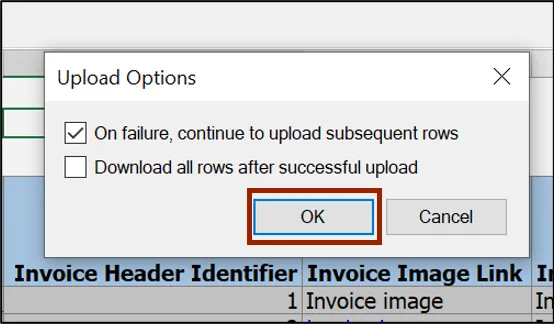
Step 11. The Upload Options pop-up appears. Click the OK button.
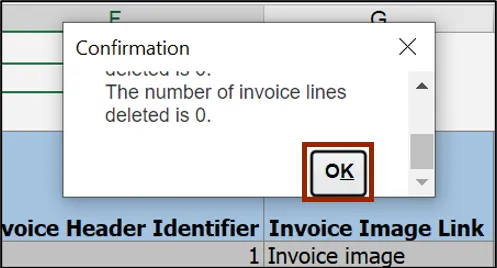
Step 12. The Confirmation pop-up appears. On the Confirmation pop-up, click the OK button.
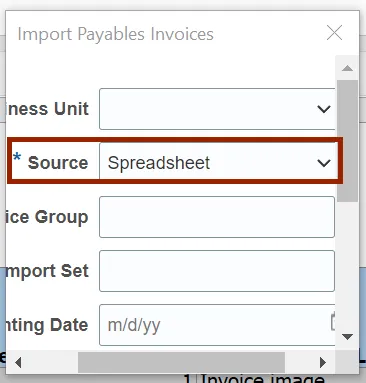
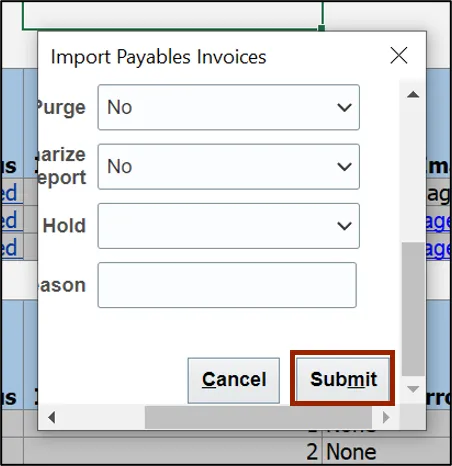
Step 13. The Import Payables Invoices pop-up appears. Enter the relevant details in the mandatory fields (marked with *).
In this example, we choose Spreadsheet for Source field.
Step 14. Scroll down and click the Submit button.
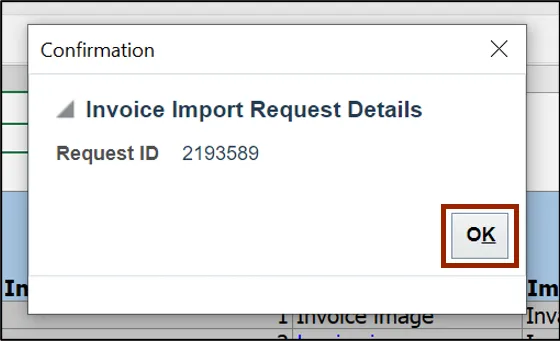
Step 15. The Confirmation pop-up appears displaying the Request ID. On the Confirmation pop-up, click the OK button.
Step 16. Navigate to NCFS Login >> Tools >> Scheduled Processes. The Overview page is displayed. Scroll down to view the status of the applicable Process ID.
In this example, we choose 2193589.
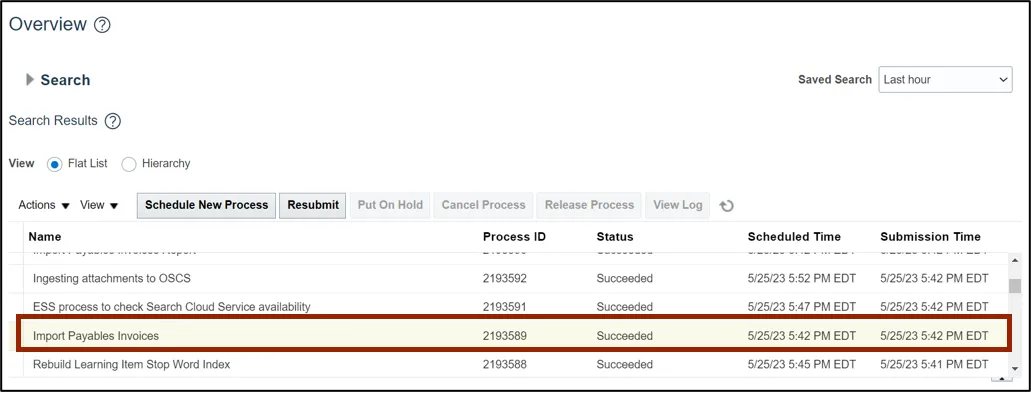
Note: The import errors are fixed.
Wrap-Up
Correct errors from invoice upload (spreadsheet) using the steps above.
Additional Resources
- Virtual Instructor-Led Training (vILT)