URL Change Instructions
There are 10 steps to complete this process.
Important: State Network or VPN is required to complete SAP SLC set-up.
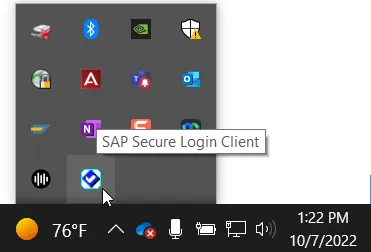
Step 1. The SAP SLC should be running in the background. Locate and click the Carrot icon on the bottom right of your screen. This will show hidden icons.
Step 2. Click on the SAP Secure Login Client icon.
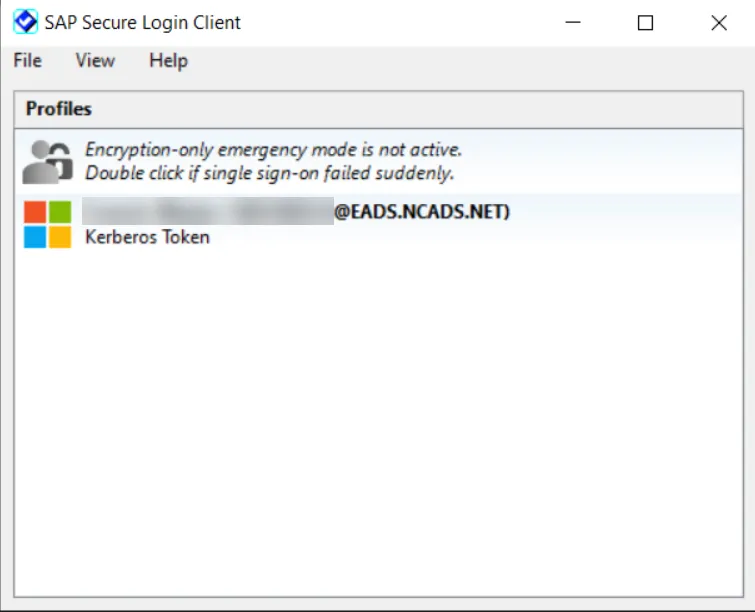
Step 3. The SAP Secure Login Client window displays.
Note: You may see one or multiple lines in the Profiles section.
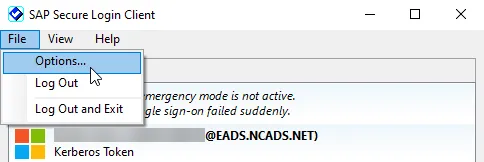
Step 4. Click on File and then Options....
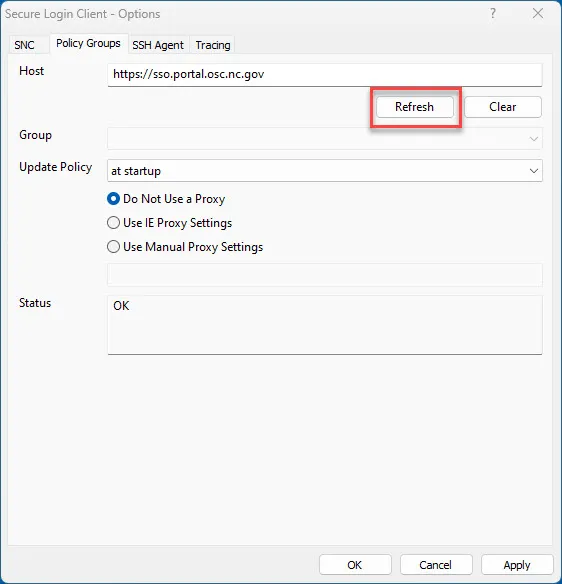
Step 5. Click on the Policy Groups tab. Click in the Host field, clear the existing URL, and then copy the following URL into that field: https://sso.portal.osc.nc.gov.
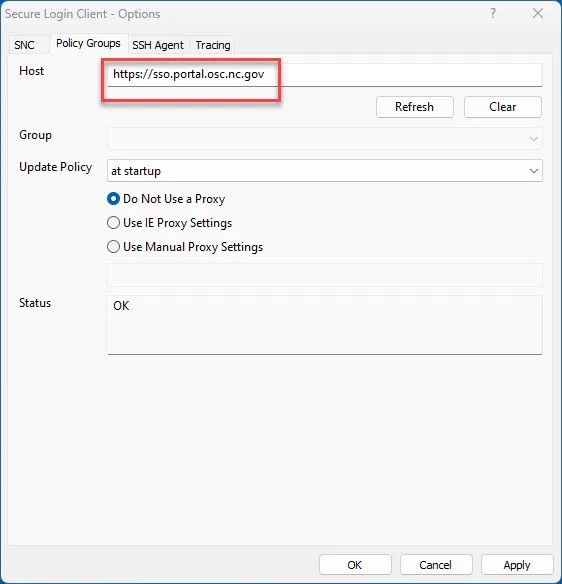
Step 6. Click the Refresh button under the URL.
Step 7. The Group field will auto-populate. Ensure the value is Prod_Web Client Group. The Status field will also update to OK.
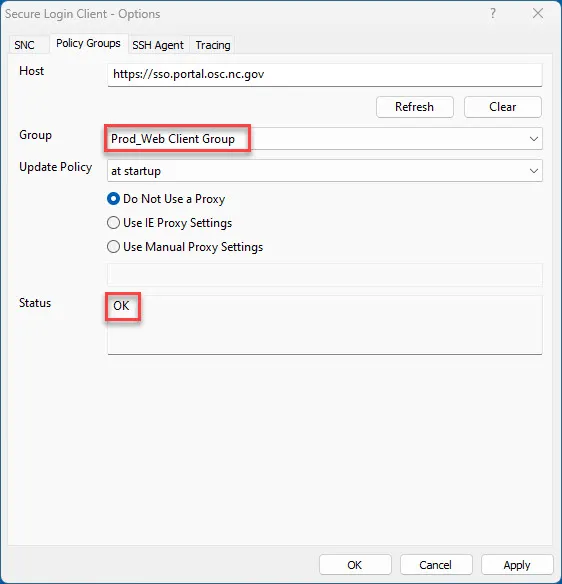
Step 8. Click Apply.

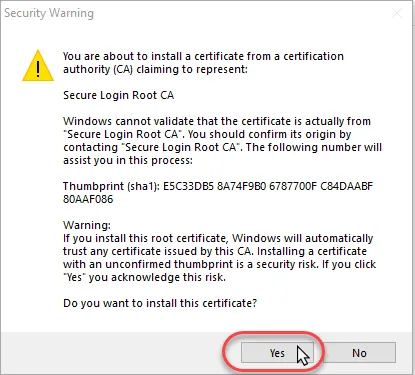
Step 9. A Security Warning window may display. This is expected. Simply click Yes.
Note: If the Security Warnings pops up, and you do not see the Security Warning, you have two options:
- Check your other monitors.
- Or hover over the Secure Login Client in your Tool Bar.
Step 10. Clear your browser cache. Select the All time option for the Time range field.
You have successfully completed the URL change set-up for the SAP Cloud SLC.
For support, please contact BEST Shared Services by phone at 919-707-0707 or via email submission to BEST@ncosc.gov.