Purpose
The purpose of this Quick Reference Guide (QRG) is to provide a step-by-step explanation of how to update Accounts Receivables (AR) Setup and Configurations in the North Carolina Financial System (NCFS).
Introduction and Overview
This QRG covers the steps to update AR setup and configurations in NCFS which includes updates of Receivables System Options and Receivables Transaction Types.
AR Setup and Configurations
To update the AR Setup and Configurations in NCFS, please follow the steps below. There are 17 steps to complete this process.
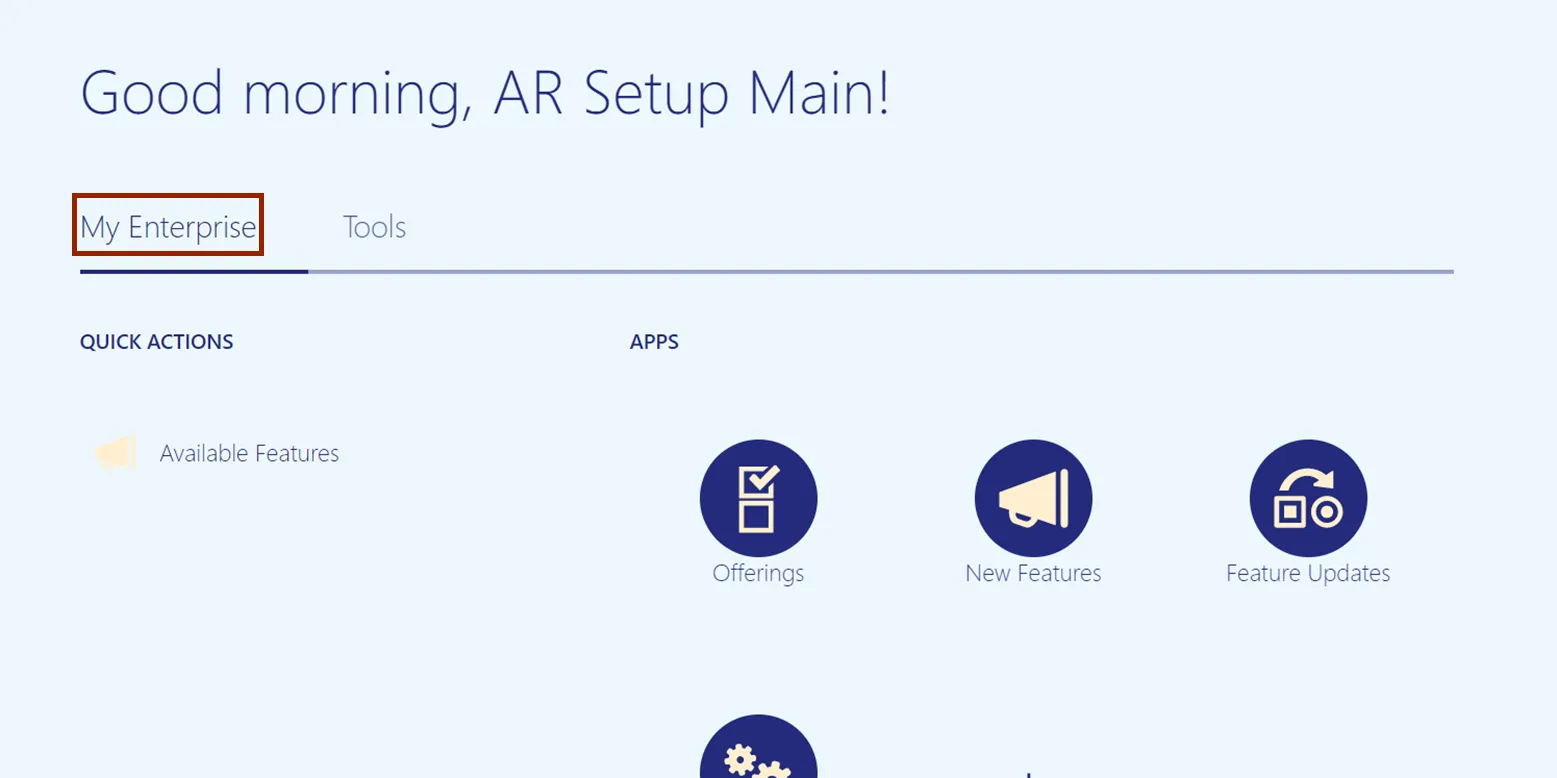
Step 1. On the Home Page, click the My Enterprise tab.
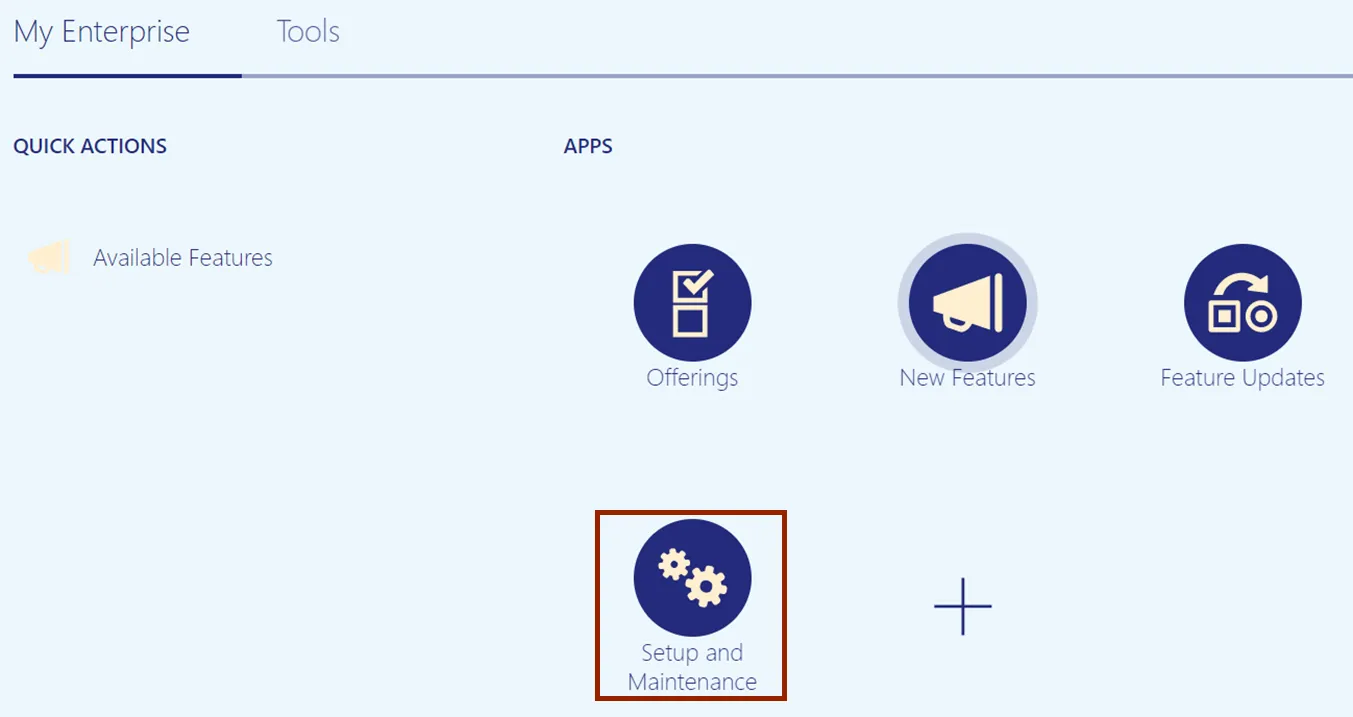
Step 2. Click the Setup and Maintenance app.
Step 3. On the Setup: Financials page, click the Receivables tab under Functional Areas.
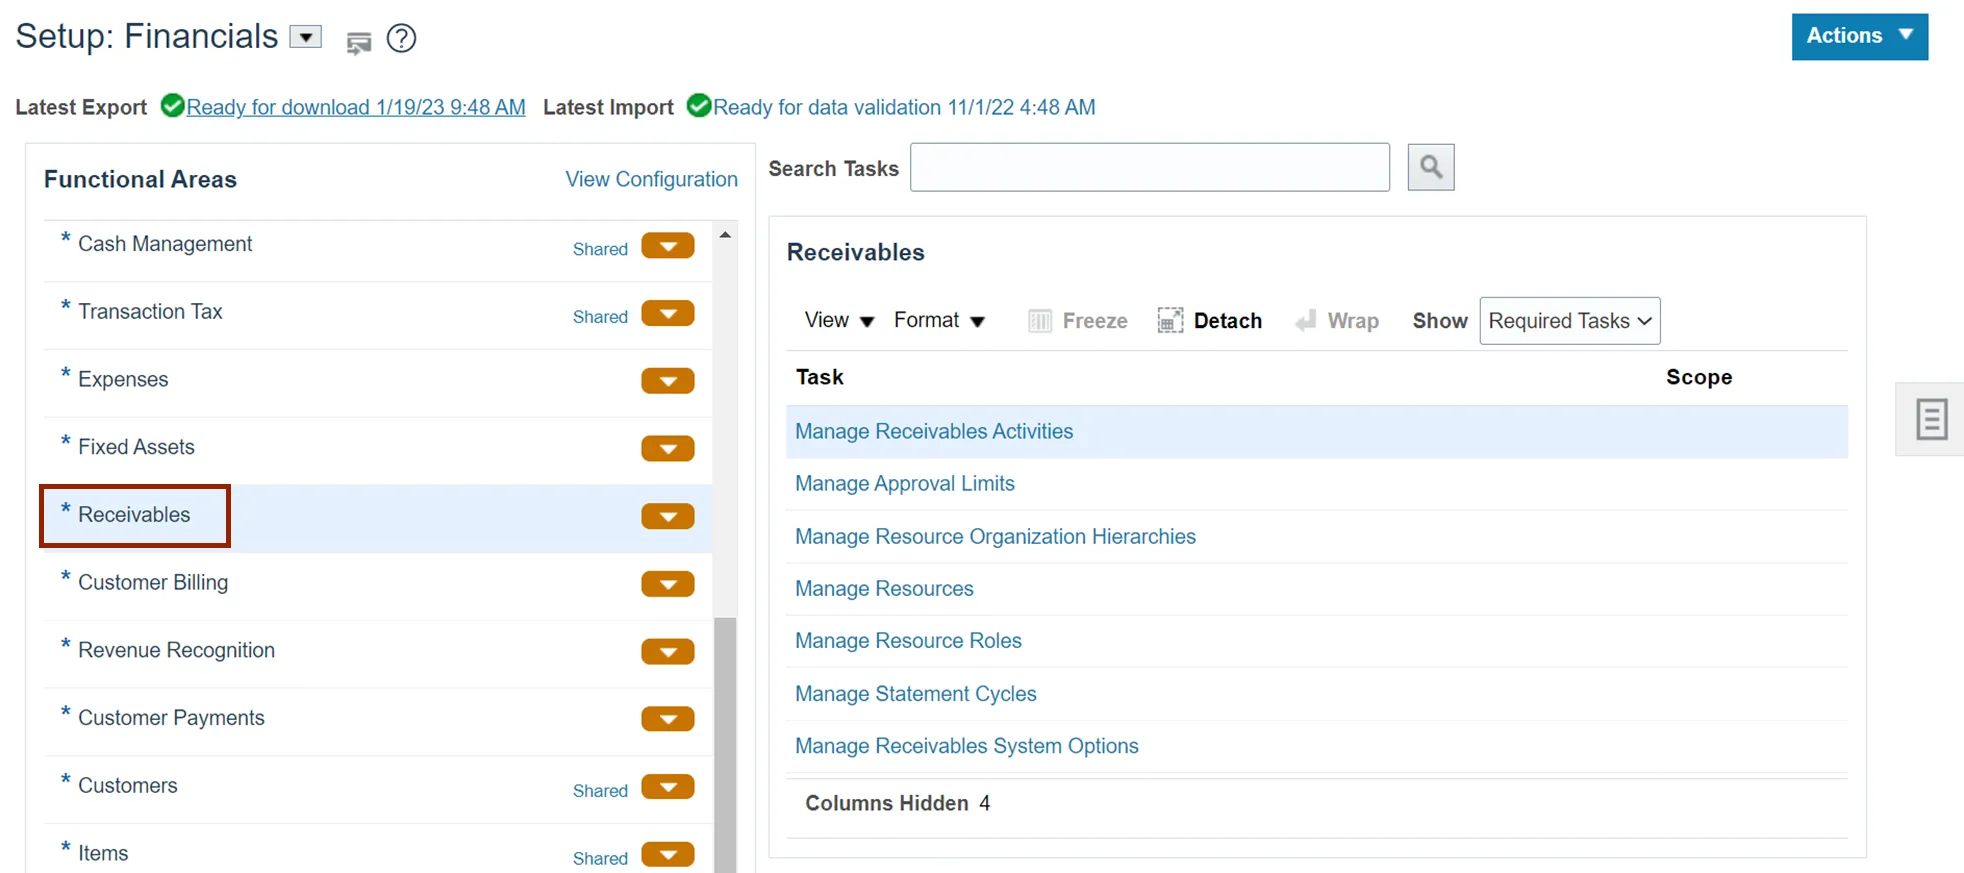
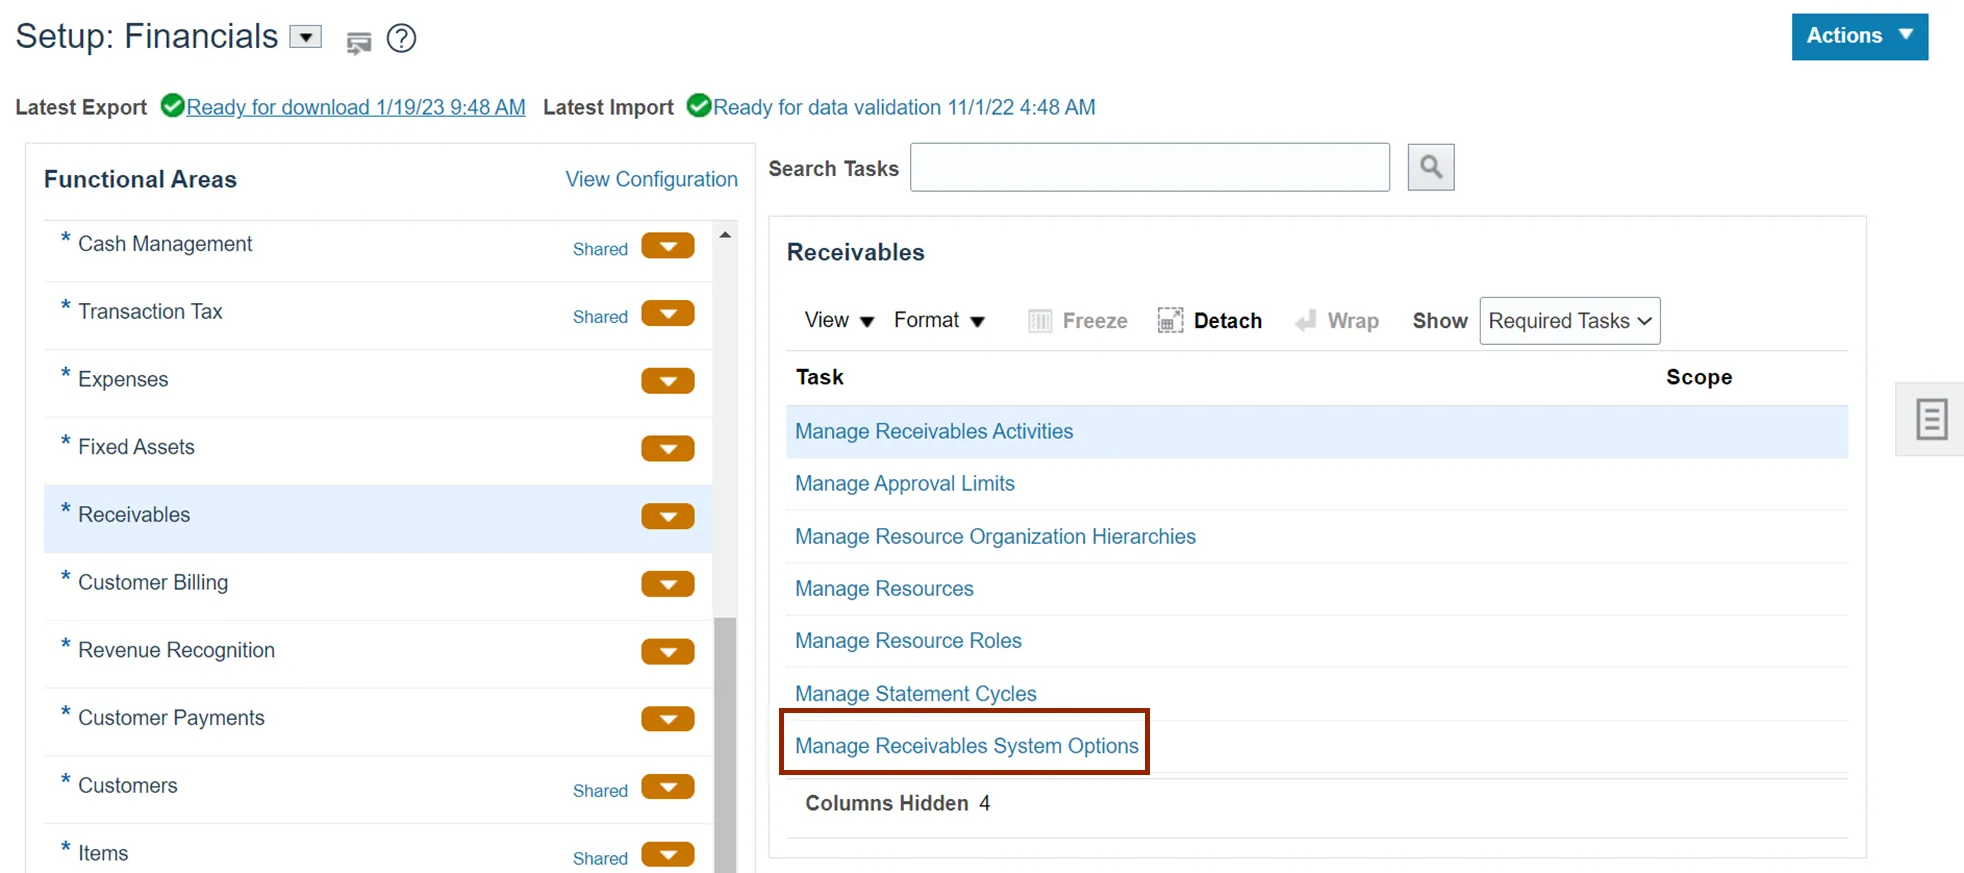
Step 4. The Receivables section appears on the right-hand side of the page. Under the Receivables section, click the Manage Receivables System Options link.
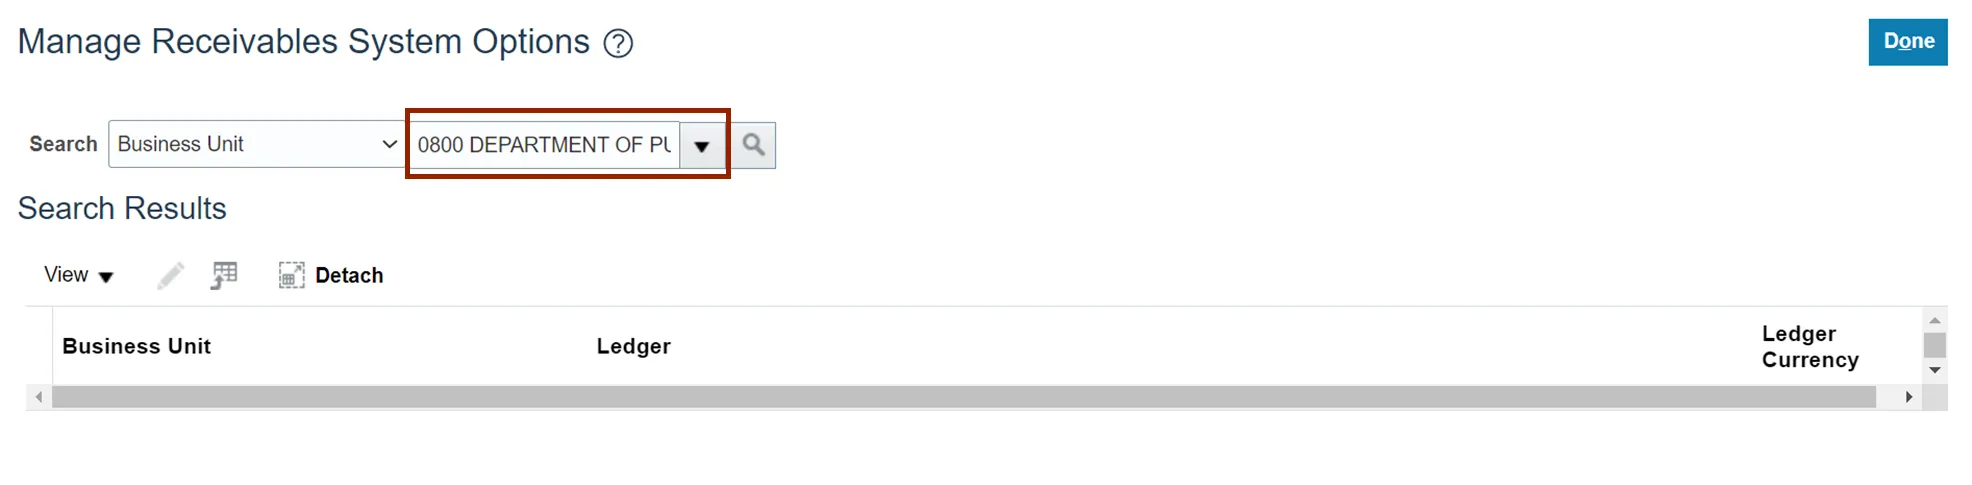
Step 5. On the Manage Receivables System Options page, click the Business Unit drop-down button to select the appropriate Business Unit.
In this example, 0800 is selected.
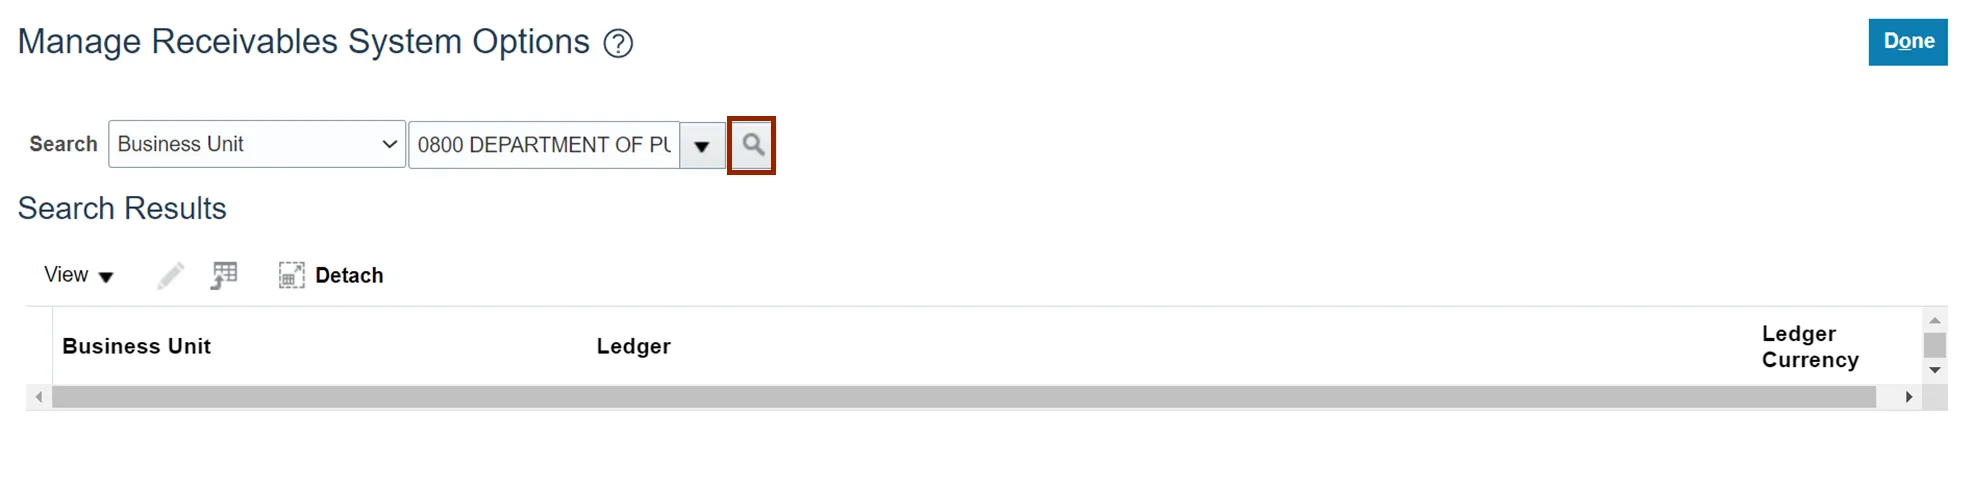
Step 6. Click the Search icon.
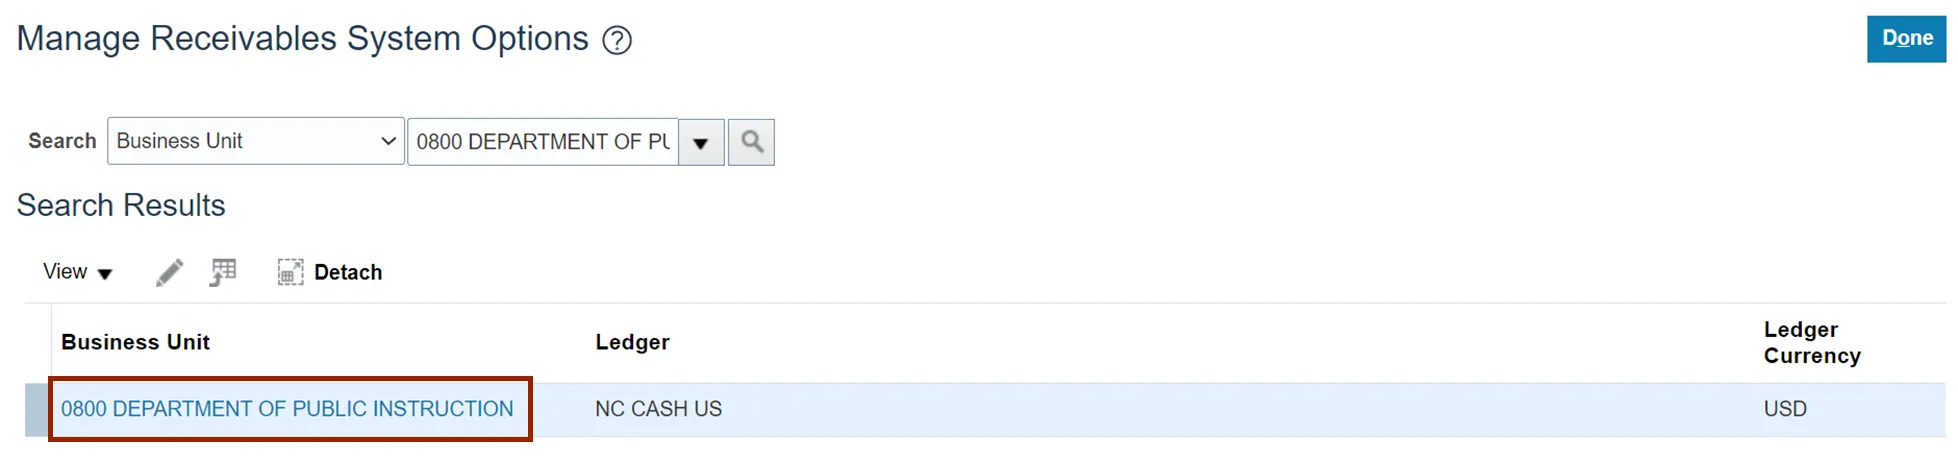
Step 7. The Business Unit search results are displayed in the Search Results section. Click the Business Unit link to open the Edit page.
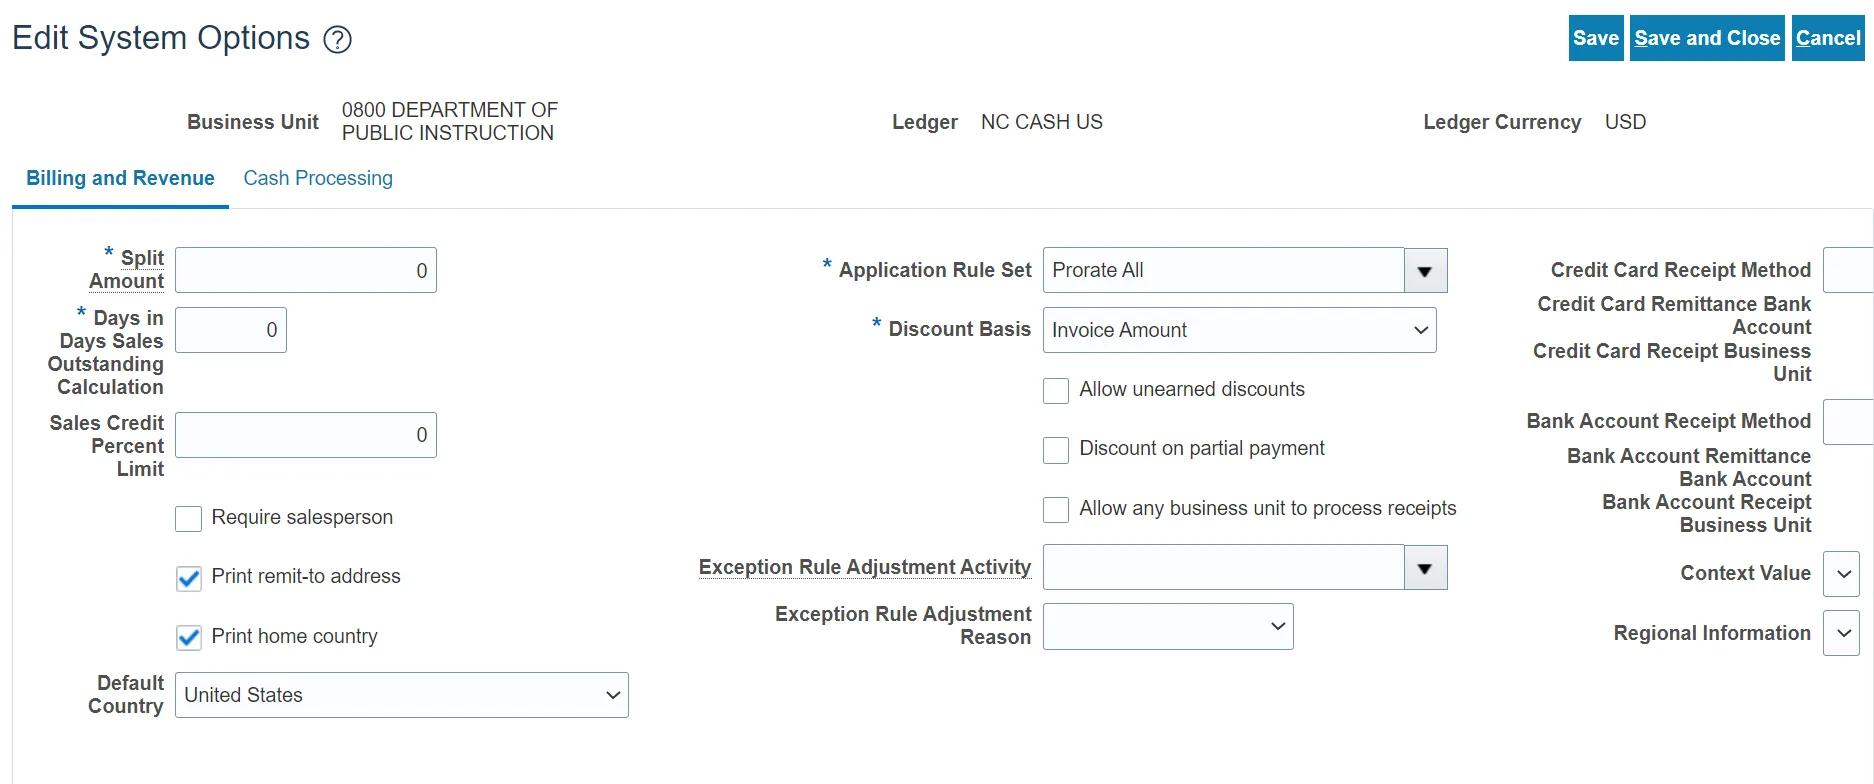
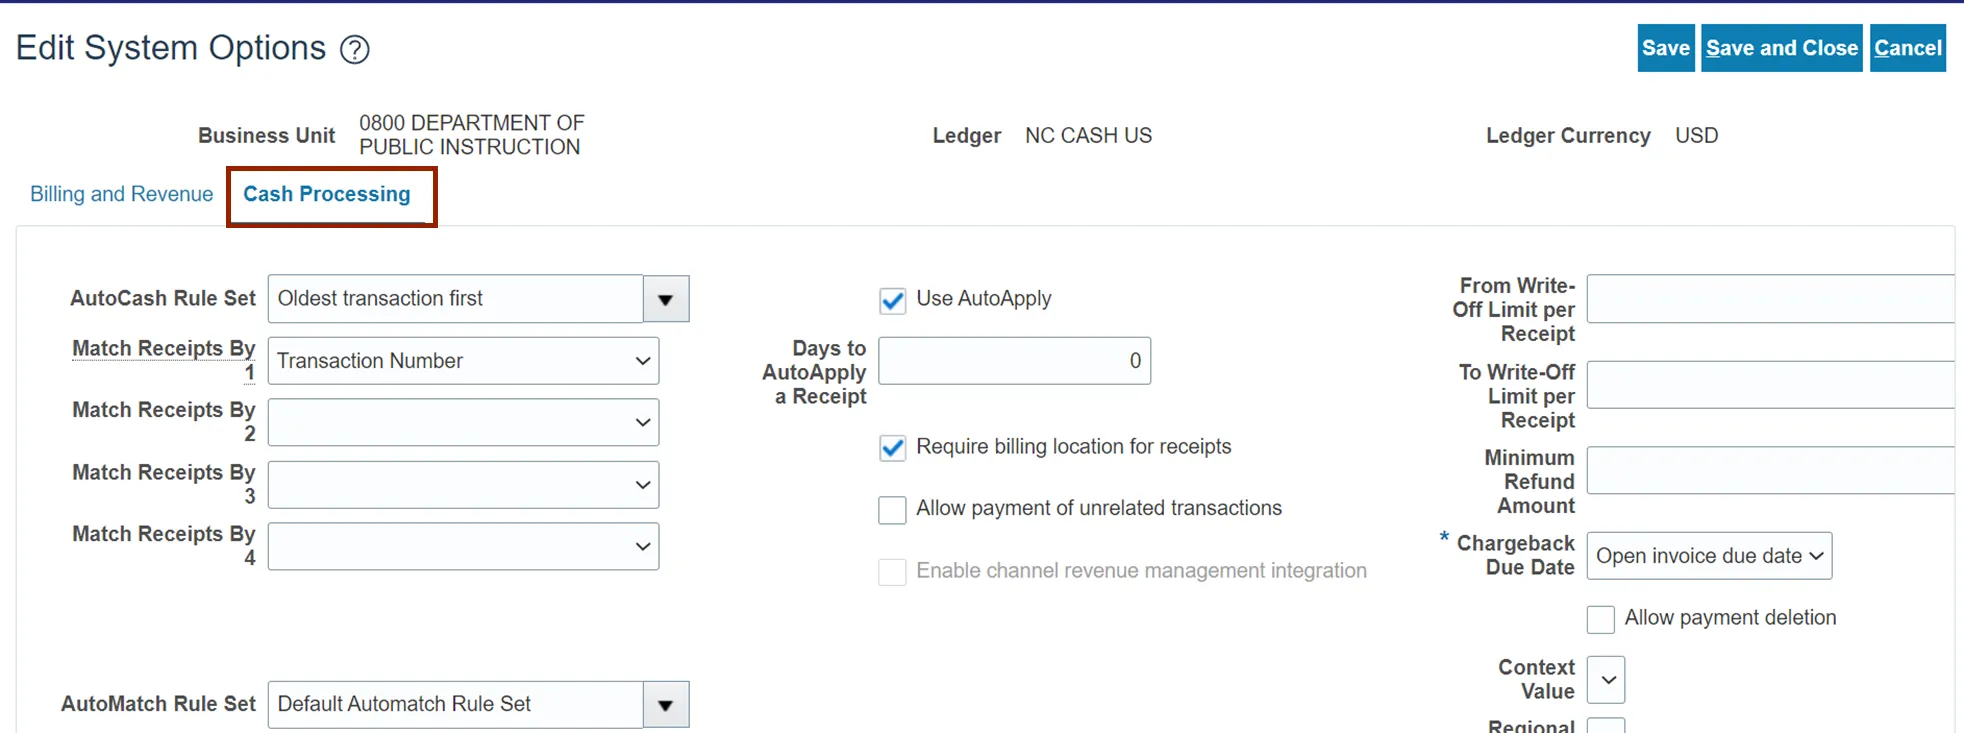
Step 8. On the Edit System Options page, enter or update the details as needed.
Step 9. Click the Cash Processing tab and enter or update the details.
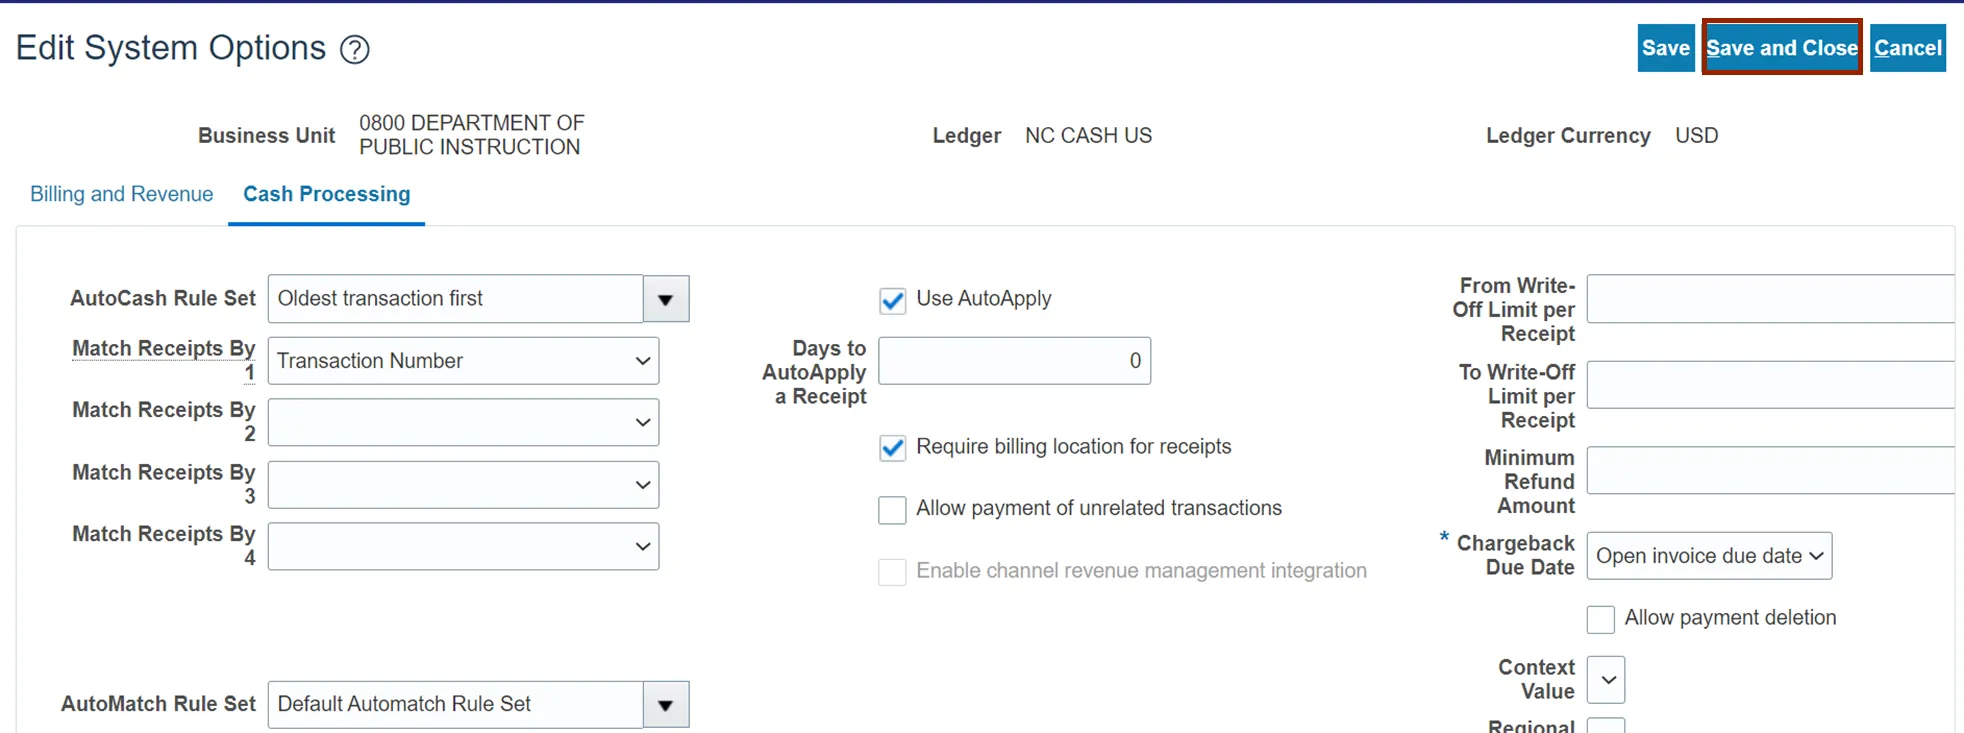
Step 10. Scroll to top of the page and click the Save and Close button.
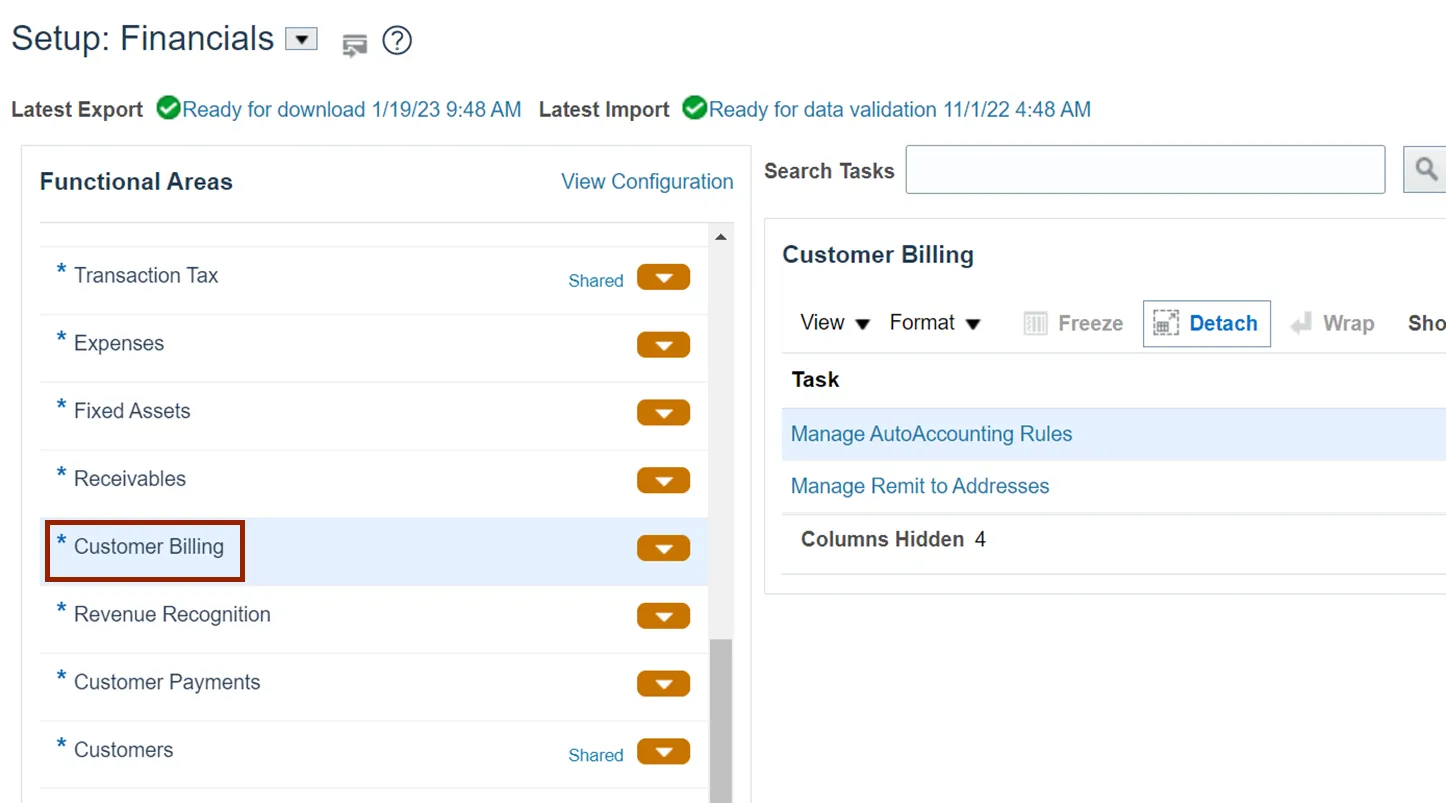
Step 11. On the Setup: Financials page, click the Customer Billing tab.
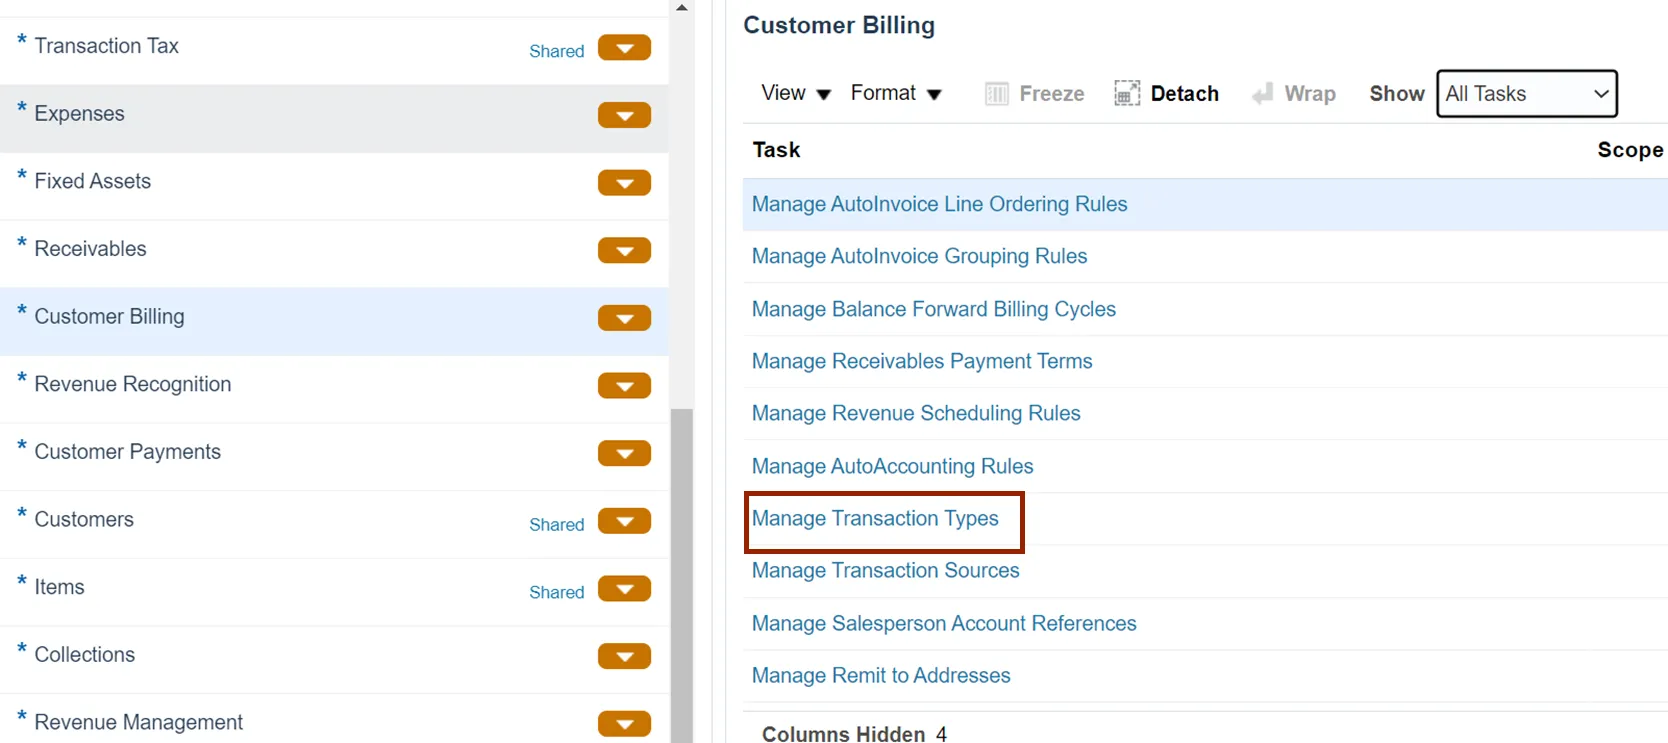
Step 12. On the Show drop-down, select All Tasks.
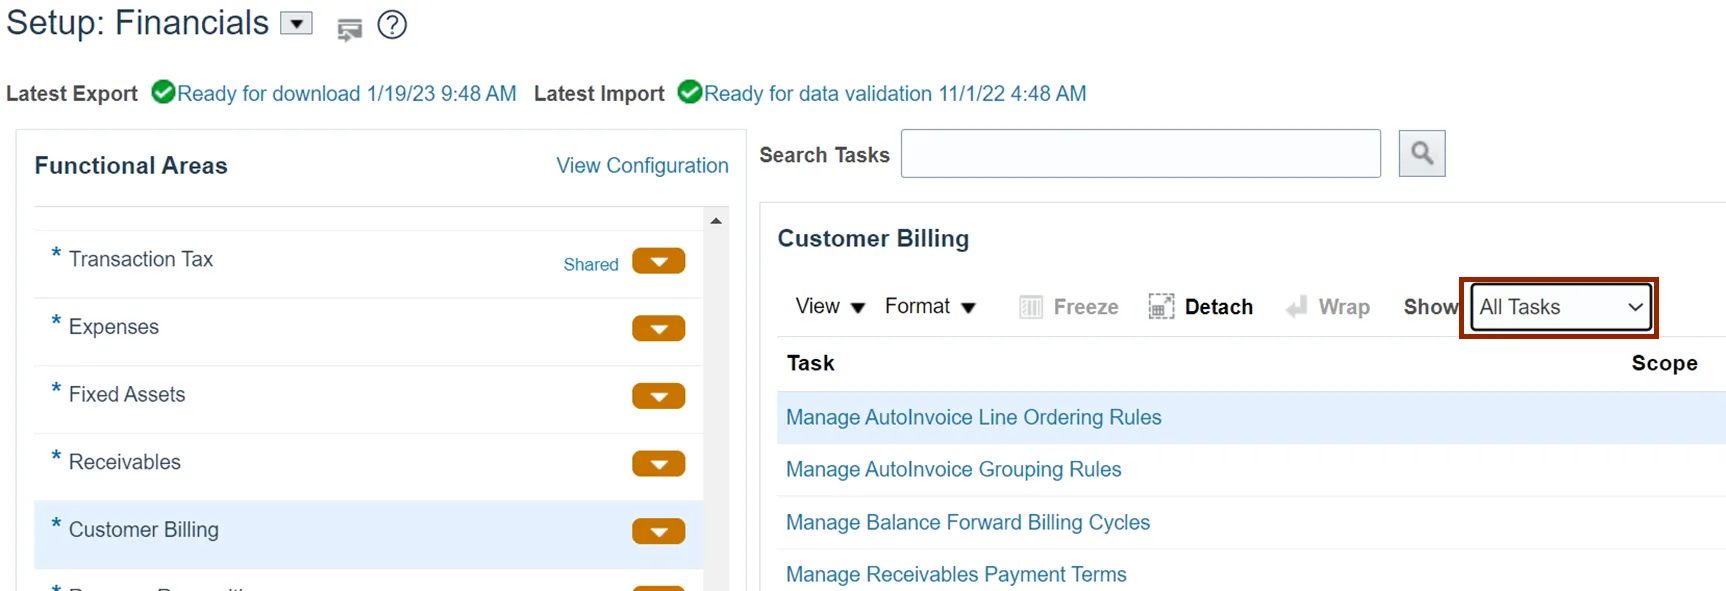
Step 13. The Customer Billing section appears on the right-hand side of the page. Under the Customer Billing section, scroll down and click the Manage Transaction Types link.
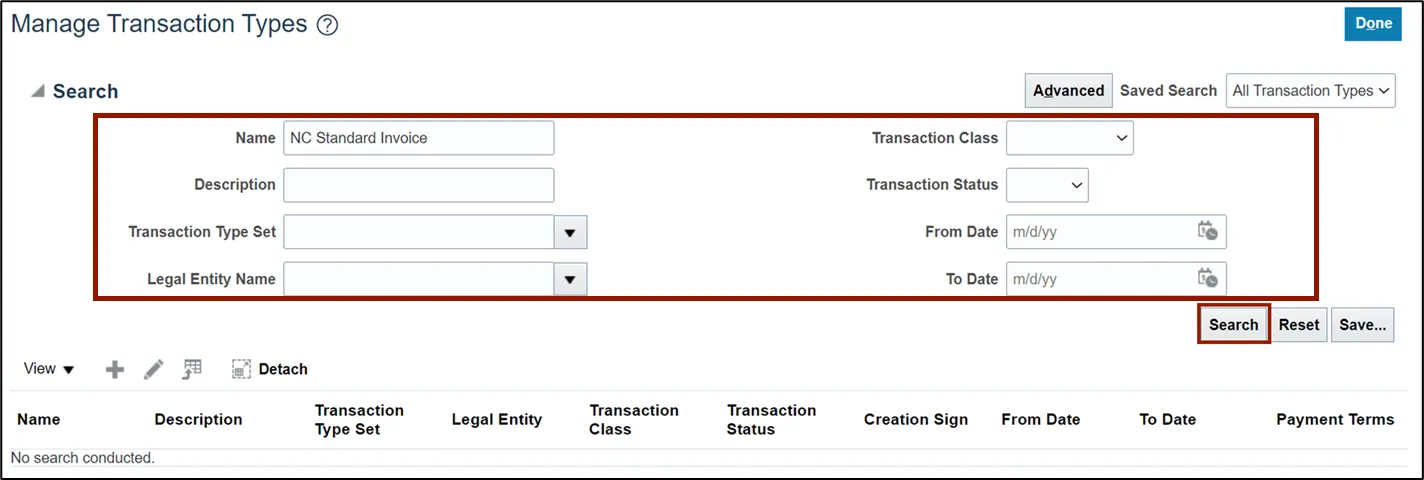
Step 14. Enter the Search criteria.
In this example, we choose Name as NC Standard Invoices and click the Search button.
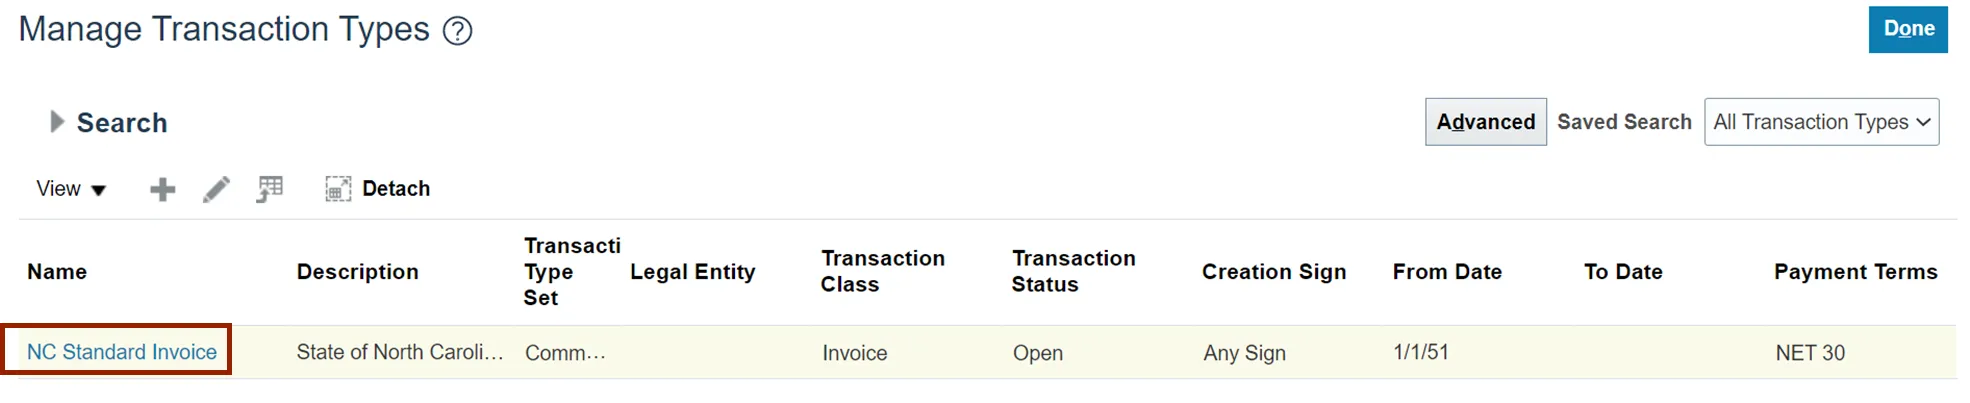
Step 15. The Transaction Types are listed. Click the Name link to open the transaction type.
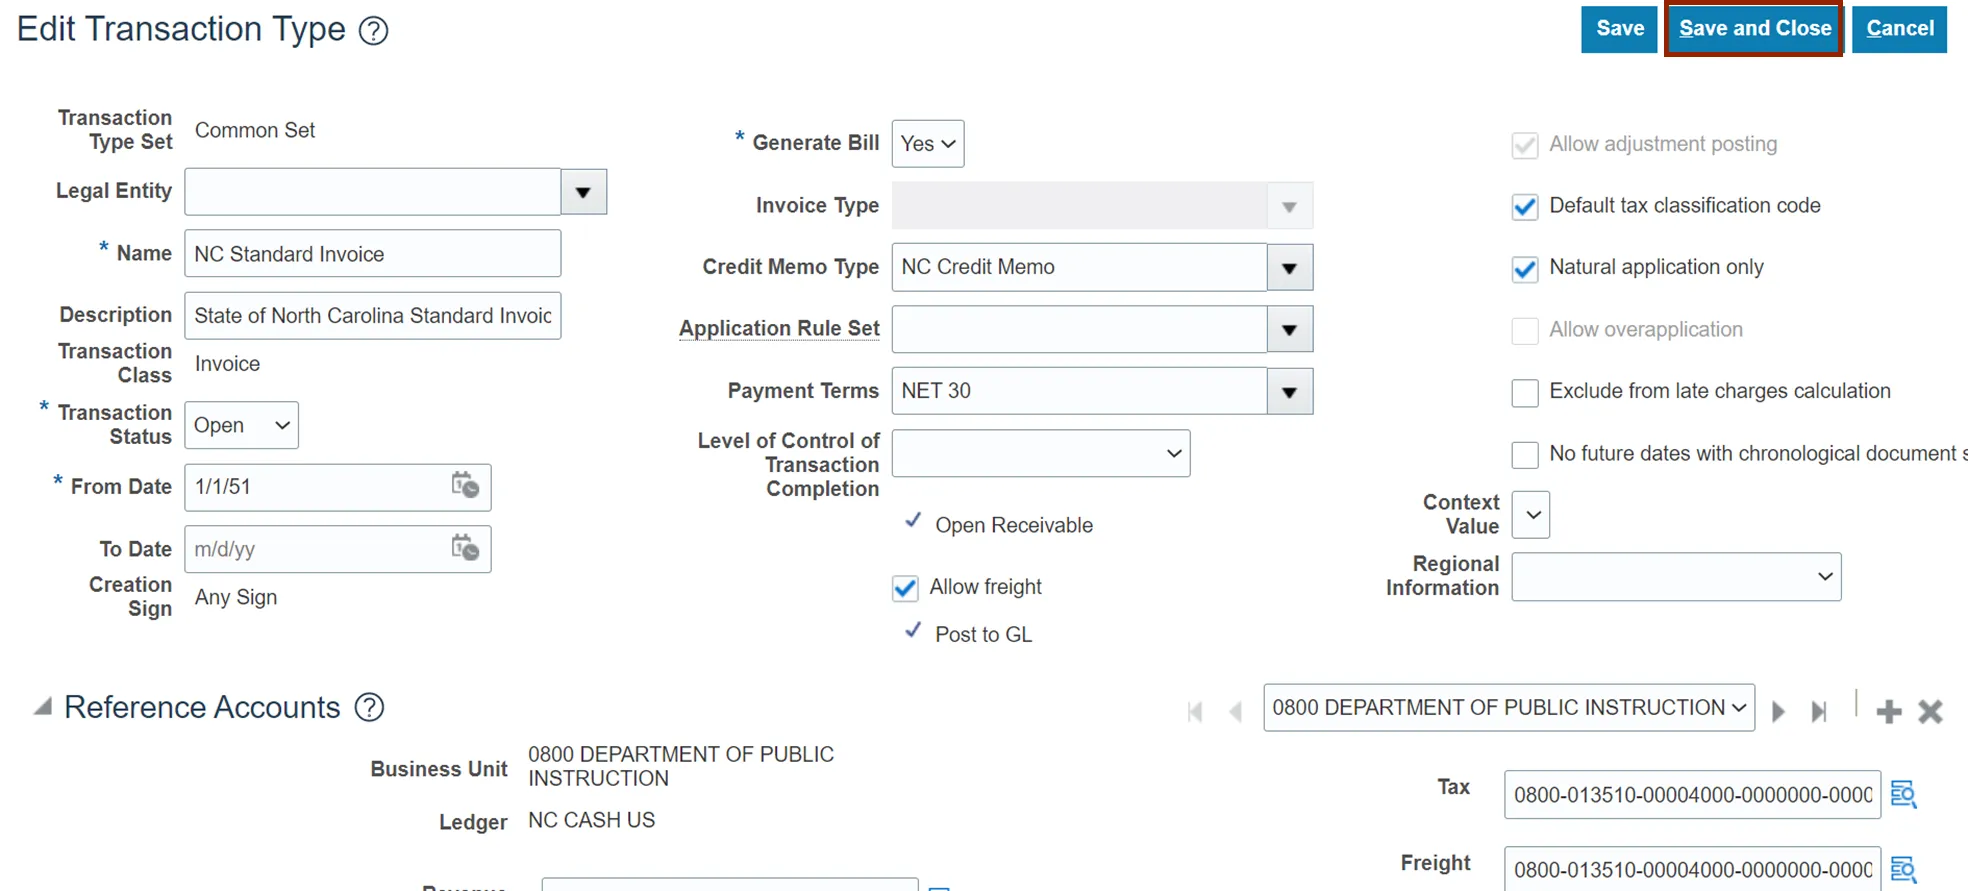
Step 16. Validate or edit the transaction type details as needed.
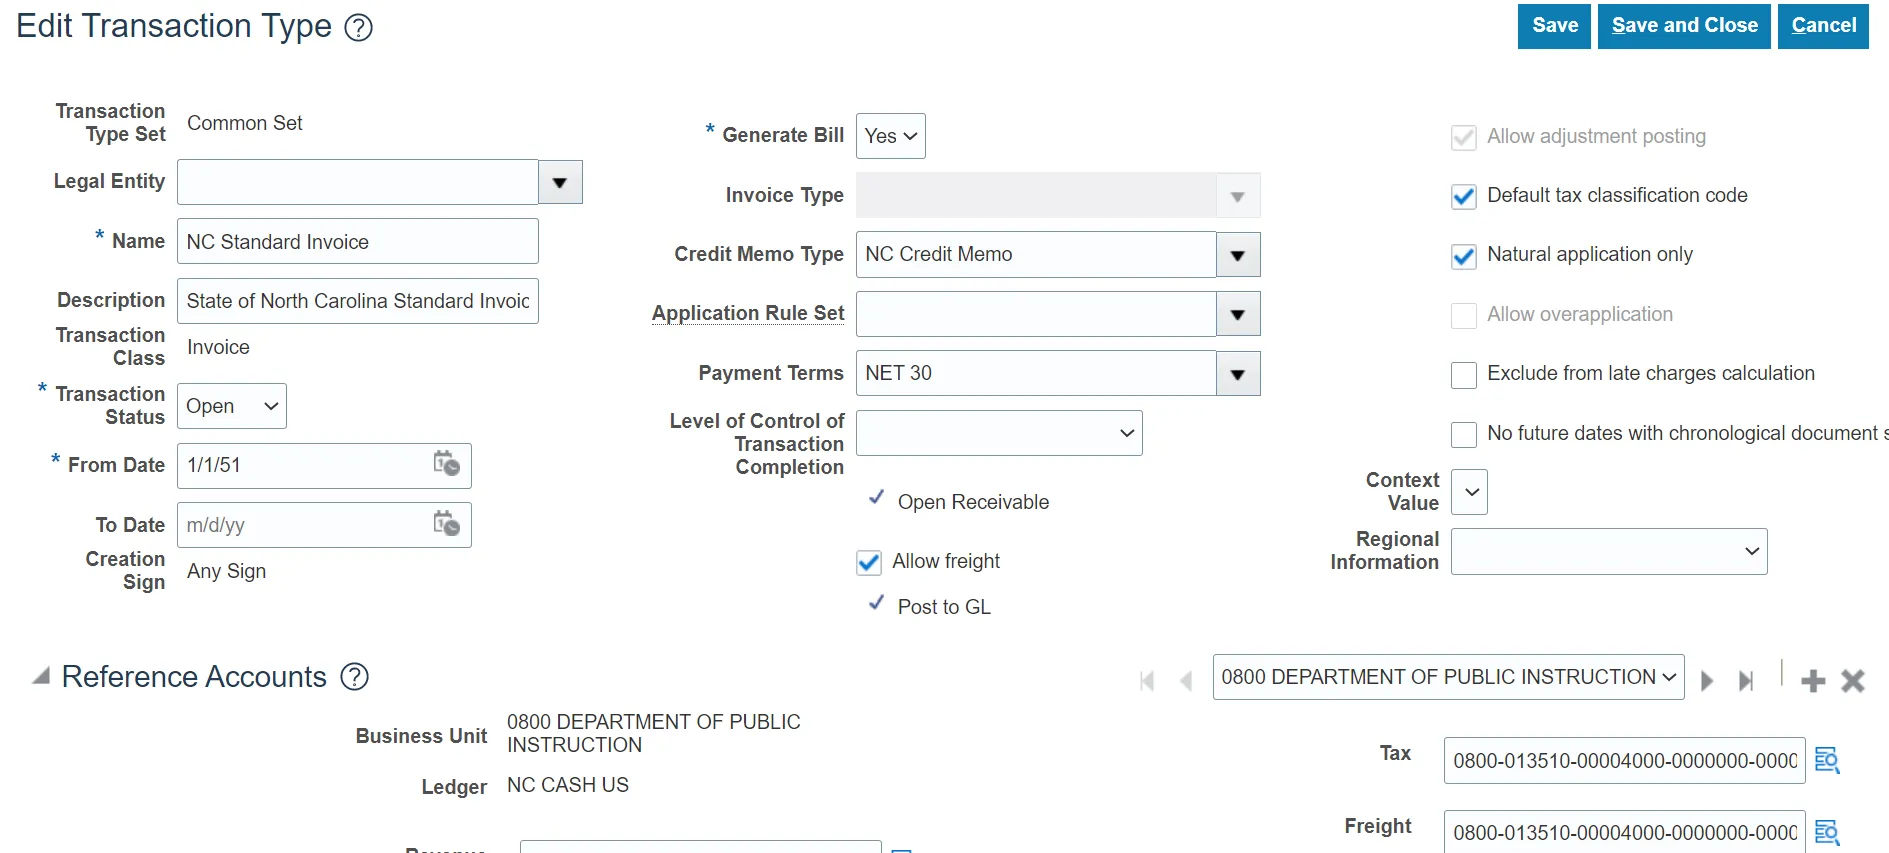
Step 17. Click the Save and Close button to save the updates.
Wrap-Up
Update AR setup and configurations using the above steps to update or validate setups for Accounts Receivables.