Purpose
The purpose of this Quick Reference Guide (QRG) is to provide step by step explanation on how to Add County Codes at Distribution Level to an invoice in the North Carolina Financial System (NCFS).
Introduction and Overview
This QRG provides an overview of how to enter county code and county name.
Note: County Code and County name can be entered when the user enters the invoice the first time or the user can edit an already entered / paid invoice to add country codes at the distribution level. The below example shows how to enter county code and name after the invoice has been paid.
Adding County Code
Follow the steps to add county codes at distribution level. There are 15 steps to complete this process.
Step 1. Log in to the NCFS portal with your credentials to access the system.
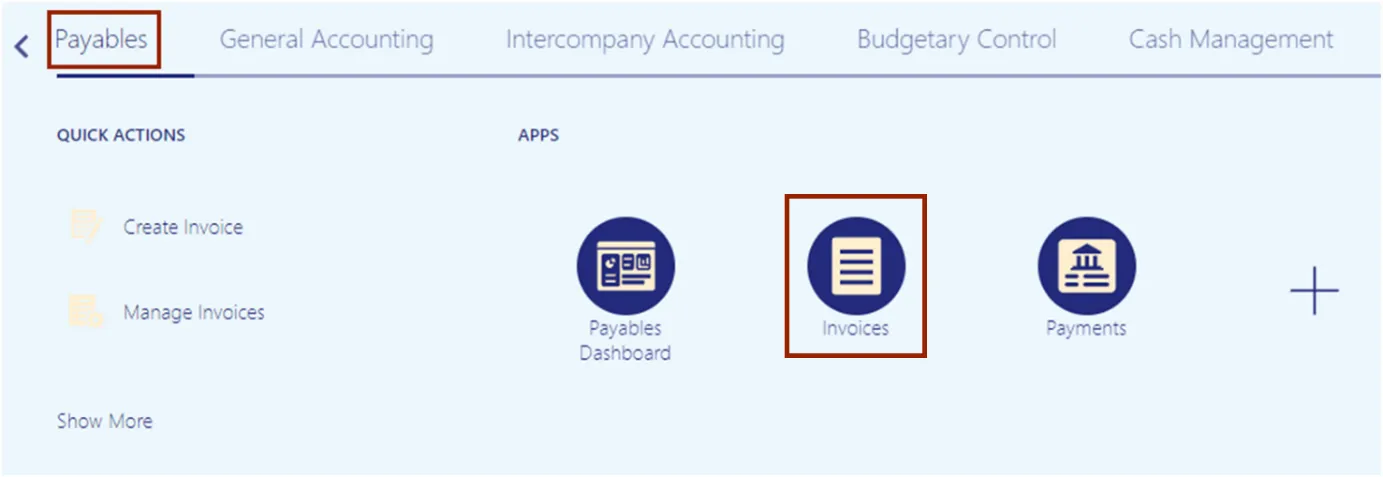
Step 2. Click the Payables tab. Click the Invoices app.
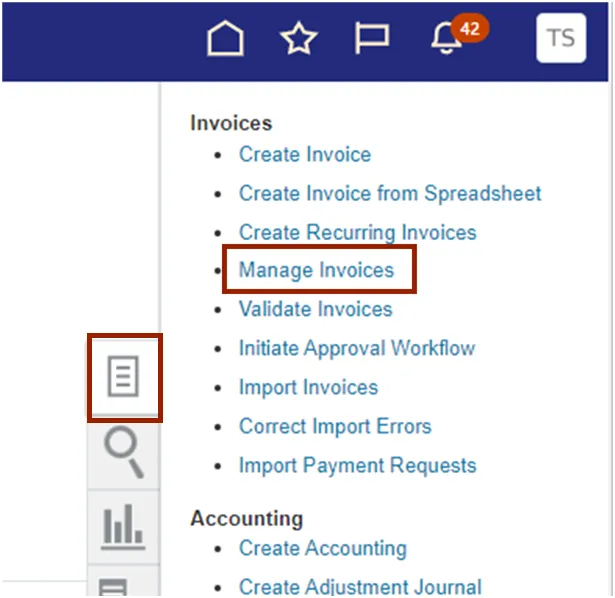
Step 3. Click the Tasks icon. On the Tasks pane, click the Manage Invoices.
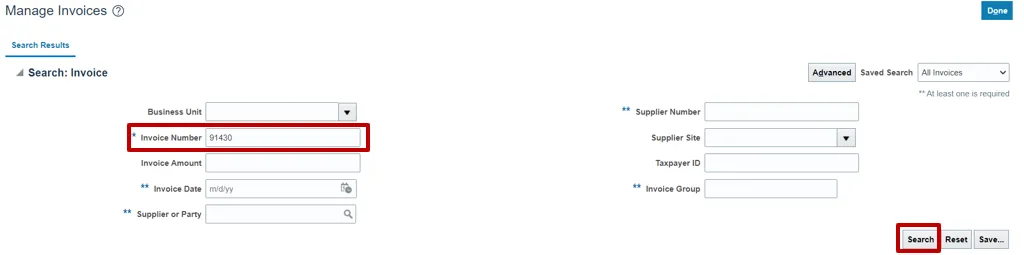
Step 4. The Manage Invoices page opens. On the Search: Invoice section, enter the required fields. Click the Search button.
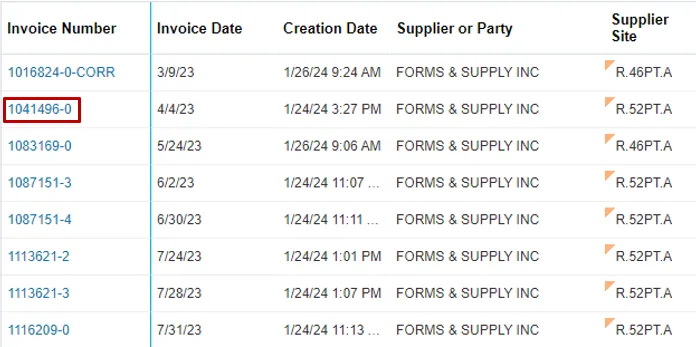
Step 5. Click the invoice number link to view details of the invoice.
Step 6. Click the Actions dropdown and select Edit.
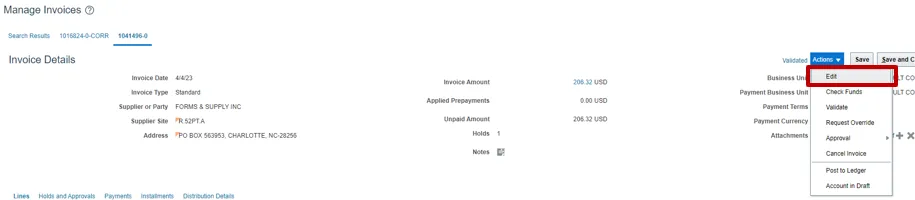
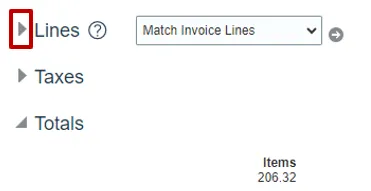
Step 7. Invoice is now editable, expand the arrow in the Lines section to view all details.
Note: If the invoice is being entered the first time, you can follow the below steps to add County Code and Name.
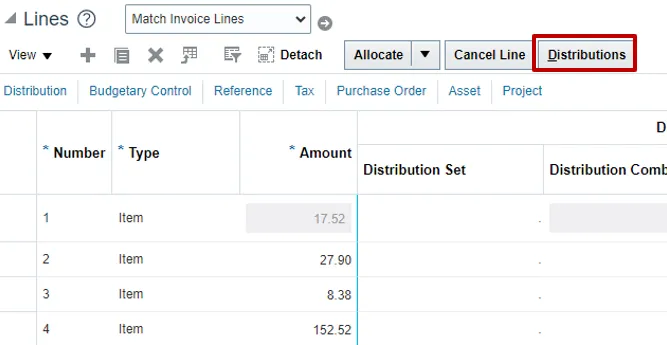
Step 8. All the line details will be displayed, click on the Distribution button.
Step 9. The Manage Distribution window will be displayed, scroll to the right, and click on the Details icon.
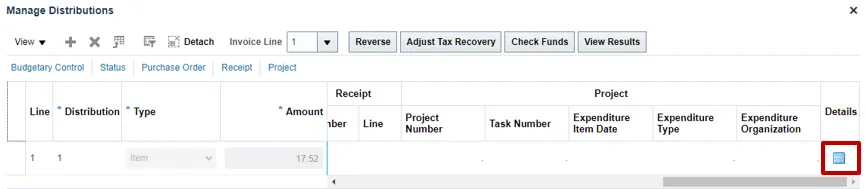
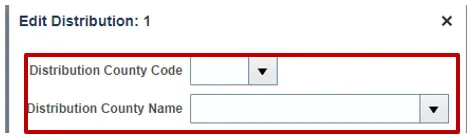
Step 10. Edit Distribution 1 window will be displayed, you can now select the Distribution County Code and Distribution Couty Name from the first two drop down menus.
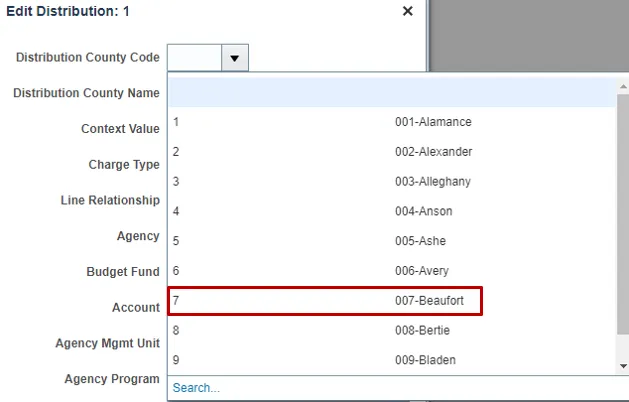
Step 11. Click on Distribution County Code dropdown and select the appropriate code. In this example we will select 7.
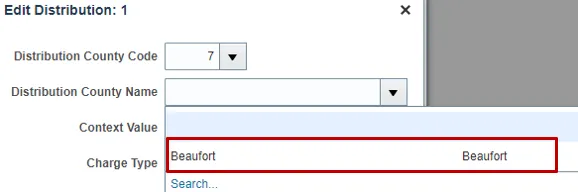
Step 12. Click on Distribution County Name dropdown and select the related name.
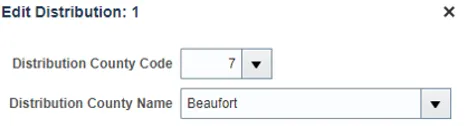
Step 13. Once the Code and Name is selected, Click OK.
Step 14. Click Save and Close on the Manage Distribution window.

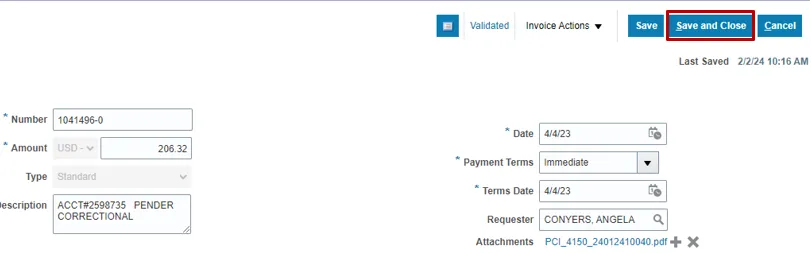
Step 15. Edit Invoice page will be displayed, click on Save and Close.
Wrap-Up
This QRG provides you with step-by-step explanation on how to add county codes at the distribution level to an invoice.
Additional Resources
- Virtual Instructor-Led Training (vILT)