Purpose
The purpose of this Quick Reference Guide (QRG) is to provide a step-by-step explanation of how to Cancel Invoice or Invoice Lines in the North Carolina Financial System (NCFS).
Introduction and Overview
This QRG covers the procedure of cancelling invoices.
User Tip
The following are prerequisites to cancel invoice or an invoice line:
-
Invoices should not be paid.
-
Invoices should not have any holds.
-
Invoices should not be in the PPR process. If the invoice to be cancelled has been selected in a PPR, cancel the PPR first and then continue with the steps below.
Cancel Invoice
To cancel an invoice in NCFS, please follow the steps below. There are 8 steps to complete this process.
Step 1. Log in to the NCFS portal with your credentials to access the system.
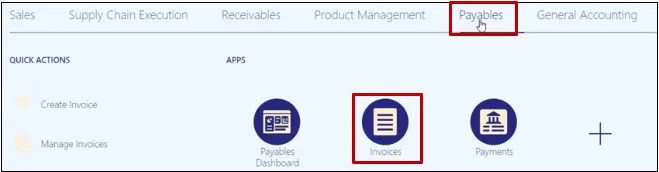
Step 2. On the Home page, click the Payables tab and then click the Invoices app.
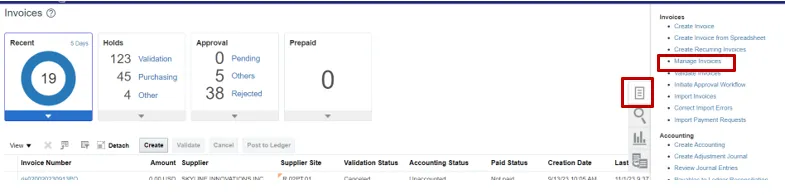
Step 3. On the Overview page, click on the Task panel and select Manage Invoices function.
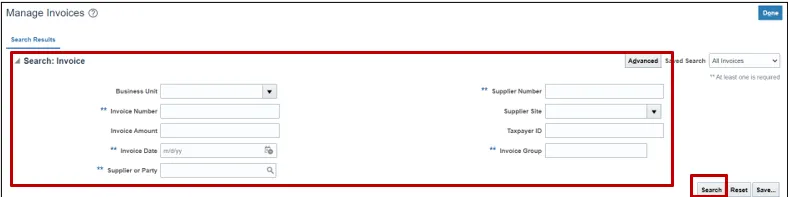
Step 4. Manage Invoices page is displayed, enter the appropriate search criteria and click Search.
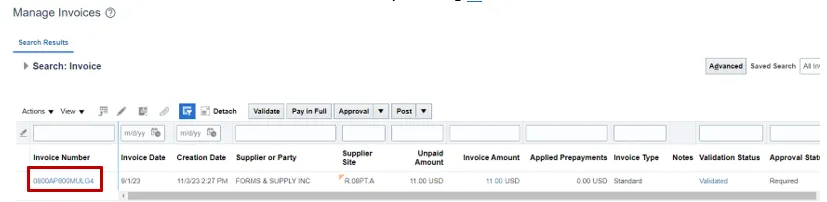
Step 5. Select the invoice you would like to cancel by clicking in the Invoice Number.
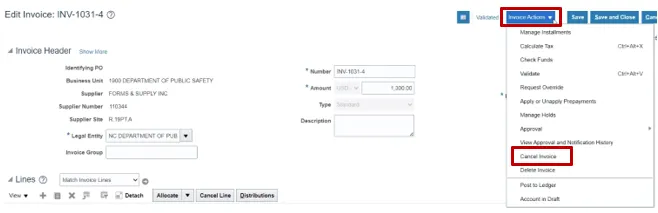
Step 6. Click on Invoice Actions and select Cancel Invoice.
Note: Once the invoice is validated, you can only Cancel the invoice and not Delete it.
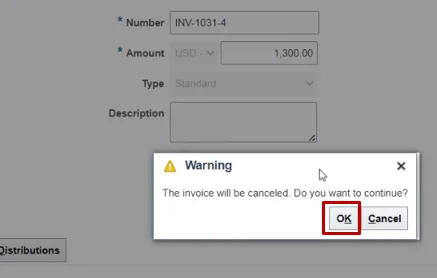
Step 7. You will receive a warning message, click OK.
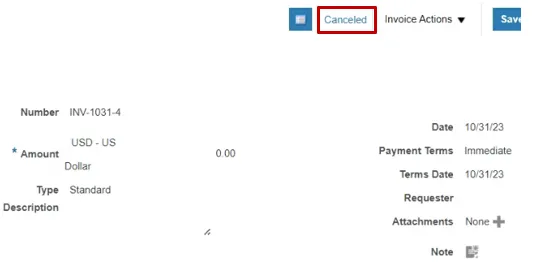
Step 8. The status of the invoice is now cancelled.
Note: The same invoice number cannot be used on another invoice even if the invoice is cancelled.
Cancel Invoice Lines
If you would like to cancel just the invoice lines, follow this step below.
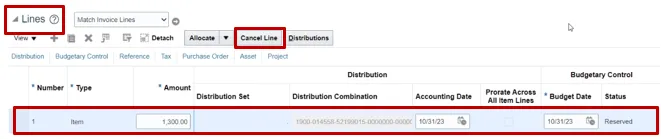
Step 1. Search for the invoice and navigate to the Lines section, select the line which needs to be cancelled and click on the Cancel button.
Note: Once you cancel a line, make sure to update the header amount to match the line amount and revalidate the invoice.
Invoice Does Not Cancel
If the invoice does not cancel and displays “Needs Revalidation” it may be due to budget dates on the invoice distributions that are from a closed fiscal year.
Follow the steps below to update the budget dates for the invoice distributions lines to cancel the invoice. There are 5 steps to complete this process.
Step 1. Edit the invoice: Click the Distributions button to open Manage Distributions from the Task Icon.

Step 2. Change the Invoice Line to All display lines.
Step 3. Changed the failed budget dates to the current date under the Budget Date column.
Step 4. Click Save and Close in the bottom right corner.
Step 5. Once you have saved and closed, go to the top right corner, choose the drop-down from Invoice Actions and choose Cancel invoice. This will cancel the invoice with the updated budget dates.
Wrap-Up
Cancel invoice or invoice lines in NCFS using the steps above.
Additional Resources
- Virtual Instructor-Led Training (vILT)