Purpose
The purpose of this Quick Reference Guide (QRG) is to provide a step-by-step explanation of how to view General Ledger (GL) dashboards in the North Carolina Financial System (NCFS).
Introduction and Overview
This QRG covers how to view GL Actual balances in detail, create, and analyze balances by account groups using the Account Monitor found on the General Accounting dashboard.
Create and View Balances by Account Groups in General Accounting Dashboard
To create account groups and view balances in the General Accounting dashboard, please follow the steps below. There are 11 steps to complete this process.
Step 1. Log in to the NCFS portal with your credentials to access the system.
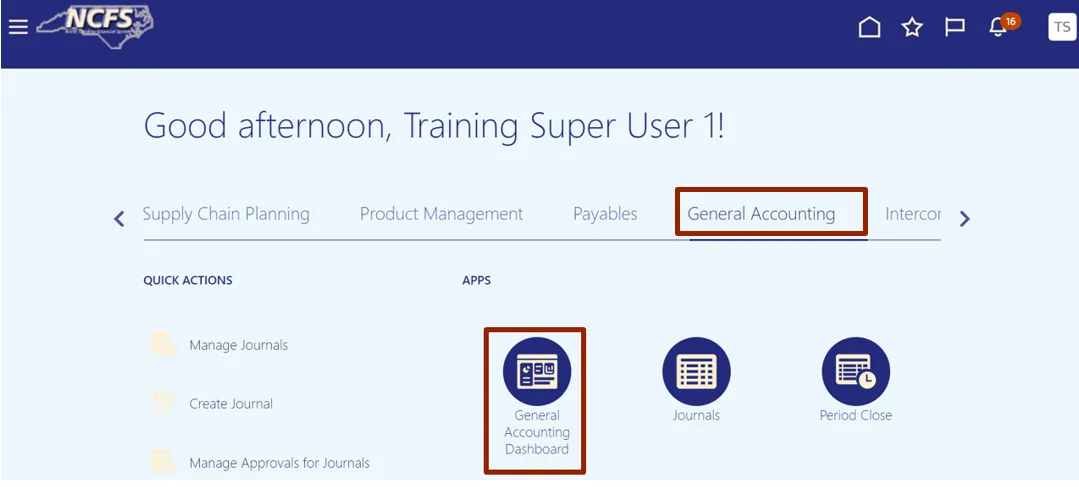
Step 2. On the Home Page, click the General Accounting tab and then click the General Accounting Dashboard app.
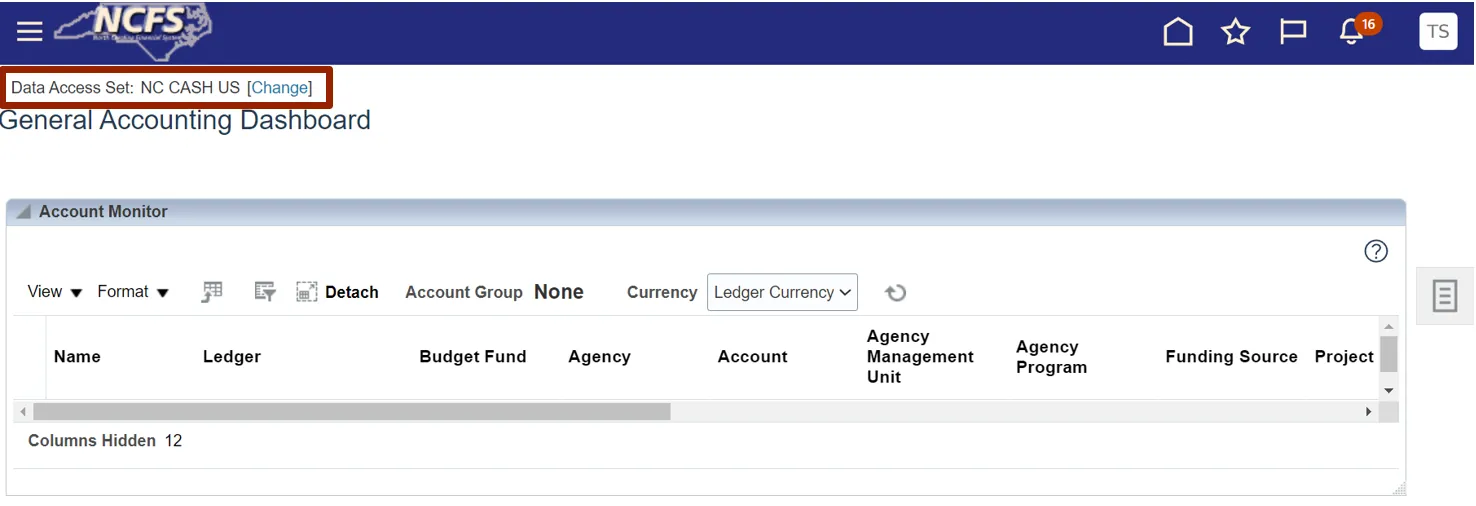
Step 3. Validate the Data Access Set. If the desired Data Access Set is not already selected, click Change link, and select the Data Access Set.
In this example, choose NC CASH US.
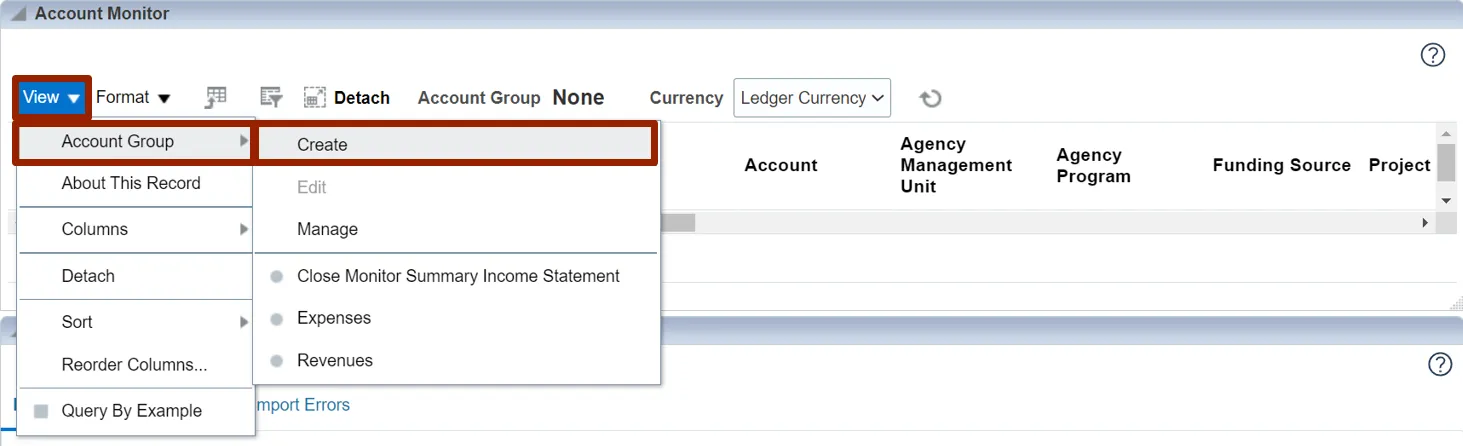
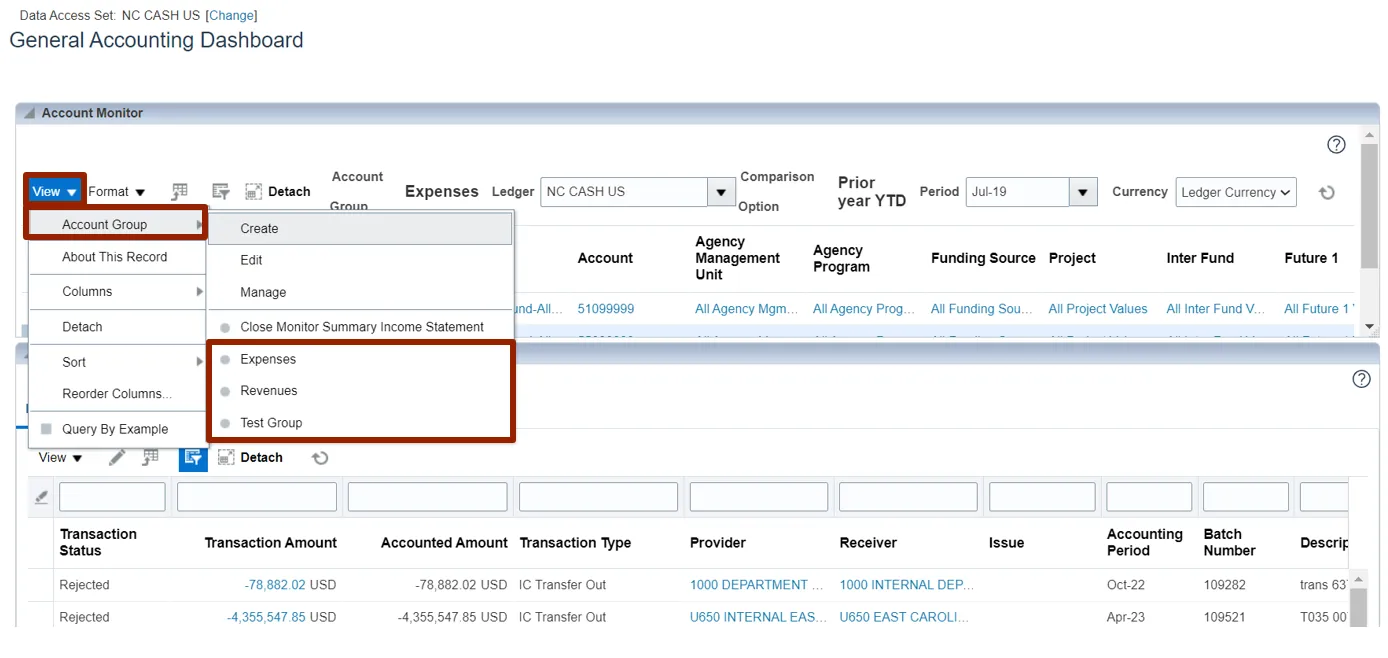
Step 4. Click the View menu button drop-down choice list, then select the Account Group and Create option.
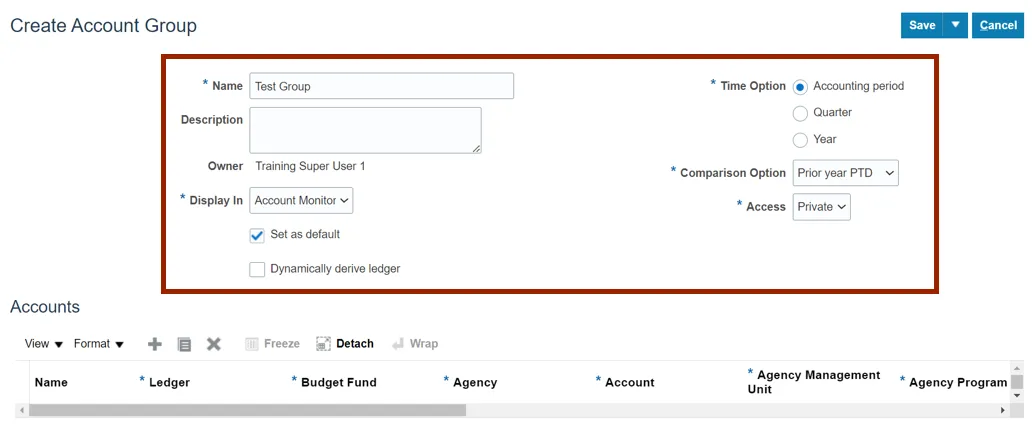
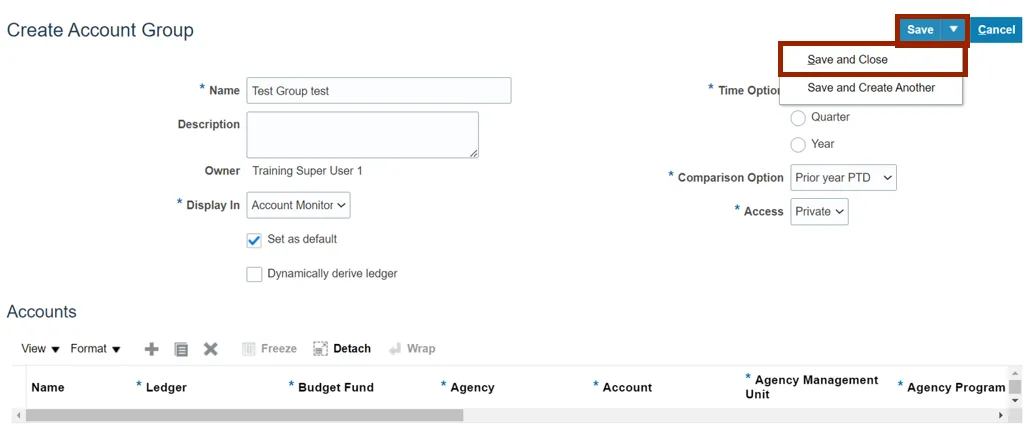
Step 5. On the Create Account Group page, enter the required data fields and carefully review all defaulted values and options.
In this example, choose:
- *Name - Test Group
- *Display In - Account Monitor
- *Time Option - Accounting period
- *Comparison Option - Prior year PTD
- *Access - Private
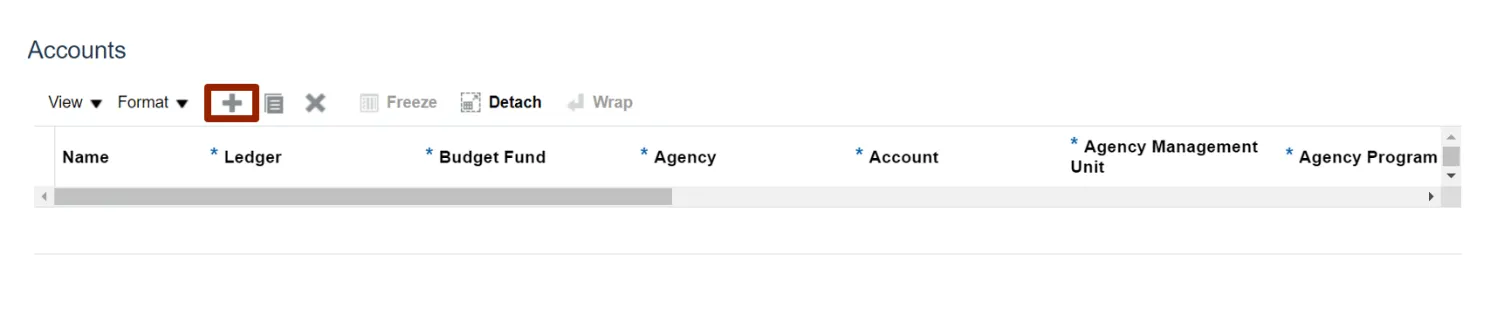
Step 6. In the Accounts section, click the Add icon.
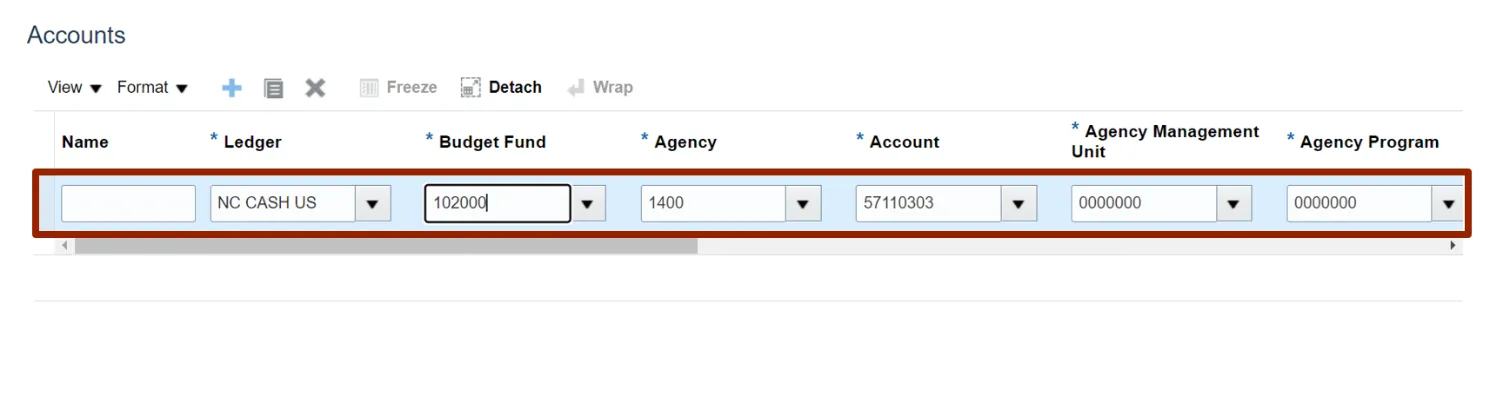
Step 7. Select the applicable choices from the respective drop-down choice lists for the mandatory fields (marked with *).
In this example, choose:
- *Ledger: NC CASH US
- *Budget Fund: 102000
- *Agency: 1400
- *Account: 57110303
- *Agency Management Unit: 0000000
- *Agency program: 0000000
Note: Parent values are available for selection.
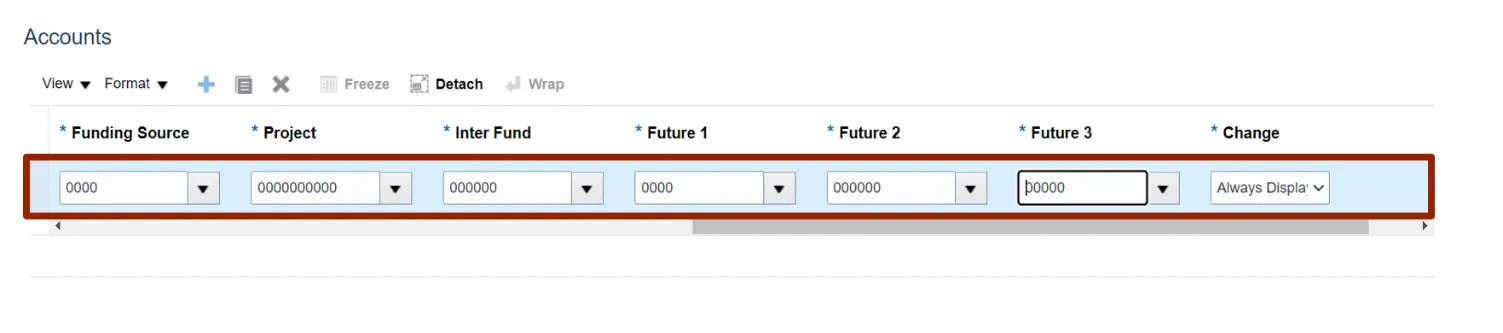
Step 8. Scroll the bar to the right and continue adding the relevant information by selecting the applicable choices from the respective drop-down choice lists for the mandatory fields (marked with *).
In this example, choose:
- *Funding Source: 0000
- *Project: 0000000000
- *Inter Fund: 000000
- *Future 1: 0000
- *Future 2: 000000
- *Future 3: 00000
- *Change: Accept the default value of Always Display, or override, based on the requirement.
Step 9. Click the Save drop-down choice list and select Save and Close option.
Step 10. Click the View drop-down choice list and select Account Group option to view Expenses, Revenues, or the Account Group name needed.
In this example, choose Expenses.
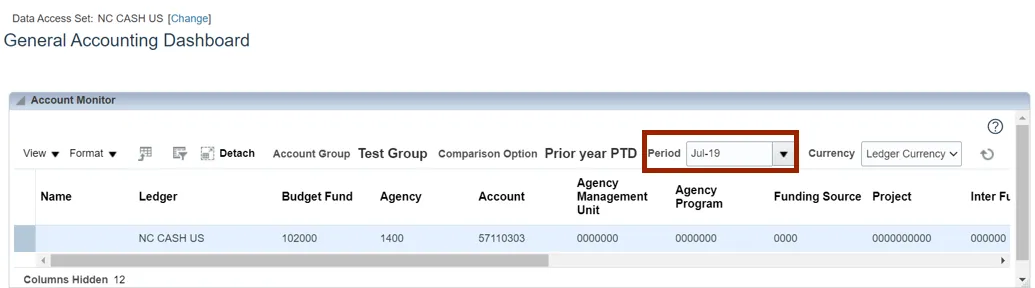
Step 11. Validate the displayed information on the General Accounting Dashboard page, selecting a different Accounting Period or different View if desired.
Wrap-Up
The user will be able to view general ledger dashboards using the steps above to create and view balances by account groups using the general accounting dashboard in NCFS.
Additional Resources
- Instructor-Led Training (WBT)
• GL100c: Journal Entry (vILT) - Web Based Training (WBT)
• GL001: GL Journal Inquiry (WBT)